

Lace trim has a way of turning something ordinary into something special. A plain pillowcase becomes elegant. A simple dress takes on a romantic quality. A basic tote bag suddenly draws compliments. Yet for many beginners—and even some seasoned sewers—attaching lace trim to fabric can feel surprisingly tricky. Where do you start? How do you keep it straight? What happens when it bunches or puckers at the corners?
This guide on how to sew lace trim onto fabric answers all of that. Whether you’re embellishing a garment, refreshing home décor, or finishing a handmade gift, these seven steps will walk you through the entire process—from first cut to final press—with results you’ll actually be proud of.
Understanding Lace Trim and How It Works with Fabric
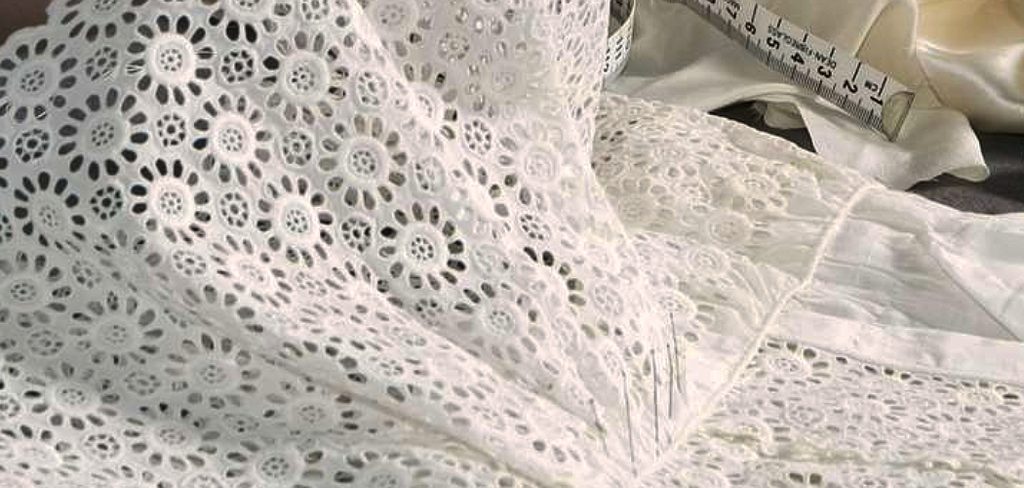
Lace trim is a decorative edging made from looped, twisted, or knitted threads—typically cotton, nylon, or polyester. It comes in a wide range of widths, patterns, and weights, each suited to different project types. Delicate cotton lace works beautifully on lightweight fabrics like chiffon or voile. Sturdier nylon lace, on the other hand, tends to hold up better against denim or canvas.
How lace behaves before you start sewing matters more than people often expect. Most lace trim has little to no stretch, which means it needs to be eased carefully onto curved edges to avoid pulling or distorting the base fabric. On straight edges, the process is considerably more forgiving. Knowing your fabric type and choosing a compatible lace trim early on may save you a fair amount of frustration down the line.
Materials Needed
Before you begin, gather everything you need. Having the right tools on hand makes the entire process smoother and helps you avoid those frustrating mid-project interruptions.
Lace Trim
Choose lace that suits your project in terms of width, color, and material. Pre-wash it if you plan to launder the finished item.
Base Fabric
This is the fabric you’ll be attaching the lace to. Pre-wash and press it before starting to prevent shrinkage issues after sewing.
Sewing Machine or Hand Sewing Needle
A sewing machine speeds up the process, but hand sewing gives you far more control on delicate or curved edges.
Thread
Match your thread color to the lace trim rather than the base fabric for the cleanest finish. A fine polyester or cotton thread works well.
Fabric Pins or Clips
These hold the lace in place before sewing. Clips are preferable for delicate lace, as they avoid leaving pin holes.
Scissors or Fabric Rotary Cutter
Sharp scissors are non-negotiable for clean cuts without fraying. A rotary cutter works particularly well on straight edges.
Iron and Ironing Board
Pressing the lace and fabric before and after sewing keeps everything flat and professional-looking.
Seam Ripper
Helpful for correcting mistakes without damaging your fabric or lace.
Fabric Glue or Wash-Away Basting Tape (Optional)
These can temporarily hold lace in place before sewing—especially useful for curves and tricky placements.
7 Simple Steps on How to Sew Lace Trim onto Fabric
Step 1: Prepare and Pre-Wash Your Materials
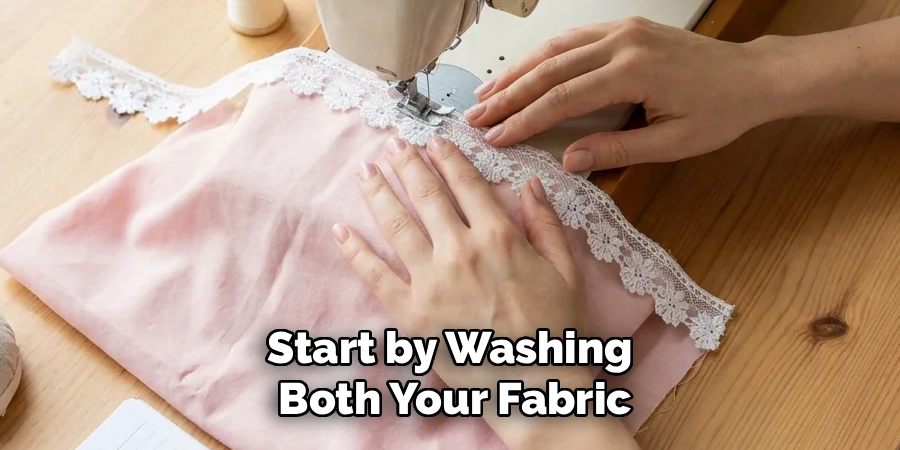
Start by washing both your fabric and lace trim if the finished project will ever be laundered. This prevents unexpected shrinkage later. Once washed, press both with an iron to remove any wrinkles. Flat, smooth materials are far easier to work with—and result in a noticeably neater final product.
Step 2: Measure and Cut the Lace Trim
Measure the edge of your fabric where the lace will be attached. Add an extra half inch to one inch to account for finishing the ends. Cut the lace carefully using sharp scissors, following the natural pattern of the lace for a tidy edge. If you’re working around a curved hem, cut the lace slightly longer to allow for easing.
Step 3: Position and Pin the Lace onto the Fabric
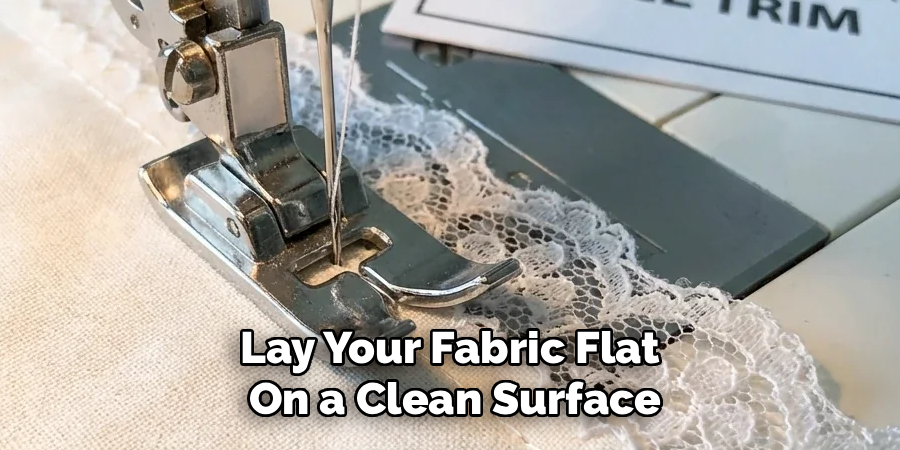
Lay your fabric flat on a clean surface. Place the lace trim along the edge, aligning it exactly where you want it to sit. Secure it with fabric pins or clips at regular intervals—roughly every two to three inches. For curved edges, ease the lace gently as you pin to prevent puckering. Step back and visually check the placement before moving on.
Step 4: Baste the Lace in Place (Optional but Recommended)
If you’re new to working with lace, or tackling a particularly tricky edge, basting is worth the extra time. Using a long stitch length on your machine—or a simple running stitch by hand—sew a temporary line along the lace to hold it securely in place. This step catches alignment issues before you commit to your final stitch, and it’s far easier than unpicking later.
Step 5: Sew the Lace onto the Fabric
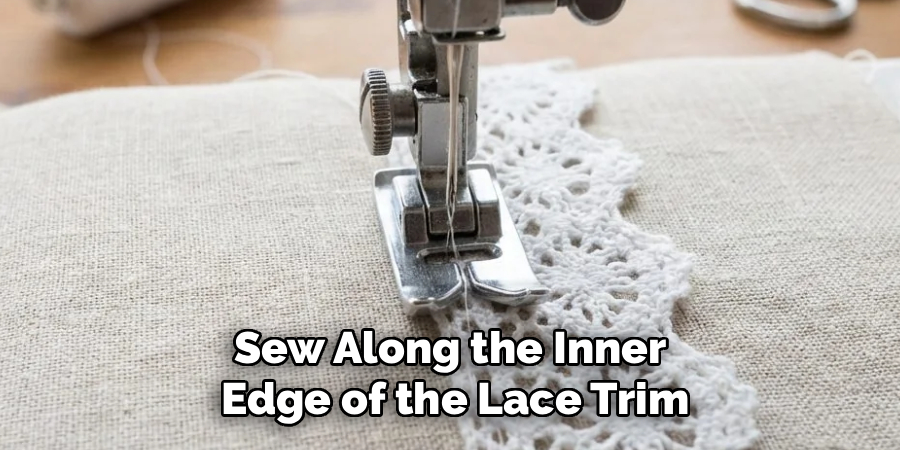
Set your sewing machine to a straight stitch with a medium stitch length (around 2.5mm). Sew along the inner edge of the lace trim, keeping your stitching as close to the edge as possible without going off it. Slow down around curves or corners—this is where most mistakes happen. Remove pins as you go rather than sewing over them, as this can damage your needle. If hand sewing, a small, even slip stitch or running stitch tends to produce the cleanest result.
Step 6: Secure and Finish the Ends
Once you’ve sewn the full length of the lace, secure the ends. Fold the raw ends under by about a quarter inch and stitch them down to prevent fraying. Alternatively, a small dab of fabric glue pressed flat works just as well. On enclosed seams—where the lace sits between two layers of fabric—you can simply trim the ends flush and allow the seam to do the securing.
Step 7: Press and Inspect the Finished Edge
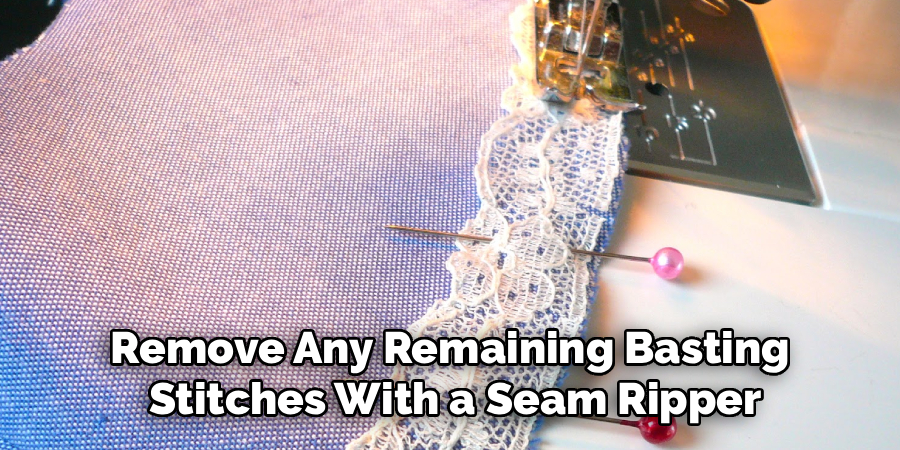
Remove any remaining basting stitches with a seam ripper. Then, gently press the lace with a warm iron. Use a pressing cloth to protect delicate lace from direct heat. Inspect the entire edge for uneven stitching, puckering, or loose ends, and make any final adjustments. That’s it—you’re done.
Following these steps on how to sew lace trim onto fabric will add a beautiful and elegant touch to any garment or project.
Common Mistakes to Avoid When Sewing Lace Trim
Even experienced sewers run into trouble with lace. The most frequent mistake is skipping the pinning or basting step entirely and sewing directly onto unprepared fabric. This almost always leads to shifting, puckering, or misaligned trim—none of which are easy to fix after the fact.
Needle size is another thing that catches people off guard. Lace requires a fine needle—size 70/10 or 80/12—to avoid snagging the delicate threads. Using a heavier needle can distort or tear the lace in ways that appear subtle at first and only become obvious once the project is finished.
Tension settings, too, appear to matter more than most beginners expect. Too-tight tension pulls the lace inward and distorts the edge. Too-loose tension produces wobbly, uneven stitching. A quick test on a scrap piece before you start the real project adds only a few minutes but could save the whole thing.
Do You Need to Use a Sewing Machine for This?
Hand sewing is a perfectly valid option—and in certain cases, it may produce better results. For very delicate lace, intricate edges, or small items like hair accessories or collars, hand sewing offers greater control over placement and stitch tension. There’s something to be said for slowing down on fiddly work.
That said, a sewing machine is faster and more consistent for longer straight edges, such as curtain hems, tablecloth borders, or garment hems. The key is matching your method to what the project actually demands rather than defaulting to one approach for everything.
Frequently Asked Questions
Can I Sew Lace Trim onto Stretchy Fabric?
Yes, but it requires an extra step. Because most lace trim has little to no stretch, you’ll need to use a small zigzag stitch rather than a straight stitch when attaching it to stretchy fabric. This allows the seam to flex without breaking when the fabric is pulled or worn.
How Do I Keep Lace Trim from Fraying After Washing?
Finish the raw ends of the lace by folding them under and stitching them down, or apply a small amount of fray-check liquid along the cut edges before sewing. Pre-washing the lace before you begin also helps reduce further shrinkage or unraveling over time.
What Is the Best Stitch Length for Sewing Lace onto Fabric?
A stitch length of 2.0mm to 2.5mm works well for most lace trim applications. A shorter stitch provides a more secure hold on fine or lightweight lace, while a slightly longer stitch suits heavier trims. Always test on a scrap piece before sewing your final project.
Is It Better to Sew Lace Trim on by Hand or by Machine?
It depends on the project. Hand sewing offers more precision for delicate or curved edges, while a sewing machine is faster and more consistent for long, straight hems. For beginners, starting with a machine on a simple straight-edged project tends to build confidence quickly.
What Type of Lace Trim Works Best for Beginners?
Wider, stiffer lace trim—such as cotton eyelet or cotton guipure—tends to be easier to handle than narrow, delicate varieties. It stays flat, pins easily, and shows stitching clearly, which makes it ideal for learning the basics before moving on to finer lace.
Build Your Confidence One Seam at a Time
Sewing lace trim onto fabric rewards patience more than skill, at least at the beginning. Once you understand the basic sequence—choosing the right materials, preparing your fabric, following the steps on how to sew lace trim onto fabric without rushing—the process becomes far less intimidating and, honestly, quite satisfying.
Start with a simple straight-edged project. A pillowcase hem or a tote bag edge is ideal. Build your confidence there, then work your way up to curves and more intricate placements. With the right tools and a little care, lace trim is one of the most effective ways to elevate both handmade and store-bought items.

About
Bennie Wilder is a dedicated figure in the world of sewing, clothing repair, and garment care, with years of hands-on experience exploring practical techniques for making, repairing, and maintaining everyday clothing. His professional focus lies in combining traditional sewing craftsmanship with modern, easy-to-follow solutions, helping readers confidently handle common clothing problems at home. As an author at SewFixes, Bennie shares practical knowledge on sewing techniques, garment alterations, fabric care, clothing repairs, and DIY projects for beginners and experienced sewing enthusiasts alike.
Education
Fashion Institute of Technology (New York, USA)
Associate Degree in Fashion Design & Apparel Studies
- Focused on garment construction, sewing techniques, fabric fundamentals, and clothing alterations.
- Developed practical skills in pattern making, hand stitching, machine sewing, and garment finishing.
- Gained hands-on experience working with different fabrics, sewing tools, and apparel construction methods.
Academy of Art University (San Francisco, USA)
Bachelor’s in Fashion Design
- Specialized in apparel construction, textile selection, garment fitting, and contemporary clothing design.
- Studied the relationship between fabric properties, garment structure, durability, and comfort.
- Participated in practical design projects involving garment creation, alterations, repairs, and sustainable clothing practices.
Publications and Impact
Through SewFixes, Bennie shares practical insights into sewing, clothing repair, fabric care, garment alterations, and everyday DIY solutions. His writing focuses on turning complicated sewing tasks into simple, understandable steps that readers can follow at home.
Bennie covers everything from repairing torn seams and replacing buttons to fixing hems, adjusting garment fit, choosing suitable fabrics, and maintaining sewing machines and tools. His content is designed to help readers become more confident with their clothing while encouraging practical repair and reuse instead of unnecessary replacement.
Through his work, Bennie aims to bridge the gap between traditional sewing knowledge and modern everyday needs—making sewing more approachable, useful, and accessible to anyone who wants to repair better, sew smarter, and make their clothes last longer.
1 thought on “How to Sew Lace Trim onto Fabric”