

Bell sleeves have made a quiet but unmistakable return to fashion—showing up on everything from boho wedding gowns to everyday linen tops. There’s something about that gradual flare at the wrist that feels both relaxed and intentional, which may be why sewists of all skill levels keep reaching for bell sleeve patterns.
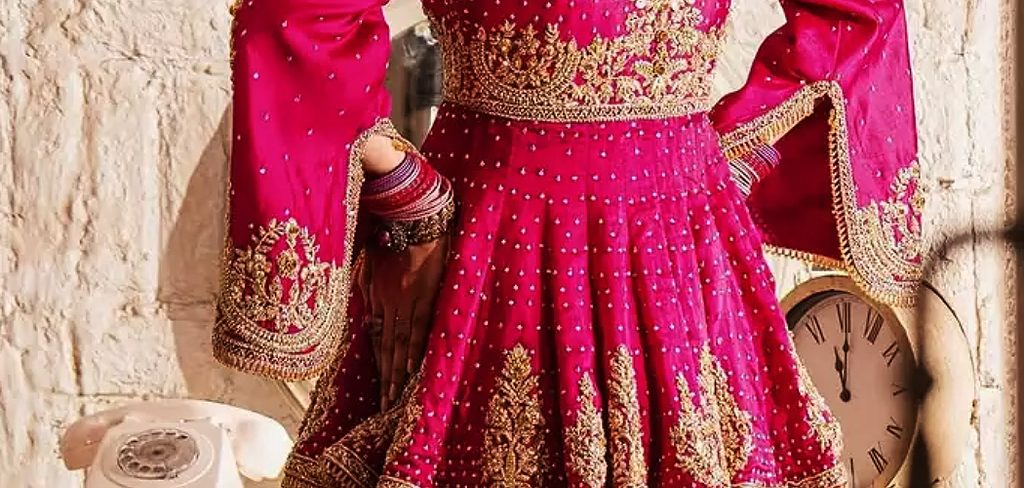
If you’ve never sewn a sleeve before, this might feel like a big leap. It doesn’t have to be. The process is more straightforward than it looks, and once you understand the logic behind each step, you’ll find it surprisingly satisfying. This guide on how to sew a bell sleeve walks you through everything: the tools you’ll need, how to cut and sew the sleeve itself, common mistakes worth knowing about ahead of time, and a rough idea of what the whole project might cost.
Seven steps from start to finish. Let’s get into it.
Tools and Materials Needed
Getting your supplies sorted before you start will save you from the particular frustration of having to stop mid-project to hunt down a pair of scissors or realize you bought the wrong thread weight. Here’s what you’ll need:
Fabric
Fabric choice makes or breaks a bell sleeve. You want something lightweight with natural drape—chiffon, georgette, crepe, and rayon all behave well and create that soft, flowing silhouette. Stiff fabrics like denim or canvas will fight against the shape rather than follow it, so set those aside for a different project.
Sewing Machine
A basic machine with a straight stitch and zigzag function is sufficient. If you’re working with a stretchy knit, check that your machine has a stretch stitch setting too—it’ll prevent the seam from popping when the fabric moves.
Sewing Scissors or Rotary Cutter
Use dedicated fabric scissors or a rotary cutter. Paper scissors tend to leave ragged, frayed edges that make everything harder from that point forward.
Measuring Tape
A flexible measuring tape is necessary for measuring arm length and upper arm circumference accurately. Rigid rulers won’t follow curves the way fabric does.
Fabric Chalk or Marking Pen
Transfer your pattern markings with fabric chalk or a water-soluble pen. Both wash out cleanly and won’t leave permanent marks on your material.
Pins or Sewing Clips
Either will hold your fabric pieces in place before you stitch. For delicate or slippery fabrics, clips tend to be gentler than pins, which can leave small holes or cause the fabric to shift.
Iron and Ironing Board
Pressing seams as you go—rather than waiting until the end—is one of those habits that separates a polished result from a mediocre one. Don’t skip it.
Bell Sleeve Pattern
Free patterns are widely available online, and commercial patterns from sewing retailers typically cost between $10 and $20. You can also draft your own from a basic sleeve block if you’re comfortable doing so. Whatever you choose, compare your measurements to the pattern’s size guide before cutting anything.
Thread
Match thread color to your fabric as closely as possible. Use a lightweight thread for delicate fabrics and standard polyester thread for most other materials.
7 Simple Steps on How to Sew a Bell Sleeve
Step 1: Take Your Measurements
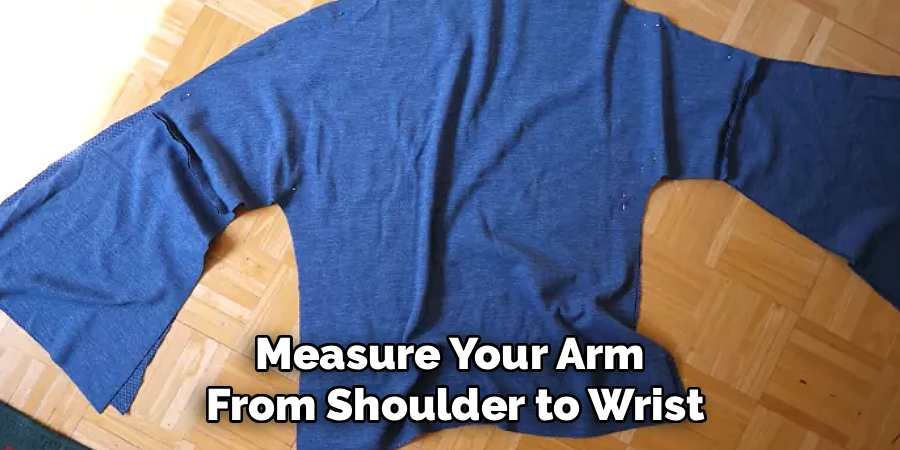
Measure your arm from shoulder to wrist, then measure your upper arm circumference. Write both numbers down. These two measurements will determine how long and wide the sleeve needs to be, and comparing them to your pattern’s size guide before cutting is the single most useful thing you can do to avoid problems later.
Step 2: Choose and Prepare Your Pattern
Bell sleeve patterns vary quite a bit—some create a dramatic flare at the wrist, others are far more subtle. Pick the silhouette that suits the garment you’re making. Print or trace the pattern onto pattern paper, adjust the measurements where needed, and cut the pieces out carefully. If adjustments feel confusing, take them one at a time: length first, then width.
Step 3: Cut Your Fabric
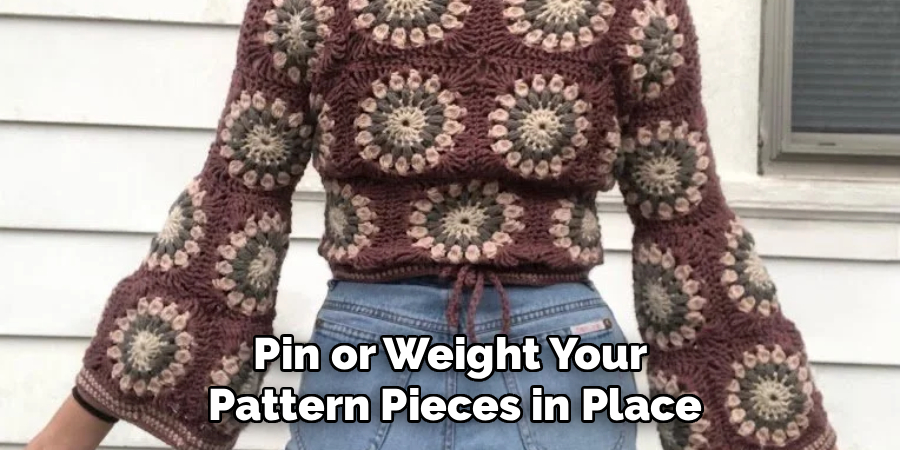
Lay your fabric flat on a clean, hard surface. Pin or weight your pattern pieces in place, then cut along the edges using your scissors or rotary cutter. Precision here matters—uneven cuts affect the symmetry of the finished sleeve more than most beginners expect. If your fabric has a directional print, confirm that both sleeves are cut facing the same way before making the second cut.
Step 4: Mark the Key Points
With your fabric chalk or marking pen, transfer all notches, dart points, and alignment marks from the pattern onto the fabric. These markings are what tell you where things connect when you start stitching. It’s easy to assume you’ll remember which edge is which once the pattern piece is removed—you probably won’t, especially if you’re new to this.
Step 5: Sew the Sleeve Seam
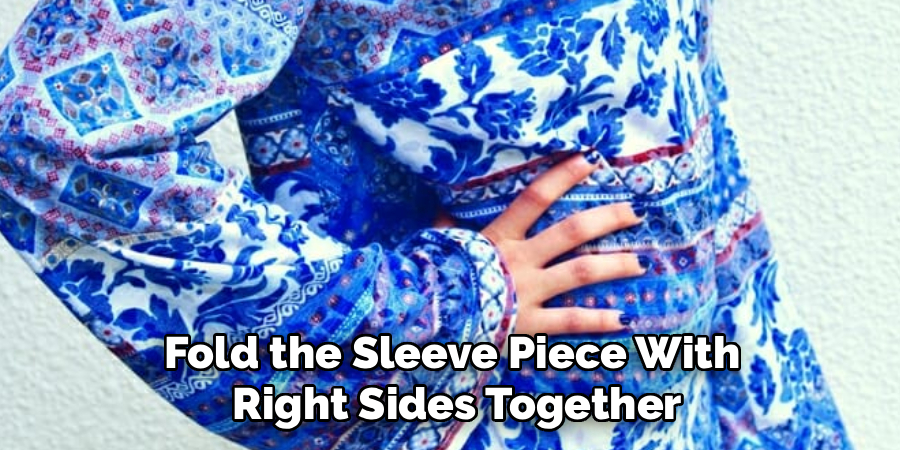
Fold the sleeve piece with right sides together, aligning the underarm edges. Pin or clip along the seam, then stitch from the top of the sleeve down to the hem using a straight stitch. Once stitched, press the seam open with your iron. This step creates the basic tube shape of the sleeve before it gets attached to the garment body.
Step 6: Finish the Hem
The hem is where a lot of a bell sleeve’s visual appeal lives, so it’s worth taking your time here. Fold the bottom edge of the sleeve up by about 1 cm, press it flat, then fold again by another 1 cm and press again. Stitch close to the folded edge. For a lighter, more delicate finish, a narrow rolled hem or a lettuce-edge hem on a serger works beautifully. Press the finished hem flat before moving on.
Step 7: Attach the Sleeve to the Garment
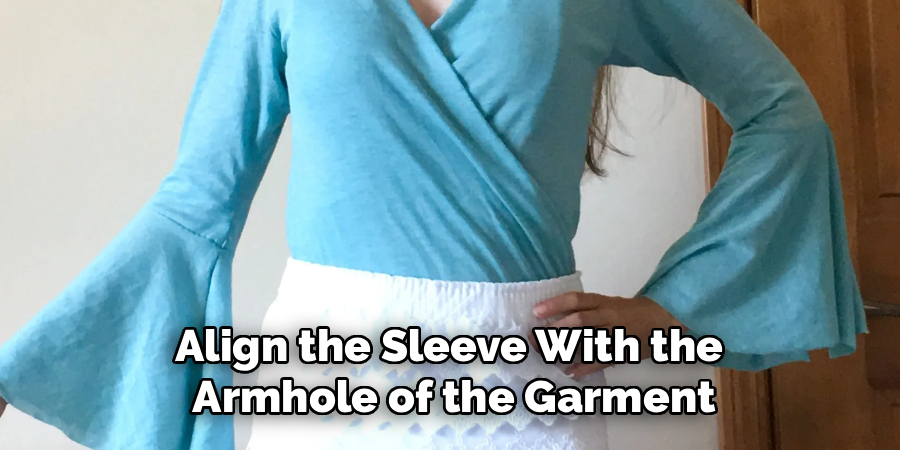
With right sides together, align the sleeve with the armhole of the garment, matching notches and seam points. Pin or clip all the way around the armhole, distributing any excess fabric evenly around the curve—this is the easing step, and it’s worth doing slowly. Stitch around the armhole, then stitch a second time just inside the seam allowance for added strength. Trim the excess seam allowance, clip the curves, press the seam toward the sleeve, then turn it out and give everything a final press. Step back and take a look.
By following these steps on how to sew a bell sleeve, you can achieve a professional-looking garment with beautiful bell sleeves.
Common Mistakes to Avoid
Even experienced sewists run into trouble with bell sleeves when they move too quickly. The most common error is cutting into fabric before double-checking measurements against the pattern—a mistake that’s time-consuming to undo and sometimes impossible to fix.
Skipping the pressing step is another one. Seams that aren’t pressed tend to look lumpy and unprofessional, no matter how neatly they were stitched. It only adds a minute or two per seam, and the difference in the finished result is significant.
The third pitfall is rushing through the easing step at the sleeve cap. Distributing excess fabric unevenly around the armhole causes puckering that’s genuinely difficult to correct after stitching. Use plenty of pins or clips, work slowly around the curve, and check the fabric distribution before you commit to stitching. Patience at this stage tends to pay off disproportionately.
How Much Will Sewing a Bell Sleeve Cost?
The total cost depends largely on fabric choice and what tools you already own. Lightweight fabrics like chiffon or georgette typically run between $5 and $15 per yard, and most bell sleeve patterns call for between one and two yards per sleeve. A commercial pattern, if purchased, usually costs between $10 and $20, though free options are widely available online.
For sewists who already own a machine and basic notions, total material costs for a pair of bell sleeves can fall anywhere between $15 and $40. Beginners investing in tools for the first time will spend more upfront, but most of those tools—scissors, an iron, a measuring tape—get used across many projects. The per-project cost drops considerably over time.
Frequently Asked Questions
What Is the Best Fabric for Sewing Bell Sleeves?
Lightweight, drapey fabrics work best. Chiffon, georgette, rayon, and crepe all flow naturally and hold the flared silhouette well. Heavier or stiffer fabrics like denim and canvas tend to look bulky rather than elegant—they resist the shape rather than supporting it.
Can a Beginner Sew a Bell Sleeve?
Yes. Bell sleeves involve foundational techniques—measuring, cutting, stitching a seam, finishing a hem, and attaching to a garment—that appear in nearly every sewing project. A clear pattern and a willingness to work through each step without rushing will get most beginners to a result they’re genuinely pleased with.
How Do I Adjust a Bell Sleeve Pattern to Fit My Arm Length?
Measure your arm from shoulder to wrist, then compare that to the pattern’s stated length. If your arm is longer, add the difference evenly along the sleeve by cutting the pattern horizontally and spreading the pieces apart. If shorter, fold a horizontal tuck across the pattern to reduce the length. Re-measure after any adjustment before cutting into your fabric.
Do I Need a Serger to Sew Bell Sleeves?
No. A basic sewing machine handles all the necessary steps. A serger can give you a cleaner, more professional hem finish—particularly a rolled or lettuce-edge hem—but it’s optional. A double-folded hem stitched on a standard machine looks entirely respectable.
How Long Does It Take to Sew a Bell Sleeve?
For a beginner working carefully and pressing seams as they go, expect to spend two to four hours on a pair of sleeves. Experienced sewists may complete the same project in under two hours. The easing and attachment steps tend to take longer than expected, so build in extra time for those.
Start Sewing—One Step at a Time
Bell sleeves reward patience more than technical expertise. The techniques involved—measuring, cutting, seaming, hemming, and attaching—are all learnable, and each one gets easier with repetition.
If you’ve been hesitating, the most useful thing you can do is simply start. Choose a fabric you like, find a pattern that suits the garment you have in mind, and work through the steps at whatever pace feels manageable. Your first sleeve may not be perfect. That’s fine. The second one will be better, and by the time you’ve sewn a few, you’ll understand instinctively what the fabric needs and how to handle it.
The process is the point. And at the end of it, you’ll have something you actually made. Thanks for reading this guide on how to sew a bell sleeve.

About
Bennie Wilder is a dedicated figure in the world of sewing, clothing repair, and garment care, with years of hands-on experience exploring practical techniques for making, repairing, and maintaining everyday clothing. His professional focus lies in combining traditional sewing craftsmanship with modern, easy-to-follow solutions, helping readers confidently handle common clothing problems at home. As an author at SewFixes, Bennie shares practical knowledge on sewing techniques, garment alterations, fabric care, clothing repairs, and DIY projects for beginners and experienced sewing enthusiasts alike.
Education
Fashion Institute of Technology (New York, USA)
Associate Degree in Fashion Design & Apparel Studies
- Focused on garment construction, sewing techniques, fabric fundamentals, and clothing alterations.
- Developed practical skills in pattern making, hand stitching, machine sewing, and garment finishing.
- Gained hands-on experience working with different fabrics, sewing tools, and apparel construction methods.
Academy of Art University (San Francisco, USA)
Bachelor’s in Fashion Design
- Specialized in apparel construction, textile selection, garment fitting, and contemporary clothing design.
- Studied the relationship between fabric properties, garment structure, durability, and comfort.
- Participated in practical design projects involving garment creation, alterations, repairs, and sustainable clothing practices.
Publications and Impact
Through SewFixes, Bennie shares practical insights into sewing, clothing repair, fabric care, garment alterations, and everyday DIY solutions. His writing focuses on turning complicated sewing tasks into simple, understandable steps that readers can follow at home.
Bennie covers everything from repairing torn seams and replacing buttons to fixing hems, adjusting garment fit, choosing suitable fabrics, and maintaining sewing machines and tools. His content is designed to help readers become more confident with their clothing while encouraging practical repair and reuse instead of unnecessary replacement.
Through his work, Bennie aims to bridge the gap between traditional sewing knowledge and modern everyday needs—making sewing more approachable, useful, and accessible to anyone who wants to repair better, sew smarter, and make their clothes last longer.