

A haori is a traditional Japanese hip-length jacket worn open at the front, layered over a kimono or a modern outfit. Sewing one at home is more achievable than it looks—and genuinely satisfying. This guide walks you through every step, from choosing the right fabric to finishing your seams, so you can create a beautiful haori with confidence.
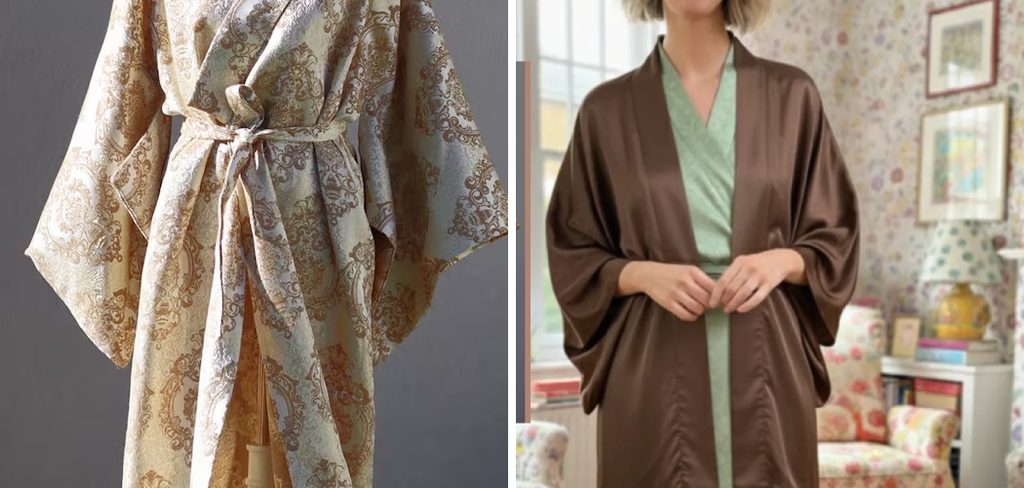
This tutorial breaks everything down into clear, manageable steps. By the end, you’ll have a wearable garment that blends traditional Japanese craftsmanship with your own personal style. In this guide on how to sew a haori jacket, we will cover everything from the history of haori jackets to the materials and tools needed for sewing one at home.
What is a Haori Jacket?
A haori jacket is a traditional Japanese garment that originated in the early 18th century. It was originally worn as an outer layer over kimonos during formal events or special occasions. The design of the haori jacket has evolved over time, with more modern versions incorporating Western elements such as collars and buttons.
Haori jackets are known for their loose and boxy silhouette, making them suitable for people of all body types. They also often feature intricate patterns or designs on the fabric, adding to their unique and beautiful appearance.
Understanding the Haori: Structure, Style, and Origins
The haori originated in Japan during the Edo period (1603–1868), initially worn by samurai as a protective outer layer. Over time, it evolved into a fashionable garment for both men and women—characterized by its straight seams, wide sleeves, and a distinctive front opening that sits without fastening, or is loosely tied with a decorative haori himo cord.
Before you start sewing, it helps to understand the haori’s basic structure. The garment consists of a back panel, two front panels, two sleeves, and a narrow front lining called the maewa. Unlike Western jackets, a haori has no darts or fitted shaping. It relies entirely on flat, straight-cut panels to achieve its elegant silhouette—which makes it an ideal project for beginners who want to explore garment construction without the complexity of curves and fitting adjustments.
Tools and Materials Needed
Having the right tools on hand before you start will save you time and frustration. Here’s everything you’ll need to sew a haori from scratch.
Fabric
Choose a fabric that drapes well and suits the aesthetic you’re going for. Silk, rayon, and lightweight linen are traditional choices that give the haori its characteristic fluid movement. Cotton quilting fabric works well for beginners because it’s easy to handle and press. For a more contemporary look, try velvet, brocade, or printed cotton. You’ll need approximately 2.5 to 3 yards, depending on your size.
Sewing Machine
A basic home sewing machine is all you need. Make sure it’s threaded correctly and set to a straight stitch for the main seams. A walking foot attachment may help if you’re working with slippery or delicate fabrics like silk or rayon.
Needles and Thread
Use a needle size appropriate for your fabric—a size 70/10 or 80/12 works well for lightweight materials. Match your thread to the fabric color for a clean, professional finish. Silk thread is ideal for silk fabric, while polyester thread handles most other materials well.
Scissors and Rotary Cutter
Sharp fabric scissors are non-negotiable. A rotary cutter paired with a self-healing cutting mat makes cutting long, straight panels faster and more precise—particularly useful when working with the haori’s rectangular pattern pieces.
Iron and Ironing Board
Pressing seams as you sew is one of the most important habits in garment construction. A good iron and a padded ironing board will help your haori look polished. Use a pressing cloth when working with delicate or heat-sensitive fabrics.
Measuring Tape and Fabric Marker
Accurate measurements matter. A flexible measuring tape lets you take body measurements easily, while a fabric marker or tailor’s chalk helps transfer pattern lines onto your fabric without leaving permanent marks.
How to Choose the Right Fabric for a Haori
Fabric choice can make or break your finished garment. The most important quality to look for is drape—the way a fabric falls and moves on the body. Hold a length of fabric up and let it fall over your hand. Does it flow smoothly, or does it stand stiff? A good haori fabric should fall softly without clinging.
For beginners, medium-weight cotton or cotton-linen blends offer the best balance of ease and elegance. They’re forgiving to cut, easy to press, and hold their shape well through wear. Once you’re comfortable with the construction, experimenting with silk charmeuse or jacquard brocade may yield a more traditional—or genuinely luxurious—result.
7 Simple Steps on How to Sew a Haori
Step 1: Take Your Measurements and Draft Your Pattern
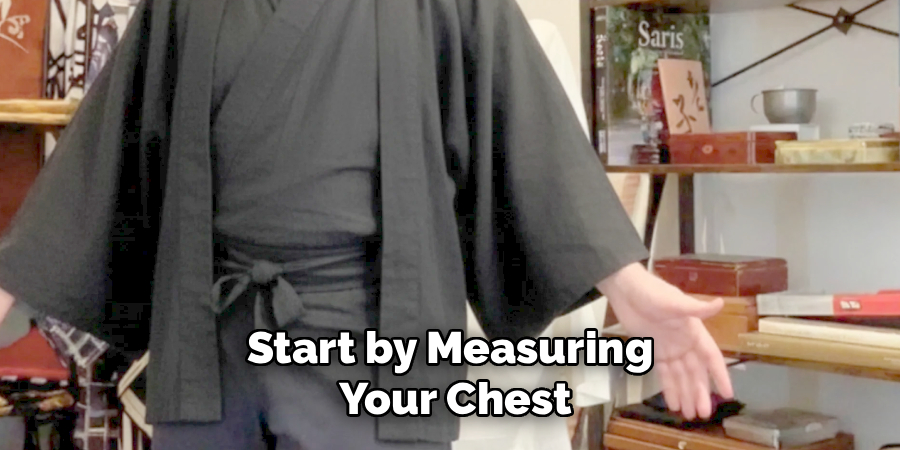
Start by measuring your chest, back width, shoulder width, and desired length. A standard haori sits at the hip, roughly 25 to 30 inches from the shoulder. Draft your pattern pieces on paper using these measurements: a back panel, two front panels (each roughly half the back width), and two sleeves. Add a 5/8-inch seam allowance to all edges before cutting.
Step 2: Cut Your Fabric
Lay your fabric flat on the cutting mat and pin your pattern pieces in place, aligning them with the fabric grain. Cut carefully along the edges using sharp scissors or a rotary cutter. Label each piece as you cut—it’s easy to mix them up during assembly. If your fabric has a directional print, make sure all pieces face the same direction before you cut.
Step 3: Sew the Shoulder Seams
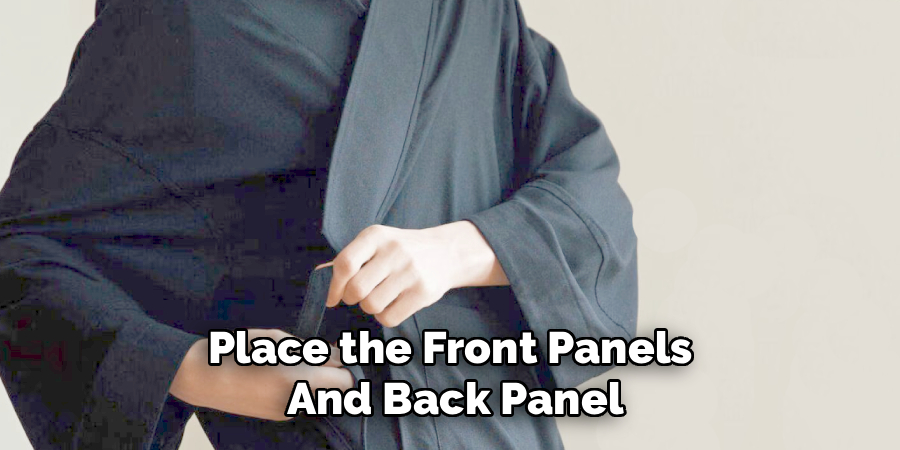
Place the front panels and back panel right sides together, aligning the shoulder edges. Sew along the shoulder seams using a 5/8-inch seam allowance, then press the seams open with your iron. This step forms the foundation of the garment’s shape, so take your time. Straight, even seams here will pay dividends later.
Step 4: Attach the Sleeves
With the garment still flat—before sewing the side seams—pin each sleeve to its corresponding armhole opening, right sides together. Match the center of the sleeve cap to the shoulder seam as your alignment point. Sew the sleeve seams and press. Attaching sleeves while the garment is flat, rather than in the round, is a traditional Japanese sewing technique that simplifies the process considerably.
Step 5: Sew the Side and Sleeve Seams
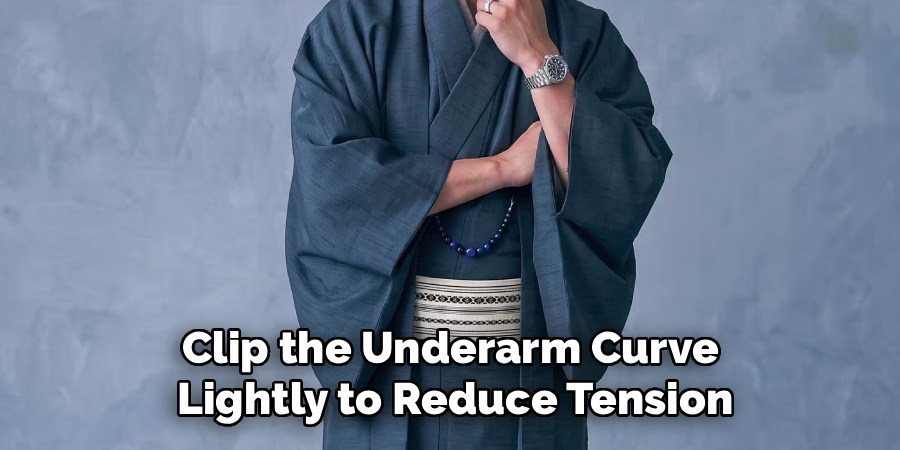
Fold the garment so the front and back panels are right sides together. Sew a continuous seam from the bottom edge of each sleeve, down through the underarm, and along the side of the garment to the hem. Clip the underarm curve lightly to reduce tension, then press the seams open. Repeat on the other side.
Step 6: Finish the Front Edges and Neckline
The front opening and neckline of a haori are typically finished with a narrow facing or a folded self-fabric binding. Cut two strips of fabric, each about 1.5 inches wide, and press one long edge under by 1/4 inch. Sew the unfolded edge to the front opening and neckline, right sides together, then fold the strip to the inside and slip stitch it in place by hand. The result is a clean, flat edge that frames the front of the haori beautifully.
Step 7: Hem the Sleeves and Bottom Edge
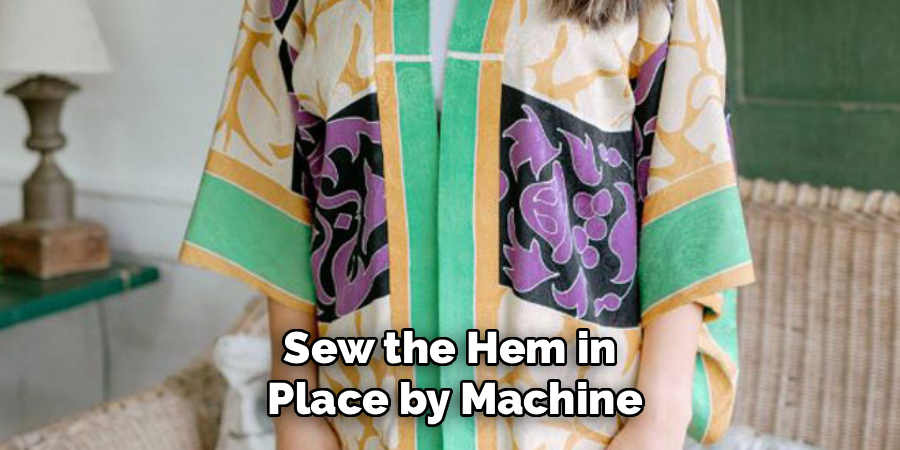
Turn up the sleeve hems and bottom hem by 1/2 inch, then again by 3/4 inch, and press. Sew the hem in place by machine, or finish it with a hand slip stitch for a more refined look. Give the entire garment a final press with your iron, paying close attention to the corners and front edges.
Following these steps on how to sew a haori, you will have a beautiful and unique jacket that adds a touch of elegance to any outfit.
Common Mistakes to Avoid
Even experienced sewists make mistakes when trying a new garment type. One of the most frequent errors when sewing a haori is cutting fabric pieces off-grain, which causes the finished garment to twist or hang unevenly. Always double-check that your pattern pieces are aligned with the straight grain of the fabric before you cut.
Skipping the pressing step is another common pitfall. Seams that aren’t pressed flat during construction result in a bulky, unprofessional finish that’s difficult to correct later. Make a habit of pressing every seam as you go—it takes only a few extra minutes and makes a significant difference in the final result.
Tips for Beginners
If this is your first time sewing a garment, start with an inexpensive cotton fabric so you can practice without worrying about wasting a costly material. Better still, make a muslin toile—a test version of the garment in cheap fabric—before cutting into your final choice. This lets you check the fit and make adjustments without any risk.
Keep your workspace organized and your tools within easy reach. Sewing goes much more smoothly when you’re not hunting for your scissors or running out of thread mid-seam. Label your pattern pieces, pin generously, and don’t rush. Accuracy matters far more than speed, especially when you’re still learning.
Final Fitting and Finishing
Once the haori is fully assembled, try it on and assess the fit. The garment should hang straight from the shoulders, with the front edges parallel. If the back rides up or the sleeves feel too long, make small adjustments at the hem or sleeve edge rather than unpicking major seams.
For finishing touches, consider adding a haori himo—a decorative cord or ribbon tie that loops through small fabric loops sewn just inside the front panels. This is an optional but traditional detail that adds an authentic Japanese aesthetic to your finished garment.
Frequently Asked Questions
What Is the Best Fabric for a Beginner Sewing a Haori?
Medium-weight cotton or a cotton-linen blend is the best choice for beginners. These fabrics are easy to cut, press, and sew, making the construction process much more manageable. Once you’re comfortable with the pattern, you can experiment with silk or brocade for a more traditional look.
How Long Does It Take to Sew a Haori From Start to Finish?
For a beginner, expect to spend around 6 to 10 hours on a haori, including drafting the pattern, cutting fabric, and sewing. An experienced sewist can complete one in 3 to 5 hours. Working in stages over several sessions is perfectly fine—and often leads to a better result.
Do I Need a Commercial Pattern to Sew a Haori?
No. A haori is one of the few garments you can draft yourself using basic body measurements. Because it’s made entirely from rectangular and straight-cut panels, no curved pattern pieces are required. That said, commercial haori patterns are available online if you prefer a ready-made guide.
Bring Your Haori to Life
Sewing a haori is a genuinely satisfying project that combines the beauty of Japanese textile tradition with the practical skills of garment construction. The straight seams and flat pattern pieces make it accessible for beginners, while the elegance of the finished garment makes it rewarding for sewists at every level.
Take your time with each step, press your seams carefully, and don’t be afraid to make a practice version first. Once you’ve completed your first haori, you’ll have a versatile, wearable piece that reflects both your craftsmanship and your creativity—and the foundation to sew many more. Thanks for reading this guide on how to sew a haori.

About
Bennie Wilder is a dedicated figure in the world of sewing, clothing repair, and garment care, with years of hands-on experience exploring practical techniques for making, repairing, and maintaining everyday clothing. His professional focus lies in combining traditional sewing craftsmanship with modern, easy-to-follow solutions, helping readers confidently handle common clothing problems at home. As an author at SewFixes, Bennie shares practical knowledge on sewing techniques, garment alterations, fabric care, clothing repairs, and DIY projects for beginners and experienced sewing enthusiasts alike.
Education
Fashion Institute of Technology (New York, USA)
Associate Degree in Fashion Design & Apparel Studies
- Focused on garment construction, sewing techniques, fabric fundamentals, and clothing alterations.
- Developed practical skills in pattern making, hand stitching, machine sewing, and garment finishing.
- Gained hands-on experience working with different fabrics, sewing tools, and apparel construction methods.
Academy of Art University (San Francisco, USA)
Bachelor’s in Fashion Design
- Specialized in apparel construction, textile selection, garment fitting, and contemporary clothing design.
- Studied the relationship between fabric properties, garment structure, durability, and comfort.
- Participated in practical design projects involving garment creation, alterations, repairs, and sustainable clothing practices.
Publications and Impact
Through SewFixes, Bennie shares practical insights into sewing, clothing repair, fabric care, garment alterations, and everyday DIY solutions. His writing focuses on turning complicated sewing tasks into simple, understandable steps that readers can follow at home.
Bennie covers everything from repairing torn seams and replacing buttons to fixing hems, adjusting garment fit, choosing suitable fabrics, and maintaining sewing machines and tools. His content is designed to help readers become more confident with their clothing while encouraging practical repair and reuse instead of unnecessary replacement.
Through his work, Bennie aims to bridge the gap between traditional sewing knowledge and modern everyday needs—making sewing more approachable, useful, and accessible to anyone who wants to repair better, sew smarter, and make their clothes last longer.