

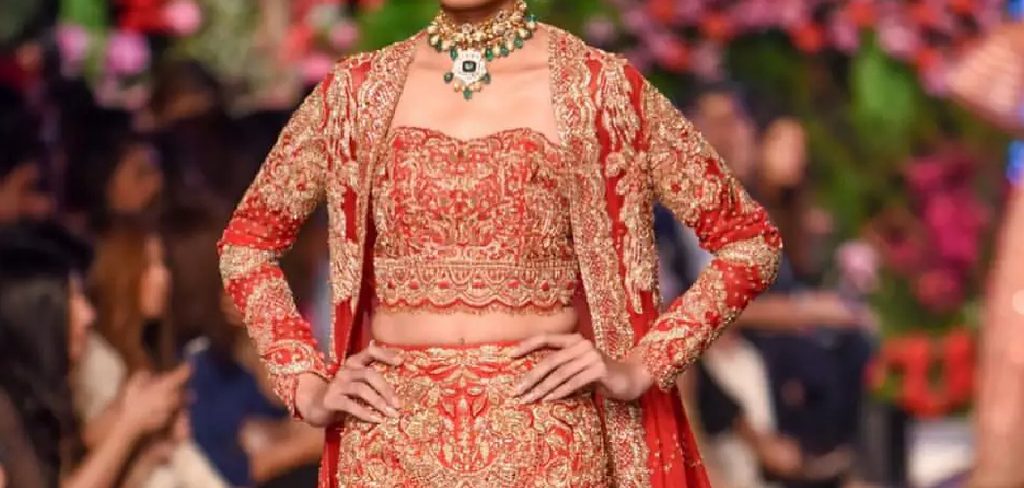
The sweetheart neckline has a way of making almost any garment feel more considered. Shaped like the top of a heart, it has appeared on everything from 1950s ball gowns to modern bridal wear—and for good reason. It tends to flatter a wide range of body types and lends a quietly romantic quality to whatever it touches, whether that’s a structured bodice or a breezy sundress.
Sewing one, though, can feel intimidating at first glance. All those curves. The need for symmetry. The fear of puckering. The truth is, a sweetheart neckline rewards patience and preparation far more than raw skill. Get your materials right, press at every stage, and follow a logical sequence—and the result can look surprisingly polished, even on a first attempt.
This guide on how to sew a sweetheart neckline walks through everything: the tools you’ll need, eight clear steps from pattern to finish, the mistakes that tend to catch beginners off guard, and a few habits that separate a tidy neckline from a truly professional one.
Tools and Materials Needed
Before cutting into anything, it’s worth laying out everything you’ll need. Mid-project supply runs are where projects go sideways.
Fabric
Structured fabrics—cotton, denim, ponte knit—tend to hold the sweetheart curve without much effort. Stretch fabrics like jersey can work, but they require a ballpoint needle and a bit more patience along the curves.
Interfacing
Fusible interfacing is what keeps the neckline from stretching out of shape over time. Skip it, and you’ll likely notice the edge sagging after the first wash.
Sewing Machine
A standard machine is fine. For stretch fabrics, switch to a zigzag or stretch stitch to keep seams from snapping under tension.
Sharp Fabric Scissors
Dull scissors are the enemy of clean curves. Use dressmaking shears reserved specifically for fabric—nothing else.
Fabric Marking Pen or Tailor’s Chalk
You’ll need something to trace your neckline pattern before cutting. A disappearing-ink pen works well on lighter fabrics; chalk tends to be more reliable on darker ones.
Pins or Wonder Clips
Along curved edges, wonder clips often hold more cleanly than pins, which can distort the shape if placed too aggressively.
Iron and Ironing Board
Pressing as you go is one of those habits that separates a rushed finish from a clean one. A hot iron does more work than most beginners expect.
Seam Ripper
Mistakes happen. A seam ripper close at hand means you can fix them without tearing the fabric.
Measuring Tape and Ruler
Symmetry matters enormously with a sweetheart neckline. Measuring tape and a straight ruler help you check that both sides match before you commit to cutting.
8 Simple Steps on How to Sew a Sweetheart Neckline
Step 1: Draft or Trace Your Sweetheart Neckline Pattern
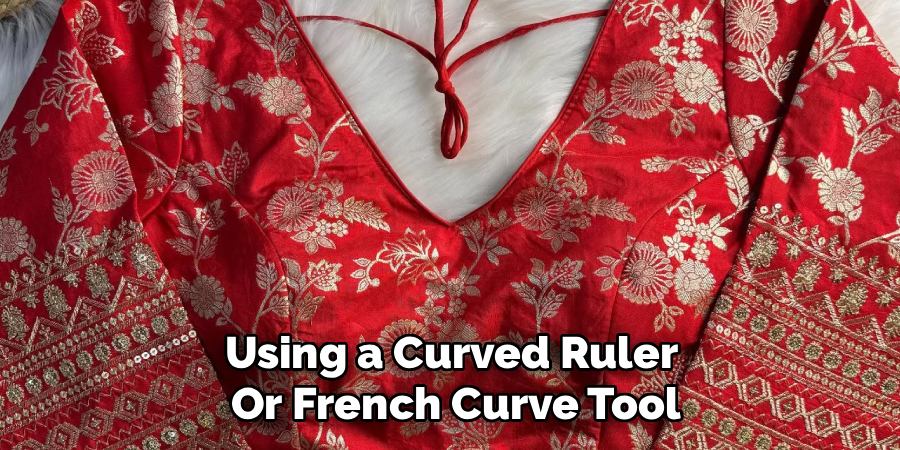
Start with a basic bodice pattern. Using a curved ruler or French curve tool, draw the sweetheart shape at the neckline—two gentle curves dipping at the center, meeting at a subtle point. To keep both sides even, fold the pattern along the center front and trace one side at a time. It takes a little longer, but the symmetry payoff is worth it.
Step 2: Cut the Facing Piece
The facing is the interior piece that finishes the neckline from the inside. Trace the neckline curve onto a separate piece of fabric, cutting a strip roughly 2–3 inches wide that mirrors the sweetheart shape. Cut a matching piece from your fusible interfacing.
Step 3: Apply Interfacing to the Facing
Lay the fusible interfacing glue-side down on the wrong side of the facing fabric. Press with a hot iron—most manufacturers recommend about 10–15 seconds of firm, even pressure. Let it cool completely before handling. This step is what gives the neckline its structure and keeps the edge from shifting over time.
Step 4: Stitch the Facing Pieces Together
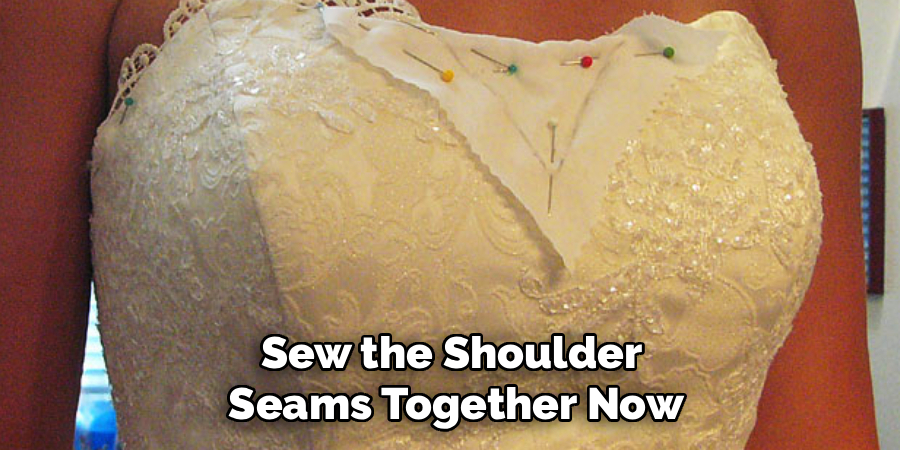
If your facing consists of separate front and back sections, sew the shoulder seams together now, then press them open. Finish the outer (unnotched) edge of the facing—serging works well here, but a zigzag stitch or a small folded hem will also prevent fraying.
Step 5: Sew the Bodice Shoulder Seams
Before the facing goes anywhere near the neckline, sew your bodice front and back together at the shoulder seams and press them open. You want a complete bodice shell at this point so the facing can align correctly when attached.
Step 6: Attach the Facing to the Neckline
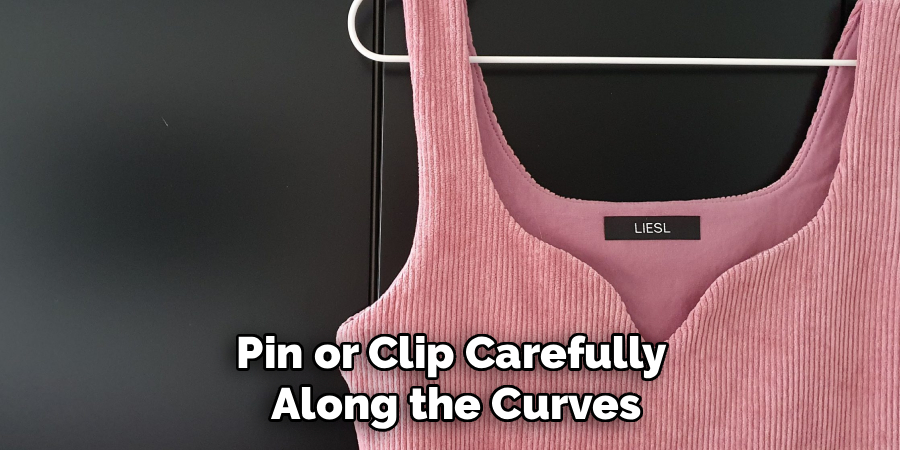
Place the facing on top of the bodice with right sides together, lining up the raw edges of the neckline. Pin or clip carefully along the curves—notching the seam allowance slightly at the curved sections helps everything lie flat. Stitch along the neckline seam allowance (typically ⅝ inch), moving slowly and steadily around the curves.
Step 7: Clip and Grade the Seam Allowance
Once stitched, cut small V-shaped notches into the curved seam allowance, stopping short of the stitch line. This step tends to get rushed, and it really shouldn’t be—without those notches, the curves will pucker when you turn the neckline right side out. Grade the seam by trimming the facing’s seam allowance slightly shorter than the bodice’s to cut down on bulk.
Step 8: Press and Understitch the Neckline
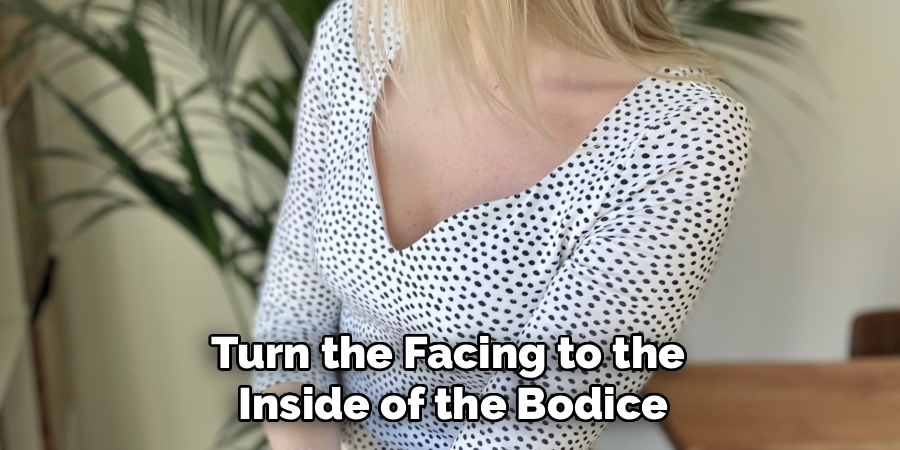
Turn the facing to the inside of the bodice. Press carefully, rolling the seam slightly inward so it doesn’t peek out from the front. Then understitch the facing—a line of stitching close to the seam on the facing side, catching the seam allowances underneath. This small step keeps the facing from flipping outward during wear. Press once more when you’re done, and the neckline should look clean and flat.
Following these steps on how to sew a sweetheart neckline, you can also explore other variations of this style.
Common Mistakes to Avoid
Sweetheart necklines are forgiving in some ways and unforgiving in others. The curved shape and the demand for symmetry create a few specific failure points that are worth knowing about before you start.
Skipping the interfacing is probably the most common error. The neckline may look fine initially, but without that internal stabilization, it tends to stretch and lose its shape—particularly after washing. The second most frequent issue is neglecting to clip the curved seam allowance after stitching. The fabric simply cannot lie smooth when turned right side out unless those notches are there to release the tension. Take your time, clip generously, and press at every stage before moving on.
Tips for a Professional Finish
A test run on scrap fabric before cutting into your main material may feel like an unnecessary step, but it’s where you catch stitch length issues, tension problems, and curve inaccuracies before they cost you anything. It takes ten minutes and can save an afternoon.
Beyond that, pressing at every stage—not just at the end—is probably the single habit that does the most to elevate a finished garment. A tailor’s ham is particularly useful here. Its rounded shape allows you to press curved seams without flattening the natural contour of the fabric, which matters more with a neckline like this than with straight seams.
Frequently Asked Questions
What Type of Fabric Works Best for a Sweetheart Neckline?
Structured woven fabrics—cotton twill, brocade, duchess satin—tend to hold the sweetheart curve most effectively. They resist stretching, which helps maintain the heart-shaped line over time. Knit or stretch fabrics can be used, but the neckline will need interfacing for support, along with a stretch-appropriate needle and stitch setting.
How Do I Make Sure Both Sides of the Sweetheart Neckline Are Symmetrical?
Folding the pattern piece in half along the center front line and cutting or tracing both sides simultaneously is the most reliable method. If you’re drafting freehand, draw one side first, fold the paper at the center front, and trace the mirror image. Compare both sides carefully before cutting into your final fabric.
Can I Sew a Sweetheart Neckline Without a Facing?
Yes. Bias tape can be used to bind the neckline edge, which works particularly well on lighter fabrics and can add a decorative element if you choose a contrasting color. Fully lining the bodice is another option—it encloses the raw edges entirely and gives a cleaner interior finish, though it requires more time and fabric.
How Do I Keep the Curves From Puckering After Stitching?
Clipping V-shaped notches into the curved seam allowance before turning the fabric is the key step. The notches release tension along the curve, allowing the seam to lie flat. Pressing the seam thoroughly before and after turning also helps settle the shape.
Is a Sweetheart Neckline Suitable for Beginners?
It may suggest a higher skill level than it actually requires. The main challenges—symmetry and curved seams—are manageable with the right tools and a careful approach. Beginners who are comfortable with basic bodice construction and willing to sew slowly around curves should find it achievable.
Bring Your Sweetheart Neckline to Life
A sweetheart neckline, finished well, looks like the kind of detail that takes years to master. It doesn’t, but it does require attention—at the pattern stage, at the clipping stage, and especially at the iron. Each of those steps compounds on the last.
Practice on scrap fabric first. Press everything. Don’t skip the interfacing. Once the first one is done, the process tends to feel far less daunting than it looked at the start—and the neckline itself will show it. Thanks for reading this guide on how to sew a sweetheart neckline.

About
Bennie Wilder is a dedicated figure in the world of sewing, clothing repair, and garment care, with years of hands-on experience exploring practical techniques for making, repairing, and maintaining everyday clothing. His professional focus lies in combining traditional sewing craftsmanship with modern, easy-to-follow solutions, helping readers confidently handle common clothing problems at home. As an author at SewFixes, Bennie shares practical knowledge on sewing techniques, garment alterations, fabric care, clothing repairs, and DIY projects for beginners and experienced sewing enthusiasts alike.
Education
Fashion Institute of Technology (New York, USA)
Associate Degree in Fashion Design & Apparel Studies
- Focused on garment construction, sewing techniques, fabric fundamentals, and clothing alterations.
- Developed practical skills in pattern making, hand stitching, machine sewing, and garment finishing.
- Gained hands-on experience working with different fabrics, sewing tools, and apparel construction methods.
Academy of Art University (San Francisco, USA)
Bachelor’s in Fashion Design
- Specialized in apparel construction, textile selection, garment fitting, and contemporary clothing design.
- Studied the relationship between fabric properties, garment structure, durability, and comfort.
- Participated in practical design projects involving garment creation, alterations, repairs, and sustainable clothing practices.
Publications and Impact
Through SewFixes, Bennie shares practical insights into sewing, clothing repair, fabric care, garment alterations, and everyday DIY solutions. His writing focuses on turning complicated sewing tasks into simple, understandable steps that readers can follow at home.
Bennie covers everything from repairing torn seams and replacing buttons to fixing hems, adjusting garment fit, choosing suitable fabrics, and maintaining sewing machines and tools. His content is designed to help readers become more confident with their clothing while encouraging practical repair and reuse instead of unnecessary replacement.
Through his work, Bennie aims to bridge the gap between traditional sewing knowledge and modern everyday needs—making sewing more approachable, useful, and accessible to anyone who wants to repair better, sew smarter, and make their clothes last longer.