

Getting dressed should be the easy part of your day. But if you’ve ever ordered pants online only to find they bunch at your ankles or ride uncomfortably high, you already know how maddening the wrong fit can be. The culprit, more often than not? An inseam measurement you didn’t know you needed.
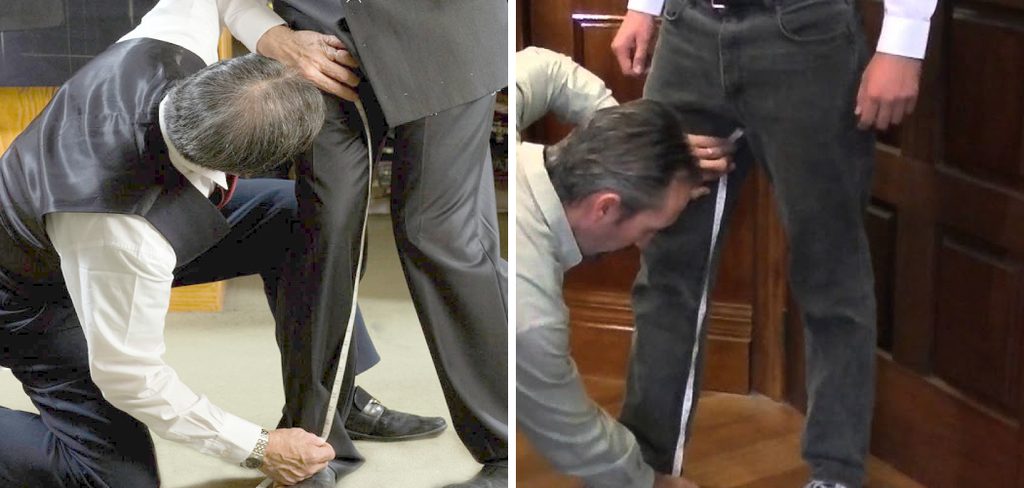
Your inseam is one of the most consequential numbers in your wardrobe. It shapes how pants sit on your body, how they drape across your leg, and ultimately, how you feel moving through the world in them. Shopping for jeans, dress trousers, or activewear—it doesn’t matter. Knowing your inseam saves you from guesswork, from returns, and from that low-grade frustration of clothes that almost fit.
This guide on how to measure inseam covers everything you need to measure your inseam correctly at home. The tools, the steps, the mistakes worth avoiding—by the end, you’ll have a reliable number you can actually use.
Tools and Materials You’ll Need
Before you start, gather a few simple items. You likely already have everything at home.
A Soft Measuring Tape
A flexible fabric or vinyl measuring tape is the right tool here. Unlike a rigid ruler or metal tape measure, a soft measuring tape contours to your body, which produces a far more accurate reading. These are inexpensive and easy to find at craft stores, pharmacies, and online.
A Pair of Well-Fitting Pants
No helper available? A pair of pants that already fit you well is the next best option. You’ll use them as a reference to approximate your inseam length without measuring your body directly.
A Friend or Helper
Having someone assist you makes the whole process easier and more accurate. Measuring your own inseam while standing upright is genuinely awkward—a second pair of hands keeps the tape straight and the measurement consistent.
A Flat Surface and a Pencil
If you’re using the pants method, you’ll need a hard, flat floor. Carpet introduces unevenness that can skew results. A pencil is useful for marking measurements as you go, especially when laying pants flat.
7 Simple Steps on How to Measure Inseam
Step 1: Put On Form-Fitting Underwear or Thin Pants
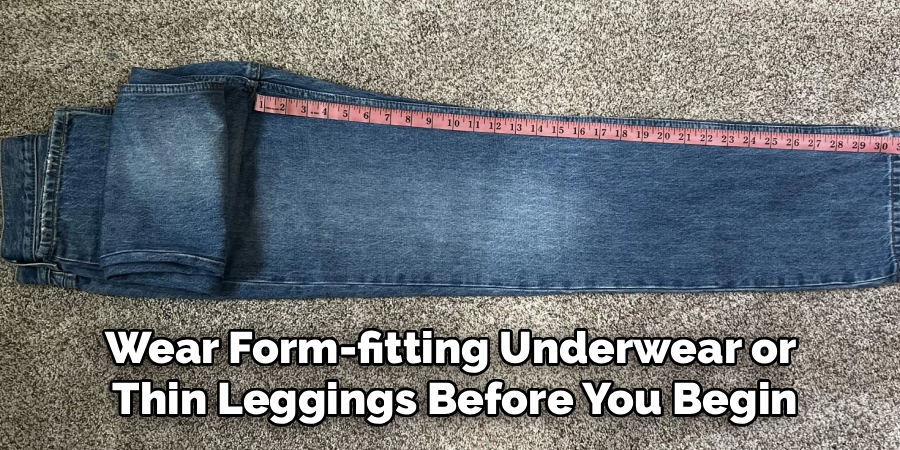
For the most accurate result, wear form-fitting underwear or thin leggings before you begin. Bulky clothing adds material that can throw off your measurement by an inch or more. The closer the tape sits to your body, the more reliable the number.
Step 2: Stand Up Straight on a Hard, Flat Floor
Stand with your feet about six inches apart on a hard surface. Posture matters here—not in a rigid, military sense, but in the sense that slouching or arching your back will change where the tape lands. Stand the way you normally stand. That’s how your pants will fit.
Step 3: Locate Your Crotch Seam
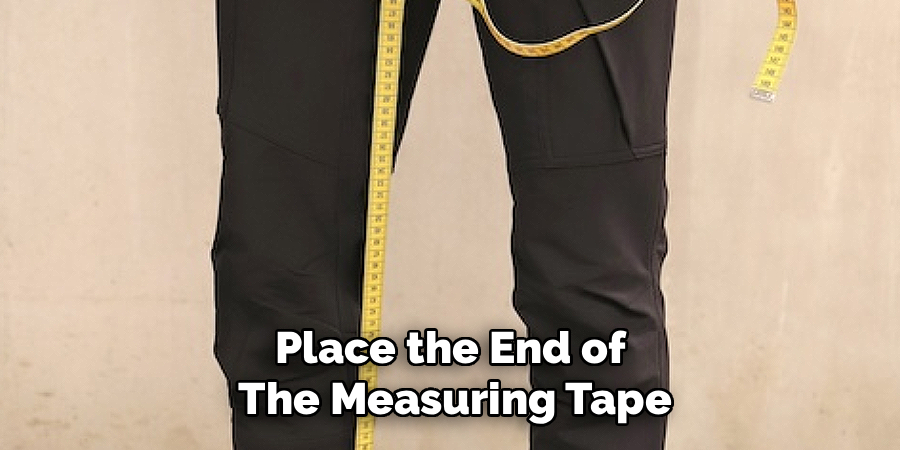
Place the end of the measuring tape at the top of your inner thigh, right at the crotch. This is where the inseam of your pants begins. If you’re measuring with a helper, ask them to hold the tape firmly at this point while you stay still.
Step 4: Run the Tape Down the Inside of Your Leg
Let the tape fall straight down the inside of your leg. Light contact is enough—there’s no need to press it against your skin. The tape should follow the natural line of your inner leg without angling outward or inward.
Step 5: Measure to Your Ankle Bone
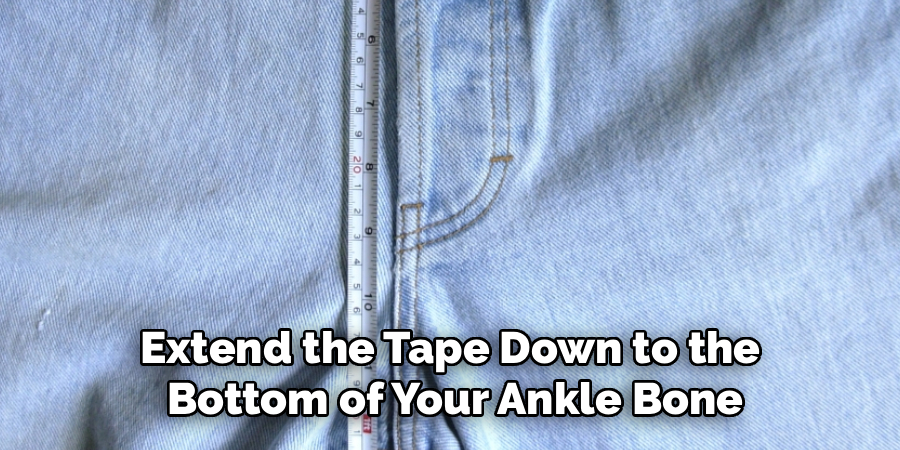
Extend the tape down to the bottom of your ankle bone. This gives you your full inseam length. Some people stop just above the top of the foot for a slightly cropped look, but measuring to the ankle gives you a clean baseline you can adjust based on the pant style later.
Step 6: Record the Measurement
Note where the tape meets your ankle and round to the nearest half-inch. Write it down immediately. It sounds obvious, but it’s easy to forget a number when you’re in the middle of something. This figure is your inseam length.
Step 7: Measure Twice to Confirm
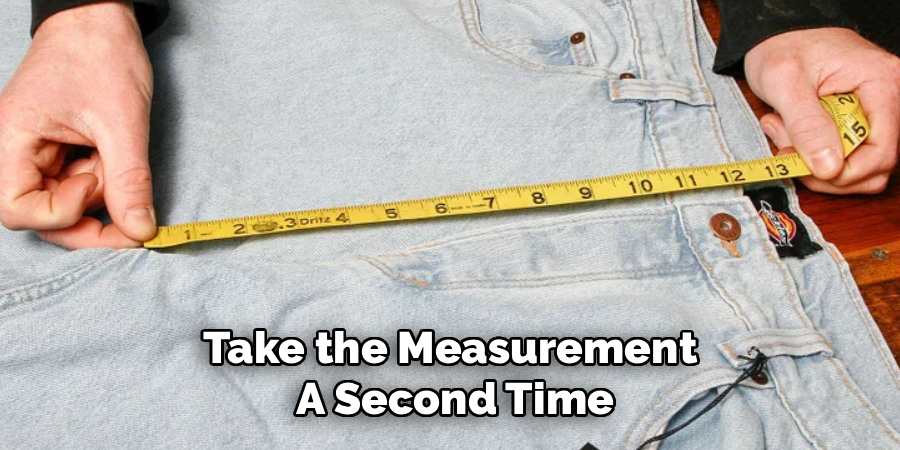
Take the measurement a second time. Small shifts in your stance or the tape’s position can change the reading by half an inch or more. If the two numbers differ, take the average—or measure a third time to break the tie.
Following these steps on how to measure inseam correctly will ensure that you have an accurate measurement for your inseam length.
Common Inseam Measurement Mistakes
Even a straightforward measurement can go sideways. The most common error? Measuring over thick jeans or sweatpants. The extra fabric adds bulk and produces a number that’s longer than your actual inseam. Always measure over thin, form-fitting clothing.
Another frequent issue is letting the tape drift. If the tape angles toward the front or back of your leg rather than running straight down, the measurement won’t reflect your true inseam length. A single inch off can mean the difference between a perfectly hemmed pant leg and one that’s awkwardly short. If you’re measuring solo, use a mirror to check your alignment—it helps more than you’d expect.
How to Use Your Inseam Measurement?
Once you have your number, it becomes one of the most reliable sizing tools you own. Most clothing brands list inseam lengths alongside waist sizes, particularly for jeans, dress pants, and athletic wear. Rather than relying on vague labels like “small” or “medium,” you can filter by exact measurements and dramatically improve your odds of a great fit straight out of the box.
Your inseam also tells you how a pant style will land on your body. A 28-inch inseam may sit above the ankle for a cropped look, while a 34-inch inseam could pool slightly at the floor—both deliberate choices, depending on the style. Knowing your inseam means you make those decisions on purpose, not by accident.
Inseam vs. Other Clothing Measurements
The inseam is one of several measurements used to size pants, and it’s easy to mix up with related terms. The outseam, for example, measures the outside of the leg from the waist down to the hem—it’s longer than the inseam because it includes the waistband. Rise is a separate measurement that refers to the distance from the crotch seam to the top of the waistband, which determines how high or low the pants sit on your hips.
Understanding these distinctions helps you decode sizing charts more effectively. The inseam tells you about leg length; the rise tells you about fit through the hips and torso. Together, they give you a far more complete picture of how a pair of pants will actually fit—something a single waist size can never do on its own.
Frequently Asked Questions
What Is a Standard Inseam Length for Men and Women?
There’s no single standard, since inseam length varies by height and personal preference. For men, inseam lengths typically range from 28 to 34 inches, with 30 to 32 inches being most common. For women, inseams generally fall between 26 and 32 inches. Petite sizing often starts around 26 to 28 inches, while tall sizing may go up to 34 to 36 inches or beyond.
Can I Measure My Inseam Without a Helper?
Yes. The simplest solo method is to use a pair of pants that already fit you well. Lay them flat on a hard surface, smooth out any wrinkles, and measure from the crotch seam to the bottom of the hem. This gives you a reliable inseam number without needing anyone else in the room.
How Often Should I Re-Measure My Inseam?
For most adults, inseam length stays fairly consistent over time. That said, it may be worth re-measuring after significant weight changes, when shopping from a new brand, or when buying a style with an unusual rise—like high-waisted or low-rise pants. Re-measuring once a year is a reasonable habit.
Why Does My Inseam Measurement Differ Between Brands?
Sizing isn’t standardized across the clothing industry. A 32-inch inseam from one brand may fit differently than a 32-inch inseam from another, depending on how the garment is constructed and where the crotch seam falls. Checking brand-specific size guides alongside your measurement tends to produce better results than relying on the number alone.
The Right Fit Starts With One Simple Number
Measuring your inseam takes under five minutes. The return on that investment—fewer returns, more confident purchases, pants that actually look the way they’re supposed to—is hard to argue with.
Start with the steps on how to measure inseam outlined above, keep your measurement somewhere accessible, and use it every time you shop for bottoms. Over time, you’ll build a clearer picture of how different brands and styles translate to your body. Getting dressed stops feeling like a gamble and starts feeling like something you’ve already figured out.

About
Bennie Wilder is a dedicated figure in the world of sewing, clothing repair, and garment care, with years of hands-on experience exploring practical techniques for making, repairing, and maintaining everyday clothing. His professional focus lies in combining traditional sewing craftsmanship with modern, easy-to-follow solutions, helping readers confidently handle common clothing problems at home. As an author at SewFixes, Bennie shares practical knowledge on sewing techniques, garment alterations, fabric care, clothing repairs, and DIY projects for beginners and experienced sewing enthusiasts alike.
Education
Fashion Institute of Technology (New York, USA)
Associate Degree in Fashion Design & Apparel Studies
- Focused on garment construction, sewing techniques, fabric fundamentals, and clothing alterations.
- Developed practical skills in pattern making, hand stitching, machine sewing, and garment finishing.
- Gained hands-on experience working with different fabrics, sewing tools, and apparel construction methods.
Academy of Art University (San Francisco, USA)
Bachelor’s in Fashion Design
- Specialized in apparel construction, textile selection, garment fitting, and contemporary clothing design.
- Studied the relationship between fabric properties, garment structure, durability, and comfort.
- Participated in practical design projects involving garment creation, alterations, repairs, and sustainable clothing practices.
Publications and Impact
Through SewFixes, Bennie shares practical insights into sewing, clothing repair, fabric care, garment alterations, and everyday DIY solutions. His writing focuses on turning complicated sewing tasks into simple, understandable steps that readers can follow at home.
Bennie covers everything from repairing torn seams and replacing buttons to fixing hems, adjusting garment fit, choosing suitable fabrics, and maintaining sewing machines and tools. His content is designed to help readers become more confident with their clothing while encouraging practical repair and reuse instead of unnecessary replacement.
Through his work, Bennie aims to bridge the gap between traditional sewing knowledge and modern everyday needs—making sewing more approachable, useful, and accessible to anyone who wants to repair better, sew smarter, and make their clothes last longer.