

Threading a needle by hand can feel like a tiny battle, especially when the thread keeps missing that small eye. Your eyes strain, your fingers fumble, and the thread frays before it ever slips through.
That is exactly why so many people love using a small helper tool. Learning how to thread needle with needle threader turns a frustrating chore into a quick, satisfying step you can master in seconds.
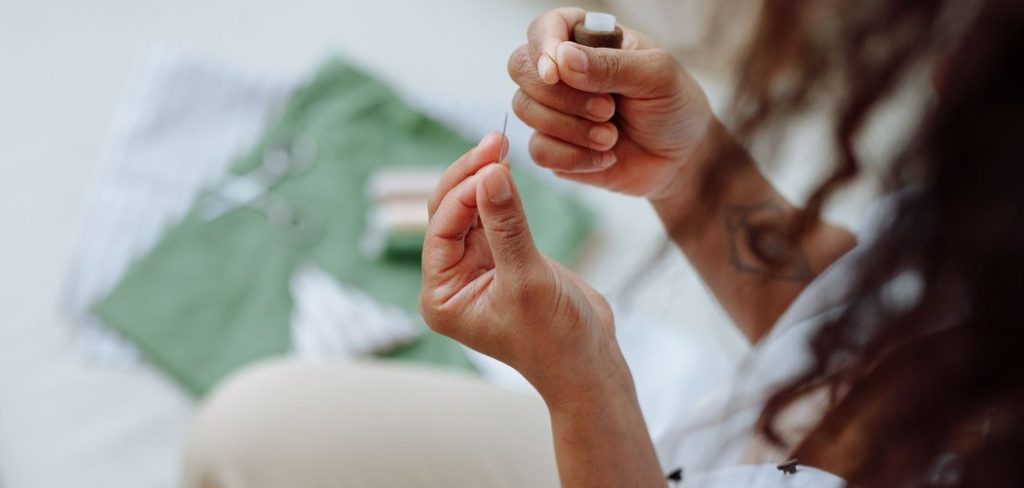
A needle threader is a simple gadget with a thin wire loop or a small hook. It guides your thread through the eye of the needle without any guesswork. Whether you are hemming pants, sewing a button, or starting your first embroidery project, this little tool saves time and protects your patience.
This guide walks you through everything in plain language, no prior experience needed. You will learn what a needle threader does, why it helps, and how to use one step by step. By the end, you will feel confident tackling any hand-sewing task with ease and speed.
Why Using a Needle Threader Makes Sewing Easier
A needle threader removes the number one headache of hand sewing, which is getting thread through that tiny hole. Instead of squinting and poking, you let the tool do the precise work for you. This matters most for people with low vision, shaky hands, or thick threads that refuse to cooperate.
The benefits stack up quickly. You save time on every project, reduce eye strain, and avoid the frustration that makes many beginners quit.
A threader also works with fine needles that have especially small eyes, opening up delicate crafts like embroidery and beading. Best of all, these tools cost very little and fit in any sewing kit.
Once you try one, you will wonder how you managed without it.
Step-by-Step Guide to How To Thread Needle With Needle Threader
Step 1: Gather Your Supplies
Start by collecting everything you need in one spot so you are not searching mid-task. You will want your needle, your chosen thread, a pair of small scissors, and of course your needle threader. Good lighting helps too, so sit near a window or turn on a bright lamp.
Take a moment to check your threader for any bent or broken wire, since a damaged loop makes the job harder. A fresh, undamaged tool works best. Having a clean, flat surface in front of you keeps the small pieces from rolling away. This simple setup sets you up for smooth, stress-free success.
Step 2: Trim And Prepare Your Thread
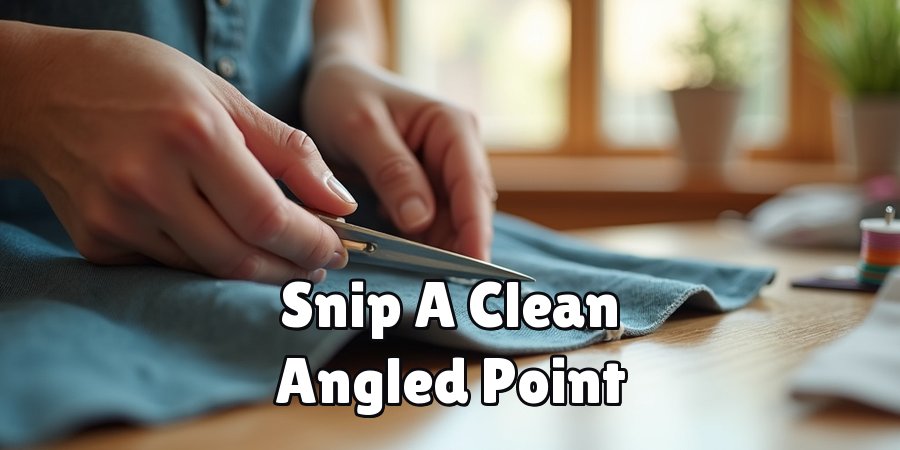
Cut a length of thread that suits your project, usually about eighteen inches so it does not tangle. Snip the end at a sharp angle using your scissors, which creates a clean point that feeds through the tool more easily. Avoid frayed or fuzzy ends, since loose fibers catch and cause frustration.
If your thread is stubborn or splits apart, lightly dampen the tip between your fingers to hold the strands together. Some people run the end over a bit of beeswax for extra smoothness.
A neat, firm thread tip is the secret that makes learning how to thread needle with needle threader feel almost effortless from the very first try.
Step 3: Push The Wire Loop Through The Eye
Hold your needle steady between your thumb and forefinger, with the eye facing you. Take the threader and gently push its thin wire loop through the eye of the needle. The wire is designed to be flexible, so it slides through the small opening far more easily than thread alone ever could.
Push it in until a good portion of the loop sticks out the other side. Do not force it if it resists, since bending the wire too hard can snap it.
A calm, steady hand works better than speed here. Once the loop is through, you are ready for the fun part where the thread goes in.
Step 4: Feed The Thread Through The Loop
Now take your prepared thread and slide the angled tip through the open wire loop that is poking out of the needle. Because the loop is much wider than the needle’s eye, this step feels simple and forgiving. Pull the thread through the loop until you have several inches hanging on the other side.
Keeping a bit of length here gives you room to work in the next step. If the thread slips out, just guide it back through and hold it in place with your thumb. This wide loop is exactly why mastering how to thread needle with needle threader beats poking thread at a tiny hole.
Step 5: Pull The Threader Back Out
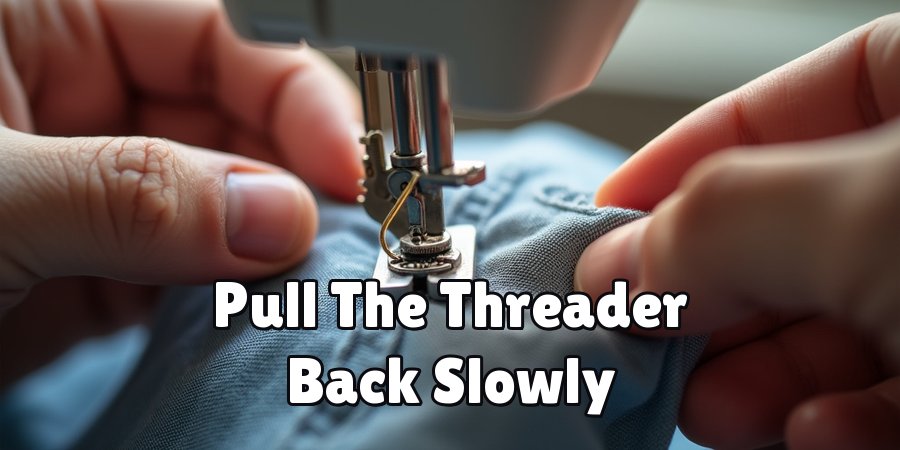
Here comes the moment where everything clicks together. Gently pull the wire loop back out through the eye of the needle, carrying your thread along with it. Move slowly and steadily so the thread stays inside the loop and follows it right through the opening.
As the loop exits, your thread will be pulled through the needle’s eye at the same time. This is the clever trick that makes the whole tool so useful.
If you feel resistance, ease off and check that the thread is sitting fully inside the loop. A smooth, patient pull almost always results in a perfectly threaded needle.
Step 6: Even Out The Thread Ends
With your thread now through the needle, slide the needle to the middle of your thread length if you want a doubled strand, or leave a short tail for a single strand. Doubling gives you stronger stitches, which works well for buttons and sturdy repairs.
Pull both sides gently to make sure the thread runs freely and does not bunch up at the eye. Check that neither end is caught or knotted.
Taking a few seconds to balance the ends now prevents tangles later while you sew. Once your thread hangs evenly, you are almost ready to begin stitching your project.
Step 7: Tie A Knot And Start Sewing
Finish by tying a small knot at the end of your thread so your stitches stay anchored. Wrap the thread around your fingertip two or three times, roll it into a small ball, and pull it tight to form a neat knot. This keeps your first stitch from slipping right out of the fabric.
Give the knot a gentle tug to confirm it holds. Now your needle is threaded, knotted, and ready to go. You can start sewing with confidence, knowing the hardest part is already behind you. With practice, this whole routine will take you only a few quick seconds.
Frequently Asked Questions
What Is A Needle Threader Used For?
A needle threader is a small tool that helps you pass thread through the eye of a needle quickly and easily.
It uses a thin wire loop or hook to guide the thread, removing the need for precise aim.
This makes it perfect for anyone with poor eyesight, unsteady hands, or fine needles that have tiny eyes.
Can I Use A Needle Threader With Any Needle?
Most needle threaders work with a wide range of standard hand-sewing needles. However, very fine needles with extremely small eyes may need a thinner wire threader designed for delicate work.
For thick tapestry or upholstery needles, a sturdier metal threader works better. Always match the threader style to your needle size for the smoothest, most reliable results every time.
Why Does My Threader Keep Breaking?
Threaders often break when you force the wire loop or bend it too sharply. The thin wire is delicate by design, so gentle handling matters a lot.
Pushing against resistance, using it on needles with rough eyes, or storing it loosely in a bag can all cause damage. Move slowly, keep it in a safe spot, and replace worn threaders regularly.
What Type Of Thread Works Best?
Smooth, tightly wound thread feeds through a threader most easily. Cotton and polyester threads are excellent choices for beginners because they resist fraying.
Avoid old, fuzzy, or heavily split thread, since loose fibers catch on the wire loop.
Cutting the thread at a sharp angle and keeping the tip neat will make every attempt faster and far less frustrating.
How Do I Care For My Needle Threader?
Keep your threader in a small case or pouch to protect the fragile wire from bending. Avoid pulling it hard or twisting the loop out of shape during use.
Store it away from moisture to prevent rust on metal parts. With gentle handling and proper storage, a good threader can last for many projects before it needs replacing.
Conclusion
Threading a needle no longer has to be a source of frustration or eye strain. With a simple tool and the right technique, you can turn a tricky task into a quick, easy step you barely think about. From gathering your supplies to tying that final knot, each stage builds toward smooth, confident sewing.
Remember the key points. Prepare a clean thread tip, push the wire loop through gently, feed your thread into the wide loop, and pull it back through with a steady hand. These small habits make all the difference and keep your threader working well for years.
Now that you know how to thread needle with needle threader, you are ready to tackle any hand-sewing project with ease. Grab your threader, pick a project, and enjoy the satisfying feeling of a perfectly threaded needle every single time.

About
Bennie Wilder is a dedicated figure in the world of sewing, clothing repair, and garment care, with years of hands-on experience exploring practical techniques for making, repairing, and maintaining everyday clothing. His professional focus lies in combining traditional sewing craftsmanship with modern, easy-to-follow solutions, helping readers confidently handle common clothing problems at home. As an author at SewFixes, Bennie shares practical knowledge on sewing techniques, garment alterations, fabric care, clothing repairs, and DIY projects for beginners and experienced sewing enthusiasts alike.
Education
Fashion Institute of Technology (New York, USA)
Associate Degree in Fashion Design & Apparel Studies
- Focused on garment construction, sewing techniques, fabric fundamentals, and clothing alterations.
- Developed practical skills in pattern making, hand stitching, machine sewing, and garment finishing.
- Gained hands-on experience working with different fabrics, sewing tools, and apparel construction methods.
Academy of Art University (San Francisco, USA)
Bachelor’s in Fashion Design
- Specialized in apparel construction, textile selection, garment fitting, and contemporary clothing design.
- Studied the relationship between fabric properties, garment structure, durability, and comfort.
- Participated in practical design projects involving garment creation, alterations, repairs, and sustainable clothing practices.
Publications and Impact
Through SewFixes, Bennie shares practical insights into sewing, clothing repair, fabric care, garment alterations, and everyday DIY solutions. His writing focuses on turning complicated sewing tasks into simple, understandable steps that readers can follow at home.
Bennie covers everything from repairing torn seams and replacing buttons to fixing hems, adjusting garment fit, choosing suitable fabrics, and maintaining sewing machines and tools. His content is designed to help readers become more confident with their clothing while encouraging practical repair and reuse instead of unnecessary replacement.
Through his work, Bennie aims to bridge the gap between traditional sewing knowledge and modern everyday needs—making sewing more approachable, useful, and accessible to anyone who wants to repair better, sew smarter, and make their clothes last longer.
4 thoughts on “How To Thread Needle With Needle Threader”