

Got a pair of skinny jeans sitting in your closet that you never reach for anymore? You are not alone. Skinny styles have taken a backseat while flares, bootcuts, and wide-leg silhouettes make a strong comeback.
The good news is that you do not need to toss those old jeans or spend money on a brand-new pair.
Learning how to make skinny jeans into flares is a fun, budget-friendly project that gives your denim a whole new life.
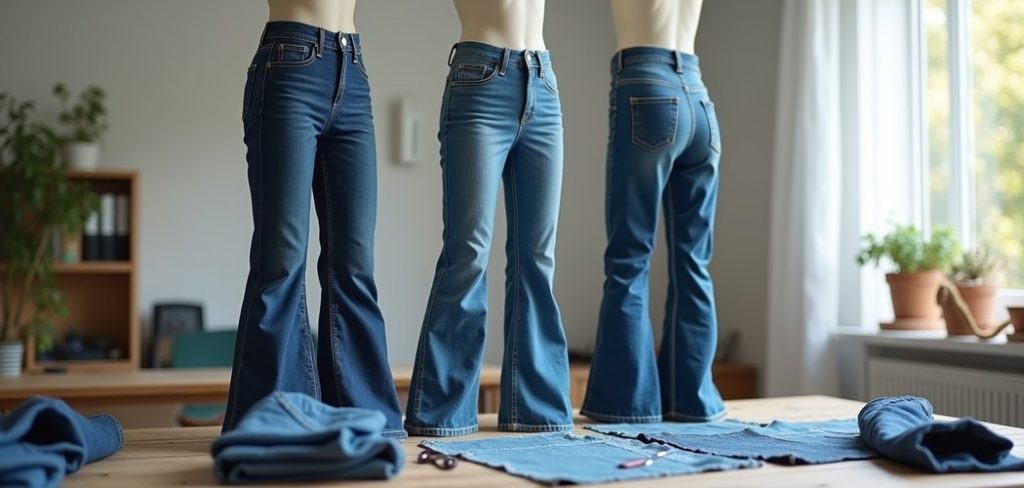
This guide walks you through the entire process in plain, easy steps that anyone can follow, even if you have never touched a sewing machine before.
We will cover the tools you need, how to prep your jeans, and the exact sewing method that gives you clean, professional-looking flares.
Think of this as your friendly walkthrough, with tips to help you avoid common mistakes along the way.
By the end, you will have a fresh pair of flares that fit your style and your wallet. Let’s turn that forgotten denim into something you will actually want to wear.
Why Upcycling Your Denim Is Worth It
Turning skinny jeans into flares does more than update your wardrobe. It saves you money, cuts down on textile waste, and lets you customize a fit that store-bought jeans rarely nail.
Fast fashion produces mountains of discarded clothing every year, so reworking what you already own is a small but meaningful way to shop your own closet instead of buying new.
There is also the satisfaction factor. Completing a hands-on project builds real skills you can reuse on future alterations, from hemming pants to patching tears.
You control the flare width, the length, and the fabric, so the final result feels truly yours. Beginners love this project because the steps are forgiving, and even a first attempt usually turns out great.
It is creative, practical, and genuinely rewarding.

Step-by-Step Guide to How to Make Skinny Jeans Into Flares
Step 1: Gather Your Tools and Materials
Before you start cutting or sewing, set yourself up for success by collecting everything in one spot. You will need your skinny jeans, a seam ripper, fabric scissors, straight pins or clips, a measuring tape, tailor’s chalk, and matching thread.
A sewing machine makes the job faster, but you can hand-stitch if needed. You will also want extra denim or a contrasting fabric to create the flare panels.
Choose fabric with a similar weight to your jeans so the finished flare hangs naturally. Having your workspace organized from the start keeps the whole process smooth and stress-free.
Step 2: Try On and Mark the Flare Point
Slip on your jeans and decide where you want the flare to begin. Most flares start at the knee or slightly below it, so use your fingers to pinch the spot that feels right. Mark that point on both legs with tailor’s chalk while looking in a mirror.
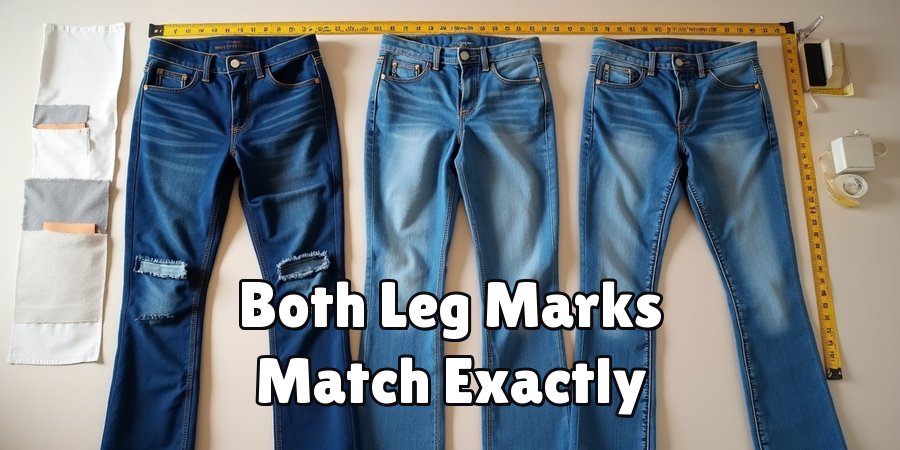
Accuracy matters here because uneven marks lead to uneven flares. Measure the distance from your waistband or crotch seam down to each mark, and make sure both legs match exactly. Take your time with this step, since a good measurement now saves you from frustrating fixes later.
Step 3: Open the Inner and Outer Seams
Carefully take off the jeans and use your seam ripper to open the seams along the lower leg, starting from your chalk mark and working down to the hem. You will open both the inner and outer seams so the leg lays flat and opens up like a triangle.
Work slowly to avoid tearing the denim itself, and pull out any loose threads as you go. This is one of the most important parts of how to make skinny jeans into flares, because a clean opening gives you a solid base for adding the flare panel later.
Step 4: Create Your Flare Panels
Now grab your extra denim or contrasting fabric to build the panels that fill out the flare. Lay the opened jean leg flat and measure the triangular gap you just created.
Add about half an inch on each side for seam allowance, then cut two matching panels for each leg, one for the inner opening and one for the outer.
If you want a subtle flare, keep the panels narrow.
For a dramatic bell shape, widen them. Cut carefully and double-check that all four panels match, since symmetry keeps both legs looking balanced and polished.
Step 5: Pin the Panels Into Place
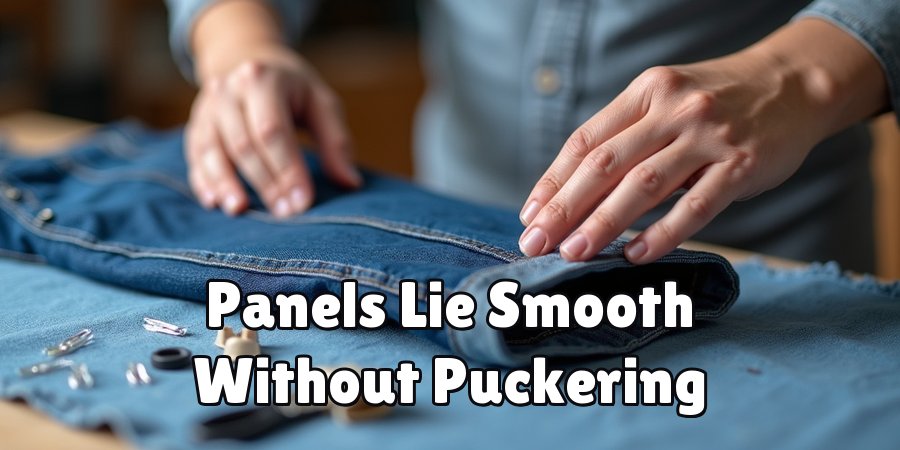
With your panels cut, position them inside the open seams with the right sides of the fabric facing together. Pin or clip the panel edges to the denim edges, working slowly from the top of the opening down to the hem. Make sure the fabric lies smooth without bunching or puckering.
This prep work is central to how to make skinny jeans into flares that look clean rather than homemade. Pin both legs the same way, then hold the jeans up to compare them. Adjust anything uneven now, because pinning is far easier to fix than stitching.
Step 6: Sew the Panels Securely
Time to stitch. Set your sewing machine to a straight stitch and sew along each pinned edge using a half-inch seam allowance, removing pins as you reach them. Backstitch at the start and end of each seam so the panels stay firmly attached.
Sew all four seams, then turn the jeans right side out to check your work. Press the new seams flat with an iron for a crisp finish. If any spots look loose, run a second line of stitching for extra strength. Denim takes a lot of movement, so secure seams keep your flares durable.
Step 7: Hem and Finish the Look
Try on your new flares to check the length. Flares often look best when they nearly graze the floor, so mark your ideal hem while wearing your usual shoes. Fold the raw edge up, pin it, and stitch a clean hem all the way around each leg.
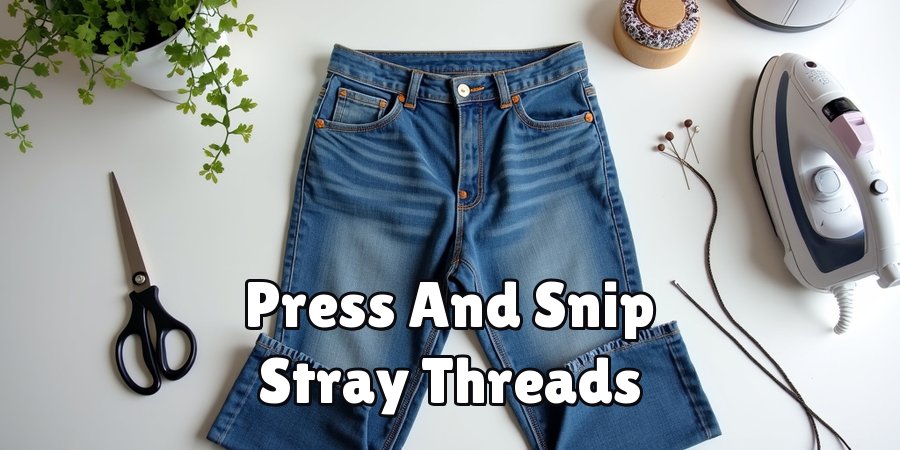
If your jeans had a factory hem you want to keep, you can reattach the original hem for an authentic finish. Press everything one final time, snip any stray threads, and admire your work. You have just transformed a dated pair into fresh, wearable flares.
Frequently Asked Questions
Do I Need a Sewing Machine for This Project?
A sewing machine speeds things up and gives you strong, even seams, but it is not strictly required. You can hand-stitch the panels using a backstitch, which is sturdy enough for denim if done carefully.
Hand-sewing takes more time and patience, especially on thick fabric, so give yourself plenty of it. Either way, secure stitching matters most for a durable, long-lasting result you can wear often.
What Kind of Fabric Should I Use for the Panels?
Choose fabric with a weight and stretch similar to your jeans so the flare hangs naturally and moves with you.
Matching denim gives a seamless look, while a contrasting fabric like a floral print or corduroy adds a bold, custom touch. Avoid very thin or flimsy materials, since they may pucker or wear out quickly.
When in doubt, test a small scrap first to see how it drapes.
How Wide Should I Make the Flare?
Flare width comes down to personal style. For a subtle bootcut effect, keep your panels narrow, adding just a few inches at the hem. For a dramatic seventies bell-bottom look, widen the panels significantly.
A good starting point is measuring an existing flare pair you love and copying those proportions. Remember that both legs must match, so measure twice and cut carefully to keep your final result balanced.
Can Beginners Really Pull This Off?
Absolutely. This project is beginner-friendly because the steps are forgiving and easy to correct as you go. Pinning before sewing lets you preview the fit and adjust anything before committing to stitches.
Start with an old pair you do not mind experimenting on, and take each step slowly.
Many first-timers are surprised by how professional their results look, and every attempt builds skills you can use on future alterations.
How Long Does the Whole Process Take?
Most people finish in two to three hours, depending on their experience and whether they use a machine.
Measuring, seam ripping, and cutting take up the first chunk of time, while sewing and hemming fill the rest. If you are new to sewing, give yourself a relaxed afternoon rather than rushing.
Working at a comfortable pace leads to cleaner results and a much more enjoyable experience overall.
Conclusion
Reviving a tired pair of jeans is easier than you might expect, and now you have every step you need to do it with confidence.
From gathering your tools and marking the flare point to sewing the panels and finishing the hem, each stage builds toward a polished pair of flares that reflect your personal style.
Along the way, you have picked up real sewing skills, saved money, and given new purpose to denim that was gathering dust.
Knowing how to make skinny jeans into flares means you never have to feel stuck with outdated styles again.
So pull out that forgotten pair, set up your workspace, and give this project a try this weekend. Take it one step at a time, embrace the small imperfections, and enjoy the creative process.
Your closet, your budget, and the planet will thank you for it.

About
Bennie Wilder is a dedicated figure in the world of sewing, clothing repair, and garment care, with years of hands-on experience exploring practical techniques for making, repairing, and maintaining everyday clothing. His professional focus lies in combining traditional sewing craftsmanship with modern, easy-to-follow solutions, helping readers confidently handle common clothing problems at home. As an author at SewFixes, Bennie shares practical knowledge on sewing techniques, garment alterations, fabric care, clothing repairs, and DIY projects for beginners and experienced sewing enthusiasts alike.
Education
Fashion Institute of Technology (New York, USA)
Associate Degree in Fashion Design & Apparel Studies
- Focused on garment construction, sewing techniques, fabric fundamentals, and clothing alterations.
- Developed practical skills in pattern making, hand stitching, machine sewing, and garment finishing.
- Gained hands-on experience working with different fabrics, sewing tools, and apparel construction methods.
Academy of Art University (San Francisco, USA)
Bachelor’s in Fashion Design
- Specialized in apparel construction, textile selection, garment fitting, and contemporary clothing design.
- Studied the relationship between fabric properties, garment structure, durability, and comfort.
- Participated in practical design projects involving garment creation, alterations, repairs, and sustainable clothing practices.
Publications and Impact
Through SewFixes, Bennie shares practical insights into sewing, clothing repair, fabric care, garment alterations, and everyday DIY solutions. His writing focuses on turning complicated sewing tasks into simple, understandable steps that readers can follow at home.
Bennie covers everything from repairing torn seams and replacing buttons to fixing hems, adjusting garment fit, choosing suitable fabrics, and maintaining sewing machines and tools. His content is designed to help readers become more confident with their clothing while encouraging practical repair and reuse instead of unnecessary replacement.
Through his work, Bennie aims to bridge the gap between traditional sewing knowledge and modern everyday needs—making sewing more approachable, useful, and accessible to anyone who wants to repair better, sew smarter, and make their clothes last longer.