

Embroidery is one of those crafts that looks intimidating until you learn a few core stitches, and then suddenly everything clicks.
The outline stitch is one of the very first techniques worth mastering because it forms the backbone of so many designs.
Whether you want to trace flowing letters, add crisp borders to a floral pattern, or define the edges of a leaf, this stitch gives you clean, rope-like lines that hold their shape beautifully.
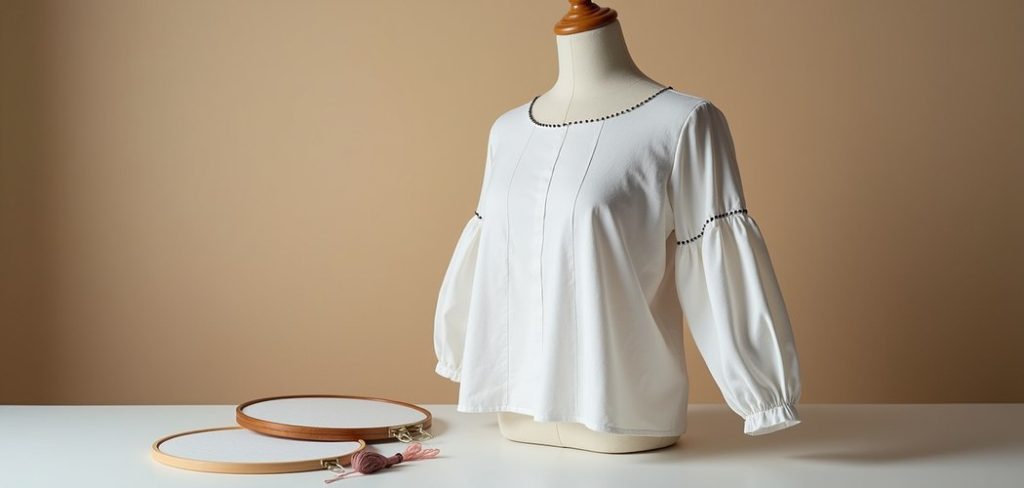
Learning how to do an outline stitch opens doors to countless projects, from monogrammed handkerchiefs to detailed portraits. The best part is that it requires no fancy tools, just a needle, thread, fabric, and a little patience.
In this guide, you will find clear steps, helpful answers to common questions, and practical tips designed for all skill levels.
By the end, you will feel confident enough to pick up your hoop and start stitching smooth, professional-looking lines that make your work stand out.
Why Outline Stitching Matters
Outline stitching matters because it is versatile, durable, and surprisingly forgiving for beginners.
Once you understand the rhythm of the stitch, you can apply it to lettering, borders, stems, and any design that needs a defined edge.
It creates a slightly raised, twisted appearance that reads as elegant and intentional, which is why so many crafters reach for it first.
There is also a practical benefit worth noting. Because each stitch overlaps the previous one, the line stays strong even after repeated washing, making it ideal for clothing and household items.
Mastering this single technique reduces frustration and errors on future projects, boosts your confidence, and gives you a reliable foundation to build on.
Think of it as the alphabet of hand embroidery, simple, essential, and endlessly useful.

Step-by-Step Guide To How To Do An Outline Stitch
Step 1: Gather Your Materials
Before you thread your needle, set yourself up for success by gathering everything you need.
you will want embroidery floss, an embroidery needle, a hoop to keep your fabric taut, fabric marked with your design, and a small pair of scissors.
Choose a floss color that contrasts nicely with your fabric so your practice lines stay visible.
Keeping your workspace tidy and well lit makes a real difference, especially when you are learning. Having every tool within reach means you can focus fully on the technique instead of pausing to hunt for supplies, which keeps your stitching rhythm smooth and enjoyable from start to finish.
Step 2: Prepare Your Fabric And Hoop
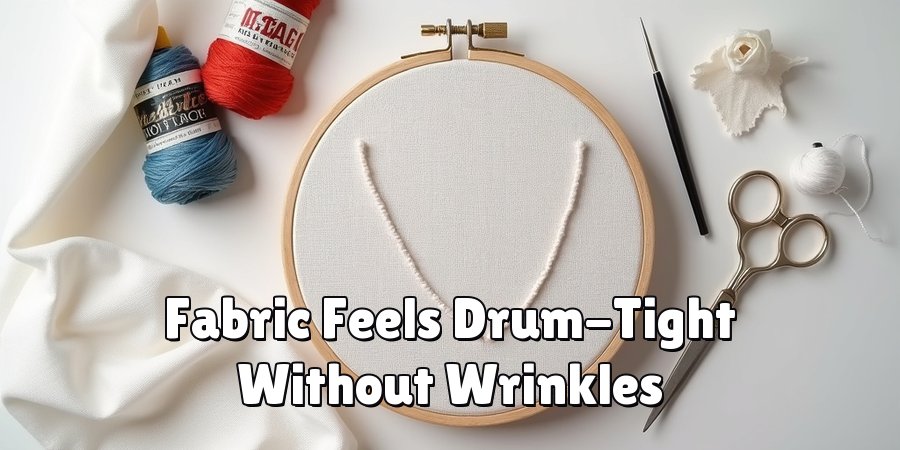
A stable surface is the secret to even stitches, so start by securing your fabric in the hoop. loosen the outer ring, lay your fabric over the inner ring, then press the outer ring back down and tighten the screw. Pull the fabric gently from all sides until it feels drum-tight with no wrinkles.
This tension prevents puckering and gives your needle a clean surface to work against. Take a moment to double-check that your traced design sits fully inside the hoop. A properly prepared hoop reduces mistakes dramatically and makes the whole process feel more controlled, which is exactly what you want as a beginner.
Step 3: Thread The Needle And Knot The End
Cut a length of floss about eighteen inches long, since anything longer tends to tangle as you work.
separate the strands if your pattern calls for fewer, then guide one end through the eye of the needle. Pull a few inches through so the thread does not slip out mid-stitch.
Tie a small knot at the opposite end, or use a knotless start if you prefer a neater back. Keeping your thread length manageable is a small habit that saves plenty of frustration.
With your needle ready, you are set to bring it up through the fabric and begin your first line.
Step 4: Learning Outline Stitch Foundation
Bring your needle up through the fabric at the very start of your traced line, pulling the thread until the knot rests snugly against the back. this first anchor point is your foundation.
Push the needle back down a short distance along the line, roughly an eighth of an inch ahead, but do not pull it all the way through yet.
Instead, bring the needle tip back up at the midpoint of that first stitch, keeping the working thread below your needle.
This half-step overlap is the heart of the technique, and once you feel it, the rest of the stitching becomes wonderfully repetitive.
Step 5: Building The Continuous Line
Now you settle into the rhythm that gives this stitch its signature look.
take your needle down again a short distance ahead along the line, then bring it back up right at the end of your previous stitch.
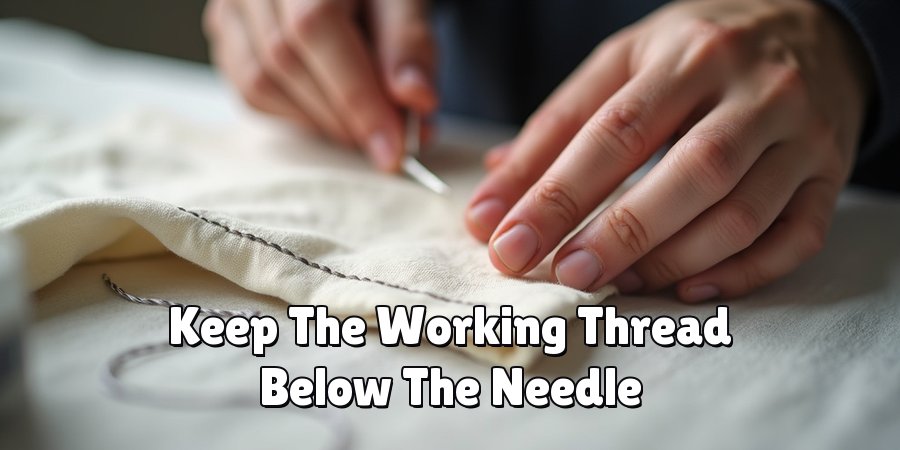
Keep the working thread consistently on the same side, below the needle, for every single stitch. This consistency is what creates that smooth, twisted rope effect rather than a scattered, uneven line.
Work in small, equal steps and resist the urge to rush. As you repeat this motion, you will watch a clean, continuous line form beneath your fingers, and that steady progress feels genuinely satisfying.
Step 6: Stitch Around Curves
Straight lines are one thing, but real designs curve, so this step helps you handle bends with confidence. when you reach a curve, simply shorten your stitches.
Smaller stitches follow tight turns far more smoothly than long ones, which can look choppy or flatten the curve. Keep your thread on the same side as always and let the fabric guide your rhythm.
For gentle curves you can lengthen slightly, but tighter arcs demand patience and shorter steps. Take your time here, because curves are where beginners often see the biggest improvement.
Soon your letters and flowing stems will look polished and intentional.
Step 7: Finishing And Securing Your Work
Reaching the end of your line calls for a tidy finish so all your effort stays intact.
bring your needle down through the fabric at the final point of your design and turn your hoop over to the back.
Slide the needle under two or three of your existing stitches to anchor the thread, then loop through once more to lock it in place.
Trim the excess floss close to the fabric, being careful not to snip your stitches.
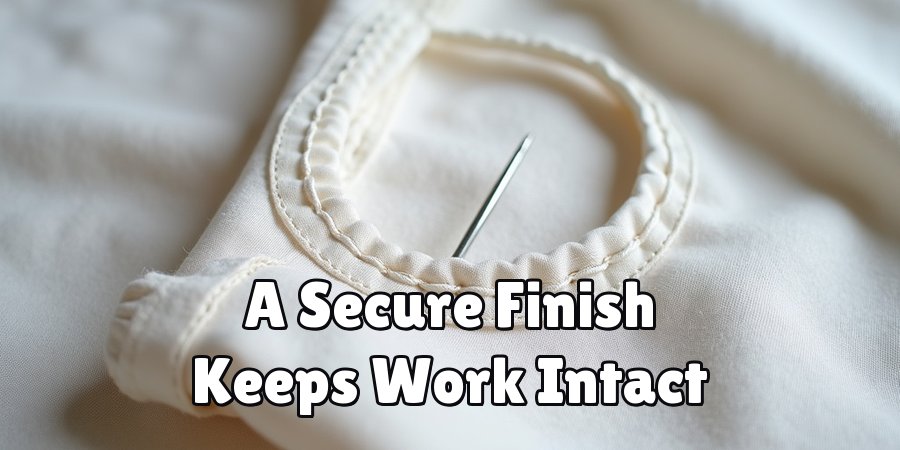
A secure finish keeps your work from unraveling after washing or handling, giving your project the durable, professional quality you worked so hard to achieve.
Frequently Asked Questions
What Is The Difference Between An Outline Stitch And A Stem Stitch?
The two stitches look nearly identical, and the difference comes down to thread placement. For an outline stitch, you keep the working thread above the needle, while a stem stitch keeps it below.
This tiny change alters the direction of the twist.
Many crafters use the terms interchangeably, but choosing one consistently within a project keeps your lines uniform and gives your finished piece a cleaner, more cohesive appearance.
How Many Strands Of Floss Should I Use?
The number of strands depends on the effect you want. Two or three strands create fine, delicate lines that suit lettering and detailed work, while four to six strands produce bold, prominent outlines.
Beginners often find three strands the easiest to control. Experiment on a scrap of fabric first, since fabric weight and design scale both influence how your line looks.
Testing takes only a minute and saves you from surprises later.
Why Do My Stitches Look Uneven Or Twisted Wrong?
Uneven stitches usually happen when the working thread switches sides mid-line. Keeping the thread consistently on the same side for every stitch is the single most important habit to master.
Uneven lengths can also cause a bumpy look, so aim for equal spacing. Slow down, check your thread position before each stitch, and practice on a straight line until the rhythm becomes automatic.
Consistency improves quickly with a little patience.
Can I Use This Stitch On Any Type Of Fabric?
You can use this stitch on most woven fabrics, from cotton and linen to denim and canvas. Tightly woven fabrics give the crispest results and hold stitches securely.
Stretchy or very loose fabrics can be trickier because the tension shifts, so stabilizer helps in those cases.
Always match your needle size to your fabric weight, and test a small area first to confirm the thread glides smoothly without pulling or puckering the surface.
How Do I Fix A Mistake Without Ruining My Work?
Mistakes are completely normal, and fixing them is simple. Gently unpick the incorrect stitches one at a time using your needle or a seam ripper, working backward from the last stitch.
Avoid yanking, since that can distort the fabric or fray the thread. Once you reach a clean point, smooth the fabric and continue stitching from there.
Keeping a relaxed pace and checking your work often means you will catch small errors before they grow.
Conclusion
Mastering how to do an outline stitch is one of the most rewarding milestones in your embroidery journey, and as you have seen, it truly comes down to a few simple habits.
Gather the right materials, keep your fabric taut, maintain steady thread tension, and always hold your working thread on the same side.
With those fundamentals in place, you can create smooth lines, elegant lettering, and confident curves that elevate every project you touch.
The beauty of this technique is that it grows with you, serving beginners and seasoned stitchers alike. Do not worry if your first attempts feel wobbly, because progress comes fast with practice.
Grab a hoop, thread your needle, and start experimenting on a scrap of fabric today.
Each line you stitch builds your skill and confidence, and before long you will be adding polished, professional details to gifts, garments, and keepsakes you will be proud to share.

About
Bennie Wilder is a dedicated figure in the world of sewing, clothing repair, and garment care, with years of hands-on experience exploring practical techniques for making, repairing, and maintaining everyday clothing. His professional focus lies in combining traditional sewing craftsmanship with modern, easy-to-follow solutions, helping readers confidently handle common clothing problems at home. As an author at SewFixes, Bennie shares practical knowledge on sewing techniques, garment alterations, fabric care, clothing repairs, and DIY projects for beginners and experienced sewing enthusiasts alike.
Education
Fashion Institute of Technology (New York, USA)
Associate Degree in Fashion Design & Apparel Studies
- Focused on garment construction, sewing techniques, fabric fundamentals, and clothing alterations.
- Developed practical skills in pattern making, hand stitching, machine sewing, and garment finishing.
- Gained hands-on experience working with different fabrics, sewing tools, and apparel construction methods.
Academy of Art University (San Francisco, USA)
Bachelor’s in Fashion Design
- Specialized in apparel construction, textile selection, garment fitting, and contemporary clothing design.
- Studied the relationship between fabric properties, garment structure, durability, and comfort.
- Participated in practical design projects involving garment creation, alterations, repairs, and sustainable clothing practices.
Publications and Impact
Through SewFixes, Bennie shares practical insights into sewing, clothing repair, fabric care, garment alterations, and everyday DIY solutions. His writing focuses on turning complicated sewing tasks into simple, understandable steps that readers can follow at home.
Bennie covers everything from repairing torn seams and replacing buttons to fixing hems, adjusting garment fit, choosing suitable fabrics, and maintaining sewing machines and tools. His content is designed to help readers become more confident with their clothing while encouraging practical repair and reuse instead of unnecessary replacement.
Through his work, Bennie aims to bridge the gap between traditional sewing knowledge and modern everyday needs—making sewing more approachable, useful, and accessible to anyone who wants to repair better, sew smarter, and make their clothes last longer.