

Sewing your own saree blouse is one of the most rewarding skills you can pick up as a beginner.
A blouse that fits well can transform how your entire saree looks and feels, giving you comfort and confidence with every drape.
Learning how to stitch saree blouse pieces from scratch might sound tricky at first, but it becomes surprisingly simple once you break the process into clear, manageable steps.
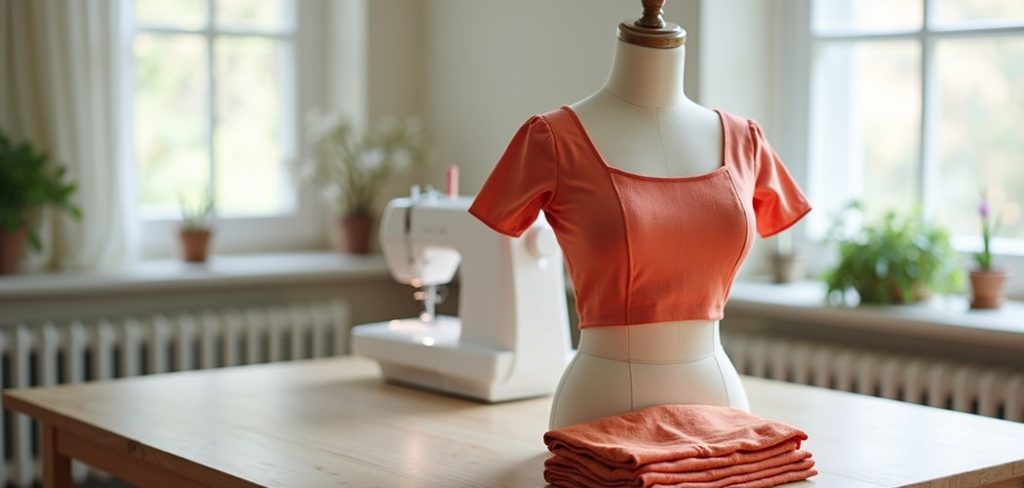
This guide walks you through everything you need, from taking accurate measurements to adding the final touches.
Whether you want a snug everyday blouse or a special piece for a wedding, mastering this craft saves money and lets you customize every detail.
You get to choose the neckline, sleeve style, and fit that suit your body best. No more settling for ready-made pieces that pinch or gape in the wrong places.
By the end of this article, you will have a friendly, expert-backed roadmap that empowers you to sew a blouse you will actually love wearing.
Why Stitching A Saree Blouse Matters
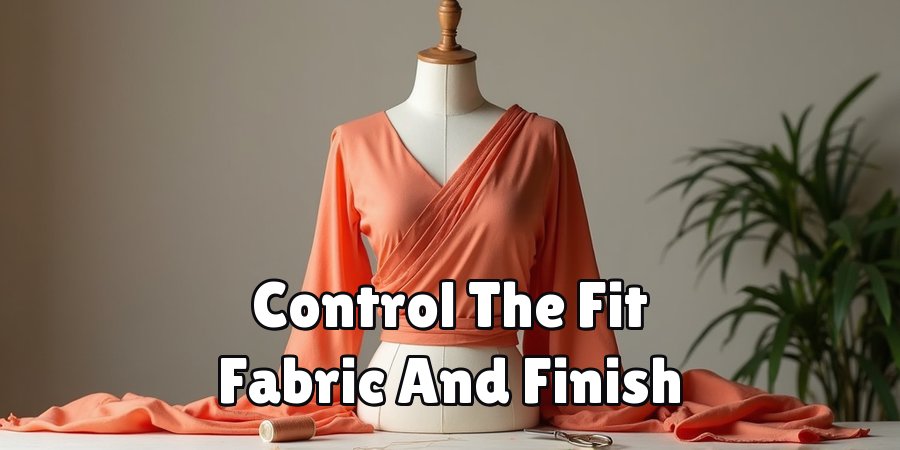
Stitching your own blouse gives you complete control over fit, fabric, and finish. Ready-made blouses rarely match your exact shape, and alterations at a tailor can cost time and money.
When you sew it yourself, you decide the depth of the neckline, the length of the sleeves, and how tight or relaxed the fit should be.
This matters because a well-fitted blouse holds the saree in place and lets you move freely all day. It also opens the door to endless creativity, letting you match blouses to different sarees or experiment with trendy cuts.
Beyond the savings, there is real satisfaction in wearing something you made with your own hands. It builds a practical skill you can use again and again.
Step-by-Step Guide to How To Stitch Saree Blouse
Step 1: Take Accurate Body Measurements
start by measuring your body carefully, because every good blouse begins with the right numbers. use a soft measuring tape and note down your bust, waist, shoulder width, front length, and armhole depth. keep the tape snug but not too tight, and stand naturally while a friend helps you record each figure.
write these measurements on paper so you can refer back to them without guessing. accuracy here saves you from reworking the blouse later.
if you are unsure, measure a blouse that already fits you well and compare the values.
this small effort at the start ensures the final piece hugs your body comfortably and looks polished from the very first try.
Step 2: Choose And Prepare Your Fabric
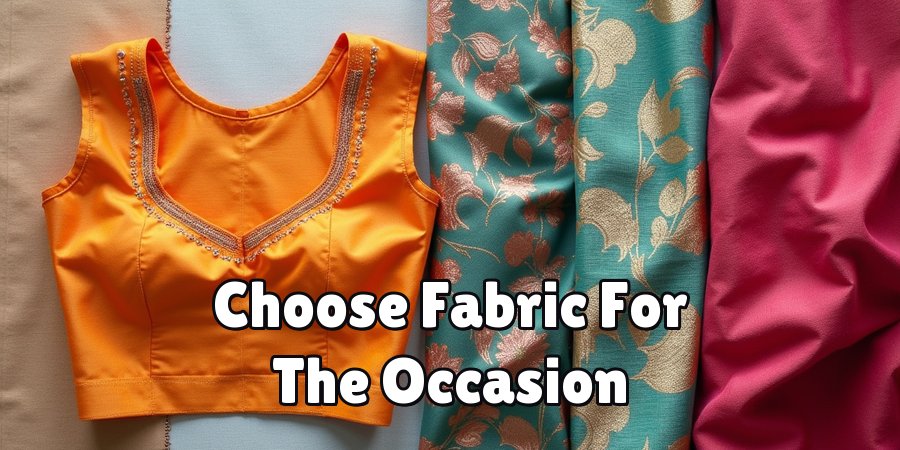
pick a fabric that suits both your saree and the occasion. cotton works beautifully for daily wear because it breathes well, while silk or brocade adds richness for festive events.
buy at least one meter, giving yourself extra room for seams and small mistakes. always check that the color and texture complement your saree before cutting.
before you begin, wash and iron the fabric to remove any shrinkage and wrinkles. this step matters more than beginners expect, since unwashed cloth can shrink after stitching and ruin the fit.
lay the fabric flat on a clean surface and smooth out every crease. a well-prepared fabric makes cutting and sewing far easier and gives your blouse a neat, professional finish.
Step 3: Draft Or Trace The Pattern
now transfer your measurements onto the fabric or onto paper to create a pattern. you can draft a fresh pattern using your recorded numbers or trace an old blouse that fits perfectly. place the old blouse flat, outline it with tailor’s chalk, and add roughly one inch around the edges for seam allowance.
take your time with this stage, because a clear pattern guides every cut that follows. mark the front, back, sleeves, and darts separately so you do not mix them up.
double-check that the neckline and armhole curves look smooth. learning how to stitch saree blouse pieces properly starts with a clean, accurate pattern that you can trust throughout the rest of the project.
Step 4: Cut The Fabric Pieces
with your pattern ready, fold the fabric neatly and pin the pattern in place so it does not shift.
cut along your chalk lines using sharp scissors, moving slowly around the curves for a clean edge.
cut the front, back, and sleeve pieces one at a time to avoid confusion, and keep the leftover fabric for the neckline binding.
handle the cut pieces gently and stack them in order. it helps to label each piece with a small chalk mark so you know which side faces out.
rushing this stage often leads to uneven shapes, so stay patient. clean, precise cutting sets the foundation for a smooth stitching experience and a blouse that fits just right.
Step 5: Sew The Darts And Shoulder Seams
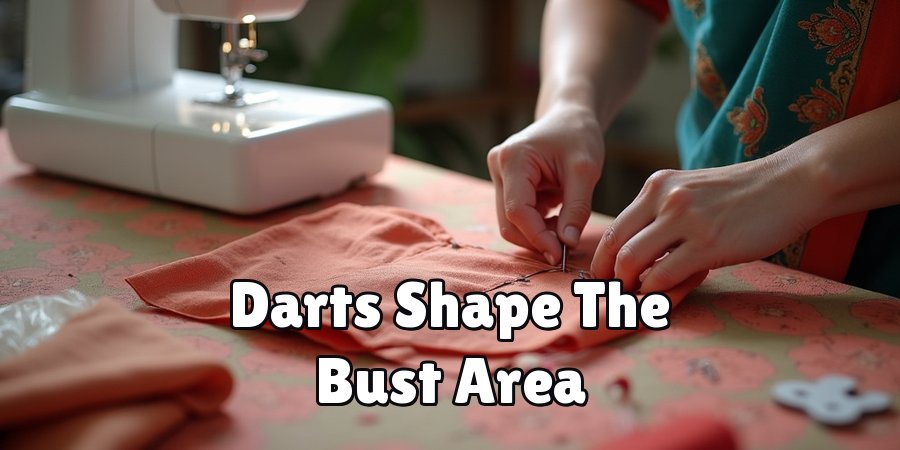
darts give your blouse its shape, so stitch them first. fold each dart along the marked line, pin it, and sew from the wide end toward the point, tapering off gently. these darts shape the bust area and make the blouse contour to your body instead of hanging loose.
next, join the front and back pieces at the shoulders. align the edges carefully, pin them together, and sew a straight seam.
press each seam open with an iron as you go, because pressing makes the finish look crisp and professional.
this is the stage where the flat pieces start to resemble an actual garment, and seeing that shape come together feels genuinely encouraging for any beginner.
Step 6: Attach The Sleeves And Side Seams
pin each sleeve to its matching armhole, easing the curved edges together so the fabric sits smoothly. sew slowly around the armhole, keeping the seam even and free of puckers.
once both sleeves are attached, fold the blouse so the front and back line up, then stitch the side seams from the underarm down to the hem in one continuous line.
try the blouse on at this point to check the fit before finishing. knowing how to stitch saree blouse sleeves neatly makes a huge difference to comfort and appearance.
if anything feels tight, adjust the seam slightly. a quick fitting now prevents disappointment later and lets you correct small issues while they are still easy to fix.
Step 7: Finish The Neckline, Hem, And Hooks
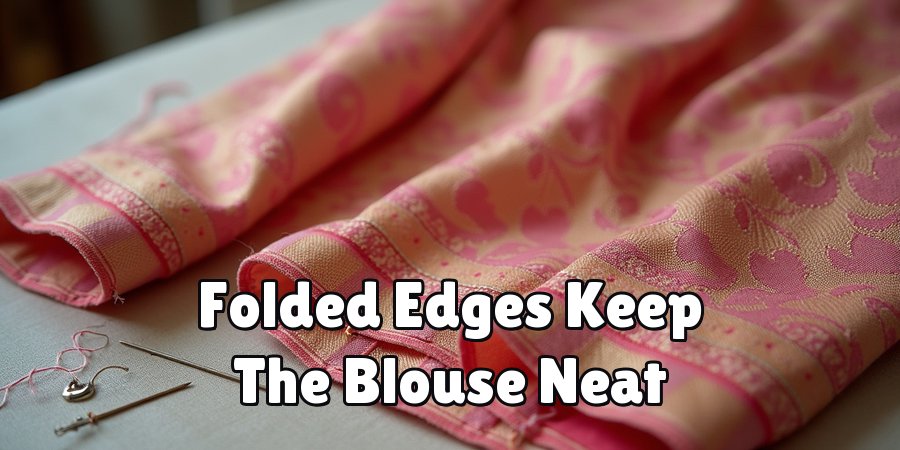
the final step brings your blouse to life. bind the neckline with a strip of matching fabric or a neat facing, folding the raw edge under for a clean look. fold and stitch the hem and sleeve edges so nothing frays over time. press every seam once more for a smooth, tidy result.
finally, attach hooks or a back opening so you can wear the blouse easily. sew the hooks firmly and space them evenly so the blouse closes without gaps.
give the whole piece a final press, and your handmade blouse is ready. take a moment to appreciate your work, because you have just created something both beautiful and practical.
Frequently Asked Questions
How Long Does It Take To Sew A Blouse For Beginners?
A first-time beginner usually needs three to five hours spread across a day or two. Measuring, cutting, and stitching each take time when you are still learning.
With practice, most people finish in about two hours. Do not rush the early stages, since careful measuring and cutting save you from time-consuming corrections later and lead to a much better final fit.
What Fabric Is Best For A Comfortable Blouse?
Cotton is the friendliest choice for beginners and everyday wear because it breathes well and is easy to handle under the needle.
For festive occasions, silk, brocade, or raw silk add elegance but can be slippery to sew.
If you feel unsure, start with cotton to build confidence, then move on to fancier fabrics once your stitching skills grow steadier.
Do I Need A Sewing Machine Or Can I Stitch By Hand?
You can sew a blouse by hand, though it takes considerably longer and requires patience with even, tight stitches. A basic sewing machine speeds up the process and gives stronger, more uniform seams.
For beginners planning to sew regularly, an affordable machine is a worthwhile investment. Hand stitching still works well for small finishing touches like hooks and hems.
How Do I Make Sure My Blouse Fits Perfectly?
Accurate measurements are the secret to a great fit. Measure twice, add proper seam allowance, and always try the blouse on before the final finishing stage.
Adjust the side seams and darts while the piece is still easy to alter. Keeping a well-fitting old blouse as a reference also helps you spot and fix any problem areas early.
Can I Add Custom Designs Like Piping Or Embroidery?
Absolutely, and this is one of the joys of making your own blouse. Add piping along the neckline and sleeves for a crisp accent, or include embroidery and beadwork before assembling the pieces.
Plan these details early so they fit neatly into your pattern. Start simple with piping, then experiment with more elaborate designs as your confidence and skill continue to build.
Conclusion
Making your own blouse is a practical, creative, and deeply satisfying skill that anyone can master with a little patience.
From taking careful measurements to adding the final hooks, each step builds naturally on the last, turning simple fabric into a garment that fits you perfectly.
Along the way, you gain the freedom to customize every detail and the confidence that comes from creating something with your own hands.
Now that you understand how to stitch saree blouse pieces from start to finish, you are ready to gather your supplies and begin.
Start with an easy cotton fabric, follow the seven steps at your own pace, and do not worry about small mistakes, since every project teaches you something new. The more you practice, the faster and neater your work becomes.
So pick your favorite fabric, thread your needle, and enjoy the rewarding journey of sewing a blouse you will be proud to wear.

About
Bennie Wilder is a dedicated figure in the world of sewing, clothing repair, and garment care, with years of hands-on experience exploring practical techniques for making, repairing, and maintaining everyday clothing. His professional focus lies in combining traditional sewing craftsmanship with modern, easy-to-follow solutions, helping readers confidently handle common clothing problems at home. As an author at SewFixes, Bennie shares practical knowledge on sewing techniques, garment alterations, fabric care, clothing repairs, and DIY projects for beginners and experienced sewing enthusiasts alike.
Education
Fashion Institute of Technology (New York, USA)
Associate Degree in Fashion Design & Apparel Studies
- Focused on garment construction, sewing techniques, fabric fundamentals, and clothing alterations.
- Developed practical skills in pattern making, hand stitching, machine sewing, and garment finishing.
- Gained hands-on experience working with different fabrics, sewing tools, and apparel construction methods.
Academy of Art University (San Francisco, USA)
Bachelor’s in Fashion Design
- Specialized in apparel construction, textile selection, garment fitting, and contemporary clothing design.
- Studied the relationship between fabric properties, garment structure, durability, and comfort.
- Participated in practical design projects involving garment creation, alterations, repairs, and sustainable clothing practices.
Publications and Impact
Through SewFixes, Bennie shares practical insights into sewing, clothing repair, fabric care, garment alterations, and everyday DIY solutions. His writing focuses on turning complicated sewing tasks into simple, understandable steps that readers can follow at home.
Bennie covers everything from repairing torn seams and replacing buttons to fixing hems, adjusting garment fit, choosing suitable fabrics, and maintaining sewing machines and tools. His content is designed to help readers become more confident with their clothing while encouraging practical repair and reuse instead of unnecessary replacement.
Through his work, Bennie aims to bridge the gap between traditional sewing knowledge and modern everyday needs—making sewing more approachable, useful, and accessible to anyone who wants to repair better, sew smarter, and make their clothes last longer.