

Harem pants are those wonderfully relaxed trousers with a dropped crotch and roomy legs that gather comfortably at the ankle.
They feel like pajamas but look stylish enough to wear anywhere, which makes them a favorite project for anyone picking up a needle and thread.
If you have ever wondered how to stitch harem pants without spending hours puzzling over a complicated pattern, you are in the right place. This guide breaks the process into clear, manageable steps that suit every skill level.
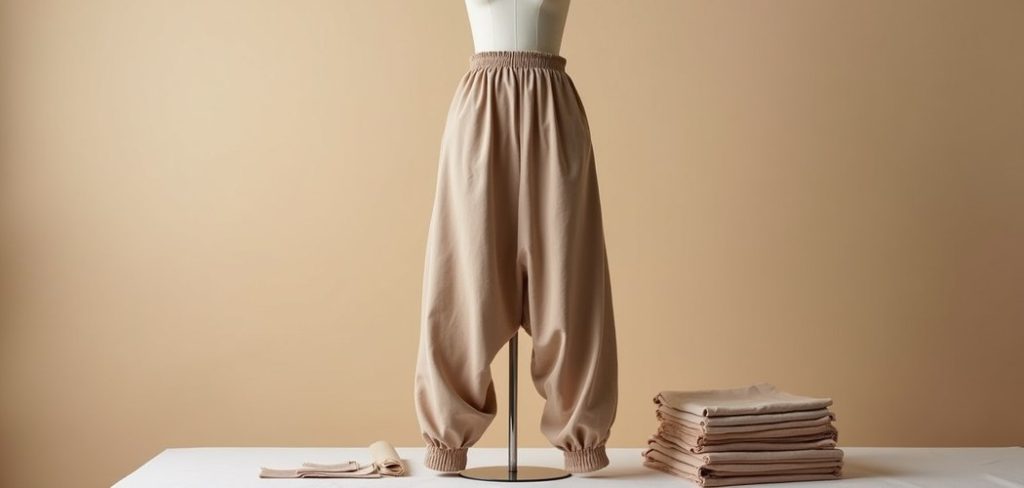
The best part is that harem pants forgive small mistakes. Their loose shape means your seams do not need to be perfect, so you can focus on learning rather than stressing over precision.
You will end up with a comfortable, breathable garment made exactly to your measurements. Whether you sew for fun or want to build a handmade wardrobe, this project delivers quick results and real satisfaction.
Grab your fabric and let us get started on something you will actually enjoy wearing.
Why Harem Pants Are Worth Stitching At Home
Making harem pants yourself gives you control that store-bought clothing rarely offers. You choose the fabric, the fit, and the length, so the finished pair suits your body and your style perfectly. This is empowering for beginners because the design is simple yet the payoff feels professional.
There are practical benefits too. Homemade harem pants cost far less than boutique versions, and you can whip up several pairs in different prints once you know the method.
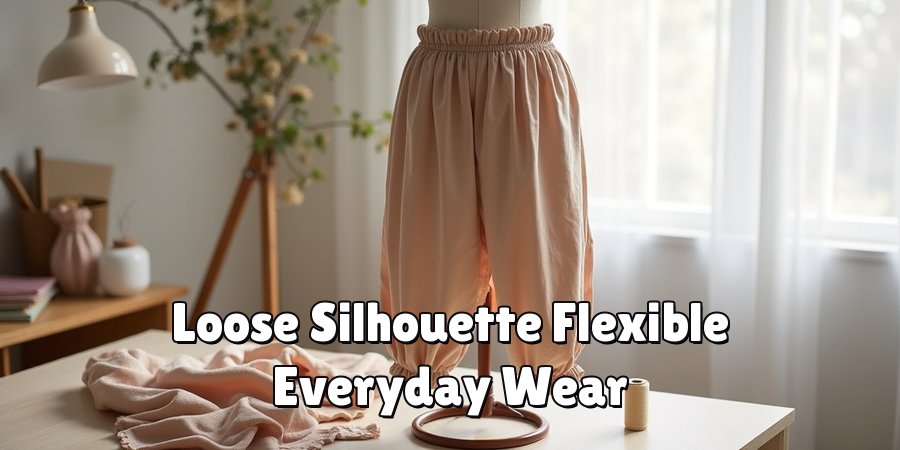
The loose silhouette works for lounging, yoga, travel, or casual outings, giving you flexible everyday wear. You also build core sewing skills like measuring, seaming, and adding elastic, which carry over to future projects.
In short, this is a low-pressure, high-reward way to grow your confidence.
Step-by-Step Guide To How to Stitch Harem Pants
Step 1: Gather Your Materials And Tools
Start by collecting everything you need so you are not scrambling mid-project. Choose a soft, drapey fabric like rayon, cotton lawn, or lightweight jersey, since these give harem pants their signature flow.
You will also want matching thread, a wide elastic band for the waist, a pair of scissors, pins, a measuring tape, and access to a sewing machine.
Having your workspace organized makes the whole experience smoother and more enjoyable. If you are new to sewing, keep a seam ripper nearby too, because small corrections are part of learning. Good preparation sets you up for a relaxed, confident stitching session.
Step 2: Take Accurate Measurements
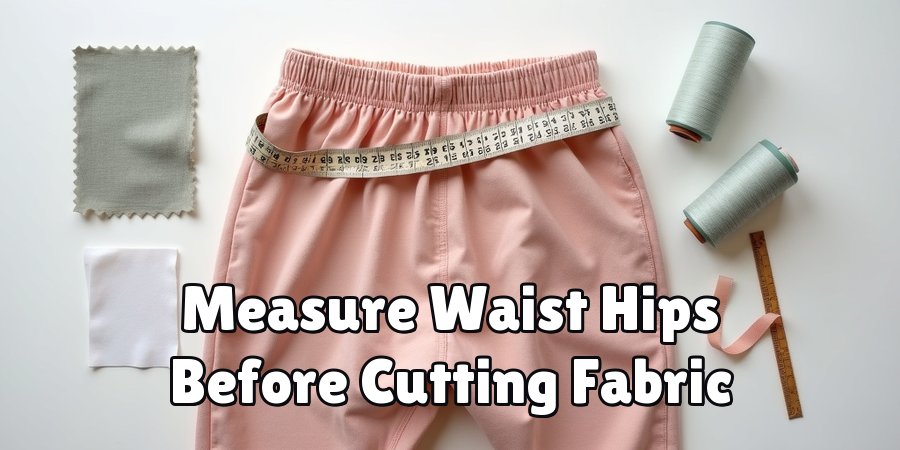
Grab your measuring tape and record a few key numbers before cutting anything. Measure your waist, hips, the distance from your waist to your ankle, and the width you want around each leg. Write these down clearly so you can refer back easily.
Accurate measurements are the secret to comfortable pants that fit just right, and they prevent frustrating surprises later.
Do not rush this part, because a few careful minutes here save time and fabric down the line.
If you are unsure, measure a favorite loose pair you already own and use those figures as a friendly guide.
Step 3: Draft Or Trace Your Pattern
Now translate your measurements onto pattern paper or directly onto folded fabric. Draw a wide, curved shape for the legs with a low, generous crotch line, which creates that classic dropped look.
Add seam allowance of about half an inch around every edge so you have room to stitch.
If you feel nervous about drafting, plenty of free printable templates exist online that you can adjust to your size.
When you learn how to stitch harem pants, understanding the pattern shape early makes every following step far easier. Take your time and double-check both leg pieces match before moving on.
Step 4: Cut Out Your Fabric Pieces
Lay your fabric flat on a clean surface and pin your pattern securely in place. Cut slowly along the lines, keeping your scissors steady for smooth edges. You should end up with two identical leg pieces, so fold the fabric to cut both at once for perfect symmetry.
Handle drapey fabrics gently, as they can shift and stretch while you work. If your material frays easily, a quick zigzag along the raw edges helps prevent unraveling. Neat cutting now means cleaner seams later, and it keeps your final pants looking polished. Treat this stage as the foundation of your whole project.
Step 5: Sew The Inner And Outer Leg Seams
Place one leg piece with the right sides of the fabric facing together and pin along the inner and outer edges.
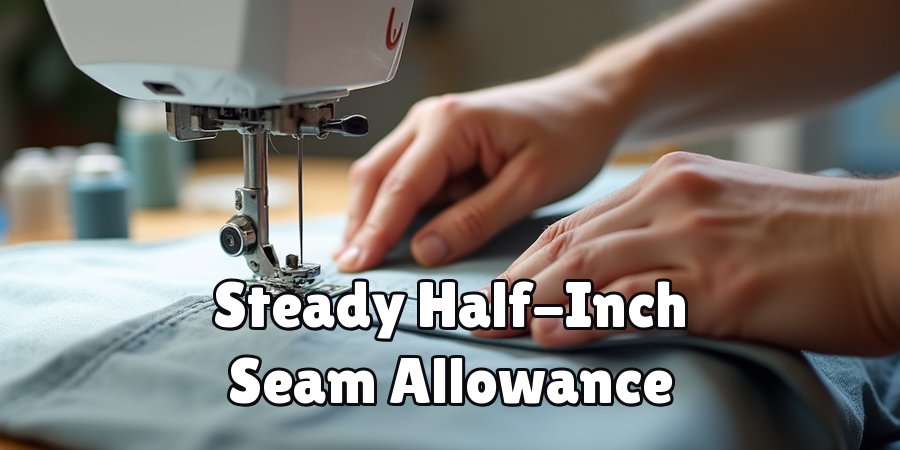
Stitch a straight line down each side using your machine, keeping a steady half-inch seam allowance. Repeat with the second leg piece so both legs are formed.
Press your seams open with an iron, since this simple habit gives a tidy, professional finish.
Learning how to stitch harem pants really clicks at this moment because you finally see the shape come alive in your hands.
Go slowly, backstitch at the ends, and enjoy watching flat fabric become wearable trousers.
Step 6: Join The Two Legs Together
Turn one leg right side out and slip it inside the other so the right sides face each other.
Line up the curved crotch seams carefully and pin them together, matching the front and back points.
Stitch along this curve in one continuous line, then reinforce it with a second pass for extra strength since this area takes the most stress.
Curved seams can feel tricky at first, so move gently and pause to adjust as needed. Once joined, turn everything right side out and admire the recognizable harem pants shape taking form. You are almost finished now.
Step 7: Add The Waistband And Ankle Cuffs
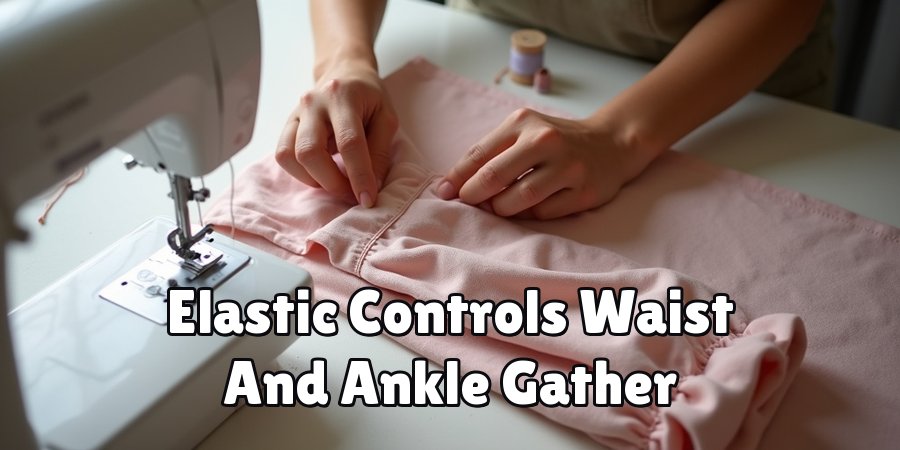
Fold the top edge over to create a casing wide enough for your elastic, then stitch around it and leave a small gap. Thread your elastic through with a safety pin, adjust it to your waist, and sew the ends together before closing the gap.
For the ankles, fold and stitch narrow casings and insert thinner elastic the same way. This gives that gathered, tapered look at the bottom. Try the pants on, tweak the elastic tension for comfort, and finish any raw edges. Congratulations, you have completed a full, wearable pair from scratch.
Frequently Asked Questions
What Fabric Works Best For Beginners?
Soft, lightweight fabrics like cotton lawn, rayon, or a stable jersey are ideal for first-timers. They drape beautifully and are forgiving to sew, which reduces frustration.
Avoid stiff or very slippery materials early on, since they can shift and complicate your seams.
Starting with a friendly fabric helps you build confidence and enjoy the process while still achieving a comfortable, attractive result you will be proud to wear.
How Long Does This Project Take?
Most beginners finish a pair in three to four hours, though your pace may vary. If you take breaks, spread measuring, cutting, and sewing across an afternoon or two.
Rushing rarely helps, so allow yourself relaxed time to learn each step properly.
As you gain experience, later pairs come together much faster, sometimes in under two hours, because the method becomes second nature and familiar to your hands.
Do I Need A Sewing Machine?
A sewing machine speeds things up and creates stronger, neater seams, but it is not strictly required. You can hand-sew the entire project using a sturdy backstitch, especially with lighter fabrics.
Hand-sewing takes longer and demands patience, yet it is a genuine option if a machine is not available.
Whichever method you choose, focus on secure, even stitches so your finished pants hold up well through regular wear and washing.
Can I Adjust The Fit Later?
Absolutely, and this flexibility is one of the joys of making your own clothes. Because the elastic controls the waist and ankles, you can easily loosen or tighten those areas by swapping the elastic.
If the legs feel too wide, take in the side seams gradually until happy.
Always try the pants on before finalizing any change, and make small adjustments so you avoid overcorrecting and losing that signature relaxed comfort.
What If My Seams Look Uneven?
Uneven seams are completely normal when you are learning, so do not be discouraged. The loose, flowing design hides minor imperfections well, meaning most flaws will not show once the pants are worn.
If a seam bothers you, use a seam ripper to remove it and stitch again slowly. Pressing your seams with an iron also improves their appearance dramatically.
With practice, your straight lines will steadily become cleaner and more consistent.
Conclusion
You now have everything you need to create a comfortable, stylish pair of trousers from start to finish.
From gathering materials and taking measurements to drafting a pattern, sewing the seams, and adding elastic casings, each step builds naturally on the last.
The relaxed design means small mistakes barely show, so this is a genuinely beginner-friendly way to grow your skills while making something you will love wearing.
Knowing how to stitch harem pants opens the door to endless variations in color, print, and length, letting you build a handmade wardrobe that feels entirely your own.
The next move is simple, so pick your favorite fabric and set aside an afternoon to try it.
Take your time, enjoy the rhythm of the process, and remember that every pair you make will come out better than the last.
Your comfortable, custom trousers are just a few stitches away, so gather your tools and start creating today.

The Sew Fixes team — we mend our own clothes and write down what worked. Every guide here started as a repair on something we were not ready to throw away.