

A handmade scarf is one of the most rewarding first projects you can pick up as a new sewist. It uses very little fabric, forgives small mistakes, and gives you a wearable result in an afternoon.
If you have ever wondered how to sew scarf pieces into something soft, warm, and stylish, you are in exactly the right place.
This guide breaks the whole process into clear, manageable steps that work for every skill level.
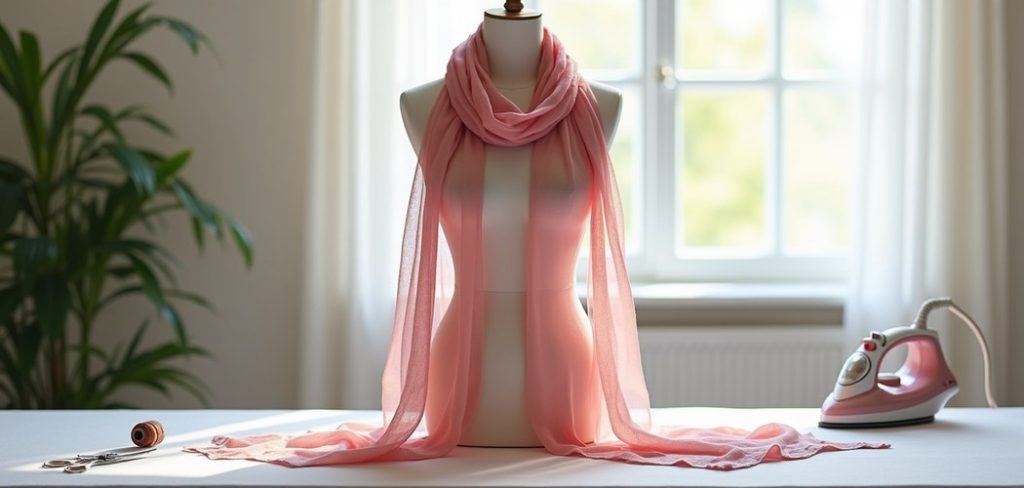
Why does this matter? Learning to make your own scarf means you control the color, length, and fabric weight instead of settling for whatever a store offers.
You also build core sewing habits, like measuring accurately and finishing edges cleanly, that carry into bigger projects later. Think of this as your friendly starting point, with plenty of practical detail and no confusing jargon.
By the end, you will have a finished accessory you can wear with pride and the confidence to make many more.
Why Sewing A Scarf Is Worth Learning
Sewing your own scarf gives you fast wins, and fast wins keep beginners motivated. The project requires only straight stitches, so you practice the most useful skill in sewing without any pressure. You also save money over time, since a length of quality fabric often costs less than a finished designer accessory.
Beyond the budget, there is real creative freedom here. You choose fabrics that suit your climate, from breezy cotton to cozy fleece, and match colors to your wardrobe exactly.
A handmade scarf also makes a thoughtful, personal gift that people genuinely treasure.
Best of all, the techniques transfer directly to pillowcases, table runners, and simple garments, so every minute you invest pays off well beyond this single project.
Step-by-Step Guide to How To Sew Scarf
Step 1: Choose The Right Fabric
Start by picking a fabric that matches how you want to wear your scarf.
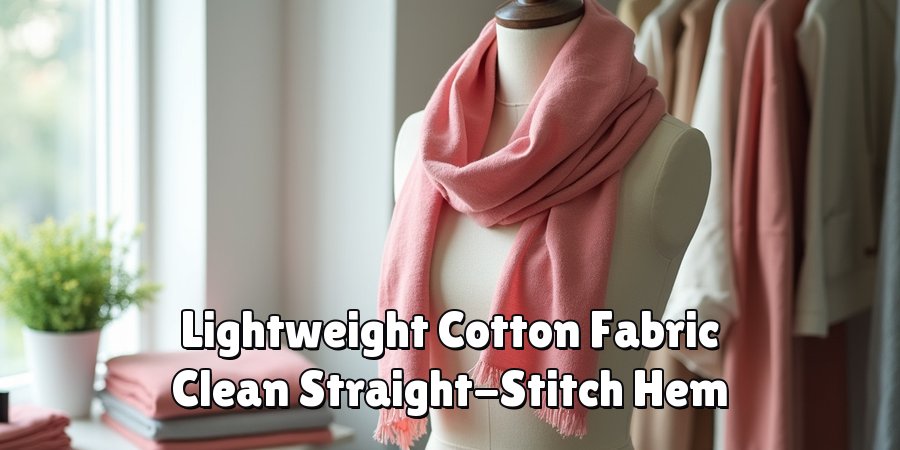
Lightweight cotton, linen, and voile feel great in warm weather, while flannel, fleece, and wool blends keep you cozy in the cold.
For your very first attempt, choose something that does not slip around, since slippery fabrics like satin can frustrate beginners.
Feel the fabric before you buy it and drape it over your arm to test the flow. You generally need around half a yard for a single-layer scarf and more for a doubled design. Buying a little extra gives you room to fix mistakes without stress.
Step 2: Gather Your Tools And Materials
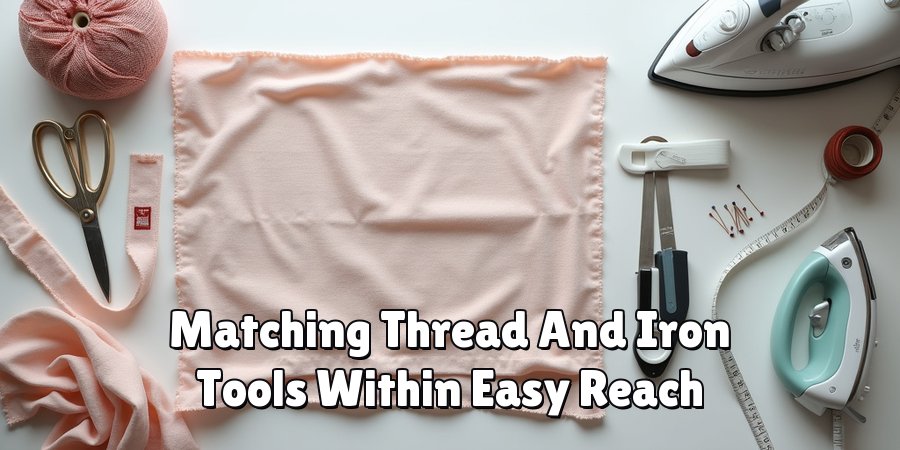
Good preparation makes the whole project smoother, so collect everything before you begin. You will want fabric scissors or a rotary cutter, a ruler or measuring tape, pins or clips, matching thread, and an iron. A sewing machine speeds things up, though you can absolutely hand sew a scarf if you prefer a quieter pace.
Keep your workspace tidy and well lit so you can see your seams clearly. Wind a fresh bobbin and thread your machine before cutting anything. Having your tools within easy reach means you stay focused on the fun part, which is watching your scarf take shape.
Step 3: Measure And Cut Your Fabric
Accurate cutting sets the foundation for a neat result, so take your time here.
A standard scarf runs about 60 inches long and 10 to 12 inches wide, but you can adjust these numbers to suit your height and style.
Mark your measurements with tailor’s chalk or a washable pen, then use a ruler to draw straight guide lines.
Once you learning how to sew scarf projects, you will see that clean cutting saves trouble later. Cut slowly along your marked lines, keeping the fabric flat and smooth. Straight, even edges make the next steps far easier and give your finished scarf a professional look.
Step 4: Pin And Prepare The Edges
With your fabric cut, fold the long edges over by about half an inch and press them flat with your iron. This creates a crisp fold that keeps raw threads hidden and gives you a tidy hem to stitch along. Pressing before you sew is a small habit that dramatically improves your results.
Secure the folds with pins or clips placed every few inches, keeping them perpendicular to the edge so you can remove them easily as you sew. If you are making a double-sided scarf, place your two fabric pieces right sides together and pin around the border, leaving a small gap for turning it out later.
Step 5: Sew The First Seam
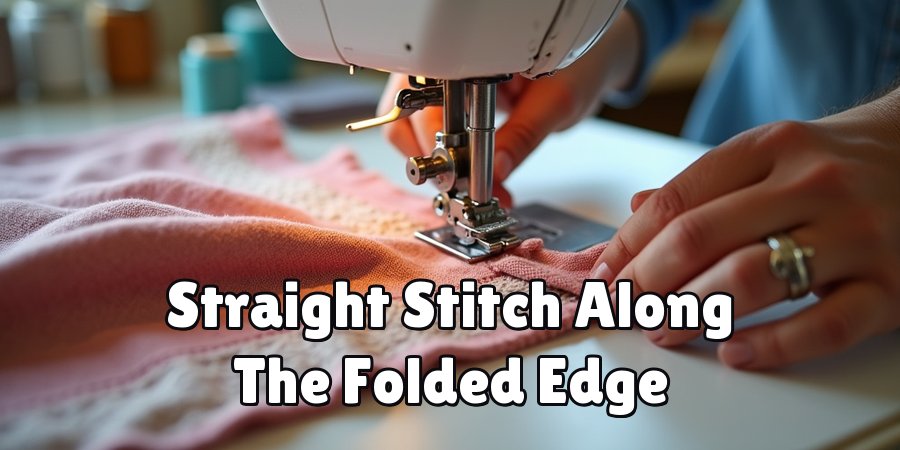
Now comes the satisfying part where your scarf really starts to form. Set your machine to a straight stitch of medium length and position your needle a quarter inch from the folded edge. Backstitch at the start to lock your thread, then sew slowly and steadily along the length, removing pins as you approach them.
Learning how to sew scarf seams neatly comes down to keeping a consistent distance from the edge. Use the guide lines on your machine plate to stay straight, and let the fabric feed naturally rather than pulling it. When you reach the end, backstitch again to secure everything firmly.
Step 6: Turn And Press Your Scarf
If you sewed a double-sided scarf, gently pull the fabric right side out through the gap you left earlier. Use a blunt tool, like a chopstick or knitting needle, to push the corners out fully so they look sharp and square. Take care here, since forcing the fabric can tear a fresh seam.
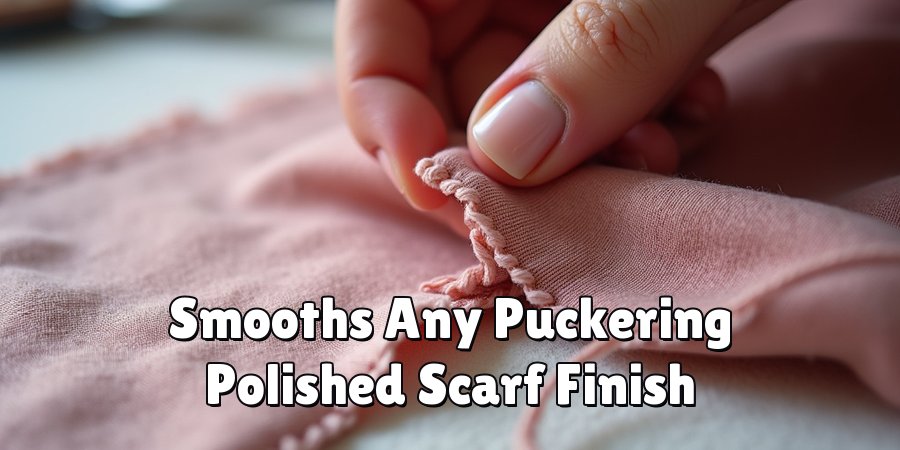
Once turned, lay the scarf flat and press it thoroughly with your iron. Pressing sets the seams, smooths any puckering, and gives the whole piece a polished finish. Fold in the raw edges of the opening so they align neatly with the rest of the seam, ready for the final touch.
Step 7: Finish And Add Details
Close the opening with a few careful hand stitches or a topstitch that runs around the entire border. A topstitch not only seals the gap but also adds a clean, decorative frame that makes your scarf look store-bought. Match your thread color for a subtle look or contrast it for a bolder statement.
This final stage is where you can get creative and make the piece your own. Add fringe by fraying the short ends, sew on tassels, or attach a small fabric label. Give the finished scarf one last press, and your handmade accessory is ready to wear or gift.
Frequently Asked Questions
What Is The Best Fabric For A Beginner Scarf?
Cotton, flannel, and jersey knit are excellent starting fabrics because they hold their shape and do not slip while you work. They press well and forgive slightly uneven stitches, which helps you build confidence.
Avoid slippery satins or very stretchy materials at first, since they demand more control. Once you feel comfortable with straight seams, you can happily experiment with fancier fabrics.
How Long Should A Handmade Scarf Be?
A comfortable length usually falls between 55 and 70 inches, which allows for wrapping and draping without feeling bulky.
Taller people often prefer the longer end of that range, while shorter scarves suit a lighter, casual look. You can always cut a little extra and trim it down after a fitting.
Adjusting the size to your own preference is one of the joys of making it yourself.
Can I Make A Scarf Without A Sewing Machine?
Absolutely, and many beginners enjoy the slower, meditative pace of hand sewing. A simple running stitch or backstitch along the hem works beautifully and gives you full control over each pass.
It takes a bit more time, but the result looks just as neat when your stitches stay small and even. Hand sewing is also perfect for adding fringe, tassels, or decorative details.
How Do I Stop The Edges From Fraying?
Folding and hemming the edges is the most reliable way to prevent fraying on woven fabrics.
You can also use pinking shears, which cut a zigzag edge that resists unraveling, or apply a thin line of fray-check liquid.
Knit fabrics like jersey usually do not fray at all, so you can leave those edges raw for a relaxed, modern finish that saves time.
How Long Does It Take To Sew A Scarf?
A simple single-layer scarf can take as little as thirty minutes once your fabric is cut, making it a fantastic quick project. A double-sided version with topstitching and details might take one to two hours.
Beginners should allow extra time for measuring, pressing, and unpicking any small errors. The more scarves you make, the faster and smoother the whole process becomes.
Conclusion
Making a scarf is proof that beginner sewing can be simple, satisfying, and genuinely useful.
You have learned how to sew scarf pieces from start to finish, from choosing the right fabric and cutting clean lines to pressing crisp edges and adding personal details.
Each step builds a skill you will reuse in countless future projects, so this small accessory is really a launchpad for bigger creative goals.
The best way to lock in what you have read is to gather your materials and start today. Pick a fabric you love, take your time with each seam, and enjoy the process without worrying about perfection.
Your first scarf might have tiny quirks, and that is exactly what makes it yours. Once you finish, you will feel ready to tackle new patterns with confidence.
So grab your scissors, thread your needle, and give it a go.

About
Bennie Wilder is a dedicated figure in the world of sewing, clothing repair, and garment care, with years of hands-on experience exploring practical techniques for making, repairing, and maintaining everyday clothing. His professional focus lies in combining traditional sewing craftsmanship with modern, easy-to-follow solutions, helping readers confidently handle common clothing problems at home. As an author at SewFixes, Bennie shares practical knowledge on sewing techniques, garment alterations, fabric care, clothing repairs, and DIY projects for beginners and experienced sewing enthusiasts alike.
Education
Fashion Institute of Technology (New York, USA)
Associate Degree in Fashion Design & Apparel Studies
- Focused on garment construction, sewing techniques, fabric fundamentals, and clothing alterations.
- Developed practical skills in pattern making, hand stitching, machine sewing, and garment finishing.
- Gained hands-on experience working with different fabrics, sewing tools, and apparel construction methods.
Academy of Art University (San Francisco, USA)
Bachelor’s in Fashion Design
- Specialized in apparel construction, textile selection, garment fitting, and contemporary clothing design.
- Studied the relationship between fabric properties, garment structure, durability, and comfort.
- Participated in practical design projects involving garment creation, alterations, repairs, and sustainable clothing practices.
Publications and Impact
Through SewFixes, Bennie shares practical insights into sewing, clothing repair, fabric care, garment alterations, and everyday DIY solutions. His writing focuses on turning complicated sewing tasks into simple, understandable steps that readers can follow at home.
Bennie covers everything from repairing torn seams and replacing buttons to fixing hems, adjusting garment fit, choosing suitable fabrics, and maintaining sewing machines and tools. His content is designed to help readers become more confident with their clothing while encouraging practical repair and reuse instead of unnecessary replacement.
Through his work, Bennie aims to bridge the gap between traditional sewing knowledge and modern everyday needs—making sewing more approachable, useful, and accessible to anyone who wants to repair better, sew smarter, and make their clothes last longer.