

A popped button can feel like a small disaster, especially when you spot it minutes before heading out the door.
The good news is that you do not need a sewing machine, a tailor, or years of experience to fix it.
Learning how to sew on a button by hand is one of the most practical skills you can pick up, and it takes only a few minutes once you know the steps.
This guide walks you through the entire process in plain language, so you feel confident from your very first stitch.
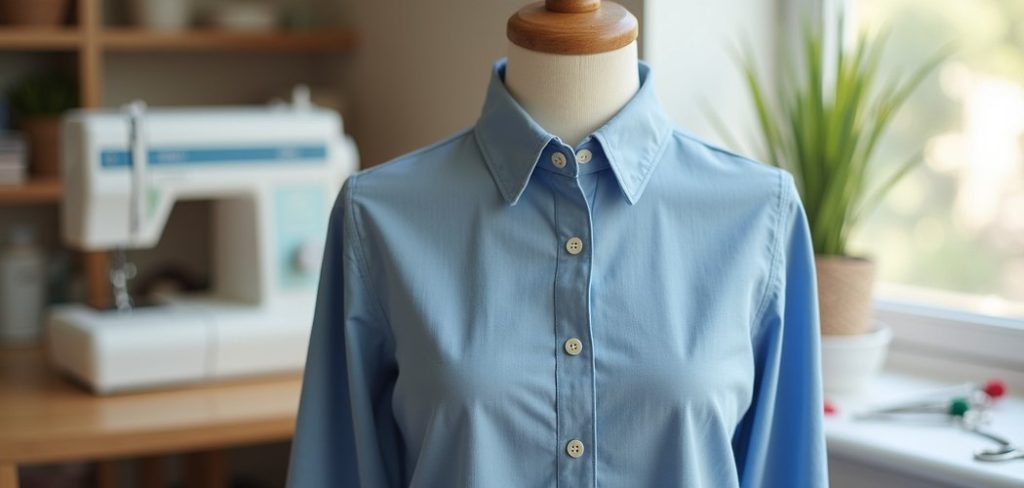
Why does this matter so much? A securely attached button keeps your clothes looking sharp, saves you money on repairs, and rescues favorite garments from the donation pile.
It also builds a foundation for other simple mending tasks you will meet down the road.
Whether you are patching a shirt, a coat, or a pair of trousers, this friendly walkthrough gives you clear instructions, helpful tips, and answers to common questions along the way.
Why Sewing A Button By Hand Matters
Knowing this small skill delivers big rewards. It puts you in control of quick repairs, so a loose button never derails your morning again. Instead of setting aside a shirt or paying for alterations, you simply grab a needle and thread and handle it yourself in minutes.
There is real value beyond convenience. Hand mending extends the life of your wardrobe, reduces waste, and saves money over time. You also gain a sense of independence that feels genuinely satisfying.
Once you master this technique, you can tackle other fixes with the same tools and confidence.
It works on shirts, jackets, cushions, and bags, making it a flexible skill that pays off again and again across every part of your daily life.
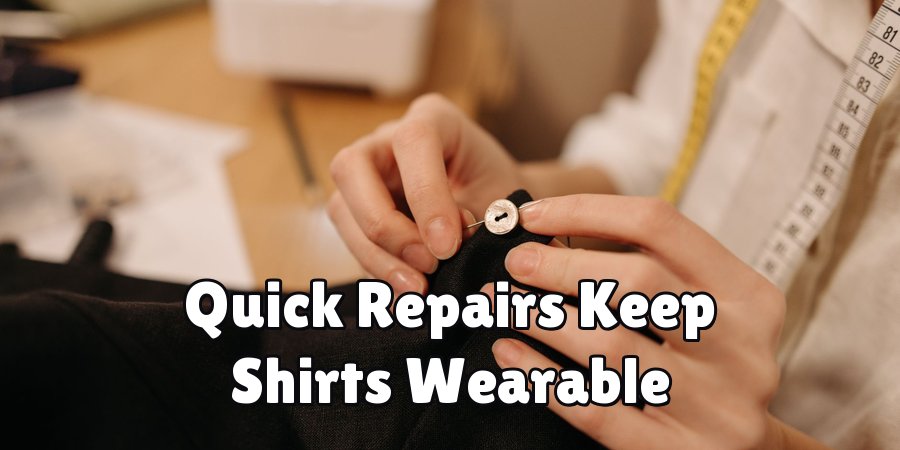
Step-by-Step Guide to How To Sew On A Button By Hand
Step 1: Gather Your Tools And Materials
Start by collecting everything you need before you sit down, since a little preparation makes the whole task smoother.
You will want a hand sewing needle, thread that matches your fabric, a pair of small scissors, and of course the button you plan to attach.
If you can find the original button that fell off, use it so your garment stays consistent.
Keep a spare button handy in case yours is lost, as many clothes include extras sewn inside the seam. Good lighting helps enormously too. Set up near a window or a bright lamp so you can see each stitch clearly and work without straining your eyes.
Step 2: Thread Your Needle
Cut a length of thread about the span of your forearm, roughly eighteen inches, which gives you enough to work without tangling.
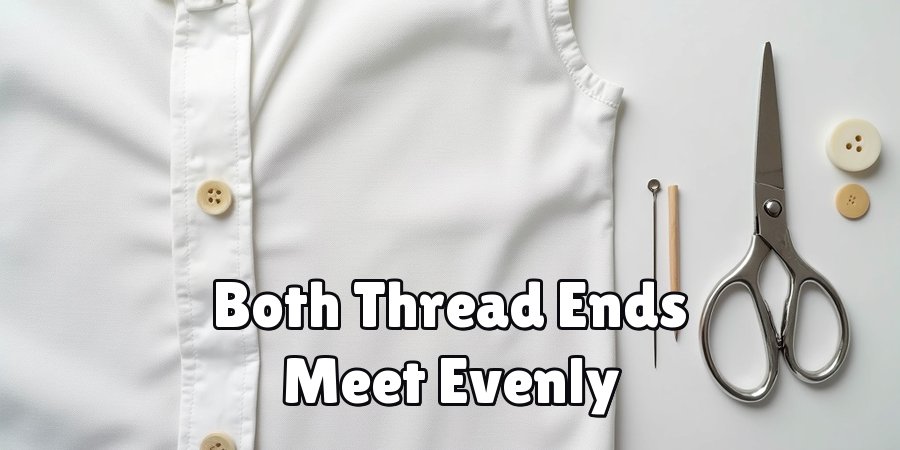
Push one end through the eye of the needle, then pull it until both ends meet and line up evenly.
Doubling the thread this way creates a stronger hold that keeps your button firmly in place.
Tie the two loose ends together with a simple knot at the bottom. Make it snug and slightly bulky so it will not slip through the fabric. If threading feels tricky, lick the tip of the thread or use a needle threader to guide it through the tiny opening with ease.
Step 3: Position The Button Correctly
Placement matters more than beginners expect, so take a moment to get it right. Find the exact spot where the button belongs by lining it up with the corresponding buttonhole. If old thread marks remain on the fabric, use them as your guide, since they show precisely where the button once sat.
Hold the button in place with your thumb while you prepare your first stitch.
When you learn how to sew on a button by hand, this positioning step sets the tone for a neat, professional result.
A well-placed button closes cleanly and keeps your garment looking balanced, so resist the urge to rush past this important stage.
Step 4: Make Your First Anchor Stitch
Begin from the back of the fabric so your starting knot stays hidden underneath.
Push the needle up through the material and through one hole of the button, then pull gently until the knot rests snugly against the back of the cloth.
This first pass anchors everything and gives you a stable base to build on.
Bring the needle back down through the opposite hole and through the fabric. You have now created your first stitch. Keep your tension steady, not too tight and not too loose, so the button sits flat against the garment without puckering the surrounding material or pulling the fabric out of shape.
Step 5: Build Up The Stitches
Now repeat the stitching motion to secure the button firmly. For a two-hole button, keep passing the needle up through one hole and down through the other, following the same path each time.
For a four-hole button, you can create a neat pattern by stitching two parallel lines or crossing them into a tidy X shape.
Aim for around six passes through each pair of holes, which gives plenty of strength without adding bulk.
The whole point of learning how to sew on a button by hand is a repair that lasts, so take your time here.
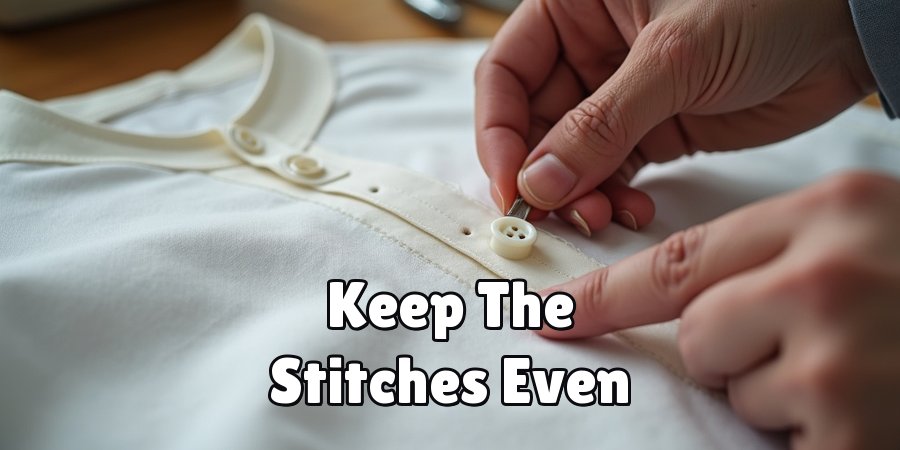
Keep the stitches even and check that the button stays properly aligned as you work.
Step 6: Create A Thread Shank
A thread shank is the small stem of thread beneath the button that gives it room to fasten comfortably. To make one, slip a toothpick or matchstick between the button and the fabric before you begin stitching, which keeps the button slightly raised.
Once your stitches are complete, remove the toothpick and lift the button gently so the loose threads show underneath. Wind your needle around these threads several times to wrap them into a firm little column.
This shank prevents the button from sitting too tightly and makes buttoning far easier, especially on thicker fabrics like coats, jackets, and heavy shirts.
Step 7: Secure And Finish The Thread
Finish strong so all your hard work holds up over time. Push the needle through to the back of the fabric one final time, then make two or three tiny stitches in the same spot to form a knot. Looping the thread through itself as you pull creates a secure fastening that resists coming undone.
Trim the excess thread close to the knot with your scissors, leaving a short tail so nothing unravels. Give the button a gentle tug to confirm it feels solid. If it holds firm and sits neatly against the fabric, congratulations, because you have completed the entire repair with your own two hands.

Frequently Asked Questions
What Type Of Thread Works Best For Buttons?
All-purpose polyester thread is a reliable choice for most buttons because it offers strength and flexibility.
For heavier items like coats or jackets, consider using thicker button thread or doubling your regular thread for extra durability.
Matching the thread color to your fabric keeps the repair looking clean and discreet, while a contrasting color can add a fun decorative touch if you prefer.
How Do I Sew A Four-Hole Button?
A four-hole button gives you two popular stitching patterns to choose from. You can stitch two straight parallel lines across the holes, or cross the thread to form a neat X shape.
Both methods hold securely, so the choice comes down to your personal style. Simply repeat each pass six times, keep the tension even, and finish with a firm knot on the back of the fabric.
Why Does My Button Feel Too Tight To Fasten?
A button that feels tight usually lacks a thread shank, which is the small stem of thread that lifts it away from the fabric. Without that space, thick material struggles to slide underneath.
To fix this, place a toothpick under the button while stitching, then wrap the loose threads to build a shank. This simple trick makes fastening smooth and comfortable every time.
Can I Sew A Button Without A Thimble?
Yes, many people stitch buttons without a thimble, especially on lightweight fabrics. A thimble mainly helps protect your finger when pushing the needle through thick or stiff material like denim and heavy coats.
If you find the needle hard to press, a thimble adds comfort and control. For everyday shirts and blouses, though, your fingers will manage just fine.
How Long Does It Take To Attach A Button?
Most people can attach a single button in about five to ten minutes once they know the steps.
Beginners may need a little extra time for threading the needle and positioning the button correctly, and that is perfectly normal.
With practice, the whole process becomes second nature, and you will soon fix loose buttons in just a few quick minutes without any stress.
Conclusion
Fixing a loose button is proof that useful skills do not have to be complicated.
You have discovered how to sew on a button by hand from start to finish, from gathering your tools and threading the needle to building a sturdy shank and tying off a secure knot.
Each step is simple on its own, and together they add up to a repair that looks neat and lasts for years.
The best way to lock in what you have learned is to try it yourself right now.
Grab a needle, some thread, and a button that needs attention, then work through the steps at your own pace. Your first attempt might take a little longer, and that is completely fine.
With every button you sew, you will grow faster and more confident, ready to handle any small mending task that comes your way.

About
Bennie Wilder is a dedicated figure in the world of sewing, clothing repair, and garment care, with years of hands-on experience exploring practical techniques for making, repairing, and maintaining everyday clothing. His professional focus lies in combining traditional sewing craftsmanship with modern, easy-to-follow solutions, helping readers confidently handle common clothing problems at home. As an author at SewFixes, Bennie shares practical knowledge on sewing techniques, garment alterations, fabric care, clothing repairs, and DIY projects for beginners and experienced sewing enthusiasts alike.
Education
Fashion Institute of Technology (New York, USA)
Associate Degree in Fashion Design & Apparel Studies
- Focused on garment construction, sewing techniques, fabric fundamentals, and clothing alterations.
- Developed practical skills in pattern making, hand stitching, machine sewing, and garment finishing.
- Gained hands-on experience working with different fabrics, sewing tools, and apparel construction methods.
Academy of Art University (San Francisco, USA)
Bachelor’s in Fashion Design
- Specialized in apparel construction, textile selection, garment fitting, and contemporary clothing design.
- Studied the relationship between fabric properties, garment structure, durability, and comfort.
- Participated in practical design projects involving garment creation, alterations, repairs, and sustainable clothing practices.
Publications and Impact
Through SewFixes, Bennie shares practical insights into sewing, clothing repair, fabric care, garment alterations, and everyday DIY solutions. His writing focuses on turning complicated sewing tasks into simple, understandable steps that readers can follow at home.
Bennie covers everything from repairing torn seams and replacing buttons to fixing hems, adjusting garment fit, choosing suitable fabrics, and maintaining sewing machines and tools. His content is designed to help readers become more confident with their clothing while encouraging practical repair and reuse instead of unnecessary replacement.
Through his work, Bennie aims to bridge the gap between traditional sewing knowledge and modern everyday needs—making sewing more approachable, useful, and accessible to anyone who wants to repair better, sew smarter, and make their clothes last longer.