

There is something deeply satisfying about slipping into a piece of clothing you made with your own hands, and a bralette is one of the friendliest projects to begin with.
It uses very little fabric, forgives small mistakes, and gives you a comfortable, everyday garment that fits your body exactly the way you want.
If you have ever felt frustrated by store-bought options that pinch, gape, or simply miss the mark, learning how to sew bralette pieces at home puts you back in charge of comfort and style.
You choose the fabric, the color, the coverage, and the support.
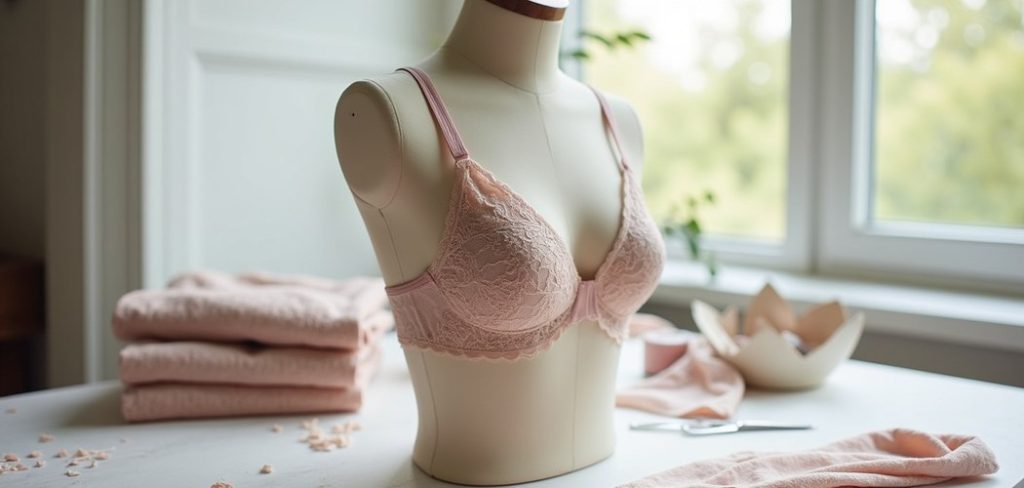
This guide walks you through the whole process in clear, manageable steps, so nothing feels overwhelming, even if you have never touched a sewing machine before.
We will cover the tools you need, how to prepare your fabric, and the exact order of stitching that gives clean, professional results. Along the way, you will pick up handy tips that make each stage smoother.
Grab your materials, settle in somewhere comfortable, and get ready to create something genuinely useful and uniquely yours.
Why Sewing A Bralette Matters
Making your own bralette gives you control over fit, comfort, and cost in a way that shopping rarely can.
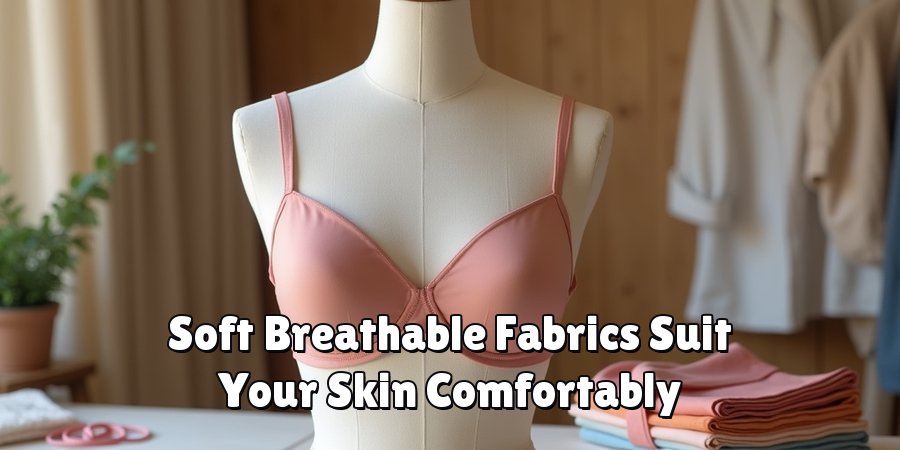
You select soft, breathable fabrics that suit your skin, adjust the pattern to your exact measurements, and skip the underwires or tight bands that so often cause discomfort.
That means a garment that feels good all day and actually stays where you want it.
There are savings, too, since quality bralettes can be surprisingly pricey while the fabric to make one costs far less.
Beyond the practical wins, this project builds real sewing confidence you can carry into bigger makes. You learn to work with stretch fabrics, attach elastic, and finish edges neatly, all valuable skills.
Best of all, each piece you create reflects your personal taste and reduces reliance on fast fashion.
Step-By-Step Guide To How To Sew Bralette
Step 1: Gather Your Tools And Materials
Before you start, collect everything in one place so you can work without interruption.
You will need a soft stretch fabric such as cotton jersey or lace, matching thread, fold-over elastic or regular elastic, sharp fabric scissors, pins or clips, and a bralette pattern in your size.
A sewing machine with a stretch or zigzag stitch makes the job much easier, though careful hand stitching can work in a pinch.
Take a moment to read through your pattern instructions fully before cutting anything. Lay your tools on a clean, well-lit surface where you can see clearly and move freely. Good preparation now saves you frustration later and keeps the whole process calm and enjoyable.
Step 2: Take Your Measurements Accurately
Accurate measurements are the foundation of a bralette that actually fits, so grab a soft measuring tape and take your time here.
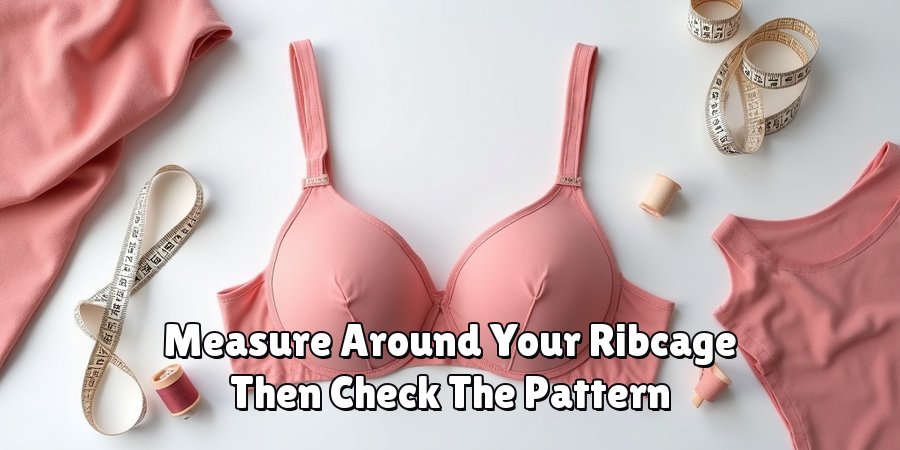
Measure around your ribcage just under the bust, then around the fullest part of your chest, keeping the tape snug but never tight. Write these numbers down right away so you do not forget them.
Compare your measurements against the pattern’s size chart rather than guessing, since sizing varies between patterns.
If you fall between two sizes, choosing the smaller one often gives a better fit with stretch fabrics, though comfort should always guide your choice.
When you learn how to sew bralette pieces that match your real body, the finished result feels custom-made.
Step 3: Cut Your Fabric With Care
With your pattern pieces ready, pin or trace them onto your fabric, paying close attention to the direction of the stretch.
For most bralettes, the greatest stretch should wrap around your body horizontally, giving comfort and support where you need it.
Double-check this before you make a single cut, because a wrong direction can ruin the fit.
Use sharp scissors or a rotary cutter for clean, smooth edges, and cut slowly along the lines. If your pattern calls for a lining, cut those pieces at the same time so everything stays organized.
Keep your cut pieces flat and labeled if needed. Careful cutting sets you up for stitching that goes together neatly and looks polished.
Step 4: Assemble The Cups And Front
Now the pieces start to come together, and this is where your bralette begins to take shape.
Place your front pieces right sides facing each other, then pin or clip along the seam lines the pattern indicates.
Sew these seams using a stretch or narrow zigzag stitch, which flexes with the fabric and prevents popped threads later on.
If you are adding a lining, layer it against the main fabric now and treat the two as one. Press your seams gently with a warm iron to help them lie flat and look professional.
Go slowly around any curved edges, easing the fabric as you stitch. Taking care at this stage rewards you with a smooth, comfortable front that fits beautifully.
Step 5: Attach The Elastic Edges
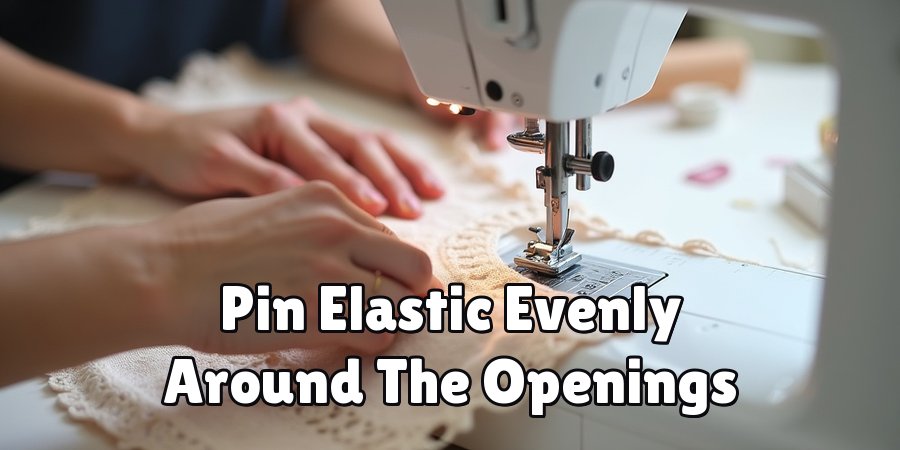
Elastic gives your bralette its snug, supportive hold, so this step matters for both comfort and shape. Measure your elastic slightly shorter than the fabric edge, since gentle tension is what keeps everything in place against your body. Pin the elastic evenly around the openings, stretching it lightly to match the fabric as you go.
Sew the elastic on with a zigzag stitch, keeping your stitches even and the tension steady throughout. Take breaks to check your work and make sure the fabric is not bunching.
If fold-over elastic feels tricky at first, practice on a scrap piece before committing to your garment. Neat, evenly attached elastic is the detail that makes your finished bralette look truly professional.
Step 6: Add The Straps And Band
The straps and band bring everything together and determine how the bralette sits on your shoulders and ribs.
Cut your strap elastic to a comfortable length, allowing a little extra for adjustment, then attach each strap securely to the front and back points shown on your pattern.
Stitch back and forth a few times at these spots for lasting strength.
For the band, attach elastic along the bottom edge using the same gentle-tension method you used earlier. This band anchors the whole garment and stops it from riding up during wear.
Try the piece on if you can before final stitching, so you can tweak strap length for the best fit. A little adjustment here makes a big difference in daily comfort.
Step 7: Finish, Test, And Adjust
You are almost there, so give your bralette a final round of care to make it wear-ready.
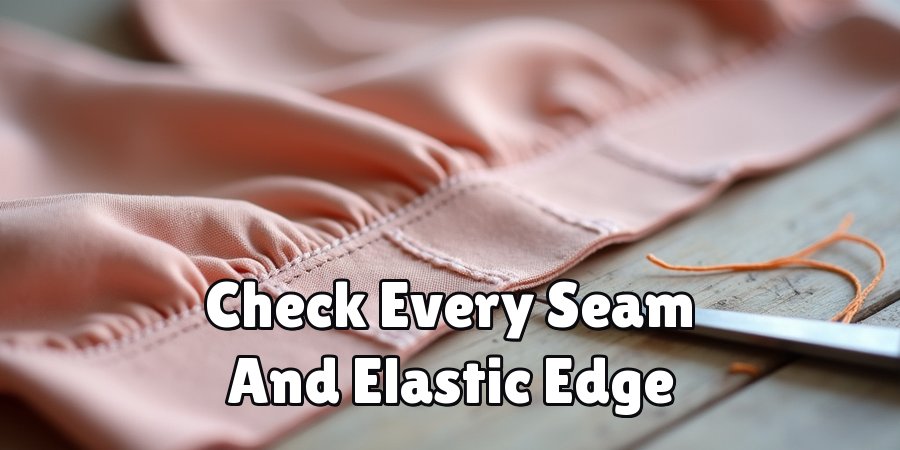
Trim any loose threads close to the fabric, and check every seam and elastic edge for gaps or weak spots.
Reinforce anything that looks loose with a few extra stitches, since a little effort now prevents problems after washing.
Turn the garment right side out and try it on, moving around to test comfort and support. Notice whether the band stays put, the straps feel secure, and the cups sit smoothly.
If something feels off, small tweaks are easy to make at this stage. Once everything feels right, you have a handmade piece that fits you perfectly and feels wonderful.
Frequently Asked Questions
What Fabric Works Best For A Beginner Bralette?
Soft stretch fabrics are your best friends when starting out, especially cotton jersey, bamboo knit, or a light stretch lace.
These materials move with your body, feel gentle against the skin, and forgive small stitching errors. Avoid stiff, non-stretch fabrics for your first project, as they can feel restrictive and are harder to fit.
A little four-way stretch gives comfort and makes the whole sewing process smoother and more enjoyable.
Do I Need A Special Sewing Machine?
You do not need anything fancy to get great results. A basic home sewing machine with a zigzag stitch handles stretch fabrics well, since the zigzag flexes with the material and prevents broken threads.
If your machine offers a dedicated stretch stitch, even better. Those without a machine can still hand sew using a stretchy stitch, though it takes more patience.
Practicing on scrap fabric first helps you find the right tension.
How Long Does It Take To Make One?
Most beginners finish a bralette in two to four hours, though your first attempt may take a little longer as you learn each step.
Cutting and preparing the fabric usually takes the most time, while the actual stitching moves fairly quickly once you get going. Do not rush the process, since careful work produces better results.
With practice, you will likely cut your time significantly on future projects.
What If The Fit Is Not Quite Right?
Fit issues are common and easy to fix, so do not feel discouraged. If the band rides up, your elastic may be too loose, so shorten it slightly for more hold.
If the cups feel tight, check your measurements against the pattern and adjust the next size. Straps that dig in usually just need lengthening.
Testing the garment before final stitching lets you catch and correct these small problems early.
Can I Reuse Fabric From Old Clothes?
Absolutely, and it is a wonderful way to save money and reduce waste. Old soft t-shirts, stretchy tank tops, and gently worn leggings can all provide great fabric for a bralette.
Just make sure the material still has good stretch and is not too worn or thin in key areas. Wash and press the fabric first, then cut your pattern pieces from the strongest sections.
Upcycling gives your project extra meaning.
Conclusion
Creating your own bralette is a rewarding project that blends practical skill-building with the joy of wearing something made just for you.
From gathering your tools and taking careful measurements to cutting fabric, assembling the cups, attaching elastic, and finishing the straps, each step brings you closer to a comfortable, custom garment.
Along the way, you gain confidence with stretch fabrics and elastic, skills that open the door to many more sewing adventures. You also save money, reduce waste, and enjoy a fit that store-bought pieces simply cannot match.
Now that you understand how to sew bralette pieces from start to finish, there is nothing holding you back from making your very first one.
Start with a simple pattern and a soft, forgiving fabric, then take each step at your own pace and celebrate every small win along the way.
Do not worry about perfection on your first try, because every project teaches you something new and makes the next one easier. Gather your materials, thread your machine, and give it a go today.

About
Bennie Wilder is a dedicated figure in the world of sewing, clothing repair, and garment care, with years of hands-on experience exploring practical techniques for making, repairing, and maintaining everyday clothing. His professional focus lies in combining traditional sewing craftsmanship with modern, easy-to-follow solutions, helping readers confidently handle common clothing problems at home. As an author at SewFixes, Bennie shares practical knowledge on sewing techniques, garment alterations, fabric care, clothing repairs, and DIY projects for beginners and experienced sewing enthusiasts alike.
Education
Fashion Institute of Technology (New York, USA)
Associate Degree in Fashion Design & Apparel Studies
- Focused on garment construction, sewing techniques, fabric fundamentals, and clothing alterations.
- Developed practical skills in pattern making, hand stitching, machine sewing, and garment finishing.
- Gained hands-on experience working with different fabrics, sewing tools, and apparel construction methods.
Academy of Art University (San Francisco, USA)
Bachelor’s in Fashion Design
- Specialized in apparel construction, textile selection, garment fitting, and contemporary clothing design.
- Studied the relationship between fabric properties, garment structure, durability, and comfort.
- Participated in practical design projects involving garment creation, alterations, repairs, and sustainable clothing practices.
Publications and Impact
Through SewFixes, Bennie shares practical insights into sewing, clothing repair, fabric care, garment alterations, and everyday DIY solutions. His writing focuses on turning complicated sewing tasks into simple, understandable steps that readers can follow at home.
Bennie covers everything from repairing torn seams and replacing buttons to fixing hems, adjusting garment fit, choosing suitable fabrics, and maintaining sewing machines and tools. His content is designed to help readers become more confident with their clothing while encouraging practical repair and reuse instead of unnecessary replacement.
Through his work, Bennie aims to bridge the gap between traditional sewing knowledge and modern everyday needs—making sewing more approachable, useful, and accessible to anyone who wants to repair better, sew smarter, and make their clothes last longer.