

A torn seam can turn your favorite shirt or pair of jeans into something you dread pulling out of the closet.
The good news is that fixing it is far easier than you might think, and you don’t need to be a sewing pro to get great results.
Learning how to sew a torn seam is one of the most practical skills you can pick up, saving you money and keeping clothes you love in rotation for years longer.
Whether the seam popped along the side of a dress, split at the crotch of your trousers, or came loose at the shoulder, the repair follows the same simple logic.
You align the fabric, secure it with stitches, and reinforce the area so it holds up to daily wear. In this guide, you’ll walk through every step at a comfortable pace, with clear explanations designed for all skill levels.
By the end, you’ll have the confidence to tackle almost any split seam that comes your way.
Why Sewing A Torn Seam Matters
Repairing a split seam is about more than just neatness. Every garment you mend is one less item heading to a landfill, which makes seam repair a small but meaningful win for the planet and your wallet. Replacing clothes adds up fast, and a five-minute fix can extend a garment’s life by years.
There’s also the confidence factor. Once you master this skill, you stop tossing perfectly good clothes over a minor flaw.
You gain independence from tailors for basic jobs and build a foundation for bigger sewing projects down the road.
Best of all, a well-mended seam is often stronger than the original, meaning your repair can outlast the surrounding fabric while keeping your favorite pieces looking sharp.
Step-by-Step Guide to How To Sew A Torn Seam
Step 1: Gather Your Tools
Before you start, set out everything you’ll need so you’re not scrambling mid-repair. A basic kit includes a needle, thread that matches your fabric color, sharp scissors, straight pins, and a seam ripper if you have one. An iron and a thimble are helpful extras that make the job smoother.
Choosing the right thread matters more than beginners expect. Cotton thread works well for natural fabrics, while polyester thread offers extra stretch and strength for knits and denim.
Matching the color keeps your repair invisible from the outside. Having your supplies ready and within reach turns a frustrating task into a calm, quick project you can finish in one sitting.
Step 2: Inspect And Prep The Damage
Take a close look at the torn area before threading your needle. Turn the garment inside out so you can see the original stitching line clearly. This helps you understand how the seam was built and where it came apart, which makes your repair blend in naturally.
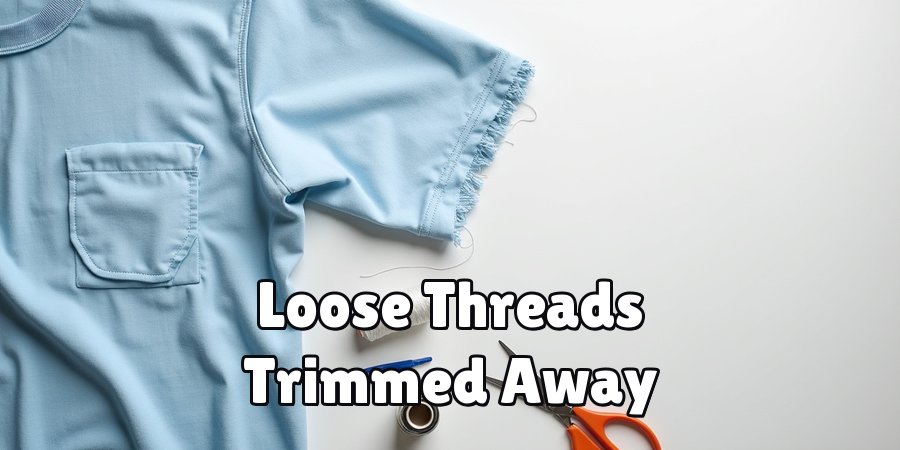
Trim away any loose or frayed threads with your scissors so they don’t get tangled in your new stitches. If the fabric edges look worn or ragged, gently smooth them together.
Prepping the area properly is where many people rush, but a clean starting point makes every following step easier. A few minutes of careful inspection now saves you from redoing the work later.
Step 3: Pin The Fabric Together
Line up the two edges of the fabric exactly as they were before the seam split. Match any patterns, seams, or hems so the finished repair looks seamless. Once aligned, hold the edges together and insert straight pins perpendicular to the seam line to keep everything in place.
Space your pins about an inch apart along the length of the tear. This prevents the fabric from shifting while you sew, which is especially important on slippery or stretchy materials.
Think of pinning as building a temporary guide that your needle will follow.
Knowing how to sew a torn seam neatly starts with this alignment, because crooked pinning almost always leads to a crooked, puckered result.
Step 4: Thread Your Needle
Cut a length of thread roughly the distance from your fingertips to your elbow, which gives you enough to work with without constant tangling. Push one end through the eye of the needle, then pull it so both ends meet and knot them together for a strong double-thread stitch.
If threading the needle feels tricky, moisten the thread tip and flatten it between your fingers for a cleaner point. A needle threader tool can also save your eyes and patience.
Tie a firm knot at the bottom so your first stitch anchors securely. This small setup step gives your entire repair the strength it needs to survive washing, stretching, and everyday movement.
Step 5: Sew The Seam With A Backstitch
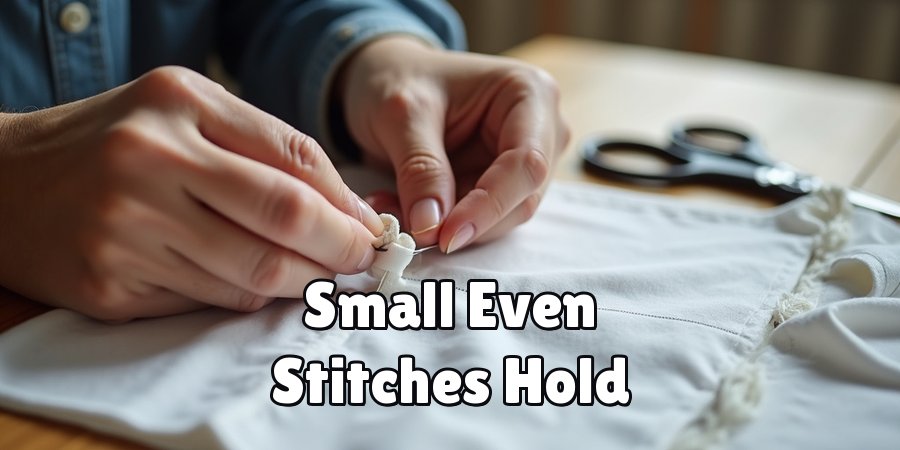
The backstitch is your best friend here because it creates a strong, continuous line that mimics machine stitching. Start just before the tear, push the needle up through the fabric, then bring it back down a short distance behind where it came up. Keep repeating this forward-and-back motion along the seam line.
Work in small, even stitches for the tidiest and most durable finish. Overlap slightly onto the intact seam at both ends of the tear so your repair connects firmly with the original stitching.
Consistent tension is key, so pull each stitch snug without bunching the fabric. This method is the heart of how to sew a torn seam that genuinely lasts.
Step 6: Secure And Knot The Thread
Once you reach the end of the tear, you need to lock your stitches so they don’t unravel. Make a tiny loop with your thread, pass the needle through it, and pull tight to form a knot right against the fabric. Repeat this two or three times for extra security.
After knotting, trim the excess thread close to the fabric, leaving just a small tail. Avoid cutting too close, or the knot may slip loose over time.
This finishing step is quick but essential, since even the neatest stitching will fail without a proper knot. Give the seam a gentle tug to confirm everything holds firmly before moving on.
Step 7: Press And Finish
Turn the garment right side out and give the repaired seam a good press with your iron. Pressing flattens the stitches, smooths any puckering, and helps the mend blend into the surrounding fabric so it becomes almost invisible.
Use a heat setting that matches your fabric type to avoid scorching or melting. For delicate materials, place a thin cloth between the iron and the garment for protection.
A final press gives your repair a polished, professional look that makes all your effort worthwhile.
Once cooled, your garment is ready to wear again, good as new and often stronger than it was before the seam ever gave way.
Frequently Asked Questions
Can I Fix A Torn Seam Without A Sewing Machine?
Absolutely, and hand sewing is often the best choice for small repairs. Using a backstitch by hand creates a strong, tidy result that rivals machine work.
Hand stitching also gives you more control in tight spots like underarms or waistbands. For most everyday seam splits, a needle, thread, and a little patience are all you truly need.
What Type Of Stitch Is Best For Seam Repairs?
The backstitch is the top choice for most seam repairs because it forms a continuous, sturdy line similar to machine stitching. It handles stress and movement well, making it ideal for high-tension areas.
For stretchy fabrics, a slight zigzag motion adds flexibility. Whipstitches work for edges, but for a split seam, the reliable backstitch delivers the strongest, longest-lasting hold.
How Do I Match The Thread Color?
Hold your thread against the garment in natural daylight to judge the color accurately, since indoor lighting can distort shades.
When you can’t find an exact match, choose a thread slightly darker than the fabric, as darker tones blend in better than lighter ones. For patterned material, match the most dominant color.
A close match keeps your repair discreet and nearly invisible from the outside.
Will The Repaired Seam Be Strong Enough?
Yes, a properly stitched seam is frequently stronger than the original factory seam. Small, even backstitches distribute stress across the fabric and resist reopening under pressure.
Reinforcing the ends and tying secure knots adds durability that holds up to regular washing and wear. Many home repairs outlast the surrounding fabric, so you can trust your mend for daily use with confidence.
How Long Does It Take To Fix A Torn Seam?
Most seam repairs take between ten and twenty minutes, depending on the length of the tear and your comfort level.
A short split near a hem might take just five minutes, while a longer seam could stretch closer to half an hour. Gathering your tools ahead of time speeds things up considerably.
With a little practice, you’ll find the whole process becomes quick and satisfying.
Conclusion
Fixing a split seam is a genuinely empowering skill that pays off every time a favorite garment gets a second life.
You’ve now seen how to sew a torn seam from start to finish, gathering your tools, prepping the damage, pinning carefully, stitching with a strong backstitch, knotting securely, and pressing for a clean finish.
Each step builds on the last, and none of them require expert-level talent.
The real takeaway is that small repairs make a big difference for your wallet, your wardrobe, and the environment.
So grab that shirt with the popped seam sitting in your mending pile and give it a try.
Start with one easy fix, build your confidence, and you’ll soon handle splits and tears without a second thought. Your clothes, and your future self, will thank you for it.

About
Bennie Wilder is a dedicated figure in the world of sewing, clothing repair, and garment care, with years of hands-on experience exploring practical techniques for making, repairing, and maintaining everyday clothing. His professional focus lies in combining traditional sewing craftsmanship with modern, easy-to-follow solutions, helping readers confidently handle common clothing problems at home. As an author at SewFixes, Bennie shares practical knowledge on sewing techniques, garment alterations, fabric care, clothing repairs, and DIY projects for beginners and experienced sewing enthusiasts alike.
Education
Fashion Institute of Technology (New York, USA)
Associate Degree in Fashion Design & Apparel Studies
- Focused on garment construction, sewing techniques, fabric fundamentals, and clothing alterations.
- Developed practical skills in pattern making, hand stitching, machine sewing, and garment finishing.
- Gained hands-on experience working with different fabrics, sewing tools, and apparel construction methods.
Academy of Art University (San Francisco, USA)
Bachelor’s in Fashion Design
- Specialized in apparel construction, textile selection, garment fitting, and contemporary clothing design.
- Studied the relationship between fabric properties, garment structure, durability, and comfort.
- Participated in practical design projects involving garment creation, alterations, repairs, and sustainable clothing practices.
Publications and Impact
Through SewFixes, Bennie shares practical insights into sewing, clothing repair, fabric care, garment alterations, and everyday DIY solutions. His writing focuses on turning complicated sewing tasks into simple, understandable steps that readers can follow at home.
Bennie covers everything from repairing torn seams and replacing buttons to fixing hems, adjusting garment fit, choosing suitable fabrics, and maintaining sewing machines and tools. His content is designed to help readers become more confident with their clothing while encouraging practical repair and reuse instead of unnecessary replacement.
Through his work, Bennie aims to bridge the gap between traditional sewing knowledge and modern everyday needs—making sewing more approachable, useful, and accessible to anyone who wants to repair better, sew smarter, and make their clothes last longer.