

A kaftan is one of the most forgiving garments you can make, which makes it perfect if you are just getting comfortable at the sewing machine.
It is a loose, flowing dress or robe with wide sleeves, and it works for lounging at home, throwing over swimwear, or dressing up for a warm evening out.
The best part is that you do not need advanced skills or a complicated pattern to create one.
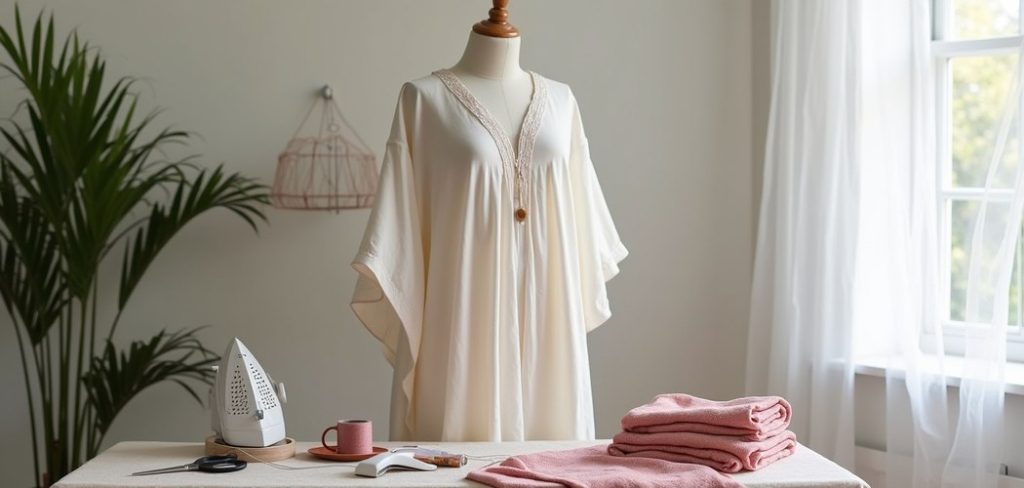
Learning how to sew a kaftan gives you a chance to practice straight seams, simple hems, and neckline finishing without the pressure of fitted tailoring. Because the shape is relaxed, small mistakes tend to disappear into the drape of the fabric. That means you can focus on enjoying the process and building real confidence.
In this guide, we will walk through everything step by step, from choosing your fabric to adding those finishing touches. Whether you want a beach cover-up or a cozy house robe, you will finish with a garment you can actually wear and feel proud of.
Why Sewing A Kaftan Is Worth Learning
Making your own kaftan pays off in more ways than one. Store-bought versions can be expensive, and they rarely fit exactly how you want. When you sew your own, you choose the length, the fabric weight, and the neckline that suits your body and style.
It is also a fantastic skill-builder. You get to practice core techniques such as measuring, cutting, and hemming, all within a project that comes together quickly. That quick win keeps you motivated and reduces the frustration many beginners feel.
Beyond the practical side, there is real satisfaction in wearing something you created with your own hands. You can experiment with prints, add embellishments, and reuse the same basic method again and again. One pattern can become an entire wardrobe of comfortable, personalized pieces.
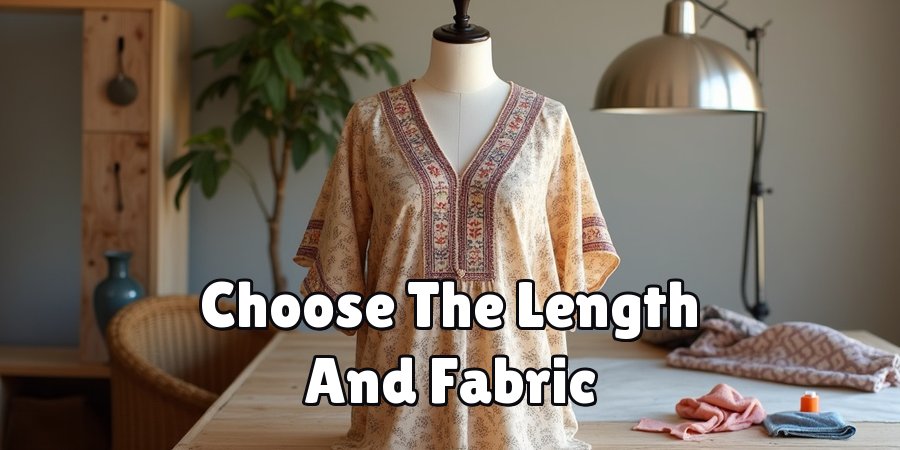
Step-by-Step Guide To How To Sew A Kaftan
Step 1: Gather Your Materials
Before anything else, set out everything you will need so you are not hunting for supplies mid-project.
You will want around two to three yards of lightweight fabric such as cotton, rayon, or a soft linen blend, since these drape beautifully and are easy to handle.
Grab matching thread, sharp scissors or a rotary cutter, pins, a measuring tape, and an iron.
Having your tools ready makes the whole experience smoother and more enjoyable. Learning how to sew a kaftan becomes far less stressful when your workspace is organized. Take a moment to press your fabric flat as well, because wrinkles now will lead to crooked cutting lines later on.
Step 2: Take Your Measurements
Accurate measurements are the foundation of a garment that actually fits the way you imagine. Measure the width across your shoulders, then measure from your shoulder down to where you want the hem to fall.
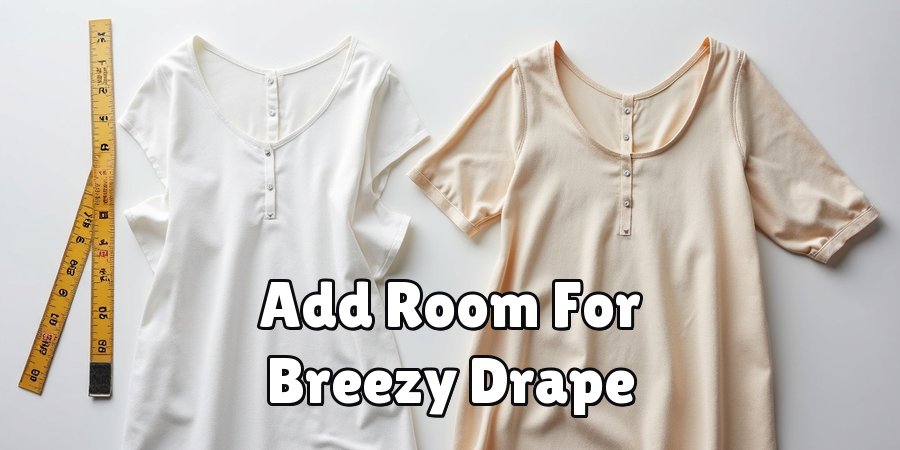
Add a few extra inches for a loose, breezy drape, since a kaftan is meant to skim the body rather than hug it.
Write these numbers down so you can refer to them while cutting. If you are unsure, err on the side of slightly larger, because you can always take a garment in but you cannot easily add fabric back. This relaxed sizing is exactly what makes the style so beginner-friendly.
Step 3: Fold And Mark Your Fabric
Lay your pressed fabric on a flat surface and fold it in half lengthwise, then in half again so you have four layers.
This folding trick lets you cut a symmetrical shape in one go, which saves time and keeps both sides even.
Use your measurements to mark the shoulder width, the body width, and the total length with tailor’s chalk or a fabric pen.
Draw a gentle line from the shoulder outward for the sleeves, then straight down for the body. Double-check your marks before you commit. A calm, careful approach here prevents the most common cutting errors that trip up newcomers.
Step 4: Cut Out The Shape
With your marks in place, cut carefully along the lines through all the folded layers at once. Keep your scissors steady and follow your chalk closely so both halves match perfectly. Do not rush this part, because clean edges make sewing much easier down the line.
When you unfold the fabric, you should see a wide T-shape with attached sleeves. This is the entire body of your garment in a single piece, which is why this style is so approachable. Knowing how to sew a kaftan really comes down to mastering this simple, symmetrical cut before you ever touch the machine.
Step 5: Cut And Finish The Neckline
The neckline is where you add personality and comfort. Fold the fabric at the shoulder line and cut a small curved or V-shaped opening at the center, starting modestly since you can always widen it later. Try the opening over your head to check that it fits comfortably without being too loose.
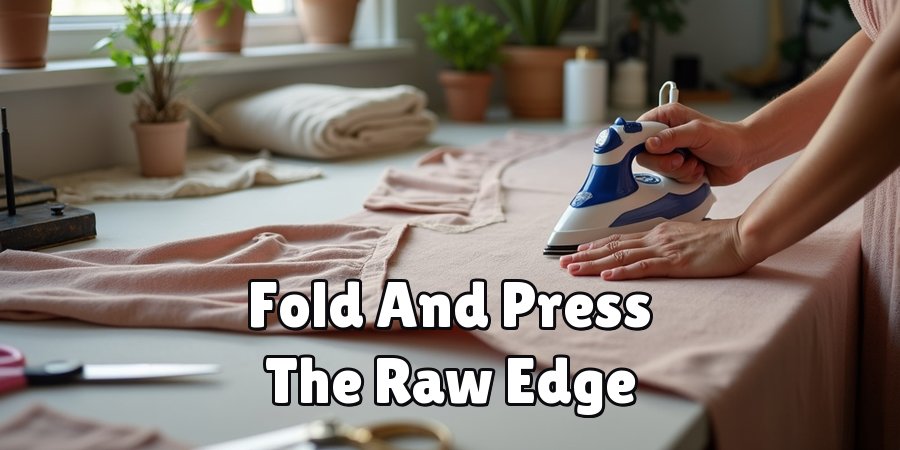
To finish the raw edge, fold it under twice and press, then stitch around the opening for a clean look. Alternatively, you can add bias tape for a neat, professional finish. Take your time here, because the neckline is the first thing people notice and a tidy edge makes a big difference.
Step 6: Sew The Side And Sleeve Seams
Now for the satisfying part where your garment truly takes shape. Fold the fabric right sides together along the shoulders, then pin along the sleeves and down each side. Leave the bottom of the sides open if you want small slits for extra movement, which also adds a stylish touch.
Stitch from the sleeve edge down toward the hem using a straight stitch, keeping a consistent seam allowance of about half an inch. Backstitch at the start and end to secure your threads. When you turn the piece right side out, you will suddenly see a wearable garment emerge from your flat fabric.
Step 7: Hem And Add Finishing Touches
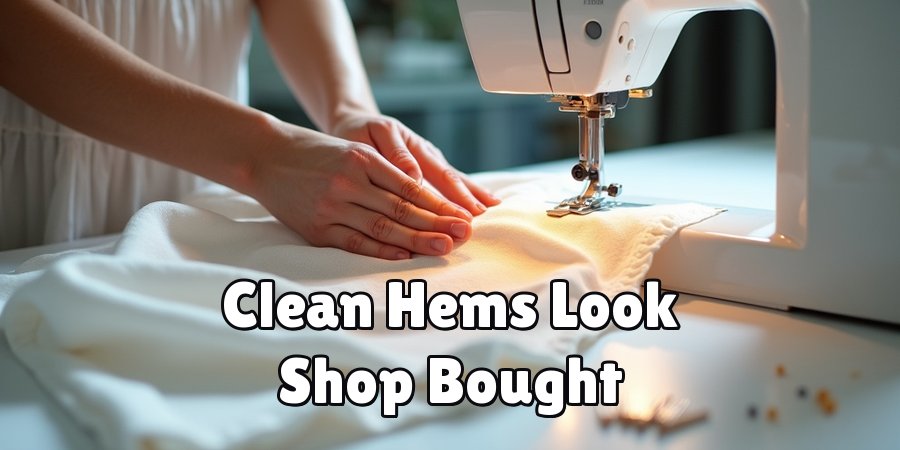
You are almost there, so finish strong with clean hems. Fold the bottom edge and each sleeve edge under twice, press them flat, and stitch all the way around for a durable, polished finish. Pressing as you go really is the secret to results that look shop-bought rather than homemade.
At this stage you can personalize your creation. Add a tassel, a decorative trim, or a fabric belt to change the whole silhouette. Give the entire garment a final press, try it on, and admire your work. You have just built a wearable piece from scratch, and that is a genuine achievement.
Frequently Asked Questions
What Fabric Is Best For A Beginner Kaftan?
Lightweight, breathable fabrics work best for your first attempt. Cotton, rayon, and soft linen blends are forgiving, easy to cut, and drape nicely without slipping around under your machine.
Avoid heavy, stretchy, or very slippery materials at first, since they can be tricky to control. Once you feel confident with the basic method, you can happily experiment with silkier or patterned fabrics.
How Long Does It Take To Make One?
Most beginners can finish a simple version in a single afternoon, roughly two to four hours depending on your pace.
Cutting and pressing take the most time, while the actual stitching moves quickly because the seams are straight.
If you are brand new to sewing, give yourself a little extra breathing room and enjoy the process rather than rushing toward the finish line.
Do I Need A Sewing Pattern?
You do not need a store-bought pattern at all. The beauty of this garment is that your own measurements become the pattern, which keeps things affordable and flexible.
By folding your fabric and marking a simple T-shape, you create a custom fit without printed instructions.
If you prefer extra guidance, you can trace an existing loose top you already own as a helpful reference.
Can I Adjust The Size For A Looser Fit?
Absolutely, and this is one of the biggest advantages of the style. To make it roomier, simply add width when you mark the body and sleeves before cutting.
Adding a few extra inches creates that relaxed, flowing drape many people love. Because the shape is so forgiving, you have plenty of freedom to customize the fit to match your comfort and personal taste.
What If My Seams Look Uneven?
Uneven seams are completely normal when you are learning, so do not be discouraged. Practice keeping a steady seam allowance by using the guide lines on your machine’s plate.
If a seam looks off, you can unpick it and restitch without harming the fabric. The relaxed drape of this garment naturally hides minor imperfections, which is exactly why it suits newcomers so well.
Conclusion
Making a flowing, comfortable garment from a flat piece of fabric is one of the most rewarding beginner projects you can take on.
Along the way, you have practiced measuring, cutting, finishing a neckline, and hemming, all skills that will carry over into future sewing adventures.
Best of all, you now own a piece that fits your body, your style, and your taste perfectly.
Now that you understand how to sew a kaftan from start to finish, the only thing left to do is dive in and try it for yourself.
Choose a fabric you love, set aside an afternoon, and enjoy the process without worrying about being perfect.
Each version you make will get faster and cleaner, and before long you will have a whole collection of handmade pieces to wear proudly.

About
Bennie Wilder is a dedicated figure in the world of sewing, clothing repair, and garment care, with years of hands-on experience exploring practical techniques for making, repairing, and maintaining everyday clothing. His professional focus lies in combining traditional sewing craftsmanship with modern, easy-to-follow solutions, helping readers confidently handle common clothing problems at home. As an author at SewFixes, Bennie shares practical knowledge on sewing techniques, garment alterations, fabric care, clothing repairs, and DIY projects for beginners and experienced sewing enthusiasts alike.
Education
Fashion Institute of Technology (New York, USA)
Associate Degree in Fashion Design & Apparel Studies
- Focused on garment construction, sewing techniques, fabric fundamentals, and clothing alterations.
- Developed practical skills in pattern making, hand stitching, machine sewing, and garment finishing.
- Gained hands-on experience working with different fabrics, sewing tools, and apparel construction methods.
Academy of Art University (San Francisco, USA)
Bachelor’s in Fashion Design
- Specialized in apparel construction, textile selection, garment fitting, and contemporary clothing design.
- Studied the relationship between fabric properties, garment structure, durability, and comfort.
- Participated in practical design projects involving garment creation, alterations, repairs, and sustainable clothing practices.
Publications and Impact
Through SewFixes, Bennie shares practical insights into sewing, clothing repair, fabric care, garment alterations, and everyday DIY solutions. His writing focuses on turning complicated sewing tasks into simple, understandable steps that readers can follow at home.
Bennie covers everything from repairing torn seams and replacing buttons to fixing hems, adjusting garment fit, choosing suitable fabrics, and maintaining sewing machines and tools. His content is designed to help readers become more confident with their clothing while encouraging practical repair and reuse instead of unnecessary replacement.
Through his work, Bennie aims to bridge the gap between traditional sewing knowledge and modern everyday needs—making sewing more approachable, useful, and accessible to anyone who wants to repair better, sew smarter, and make their clothes last longer.