

A crooked or fraying edge can turn a great garment into something you never want to wear again.
Learning how to sew a hem gives you the power to fix that, whether you are shortening a pair of jeans, saving a favorite dress, or finishing a project you made yourself.
The good news is that this skill is friendlier than it looks, and you do not need years of experience to get clean, professional-looking results.
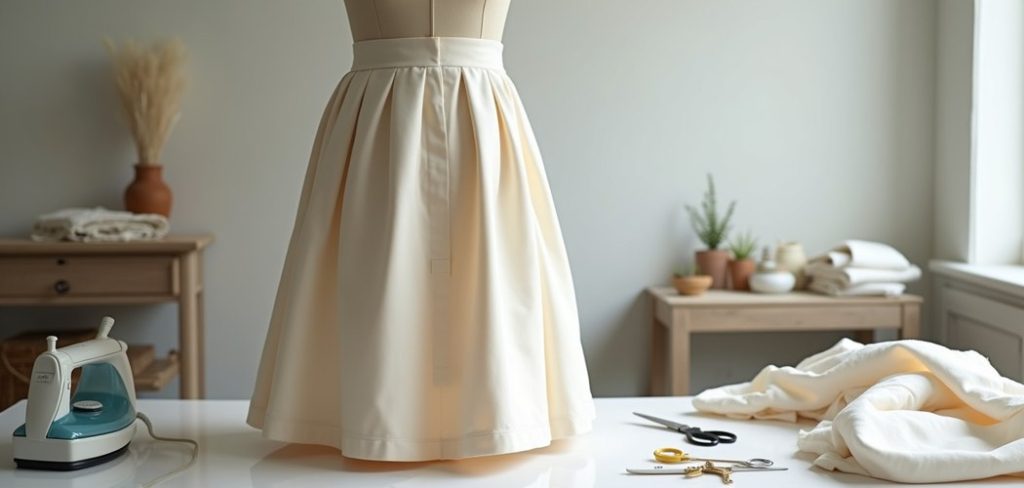
A hem is simply the folded and stitched edge at the bottom of fabric, and it stops threads from unraveling while giving your piece a tidy finish.
Once you understand the basic steps, you can adapt them to almost any fabric or garment. This guide walks you through everything from measuring to the final stitch, so you feel confident at every stage.
Take your time, follow along at your own pace, and you will be surprised how quickly this becomes second nature.
Why Hemming Matters
Hemming is one of those small skills that saves you money, time, and frustration.
Instead of paying a tailor for every alteration or tossing a garment that is slightly too long, you can adjust it yourself in minutes.
A neat hem also protects the raw edge of your fabric, which means your clothes last longer and look sharper.
Beyond repairs, hemming gives you creative freedom. You can customize the length of skirts, trousers, and curtains to suit your exact needs.
It builds a strong foundation for bigger sewing projects too, so the confidence you gain here carries over into everything else you create.
Simply put, mastering this technique makes you more self-reliant and your wardrobe more versatile.
Step-by-Step Guide to How To Sew A Hem
Step 1: Gather Your Tools
Before you begin, set up a small kit so you are not scrambling mid-project. You will want fabric scissors, matching thread, pins, a measuring tape, an iron, and either a needle or a sewing machine.
A seam gauge helps too, since it makes measuring short distances quick and accurate. Choose thread that matches your fabric color as closely as possible, because this keeps your stitches discreet.
Having everything within reach reduces mistakes and keeps your focus on the work itself.
Think of this stage as preparing your workspace so the rest of the process feels smooth, calm, and genuinely enjoyable from the very first stitch.
Step 2: Measure The Length
Accurate measuring is the difference between a hem you love and one you redo.
Put the garment on, or use one that already fits well as a reference, then mark where you want the finished edge to fall.
Use pins or tailor’s chalk to note that line all the way around. Remember to add extra fabric below your mark for the fold, usually around one to two inches depending on the style.
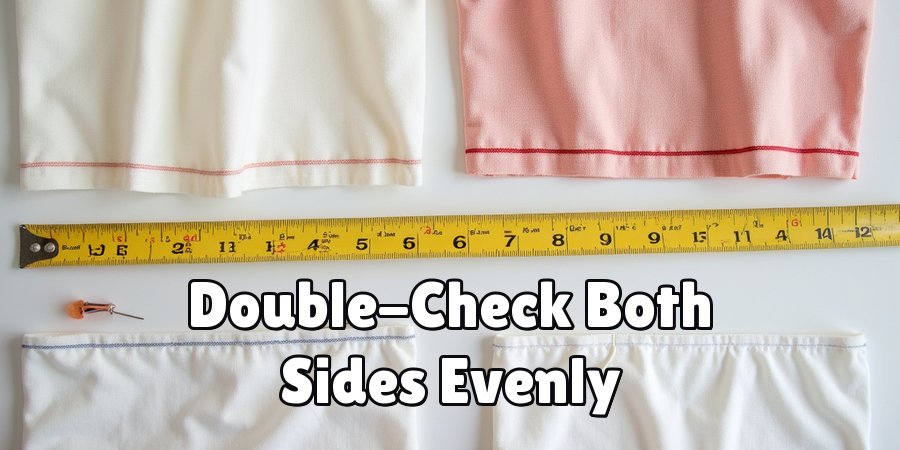
Double-check your measurements on both sides so the hem stays even. Learning how to sew a hem starts with patience here, because a few careful minutes now prevents crooked results later on.
Step 3: Trim The Excess
Once your measurements are set, trim away any fabric you do not need. Cut slowly along your marked line, keeping your scissors steady for a clean edge.
If the garment is very long, leave a little more than you think you need, since you can always trim again but you cannot add fabric back.
Straight cuts make folding easier and give you a more professional finish. For curved hems, such as those on skirts, cut in small, controlled snips rather than one long motion.
This keeps the shape smooth and helps you avoid jagged spots that would show once the hem is folded up.
Step 4: Press The Fold
Pressing is a step beginners often skip, yet it makes everything easier. Fold the raw edge up by about a quarter to half an inch, then press it flat with your iron.
Fold again to your desired hem depth and press once more. This double fold hides the raw edge inside, so nothing frays over time.
The iron creates a crisp crease that acts like a guide when you stitch, keeping your line straight. Take care with heat settings, matching them to your fabric type to avoid scorching.
A well-pressed fold holds its shape and gives your final stitches a neat, tailored appearance you can be proud of.
Step 5: Pin Everything In Place
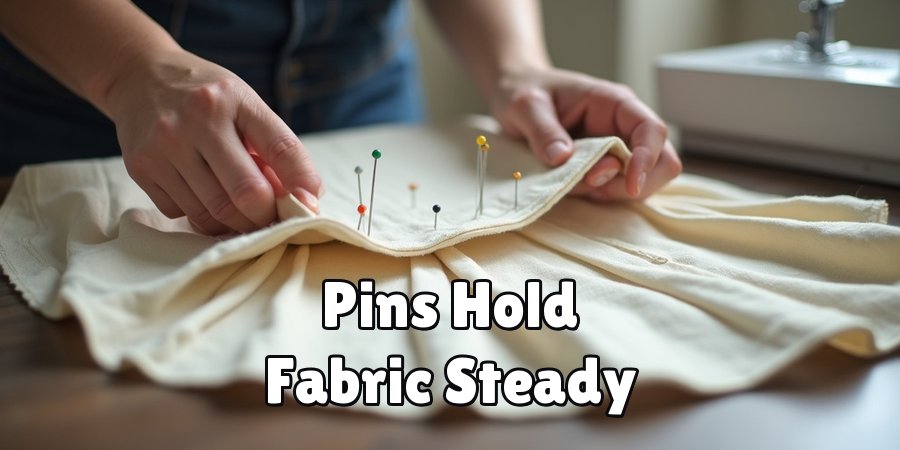
With your fold pressed, secure it using pins placed every few inches around the edge. Position the pins perpendicular to the fold so they are easy to remove as you stitch.
This holds the fabric steady and stops it from shifting, which is especially helpful on slippery materials.
Check that the fold depth stays consistent all the way around, adjusting any spots that look uneven before you commit to sewing.
If you prefer, you can use fabric clips instead of pins for thicker layers. Taking a moment to pin properly gives you real-time control and makes the actual stitching far more predictable and stress-free.
Step 6: Sew The Hem
Now for the main event. If you are using a machine, stitch slowly along the top edge of your fold, keeping a steady distance from the crease for an even line.
Remove each pin just before it reaches the needle. When you understand how to sew a hem by hand, a slip stitch works beautifully because it stays nearly invisible from the front.
Simply catch a tiny thread of the main fabric, then pass through the fold, repeating in small, even movements.
Either method works well, so pick whichever feels most comfortable for your skill level and the fabric you are working with today.
Step 7: Press And Inspect
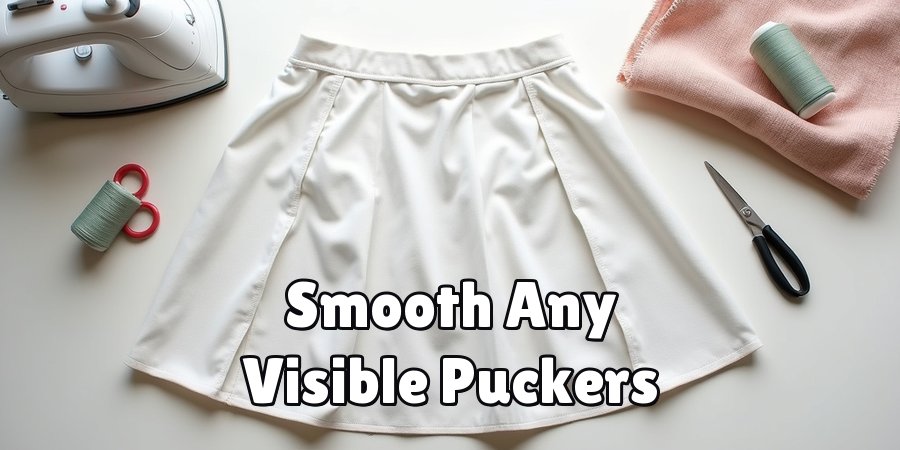
Give your finished hem one last press to set the stitches and smooth any puckers. Turn the garment right side out and look closely at your work in good light.
Check that the stitches are even, the length is correct, and nothing has bunched up. If you spot a loose thread, trim it neatly rather than pulling it.
This final review is your feedback loop, helping you catch small issues before you wear or use the item.
Inspecting your work each time also helps you improve, since you learn what worked well and what you might adjust on your very next project.
Frequently Asked Questions
What Is The Easiest Hem For Beginners?
The double-fold straight hem is the friendliest place to start. It hides the raw edge inside two folds, so fraying is not a concern, and it works on most everyday fabrics like cotton.
Because the folds create a built-in guide, your stitches stay straighter with less effort. Practice on a scrap piece first to build confidence before moving on to a real garment.
Do I Need A Sewing Machine?
Not at all. Many people finish beautiful hems entirely by hand using a simple slip stitch or blind stitch. Hand sewing gives you extra control on delicate fabrics and is quieter and more portable.
A machine is faster for long edges and heavier materials, so it becomes handy as you take on bigger projects. Start with whatever tools you already own.
How Do I Hem Stretchy Fabric?
Stretchy knits need a stitch that moves with the fabric, so a straight stitch can snap. A zigzag stitch or a twin needle keeps the seam flexible and prevents popped threads.
If you have a machine with a stretch setting, use it. Go slowly and avoid pulling the fabric as it feeds through, since stretching while stitching causes wavy, uneven edges.
Why Does My Hem Look Puckered?
Puckering usually comes from tension that is too tight, stitches that are too small, or fabric being stretched as you sew. Loosen your machine tension slightly and let the fabric feed naturally without tugging.
Pressing before and after stitching also smooths things out. On lightweight fabrics, a fresh, sharp needle makes a noticeable difference and helps your edge lie flat and clean.
How Much Fabric Should I Leave For A Hem?
For most garments, leaving one to two inches below your finished line works well. This gives you enough to create a double fold that hides the raw edge.
Thicker hems suit trousers and curtains, while lighter fabrics look best with a narrow fold. When in doubt, leave a little extra, since you can always trim away more but you cannot add fabric back.
Conclusion
Finishing a clean edge is a skill that pays you back again and again, from quick repairs to fully customized clothing.
You have now walked through gathering your tools, measuring carefully, folding and pressing, pinning, stitching, and inspecting your work, which are the core building blocks that make how to sew a hem feel approachable at any skill level.
Each step builds on the last, so the more you practice, the more natural and quick the whole process becomes.
The best way to lock in what you have learned is to try it today on a real project. Grab a garment that needs shortening, set up your simple kit, and take it one step at a time.
Do not worry about perfection on your first attempt, since every hem teaches you something useful for the next.
With a little patience and steady practice, you will soon be finishing edges with confidence and enjoying the freedom that comes with doing it yourself.

About
Bennie Wilder is a dedicated figure in the world of sewing, clothing repair, and garment care, with years of hands-on experience exploring practical techniques for making, repairing, and maintaining everyday clothing. His professional focus lies in combining traditional sewing craftsmanship with modern, easy-to-follow solutions, helping readers confidently handle common clothing problems at home. As an author at SewFixes, Bennie shares practical knowledge on sewing techniques, garment alterations, fabric care, clothing repairs, and DIY projects for beginners and experienced sewing enthusiasts alike.
Education
Fashion Institute of Technology (New York, USA)
Associate Degree in Fashion Design & Apparel Studies
- Focused on garment construction, sewing techniques, fabric fundamentals, and clothing alterations.
- Developed practical skills in pattern making, hand stitching, machine sewing, and garment finishing.
- Gained hands-on experience working with different fabrics, sewing tools, and apparel construction methods.
Academy of Art University (San Francisco, USA)
Bachelor’s in Fashion Design
- Specialized in apparel construction, textile selection, garment fitting, and contemporary clothing design.
- Studied the relationship between fabric properties, garment structure, durability, and comfort.
- Participated in practical design projects involving garment creation, alterations, repairs, and sustainable clothing practices.
Publications and Impact
Through SewFixes, Bennie shares practical insights into sewing, clothing repair, fabric care, garment alterations, and everyday DIY solutions. His writing focuses on turning complicated sewing tasks into simple, understandable steps that readers can follow at home.
Bennie covers everything from repairing torn seams and replacing buttons to fixing hems, adjusting garment fit, choosing suitable fabrics, and maintaining sewing machines and tools. His content is designed to help readers become more confident with their clothing while encouraging practical repair and reuse instead of unnecessary replacement.
Through his work, Bennie aims to bridge the gap between traditional sewing knowledge and modern everyday needs—making sewing more approachable, useful, and accessible to anyone who wants to repair better, sew smarter, and make their clothes last longer.