

A drawstring pouch is one of the friendliest projects you can pick up when you are new to sewing. It uses very little fabric, forgives small mistakes, and gives you a genuinely useful item in under an hour.
If you have ever wondered how to sew a drawstring pouch that holds gifts, snacks, jewelry, or travel essentials, you are in the perfect spot.
This guide breaks the entire process into small, clear steps that suit every skill level.
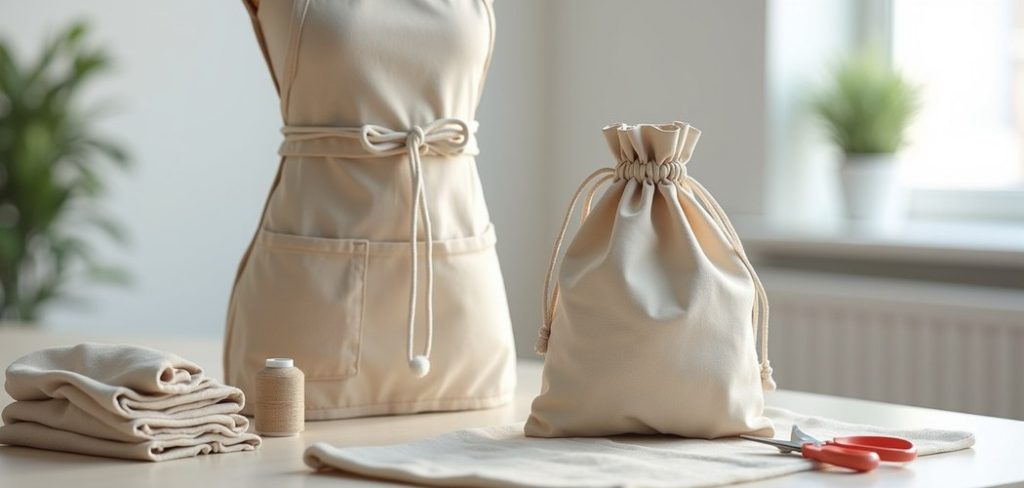
Why does this matter for you? Making your own pouch means you control the size, fabric, and finish instead of settling for whatever a store stocks.
You also practice core habits, like measuring accurately and sewing straight seams, that carry into bigger projects later. Think of this as your gentle starting point, packed with practical detail and no confusing jargon.
By the end, you will have a finished pouch you can be proud of and the confidence to make plenty more.
Why Sewing A Drawstring Pouch Is Worth Learning
Sewing your own pouch gives you fast wins, and fast wins keep beginners motivated. The project relies mostly on straight stitches, so you build the single most useful skill in sewing without any pressure. You also save money over time, since a small scrap of fabric costs far less than a shop-bought bag.
Beyond the budget, there is real creative freedom here. You choose fabrics that match the purpose, from sturdy canvas for tools to soft cotton for gifts, and you size the pouch to fit exactly what you need.
A handmade pouch also makes a thoughtful, reusable gift wrap that people genuinely appreciate.
Best of all, these techniques transfer straight to tote bags, pillow covers, and simple garments, so every minute you invest pays off well beyond this one project.
Step-by-Step Guide To How To Sew A Drawstring Pouch
Step 1: Choose Your Fabric And Cord
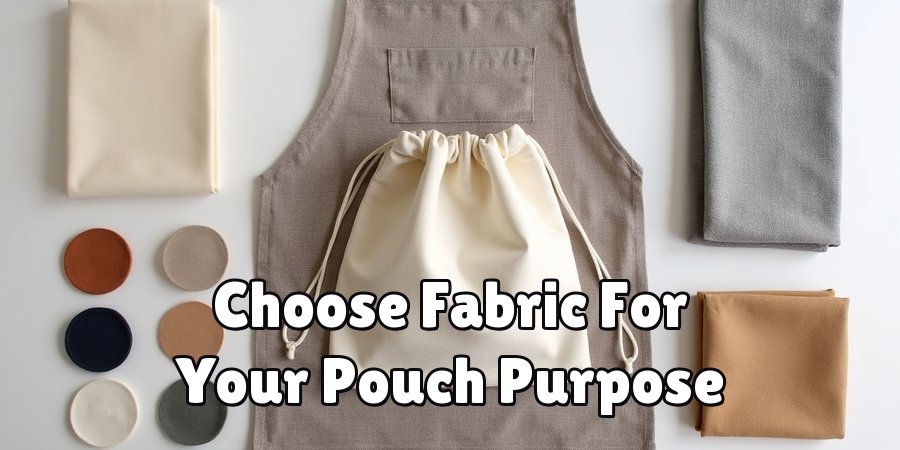
Start by picking a fabric that matches how you plan to use your pouch. Medium-weight cotton is a forgiving choice for beginners because it presses well and does not slip around while you work.
For sturdier bags, canvas or linen holds shape nicely, while soft cotton suits delicate gift pouches. Pick a cord, ribbon, or thin rope for the drawstring that slides easily and feels comfortable to pull.
Feel the fabric before you commit and drape it over your hand to test how it folds. A fat quarter is plenty for a small pouch, and buying a little extra gives you room to fix any mistakes without stress along the way.
Step 2: Gather Your Tools And Materials
Good preparation makes the whole project smoother, so collect everything before you begin.
You will want fabric scissors or a rotary cutter, a ruler, pins or clips, matching thread, an iron, and a safety pin for threading the cord later.
A sewing machine speeds things along, though you can hand sew a pouch if you enjoy a quieter, slower pace.
Keep your workspace tidy and well lit so you can see your seams clearly as you go. Wind a fresh bobbin and thread your machine before you cut anything. Having your tools within easy reach means you stay focused on the enjoyable part, which is watching your little pouch take shape.
Step 3: Measure And Cut Your Fabric
Accurate cutting sets the foundation for a neat result, so take your time here.
For a handy all-purpose pouch, cut two rectangles measuring about 8 inches wide by 10 inches tall, though you can adjust these numbers to suit whatever you plan to store.
Mark your measurements with tailor’s chalk or a washable pen, then use a ruler to draw straight guide lines before cutting.
Learning how to sew a drawstring pouch really begins with clean, even cutting, since straight edges make every later step far easier. Cut slowly along your marked lines, keeping the fabric flat and smooth so your two pieces match up perfectly when you place them together.
Step 4: Create The Casing Channel
The casing is the folded channel near the top that holds your drawstring, so this step gives the pouch its function.
Along the top edge of each fabric piece, fold the raw edge down by about a quarter inch and press it flat with your iron.
Then fold it again by roughly one inch to form a wide channel, pressing firmly so the fold stays crisp and easy to sew.
Stitch close to the lower folded edge to lock the channel in place, leaving both short ends open so the cord can pass through later. Pressing before you sew is a small habit that dramatically improves how tidy your finished pouch looks.
Step 5: Sew The Side And Bottom Seams
Now the pouch really starts to form, which is the satisfying part.
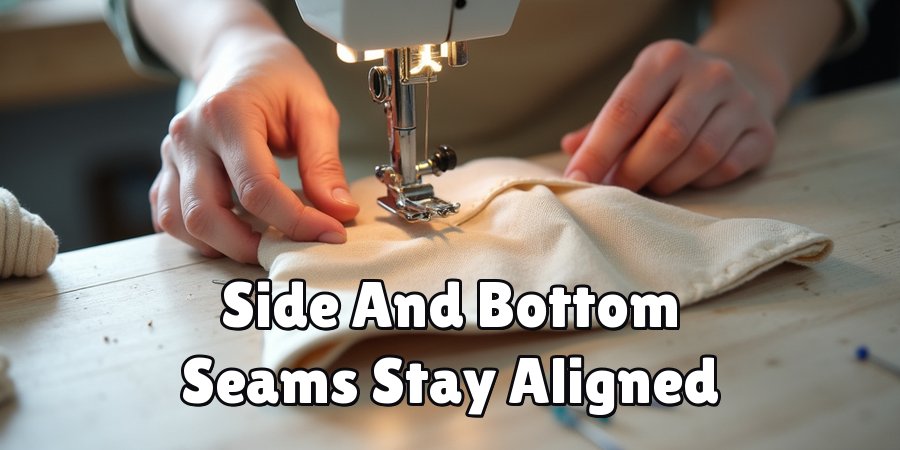
Place your two fabric pieces right sides together and pin along both sides and the bottom, keeping your casing folds aligned at the top.
Set your machine to a straight stitch of medium length, then sew a quarter inch from the edge down one side, across the bottom, and up the other side.
Here is the key to how to sew a drawstring pouch that lasts, and it comes down to stopping your side seams just below the casing channel so you leave a gap for the cord. Backstitch at the start and end of each seam to secure everything firmly.
Step 6: Turn And Press The Pouch
With your seams stitched, gently pull the pouch right side out through the open top.
Use a blunt tool, like a chopstick or a knitting needle, to push the bottom corners out fully so they look sharp and square.
Take care here, since forcing the fabric too hard can strain a fresh seam and leave you unpicking stitches.
Once turned, lay the pouch flat and press it thoroughly with your iron. Pressing sets the seams, smooths any puckering, and gives the whole piece a polished, store-bought finish.
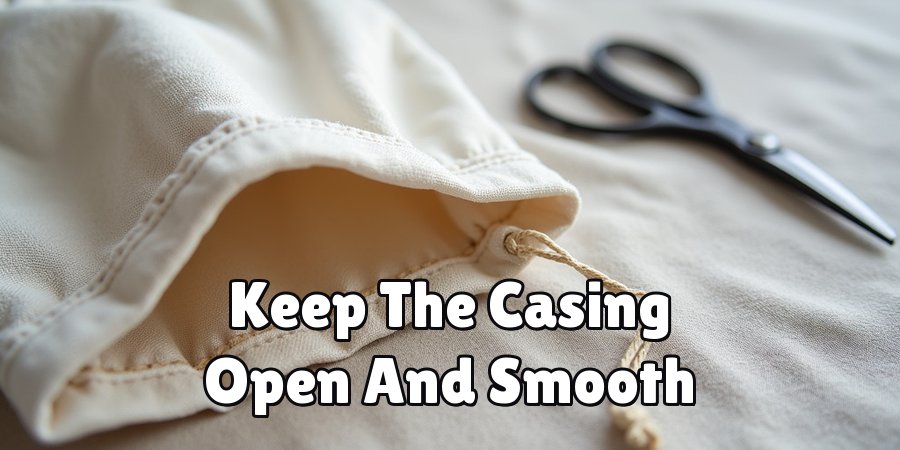
Run your fingers along the casing channel to make sure it stays open and ready, because that clear channel makes threading the cord much simpler in the next step.
Step 7: Thread The Drawstring And Finish
This final stage brings your pouch to life. Attach a safety pin to one end of your cord and feed it into the casing channel through one of the side openings.
Work the pin along the channel, gathering the fabric and sliding it back until the pin comes out the other side.
Pull both ends even, then tie a secure knot so the cord cannot slip back inside.
For a pouch that cinches from both sides, thread a second cord starting from the opposite opening and knot it too. Trim any frayed ends, give the finished pouch one last press, and it is ready to fill.
Frequently Asked Questions
What Is The Best Fabric For A Beginner Pouch?
Medium-weight cotton is an excellent starting choice because it holds its shape, presses well, and does not slip around while you sew. It forgives slightly uneven stitches, which helps you build confidence fast.
Avoid very slippery or stretchy materials at first, since they demand more control. Once you feel comfortable with straight seams, you can happily experiment with canvas, linen, or fun printed fabrics.
How Big Should A Drawstring Pouch Be?
The right size depends entirely on what you plan to store inside.
A small pouch around 5 by 6 inches suits jewelry or coins, while an 8 by 10 inch version handles snacks, toiletries, or gifts nicely.
Always cut your fabric slightly larger than the finished size to allow for seams. Adjusting the dimensions to your own needs is one of the real joys of making it yourself.
Can I Make A Pouch Without A Sewing Machine?
Absolutely, and many beginners enjoy the calm, steady rhythm of hand sewing. A simple backstitch along the sides and bottom creates strong, reliable seams with full control over each pass.
It takes a little more time, yet the result looks just as neat when your stitches stay small and even. Hand sewing also works beautifully for adding decorative touches or securing the casing channel.
How Do I Stop The Edges From Fraying?
Sewing your seams with the right seam allowance keeps most fraying hidden inside the pouch.
For extra durability, you can finish the raw edges with a zigzag stitch, use pinking shears that cut a fray-resistant zigzag edge, or add a thin line of fray-check liquid.
Pressing your seams open also helps the fabric sit flat, which reduces the loose threads that tend to unravel over time.
What Kind Of Cord Works Best?
Cotton cord, satin ribbon, or thin rope all make great drawstrings, so pick one that slides smoothly through the casing.
Rounded cords pull easily and feel comfortable in the hand, while flat ribbon gives a softer, decorative look.
Make sure your cord is thin enough to move freely yet thick enough to grip when you tighten it. Cutting it a few inches longer than needed leaves room for a secure knot.
Conclusion
Making a pouch is proof that beginner sewing can be simple, quick, and genuinely useful.
You have learned how to sew a drawstring pouch from start to finish, from choosing the right fabric and cutting clean rectangles to forming a neat casing and threading the cord.
Each step builds a skill you will reuse in countless future projects, so this small bag is really a launchpad toward bigger creative goals.
The best way to lock in what you have read is to gather your materials and start today. Pick a fabric you love, take your time with each seam, and enjoy the process without chasing perfection.
Your first pouch might have tiny quirks, and that is exactly what makes it yours. Once you finish, you will feel ready to tackle new patterns with real confidence.
So grab your scissors, thread your needle, and give it a go.

The Sew Fixes team — we mend our own clothes and write down what worked. Every guide here started as a repair on something we were not ready to throw away.