

Sewing your own clothes gives you freedom that store-bought garments simply cannot match. When you create the pattern yourself, every piece fits your body, matches your style, and reflects your personal taste.
Maybe you have struggled to find jeans that fit right, or you dream of a dress that looks nothing like anything on the rack.
This is where patternmaking becomes your secret superpower, letting you turn ideas into wearable reality.
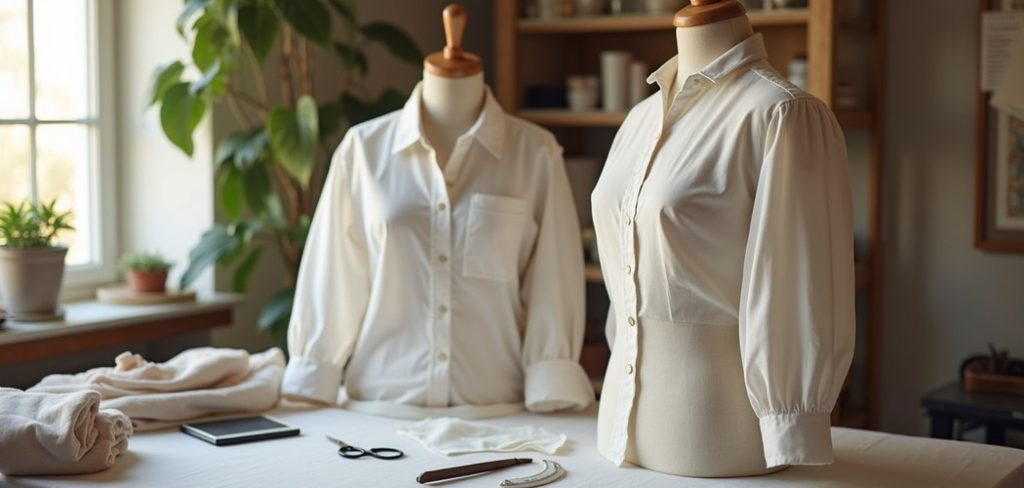
The good news is that you do not need a fashion degree to get started. With a few simple tools, some careful measuring, and a little patience, anyone can learn this rewarding craft.
Understanding how to make clothing patterns opens the door to endless creativity, better-fitting clothes, and real money savings over time. This guide walks you through each stage in plain, friendly language, so nothing feels overwhelming.
We will cover the tools you need, the measurements that matter, and the steps that bring your design to life.
Grab a notebook, clear some space, and get ready to build something you will be proud to wear.
Why Making Clothing Patterns Matters
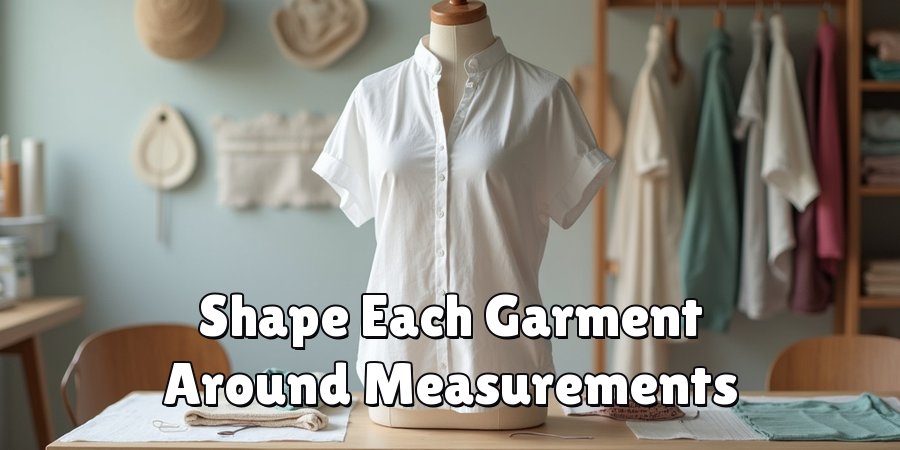
Making your own patterns puts you in complete control of fit, fabric, and style. Ready-made clothes are built for average bodies, which means they rarely fit anyone perfectly. When you draft your own, you shape each garment around your exact measurements, so shirts sit right and trousers feel comfortable all day.
There are practical perks too. Custom patterns let you recreate favorite pieces, adjust designs as your body changes, and experiment with looks you cannot buy anywhere.
You save money by reusing patterns again and again, and you cut down on waste by using only the fabric you need. Beyond the savings, patternmaking sharpens your problem-solving skills and boosts your confidence.
Each project teaches you something new, and every success makes the next one easier and more enjoyable.
Step-By-Step Guide To How To Make Clothing Patterns
Step 1: Gather Your Tools And Materials
Before you draw a single line, collect everything you need so you can work without interruption.
You will want pattern paper or plain craft paper, a flexible measuring tape, a clear ruler, a French curve, sharp pencils, an eraser, and scissors.
A calculator helps with quick math, and weights or pins keep your paper steady while you draft.
Good tools make a real difference in your results, so pick items that feel comfortable in your hands. Beginners do not need expensive gear to start, since basic supplies work perfectly well for early projects.
Lay everything within easy reach on a large, flat surface. When your workspace feels organized, the whole process flows smoothly from the very first step.
Step 2: Take Accurate Body Measurements
Precise measurements form the foundation of every well-fitting garment, so take your time here. Measure your bust, waist, hips, shoulder width, arm length, and any other area your design needs.
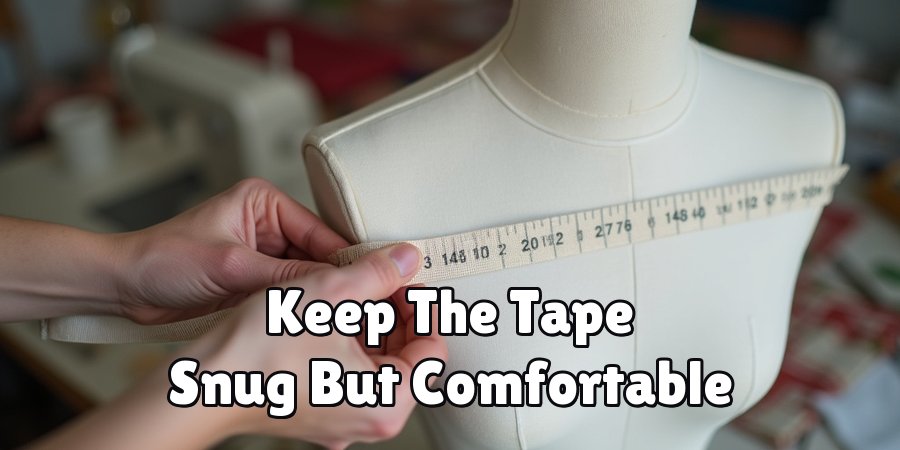
Keep the tape snug but not tight, and stand naturally rather than sucking in or slouching. Ask a friend to help with tricky spots like your back width for better accuracy.
Write each number down clearly, and double-check anything that seems off. It helps to measure twice, since small errors early on can throw off the entire fit later. Record your measurements in a dedicated notebook so you can reuse them for future projects. Accurate numbers now save hours of frustration down the road.
Step 3: Learn With A Basic Block
A basic block, sometimes called a sloper, is a simple fitted template built from your measurements. It has no seam allowance, darts for style, or fancy details, just the core shape of your body translated onto paper. This block becomes the master pattern you adapt for nearly every design you create.
Start by drafting a bodice or skirt block using your recorded measurements and a reliable drafting formula. Draw straight lines for the frame, then add curves for the armholes, neckline, and hips.
Take it slowly and follow each calculation carefully. Once your block fits well, you can trace and modify it endlessly, which makes it the most valuable tool in your kit.
Step 4: Add Design Details And Style Lines
Now the creative fun begins as you transform your plain block into an actual design. Trace your basic block onto fresh paper, then sketch the style lines you want, such as a wider neckline, a flared hem, or added pleats. Move darts, add fullness, or reshape edges to match the look in your imagination.
Work in pencil so you can erase and adjust freely as your idea takes shape. Keep your changes balanced on both sides, and step back often to check the overall proportions.
This stage rewards experimentation, so do not be afraid to try bold ideas. Each small change teaches you how design choices affect the final garment, building your skills with every line you draw.
Step 5: Add Seam Allowance And Markings
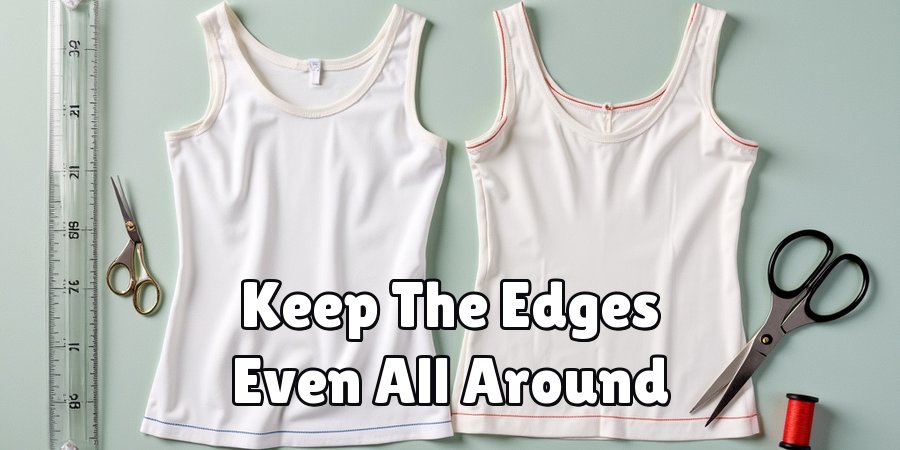
With your design finalized, add seam allowance around every edge that will be sewn together. A common allowance is between one and one and a half centimeters, though hems often need more room. Draw these lines carefully, keeping them even all the way around, so your pieces line up perfectly during construction.
Next, add all the markings that guide your sewing later. Include notches to match seams, grainlines to show fabric direction, and labels naming each piece.
Mark dart points, fold lines, and the number of pieces to cut. These details might seem minor, but they prevent confusion and mistakes once you reach the sewing machine.
Clear markings turn a good pattern into a truly reliable one.
Step 6: Create A Test Garment With Patterns
Before cutting into your good fabric, sew a test version using cheap material like muslin or an old bedsheet. This trial garment, often called a toile, reveals fit problems while they are still easy to fix. Slip it on and check how it hangs, where it pulls, and whether it feels comfortable when you move.
Pin any adjustments directly onto the toile, then transfer those changes back to your paper pattern. You might shorten a sleeve, loosen a waist, or reshape a shoulder.
This testing step saves expensive fabric from being wasted on fit mistakes. It also builds your confidence, since you know your final garment will look and feel right before you ever cut the real thing.
Step 7: Finalize And Store Your Pattern
Once your test garment fits beautifully, update your paper pattern with every correction you made. Redraw any changed lines cleanly, and confirm all your notches, labels, and grainlines are still accurate. Cut out each finished piece, and give the whole pattern one last review to catch anything you might have missed.
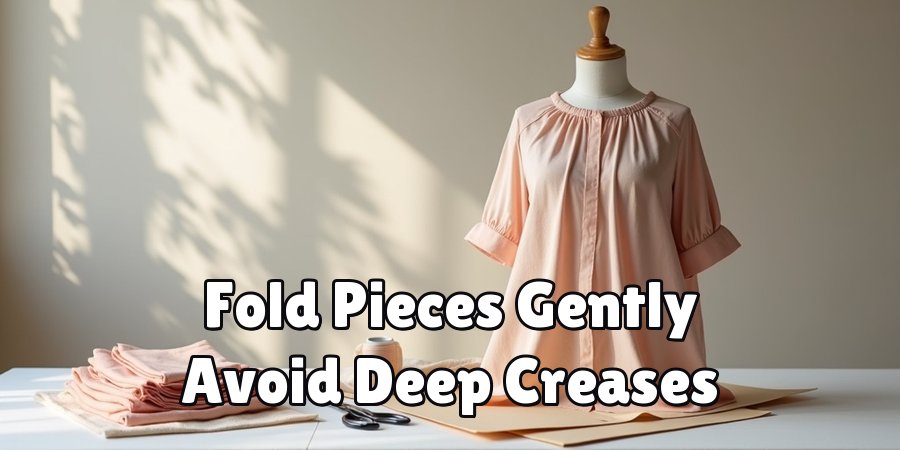
Store your completed pattern with care so it lasts for many projects. Fold the pieces gently and keep them in a labeled envelope, or hang them on a hook to avoid creases.
Note the fabric type and any special tips on the envelope for next time. A well-kept pattern becomes a trusted resource you can return to again and again with ease.
Frequently Asked Questions
What Tools Do Beginners Really Need?
You can start with just a few affordable basics. Grab pattern paper, a measuring tape, a clear ruler, a pencil, an eraser, and scissors.
A French curve helps with smooth armholes and necklines, but you can manage without one at first. As your skills grow, you might add weights, tracing wheels, and specialty rulers.
Start simple, and build your kit as your confidence and ambition increase over time.
How Accurate Do My Measurements Need To Be?
Accuracy matters a great deal, since even a small error can affect the entire fit. Measure carefully, keep the tape snug but comfortable, and record every number clearly.
It helps to measure each area twice and average the results if they differ. Having a friend assist with hard-to-reach spots improves precision.
Taking a few extra minutes here saves hours of frustrating adjustments later, so never rush this important stage.
Do I Have To Make A Test Garment?
Skipping the test garment is tempting, but it is one of the smartest steps you can take.
A quick toile sewn from cheap fabric shows exactly how your pattern fits before you cut into good material. It reveals pulling, gaping, or tightness while corrections are still easy.
This small investment of time protects your expensive fabric and gives you a far better final result every single time.
Can I Copy A Garment I Already Own?
Absolutely, and it is a fantastic way to learn. Lay a favorite garment flat, then trace each section onto paper without cutting or damaging the original.
Add seam allowance and markings just as you would with a drafted pattern. This method, sometimes called rubbing off, helps you recreate pieces you love and understand how they were built.
It also builds valuable skills you can apply to future original designs.
How Should I Store Finished Patterns?
Proper storage keeps your patterns usable for years. Fold each piece gently to avoid deep creases, then slide them into a labeled envelope or large resealable bag.
Some people prefer hanging patterns on hooks or trouser hangers to keep them flat. Write helpful notes on the label, such as the fabric type and any fit tips.
Organized storage means you can find and reuse your patterns quickly whenever inspiration strikes.
Conclusion
Creating your own patterns is a skill that rewards you with better-fitting clothes, endless creativity, and real satisfaction.
From gathering your tools and taking careful measurements to drafting a basic block, adding design details, testing the fit, and storing your finished work, each step builds toward garments you will genuinely love to wear.
Along the way, you sharpen your problem-solving abilities, save money, and gain the confidence to tackle bigger, bolder projects. The secret is patience, careful measuring, and a willingness to test and adjust as you learn.
Now that you understand how to make clothing patterns from start to finish, there is nothing stopping you from bringing your ideas to life.
Start with a simple project, take each step at your own pace, and celebrate every small win along the way. Keep your measurements handy, trust the process, and do not fear a few early mistakes, since each one teaches you something valuable.
Before long, you will have a wardrobe full of pieces made entirely by you, fitted perfectly to your body and style.

The Sew Fixes team — we mend our own clothes and write down what worked. Every guide here started as a repair on something we were not ready to throw away.