

A sailor uniform for men is a classic outfit built around a few recognizable pieces, including a middy top with a wide collar, matching trousers, a neckerchief, and often a flat cap.
People wear it for costume parties, theater productions, cosplay events, and themed photo shoots. The look has stayed popular for over a century because it feels sharp, timeless, and easy to recognize.
The good news is that you can build one yourself with basic sewing skills and everyday materials.
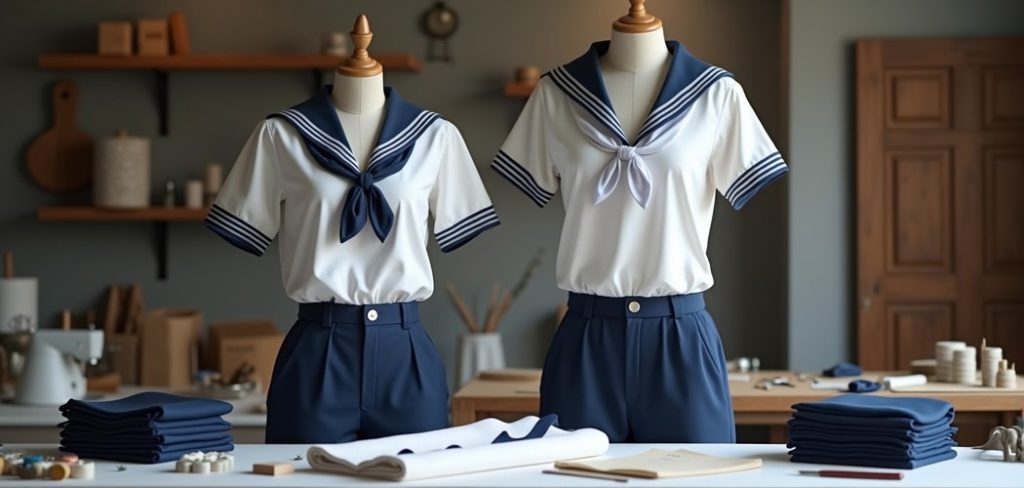
Learning how to make a sailor uniform men can wear with pride does not require years of tailoring experience.
You just need a plan, the right measurements, and a bit of patience as you work through each piece.
In this guide, we will break the whole project into clear, manageable steps so nothing feels overwhelming.
Whether you are sewing for a stage role or a weekend event, you will finish with a comfortable, authentic-looking outfit.
Grab your supplies, set aside some quiet time, and let us walk through the process together, one piece at a time.
Why Making A Sailor Uniform For Men Matters
Building this outfit yourself gives you control over fit, color, and quality that store-bought costumes rarely match.
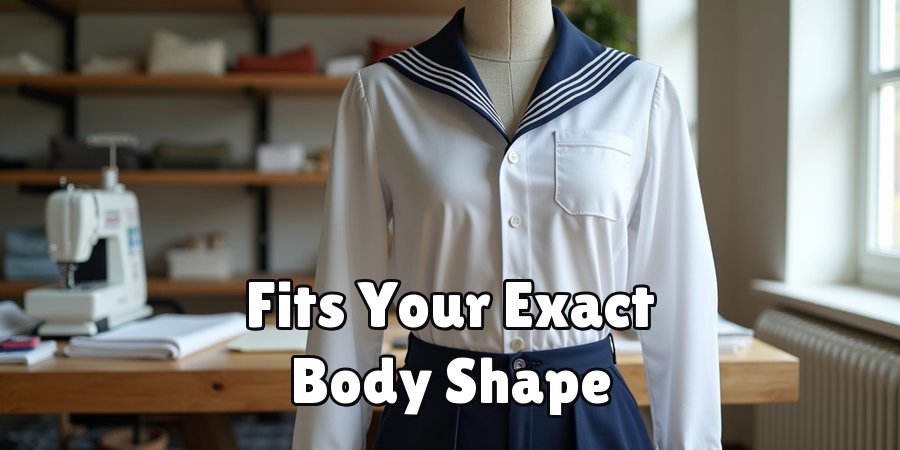
A homemade version fits your exact body shape, so it looks clean and moves comfortably instead of pulling or sagging in the wrong places.
You also save money, since fabric and thread usually cost far less than a ready-made costume.
Beyond savings, the project builds real sewing confidence you can reuse on future outfits. Each seam and collar teaches you a skill that carries over to other garments.
You get to pick durable fabrics that survive repeat wear, which matters for actors and cosplayers who use their outfits often.
Best of all, a personal touch makes your uniform stand out, letting you match a specific era, character, or theme with details no generic costume can offer.
Step-By-Step Guide To How to Make a Sailor Uniform Men
Step 1: Take Accurate Measurements
Start by measuring the body carefully, since every good outfit begins with correct numbers. Record the chest, waist, hips, shoulder width, arm length, and inseam using a soft measuring tape. Keep the tape snug but not tight, and write each figure down right away so you do not forget it.
Accurate measurements save you from frustrating fixes later, so take your time and double-check anything that looks off. If possible, have someone help you measure, because self-measuring can shift the tape and skew the results.
These numbers guide your pattern choices and fabric amounts, making the rest of the project smoother and far more predictable from start to finish.
Step 2: Choose Your Fabric And Supplies
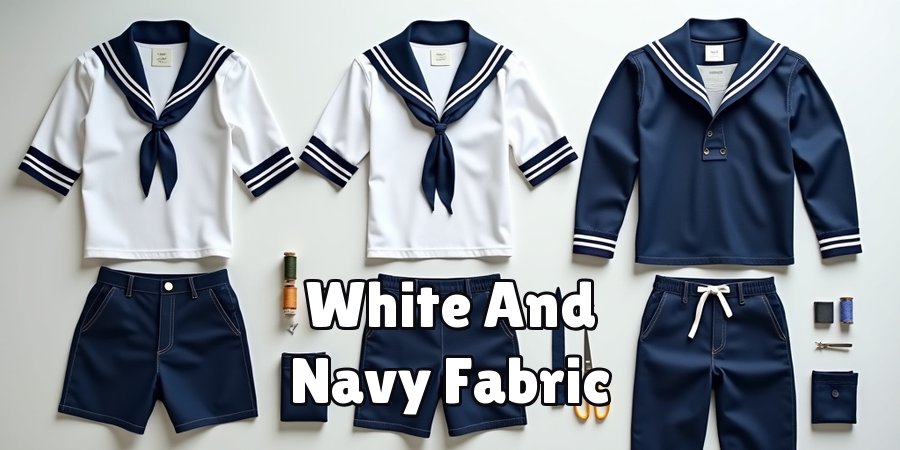
Pick fabrics that match both the look and the comfort you want. Medium-weight cotton or cotton blends work well for the top and trousers because they hold their shape, breathe nicely, and are easy for beginners to sew. For the classic style, gather white and navy fabric, plus a contrasting color for the collar trim.
You will also need matching thread, a set of pins, sharp scissors, a sewing machine or needle, and a pattern or template. Buy a little extra fabric to allow for mistakes and seam allowances. Choosing quality supplies now means fewer headaches later, and it helps your finished uniform look polished rather than rushed or uneven.
Step 3: Prepare And Cut Your Pattern Pieces
Lay your pattern flat on the fabric and pin each piece securely before cutting. Work on a large, clear surface so the fabric stays smooth and the shapes stay true. Mark seam allowances with tailor’s chalk, and double-check that you have cut matching left and right pieces where needed.
Cutting is where careful prep pays off, so measure twice and cut once to avoid wasting material.
Keep the grain of the fabric running the right direction, since this keeps the garment hanging correctly on the body.
Label each piece with a small tag or note, which makes assembly much easier when you start sewing everything together.
Step 4: Sew The Middy Top
Begin assembling the signature top, the heart of any sailor look. Stitch the shoulder seams first, then join the side seams, keeping your lines straight and your tension even. Attach the sleeves next, easing the fabric gently around the armhole so it sits smoothly without puckering.
This part of learning how to make a sailor uniform men will actually wear comes down to patience and neat seams.
Press each seam open or to one side after you sew it, because pressing sets the stitches and gives a crisp, professional finish.
Try the top on midway through to check the fit, and adjust the side seams if it feels too loose or too snug.
Step 5: Create The Signature Collar
The wide, square collar is what makes this outfit instantly recognizable, so give it your full attention. Cut two matching collar pieces and add your contrasting trim stripes along the edges before joining them.
Sew the two layers together with right sides facing, leave a small gap, then turn it right side out for a clean edge.
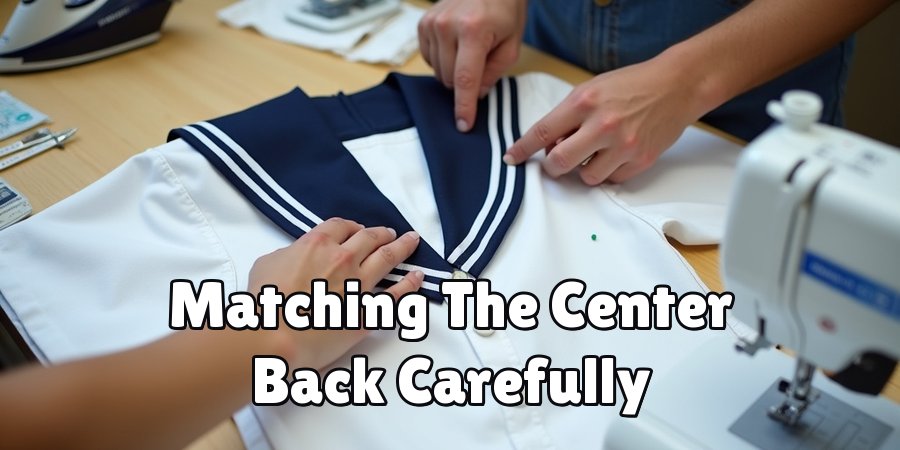
Press the collar flat and topstitch around the border to keep it crisp. Attach it to the neckline of the top, matching the center back carefully so it sits evenly on both shoulders. A well-shaped collar lifts the whole look, so take your time aligning it before you stitch it down permanently.
Step 6: Assemble The Trousers
Move on to the trousers, which balance the outfit and complete the silhouette. Sew the inseams first, then join the front and back rises to form the basic shape. Add a simple elastic waistband or a button-and-zip closure, depending on the comfort and style you prefer.
Getting the fit right here is a key part of how to make a sailor uniform men can move in comfortably all day.
Hem the trouser legs to the correct length using your inseam measurement, and press every seam as you go.
Try the trousers on before the final hem, since a quick fit check now prevents disappointment once the whole outfit comes together.
Step 7: Add Accessories And Final Touches
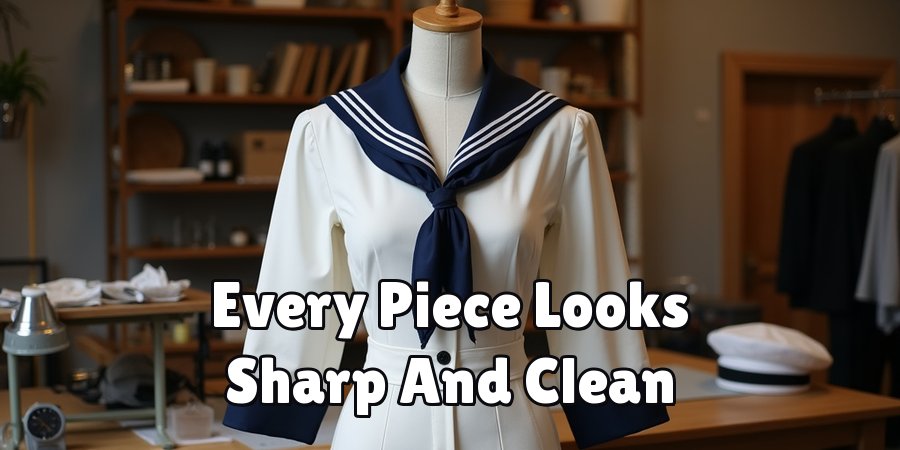
Finish strong by adding the details that pull everything together. Tie a neckerchief under the collar, and consider a flat cap or a classic sailor hat to top the look. Small touches like decorative buttons, a badge, or crisp piping add authenticity and charm.
Give the entire outfit a final press so every piece looks sharp and clean. Inspect your seams, trim any loose threads, and make small adjustments where needed for a comfortable, confident fit.
Step back and try the full uniform on together, because seeing all the parts combined helps you spot any last tweaks before your event or performance.
Frequently Asked Questions
What Skill Level Do I Need For This Project?
This project suits beginners with a little basic sewing experience, though it also works for confident stitchers who want a quick build.
The straight seams and simple shapes make it forgiving, so you do not need advanced tailoring skills. If you can sew a straight line and follow a pattern, you can complete this outfit.
Take it slowly, and each step teaches you something useful.
How Long Does It Take To Complete?
Most people finish in one to three days, depending on their sewing speed and experience. A confident sewer might complete everything in a single focused day, while beginners often spread the work across a weekend.
Cutting and prep take a few hours, and assembly takes the bulk of the time. Breaking the project into short sessions keeps it enjoyable and helps you avoid rushed, uneven results.
Can I Make This Without A Sewing Machine?
Yes, you can sew the whole outfit by hand, though it takes more time and patience. Use a strong backstitch for seams that need to hold under stress, such as the shoulders and trouser rises.
Hand sewing gives you fine control, which helps on the collar and detailed areas. A machine simply speeds things up, but careful hand stitching produces neat, durable results too.
What Fabric Colors Are Most Authentic?
Classic combinations use navy blue and white, which instantly signal the traditional sailor style. Many versions pair a white top with a navy collar, or reverse the two for contrast.
Add white or light-blue stripe trim on the collar for extra authenticity.
If you are matching a specific era or character, check reference photos first, since small color choices can shift the whole feel of the outfit.
How Do I Make Sure It Fits Properly?
Accurate measurements are your best tool for a great fit, so measure carefully before you cut anything. Choose a pattern based on those numbers rather than a generic size guess.
Try the garment on at several stages, especially after sewing the side seams and before hemming.
Making small adjustments as you go is far easier than fixing a finished piece, and it guarantees a comfortable result.
Conclusion
Building this outfit from scratch is a rewarding project that blends creativity, practical skills, and a satisfying finished result.
From taking careful measurements and choosing the right fabric to sewing the middy top, shaping that signature collar, and adding the final accessories, each step brings you closer to a uniform you can wear with pride.
Along the way, you gain sewing confidence and a deeper understanding of how garments come together, which serves you well on future projects too.
Now that you know how to make a sailor uniform men can wear for costumes, performances, or themed events, there is nothing stopping you from starting today.
Gather your supplies, set aside some focused time, and work through the steps at your own pace. Trust the process, check your fit as you go, and enjoy the hands-on progress with every seam.
Before long, you will have a comfortable, authentic outfit made entirely by you, ready to impress at any occasion.

About
Bennie Wilder is a dedicated figure in the world of sewing, clothing repair, and garment care, with years of hands-on experience exploring practical techniques for making, repairing, and maintaining everyday clothing. His professional focus lies in combining traditional sewing craftsmanship with modern, easy-to-follow solutions, helping readers confidently handle common clothing problems at home. As an author at SewFixes, Bennie shares practical knowledge on sewing techniques, garment alterations, fabric care, clothing repairs, and DIY projects for beginners and experienced sewing enthusiasts alike.
Education
Fashion Institute of Technology (New York, USA)
Associate Degree in Fashion Design & Apparel Studies
- Focused on garment construction, sewing techniques, fabric fundamentals, and clothing alterations.
- Developed practical skills in pattern making, hand stitching, machine sewing, and garment finishing.
- Gained hands-on experience working with different fabrics, sewing tools, and apparel construction methods.
Academy of Art University (San Francisco, USA)
Bachelor’s in Fashion Design
- Specialized in apparel construction, textile selection, garment fitting, and contemporary clothing design.
- Studied the relationship between fabric properties, garment structure, durability, and comfort.
- Participated in practical design projects involving garment creation, alterations, repairs, and sustainable clothing practices.
Publications and Impact
Through SewFixes, Bennie shares practical insights into sewing, clothing repair, fabric care, garment alterations, and everyday DIY solutions. His writing focuses on turning complicated sewing tasks into simple, understandable steps that readers can follow at home.
Bennie covers everything from repairing torn seams and replacing buttons to fixing hems, adjusting garment fit, choosing suitable fabrics, and maintaining sewing machines and tools. His content is designed to help readers become more confident with their clothing while encouraging practical repair and reuse instead of unnecessary replacement.
Through his work, Bennie aims to bridge the gap between traditional sewing knowledge and modern everyday needs—making sewing more approachable, useful, and accessible to anyone who wants to repair better, sew smarter, and make their clothes last longer.