

Making your own kimono is one of the most rewarding sewing projects you can take on, whether you’re a complete beginner or someone who wants a fresh weekend challenge.
This flowing, versatile garment has a rich history and a shape so simple that it welcomes crafters of every skill level.
You don’t need fancy equipment or years of experience to get started, and the finished piece can become a favorite in your wardrobe for years.
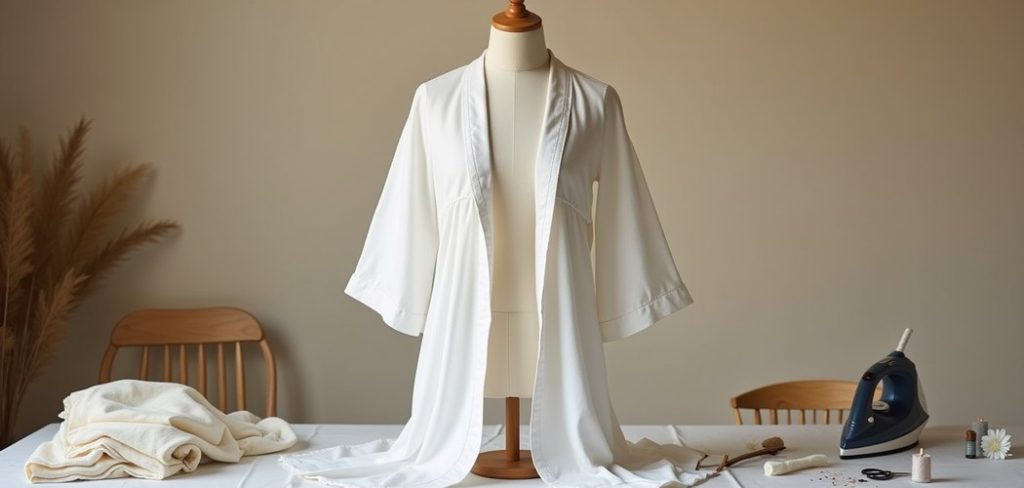
Learning how to make a kimono teaches you core sewing techniques while giving you something beautiful and wearable to show for it. The garment relies mostly on straight seams and rectangular pieces, which means fewer complicated curves and far less frustration. That makes it perfect for building confidence.
Throughout this guide, you’ll walk through each stage clearly and calmly, from choosing fabric to finishing the final stitch. By the end, you’ll feel ready to sew a kimono that fits your body, your style, and your personal taste with genuine pride.
Why Making Your Own Kimono Is Worth It
Sewing your own kimono gives you total control over fit, color, and fabric in a way that store-bought garments rarely allow. You choose everything, so the result matches your exact preferences instead of forcing you to settle.
There’s also real value in the skills you gain along the way. A kimono uses simple shapes, so you practice measuring, cutting, and stitching without feeling overwhelmed.
These transferable techniques carry over into countless future projects, helping you grow steadily as a maker. On top of that, handmade garments cost less than many retail versions and last longer when cared for well.
You end up with a unique piece, useful new abilities, and the quiet satisfaction that comes from creating something entirely by hand.
Step-by-Step Guide to How to Make a Kimono
Step 1: Gather Your Materials And Tools
Before you cut a single thread, collect everything you’ll need in one place. You’ll want lightweight, flowing fabric such as cotton, rayon, or a soft linen blend, since these drape beautifully and behave well under the machine. Grab fabric scissors, matching thread, pins, a measuring tape, and an iron for pressing seams.
Having your tools ready prevents mid-project scrambling and keeps your momentum going. A sewing machine speeds things up, though patient hand-stitching works too. Set aside a clear, flat workspace where you can spread fabric out fully. Good preparation now saves you real frustration later and sets a calm, confident tone for the whole build.
Step 2: Take Accurate Body Measurements
Precise measurements make the difference between a kimono that flatters and one that hangs awkwardly.
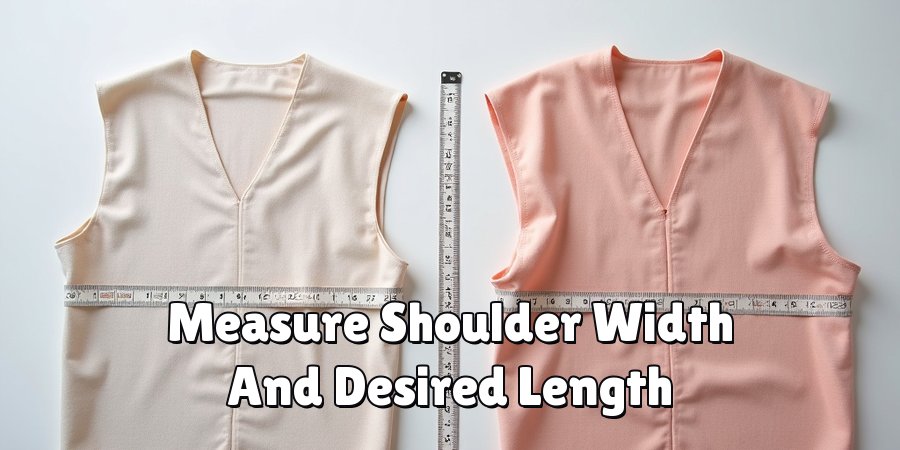
Start by measuring your shoulder width from one shoulder point to the other, then measure the desired length from your shoulders down to wherever you want the hem to fall.
Note your arm length for the sleeves and your chest width for comfortable ease.
Write every number down clearly so you can reference it while cutting. Add a little extra to each measurement for seam allowances and relaxed movement, since a kimono should feel loose and breathable rather than tight. Double-check each figure before moving on, because accuracy here shapes your entire finished garment.
Step 3: Create Your Pattern
With measurements in hand, sketch a simple pattern using large paper or directly onto your fabric with tailor’s chalk. A kimono breaks down into rectangles, which keeps this stage refreshingly straightforward. You’ll need one back panel, two front panels, two sleeve pieces, and long strips for the collar and ties.
Draw each shape according to your recorded numbers, adding seam allowance around every edge. Label the pieces so you don’t mix them up later.
This simplicity is exactly why understanding how to make a kimono appeals to so many first-time sewers, because the geometry stays friendly and forgiving. Take your time and measure twice before committing to any line.
Step 4: Cut Your Fabric Pieces
Now transfer your pattern onto the fabric and cut carefully along each marked line. Lay the material flat and smooth, removing any wrinkles that could distort your shapes. Pin the pattern pieces securely so nothing shifts while your scissors move.
Cut slowly and follow your lines with steady hands, since rushed cutting leads to uneven edges that show later. Keep your pieces organized as you go, stacking similar shapes together.
If your fabric has a directional print or nap, make sure every piece faces the same way for a polished, professional look.
Clean cuts here make the stitching stages that follow far smoother and much more enjoyable.
Step 5: Sew The Main Body Together
Begin assembling by joining the front panels to the back panel at the shoulders, right sides facing together. Stitch a straight seam along each shoulder line, then press the seams open with your iron for a crisp finish. Next, sew the side seams from the underarm down to the hem, leaving the sleeve openings free.
This stage is where your flat pieces suddenly start resembling a real garment, which feels genuinely exciting. Keep your seams even and backstitch at the start and end of each line to lock your stitches. Learning how to make a kimono becomes deeply satisfying right here, as the shape takes form beneath your hands.

Step 6: Attach The Sleeves
Fold each sleeve piece in half and stitch along the bottom edge to form a tube, then press the seam. Line up the open top of each sleeve with the armhole on the body, matching the center points so everything sits evenly. Pin generously to hold the fabric in place before you sew.
Stitch around the armhole slowly, easing the sleeve fabric to fit without puckering. Take your time here, because sleeves are the one area beginners often rush. Once both sleeves are attached and pressed, your kimono will look remarkably close to finished. Try it on gently to check the fit before moving to the final touches.
Step 7: Finish The Collar And Hems
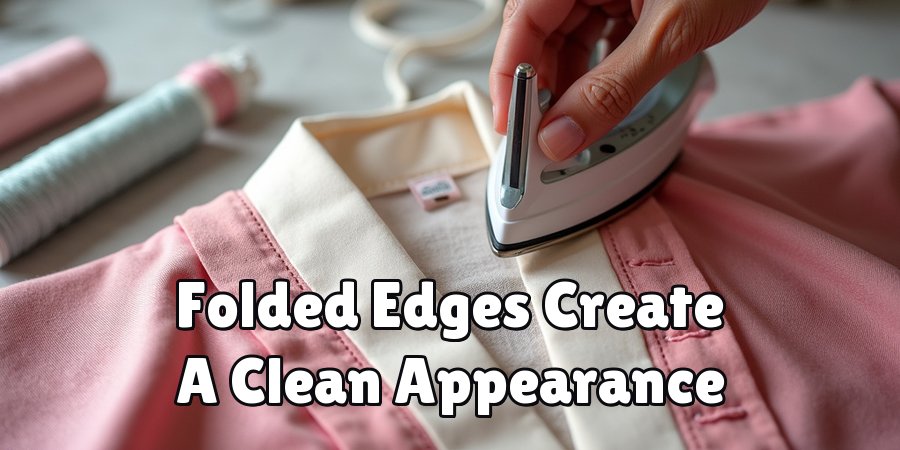
Fold your long collar strip in half lengthwise, press it, then pin it along the front opening and around the back neckline. Stitch it in place, folding the raw edges under for a clean, neat appearance. This collar frames the garment and gives it that signature kimono silhouette.
Finish by hemming the bottom edge and the sleeve openings, folding the fabric under twice and stitching for a durable, tidy result. Press every seam one final time so your garment looks crisp and intentional.
Add ties at the waist if you want a wrap closure. Step back and admire your handiwork, because you’ve just completed something truly your own.
Frequently Asked Questions
What Fabric Works Best For A Beginner Kimono?
Lightweight, flowing fabrics like cotton, rayon, and soft linen blends are ideal for beginners. They drape beautifully, feel comfortable against the skin, and move smoothly through a sewing machine without slipping or bunching.
Avoid stiff or very thick materials early on, since they resist folding and make clean seams harder to achieve. Starting simple builds your confidence quickly.
How Long Does It Take To Sew One?
Most beginners finish in one focused weekend, roughly six to ten hours spread across a couple of sessions.
Your speed depends on your experience, the complexity of your fabric, and whether you sew by hand or machine. Taking breaks actually helps, since rested hands cut and stitch more accurately.
Don’t rush, because a relaxed pace usually produces a cleaner, more polished result.
Do I Need A Sewing Machine?
No, you can complete the entire project by hand if you prefer. The garment relies mostly on straight seams, which hand-stitching handles perfectly well with a little patience.
A machine simply speeds things up and adds durability to high-stress areas. Beginners without a machine should use a strong backstitch for seams, keeping stitches small and even for lasting strength and a neat finish.
Can I Adjust The Size For A Custom Fit?
Absolutely, and that flexibility is one of the biggest joys of sewing your own. Simply adjust your measurements before drafting the pattern, adding width for a roomier feel or extra length for more coverage.
Because the garment uses rectangular pieces, resizing stays wonderfully simple. Always add seam allowance to your new numbers, and test the fit before hemming to guarantee comfortable, flattering results.
How Do I Care For My Finished Kimono?
Care depends on your fabric, so check the material’s washing guidelines first. Most cotton and linen versions handle a gentle machine wash on cold, while delicate rayon often prefers hand washing to protect its drape.
Hang or lay the garment flat to dry, then press with a warm iron to keep it crisp. Proper care keeps your handmade piece looking fresh for many seasons.
Conclusion
You now have everything you need to sew a beautiful, comfortable garment from start to finish.
By choosing quality fabric, measuring carefully, and working through each step at your own steady pace, you turn simple rectangles into a piece you’ll genuinely love wearing.
The straight seams and forgiving shapes make this an ideal project for building real, lasting confidence at the machine.
Understanding how to make a kimono opens the door to endless creative variations, from bold prints to seasonal colors and custom lengths that suit your style perfectly.
Don’t be afraid to experiment, adjust, and make each version more your own.
Gather your materials, trust the process, and start today, because your first handmade kimono is closer than you think and waiting to be created.

About
Bennie Wilder is a dedicated figure in the world of sewing, clothing repair, and garment care, with years of hands-on experience exploring practical techniques for making, repairing, and maintaining everyday clothing. His professional focus lies in combining traditional sewing craftsmanship with modern, easy-to-follow solutions, helping readers confidently handle common clothing problems at home. As an author at SewFixes, Bennie shares practical knowledge on sewing techniques, garment alterations, fabric care, clothing repairs, and DIY projects for beginners and experienced sewing enthusiasts alike.
Education
Fashion Institute of Technology (New York, USA)
Associate Degree in Fashion Design & Apparel Studies
- Focused on garment construction, sewing techniques, fabric fundamentals, and clothing alterations.
- Developed practical skills in pattern making, hand stitching, machine sewing, and garment finishing.
- Gained hands-on experience working with different fabrics, sewing tools, and apparel construction methods.
Academy of Art University (San Francisco, USA)
Bachelor’s in Fashion Design
- Specialized in apparel construction, textile selection, garment fitting, and contemporary clothing design.
- Studied the relationship between fabric properties, garment structure, durability, and comfort.
- Participated in practical design projects involving garment creation, alterations, repairs, and sustainable clothing practices.
Publications and Impact
Through SewFixes, Bennie shares practical insights into sewing, clothing repair, fabric care, garment alterations, and everyday DIY solutions. His writing focuses on turning complicated sewing tasks into simple, understandable steps that readers can follow at home.
Bennie covers everything from repairing torn seams and replacing buttons to fixing hems, adjusting garment fit, choosing suitable fabrics, and maintaining sewing machines and tools. His content is designed to help readers become more confident with their clothing while encouraging practical repair and reuse instead of unnecessary replacement.
Through his work, Bennie aims to bridge the gap between traditional sewing knowledge and modern everyday needs—making sewing more approachable, useful, and accessible to anyone who wants to repair better, sew smarter, and make their clothes last longer.