

A half slip is one of those simple sewing projects that gives you a big reward for a little effort.
It sits at your waist and hangs down under skirts and dresses, smoothing your silhouette and stopping fabric from clinging or turning see-through in bright light.
If you have ever pulled on a skirt only to realize the light shows more than you planned, you already know why this small garment matters.
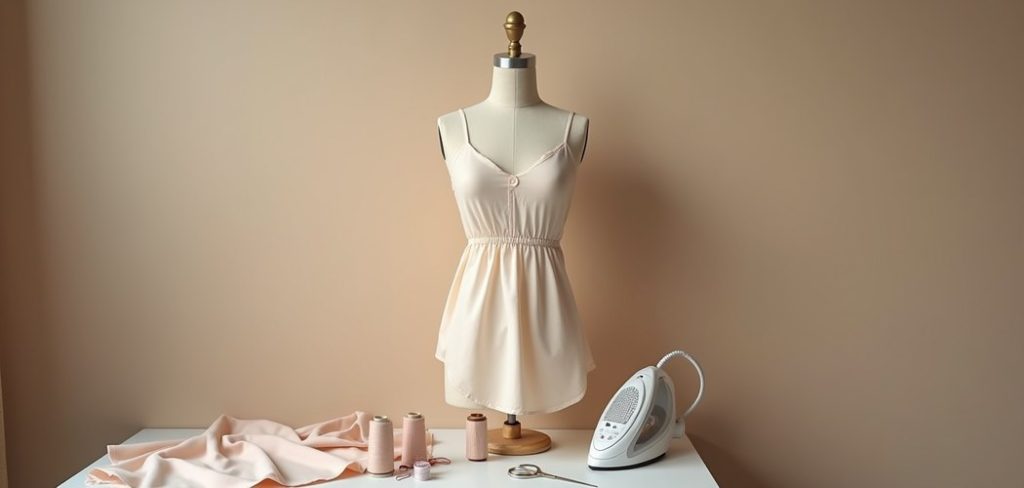
The good news is that learning how to make a half slip does not require fancy tools or years of experience.
With a rectangle of soft fabric, some elastic, and a sewing machine, you can finish one in an afternoon.
This guide walks you through every step in plain language, so beginners feel confident and experienced sewers can work quickly.
You will learn how to measure, cut, sew, and finish your slip for a smooth, comfortable fit. By the end, you will have a wardrobe staple made exactly to your size and taste.
Why Making A Half Slip Is Worth It
Sewing your own half slip puts you in control. Store-bought slips often come in limited lengths and colors, and they rarely match your exact waist and hip measurements. When you sew your own, you choose the fabric, the length, and the finish, so it works perfectly with your favorite skirts.
There are practical perks too. A handmade slip costs a fraction of a boutique version, and the skills you build carry over to other projects like skirts and pajama bottoms.
You also get to pick breathable, comfortable materials that feel good against your skin. Best of all, the project is quick and forgiving, which makes it a great confidence booster.
Every stitch teaches you something you can reuse, and the finished piece proves your effort right away.
Step-by-Step Guide to How to Make a Half Slip
Step 1: Gather Your Materials And Tools
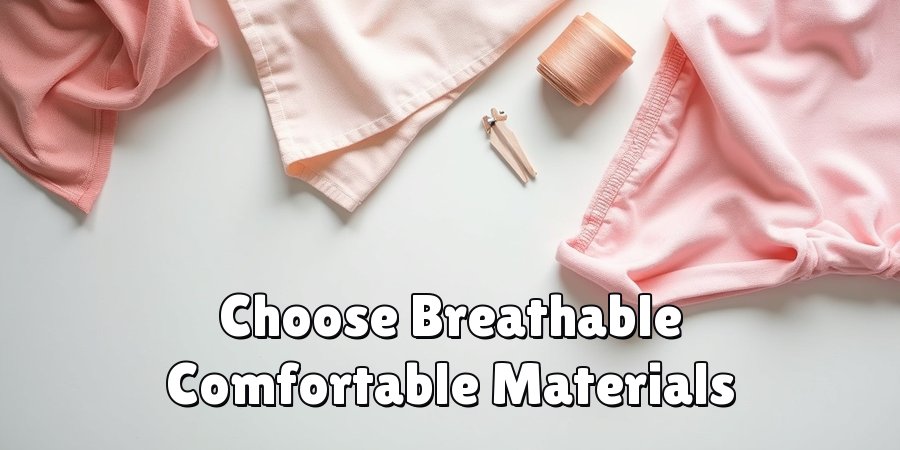
Before you sew anything, collect everything you need in one spot. You will want a lightweight, smooth fabric such as jersey knit, satin, or a soft polyester blend, plus about an inch of wide elastic for the waistband.
Grab your sewing machine, matching thread, sharp scissors, pins, a measuring tape, and a fabric marker. Having tools ready means you work without pausing to search for a missing item.
If you are new to sewing, choose a fabric with a little stretch, since it hides small mistakes and glides on easily. A well-prepared workspace keeps the whole project calm and enjoyable.
Step 2: Take Accurate Measurements
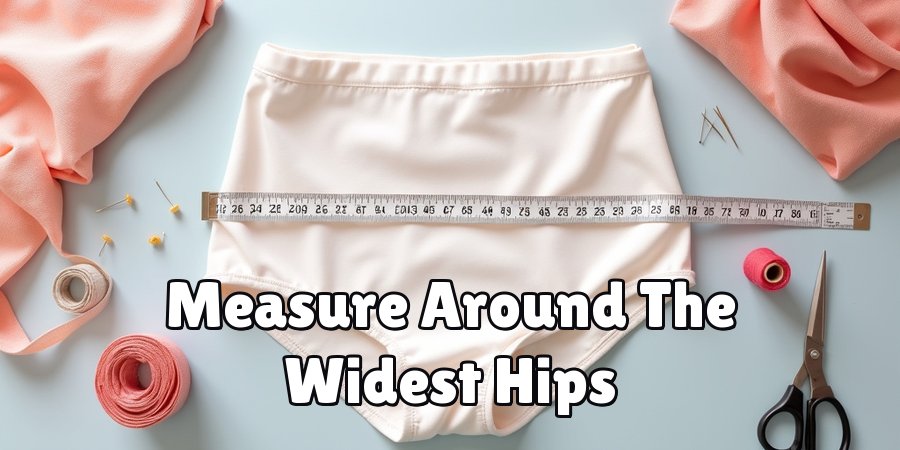
Good measurements are the secret to a slip that fits well. Wrap the measuring tape around the widest part of your hips and note that number, since your slip needs to slide over your hips comfortably.
Next, decide how long you want the slip to fall and measure from your waist down to that point. Add a couple of inches to the length for hems and the waistband casing.
Write these numbers down so you do not forget them. Take your time here, because measuring carefully now saves you from unpicking seams later. When in doubt, measure twice and cut once.
Step 3: Cut Your Fabric
Lay your fabric flat on a clean surface with no wrinkles. Using your measurements, mark a large rectangle with your fabric marker, then add seam allowance of about half an inch to each side.
The width should equal your hip measurement plus a little ease so the slip is not too tight, and the height should match your chosen length plus extra for the hem and casing.
Cut slowly and follow your lines closely for clean edges. If your fabric is slippery, weigh it down or pin it first. Neat cutting makes the sewing steps that follow far smoother and more accurate.
Step 4: Sew The Side Seam To Start Making A Half Slip
Now the fun begins. Fold your rectangle in half with the right sides of the fabric facing each other, lining up the raw edges. Pin along the open side to hold everything in place.
Sew a straight seam down that edge using your seam allowance, then backstitch at both ends to lock the stitches.
This single seam turns your flat rectangle into a tube, which is the body of your slip.
If your machine has a stretch or zigzag stitch, use it on knit fabric so the seam moves with your body. Press the seam flat for a tidy, professional finish.
Step 5: Create The Waistband Casing
The casing holds your elastic and gives the slip its snug waist.
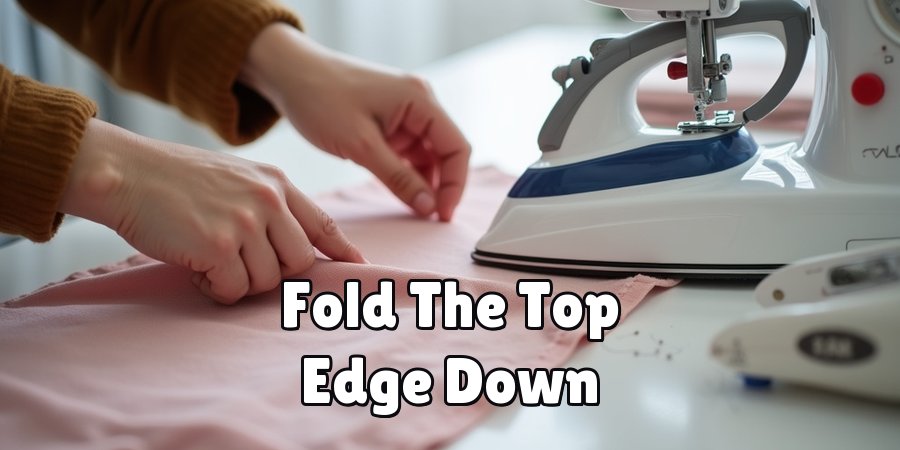
Fold the top edge of your fabric tube down by about one and a quarter inches toward the wrong side, then press it so it stays put.
Pin this fold in place all the way around. Sew close to the raw edge, leaving a gap of about two inches so you can thread the elastic through later.
Keep your stitching straight and even for the best look. This channel is simple to make, yet it does the heavy lifting of keeping your slip comfortably in place all day.
Step 6: Insert The Elastic For A Perfect Fit When Making A Half Slip
Measure a length of elastic that fits snugly around your natural waist without digging in, then add an inch for overlap.
Attach a safety pin to one end of the elastic and use it to guide the elastic through the casing gap you left open. Work slowly so the elastic does not twist inside the channel.
Once both ends come out, overlap them by an inch and stitch them together securely with a few passes. Tuck the joined elastic back inside, then sew the gap closed. Distribute the gathers evenly around the waist for a smooth, balanced result.
Step 7: Hem The Bottom And Finish
You are almost done. Try on your slip to check the length, then trim any excess fabric if needed. Fold the bottom edge up by half an inch, press it, then fold it up again to hide the raw edge.
Pin this double fold all the way around so the hem stays even. Sew close to the top of the fold with a straight or stretch stitch, depending on your fabric.
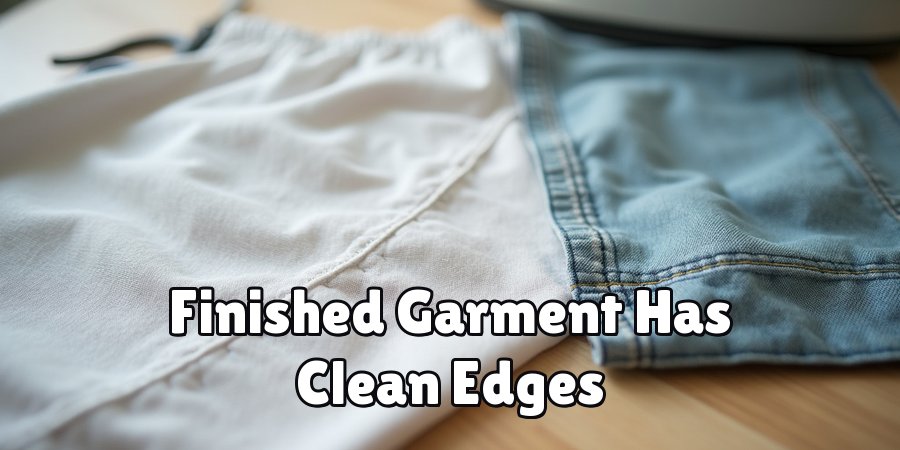
Backstitch at the start and finish, then give the whole slip a final press. Your finished garment now has clean edges, a comfortable waist, and a neat hem ready to wear.
Frequently Asked Questions
What Is The Best Fabric For A Beginner?
Lightweight knits like jersey are ideal for beginners because they stretch, forgive small errors, and do not fray much.
If you prefer a silky look, choose a soft polyester or satin, but pin it well since slippery fabric can shift. Whatever you pick, aim for something breathable and comfortable against your skin.
Starting with an easy fabric builds your confidence and keeps the whole project relaxed and enjoyable from start to finish.
How Long Should A Half Slip Be?
The right length depends on the skirts and dresses you plan to wear. Measure your most-used skirt and make your slip about one inch shorter so it stays hidden.
Many people like a slip that ends just above the knee, while others prefer a longer, midi length. Since you are sewing it yourself, you can customize the length exactly to your wardrobe.
Try it on before hemming to be completely sure of the fit.
Do I Need A Serger To Finish The Seams?
No, a serger is helpful but not required. A regular sewing machine handles this project just fine, especially if you use a zigzag stitch to keep knit edges from curling.
You can also finish raw edges with a simple straight stitch or by folding them under.
Sergers speed things up and give a factory look, yet plenty of beautiful slips are made with a basic machine and a little patience.
How Do I Stop The Elastic From Twisting?
Twisted elastic is a common frustration, but a few tricks help. Feed the elastic slowly and keep it flat as you guide the safety pin through the casing.
Pause often to check that it has not rolled over inside the channel. Before sewing the ends together, pull the whole waistband taut to smooth out any twists.
Once joined, stitch the elastic to the casing at a few points to lock it in place permanently.
Can I Make One Without A Sewing Machine?
Yes, you can hand-sew a slip if you do not own a machine, though it takes more time. Use a small backstitch for the side seam and casing, since it holds firmly under stress.
Choose a no-fray fabric to reduce finishing work, and keep your stitches even and close together. Hand-sewing is a relaxing way to learn, and the finished slip works just as well as a machine-made one.
Conclusion
Making your own slip is a rewarding project that pays off every time you get dressed.
You now know how to make a half slip from start to finish, including choosing fabric, taking measurements, sewing the seam, building the casing, inserting elastic, and hemming for a clean look.
Each step builds a skill you can reuse in future sewing projects, so the value stretches far beyond this one garment.
The best part is how customizable the whole process feels. You control the length, the color, and the fit, which means your slip works perfectly with your wardrobe.
So gather your materials, set aside an afternoon, and give it a try. Once you finish your first one, you will likely want to make a few more in different lengths and colors.
Grab your fabric and start stitching today.

About
Bennie Wilder is a dedicated figure in the world of sewing, clothing repair, and garment care, with years of hands-on experience exploring practical techniques for making, repairing, and maintaining everyday clothing. His professional focus lies in combining traditional sewing craftsmanship with modern, easy-to-follow solutions, helping readers confidently handle common clothing problems at home. As an author at SewFixes, Bennie shares practical knowledge on sewing techniques, garment alterations, fabric care, clothing repairs, and DIY projects for beginners and experienced sewing enthusiasts alike.
Education
Fashion Institute of Technology (New York, USA)
Associate Degree in Fashion Design & Apparel Studies
- Focused on garment construction, sewing techniques, fabric fundamentals, and clothing alterations.
- Developed practical skills in pattern making, hand stitching, machine sewing, and garment finishing.
- Gained hands-on experience working with different fabrics, sewing tools, and apparel construction methods.
Academy of Art University (San Francisco, USA)
Bachelor’s in Fashion Design
- Specialized in apparel construction, textile selection, garment fitting, and contemporary clothing design.
- Studied the relationship between fabric properties, garment structure, durability, and comfort.
- Participated in practical design projects involving garment creation, alterations, repairs, and sustainable clothing practices.
Publications and Impact
Through SewFixes, Bennie shares practical insights into sewing, clothing repair, fabric care, garment alterations, and everyday DIY solutions. His writing focuses on turning complicated sewing tasks into simple, understandable steps that readers can follow at home.
Bennie covers everything from repairing torn seams and replacing buttons to fixing hems, adjusting garment fit, choosing suitable fabrics, and maintaining sewing machines and tools. His content is designed to help readers become more confident with their clothing while encouraging practical repair and reuse instead of unnecessary replacement.
Through his work, Bennie aims to bridge the gap between traditional sewing knowledge and modern everyday needs—making sewing more approachable, useful, and accessible to anyone who wants to repair better, sew smarter, and make their clothes last longer.