

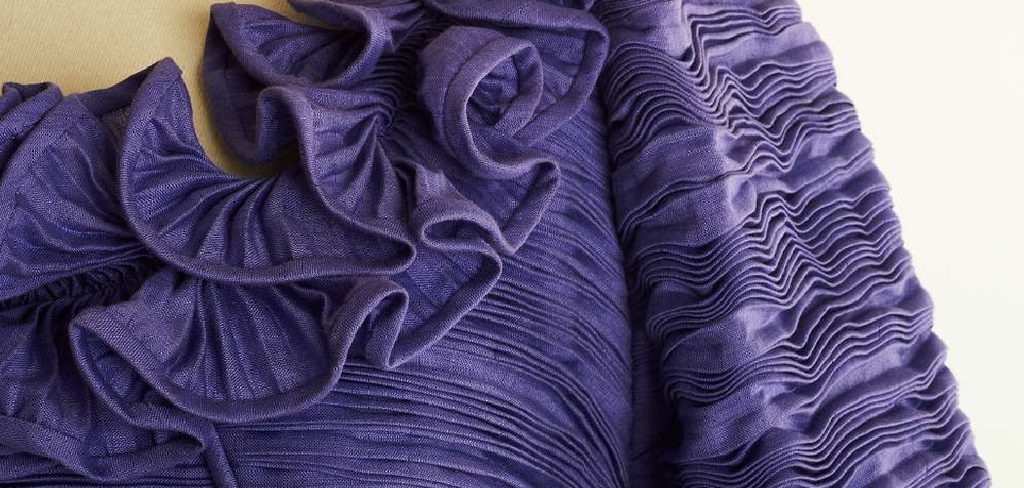
Ruching is one of those sewing techniques that looks far more complicated than it actually is. Those soft, gathered folds add texture, movement, and a touch of elegance to garments, home décor, and accessories. You’ve probably spotted ruching on the sleeves of a favorite dress, along the sides of a fitted top, or across a decorative throw pillow.
Whether you’re brand new to sewing or looking to level up your skills, this guide walks you through everything. We’ll cover the benefits, the tools you need, ten simple steps, common mistakes to sidestep, and answers to your most pressing questions.
By the end, you’ll feel confident adding gorgeous gathers to just about any project. Let’s dive into how to sew ruching.
What are the Benefits?
Ruching offers plenty of reasons to add it to your sewing toolkit. Here are the key ones:
- Adds visual interest. Flat fabric can feel plain. Ruching introduces depth, shadow, and texture that instantly makes a piece look more polished and designer-made.
- Flatters the body. When used on clothing, gathered folds help disguise areas you might feel self-conscious about. The soft draping skims over the body instead of clinging, which is why ruching shows up so often in dresses and swimwear.
- Hides imperfections. Small mistakes, uneven seams, or slight fabric flaws often disappear within the folds. This makes ruching a forgiving technique for beginners.
- Creates a custom look. Store-bought clothes rarely fit everyone perfectly. Ruching lets you shape and adjust garments so they feel tailored to you.
- Uses simple tools. You don’t need fancy machines or expensive supplies. A basic sewing kit gets the job done, making this an accessible skill for almost anyone.
- Works on many projects. From clothing to curtains, cushions, and bags, ruching adapts beautifully across a wide range of items.
These benefits make ruching a versatile technique worth learning, no matter your skill level.
What Will You Need?
Before you begin, gather your supplies. Having everything ready keeps the process smooth and stress-free. Here’s your checklist:
- Fabric – Lightweight to medium-weight fabrics like cotton, jersey, chiffon, or satin work best. They gather easily and hold folds well.
- Matching Thread – Choose a color that blends with your fabric so your stitches stay hidden.
- Sewing Needle – A hand-sewing needle for gathering, plus a machine needle if you’re using a sewing machine.
- Sewing Machine (Optional) – Speeds up the process, though you can absolutely ruche by hand.
- Straight Pins – To hold your fabric in place as you work.
- Fabric Scissors – Sharp scissors give you clean, precise cuts.
- Measuring Tape or Ruler – Accurate measurements are essential for even gathers.
- Fabric Marker or Tailor’s Chalk – To mark your stitching lines.
- Iron and Ironing Board – Pressing your fabric before and after helps set your gathers neatly.
- Elastic Thread (Optional) – A great alternative for stretchy, flexible ruching.
Once you have these on hand, you’re ready to dive into the steps.
10 Easy Steps on How to Sew Ruching
Follow these ten steps carefully, and you’ll master ruching in no time. Take your time with each one for the best results.
Step 1: Choose and Prepare Your Fabric
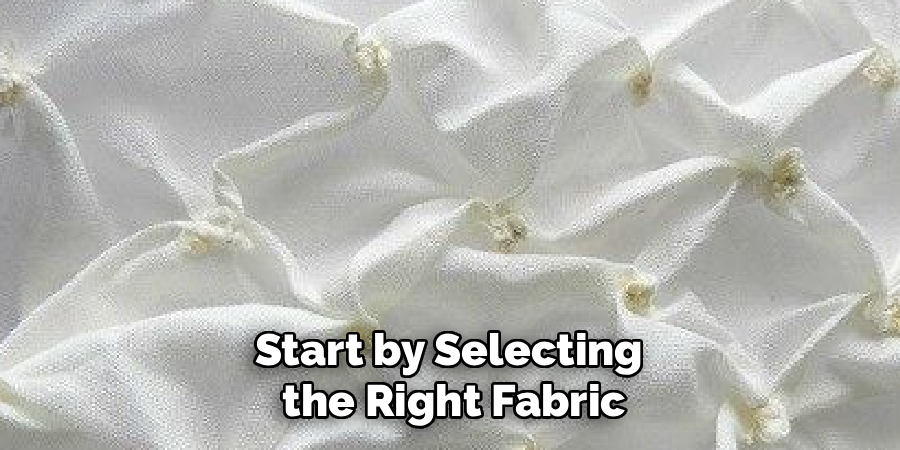
Start by selecting the right fabric. Lighter fabrics gather more easily, so if this is your first attempt, reach for cotton or jersey. Wash and iron your fabric before you begin. This removes any shrinkage risk later and gives you a smooth, wrinkle-free surface to work with. Lay it flat on your work table so you can see exactly what you’re working with.
Step 2: Measure and Mark Your Fabric

Decide how much fabric you want to ruche. As a general rule, you’ll need about twice the length of your final gathered measurement. So if you want 6 inches of ruching, cut around 12 inches of fabric. Use your measuring tape and fabric marker to draw two parallel lines where you plan to stitch. These lines act as your guide and keep your gathers even and straight.
Step 3: Set Up Your Stitches
If you’re using a sewing machine, set it to the longest straight stitch possible. Loosen the top tension slightly, which makes pulling the threads easier later. If you’re sewing by hand, thread your needle and tie a secure knot at one end. Long, even stitches are the key here. Short stitches make gathering difficult, so resist the urge to stitch too tightly.
Step 4: Sew Your First Row of Stitches
Sew along your first marked line from one end to the other. Do not backstitch at either end, since you’ll need those loose threads to pull later. Leave a generous tail of thread hanging at both the start and finish. This first row of stitches forms the foundation of your gathers, so keep it as straight as you can along your guideline.
Step 5: Sew a Second Parallel Row
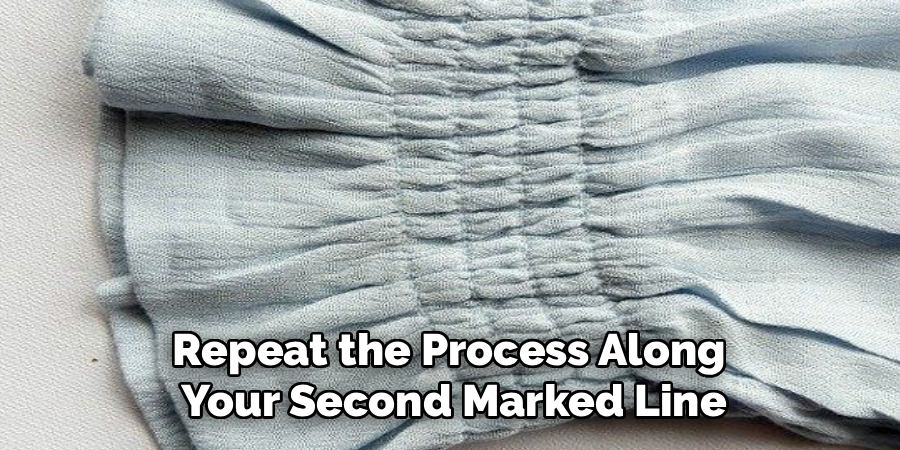
Repeat the process along your second marked line, running parallel to the first. Two rows give you more control and produce neater, more uniform gathers than a single row would. Again, avoid backstitching and leave long thread tails. Keep the spacing between your two rows consistent for a professional finish.
Step 6: Gently Pull the Bobbin Threads
Now comes the fun part. Hold the thread tails on one end and gently pull the bobbin threads (the bottom threads) on both rows at the same time. Slide the fabric along the threads to create gathers. Work slowly and evenly, pushing the folds down the fabric with your fingers. Pull too hard and the thread may snap, so use a steady, gentle hand.
Step 7: Adjust the Gathers Evenly
Once your fabric is gathered to the desired length, spread the folds out so they’re distributed evenly. Run your fingers along the fabric to smooth and space the gathers. This step matters a lot for a clean look. Uneven bunching stands out, so take a moment to fuss over the details until everything looks balanced.
Step 8: Secure the Gathered Threads
When you’re happy with the gathers, tie off the loose thread tails at each end with a firm knot. This locks your gathers in place so they don’t slip out while you handle the fabric. For extra security, you can wrap the threads around a pin in a figure-eight pattern before knotting. Double-check that your gathered length matches your target measurement.
Step 9: Stitch the Ruching in Place
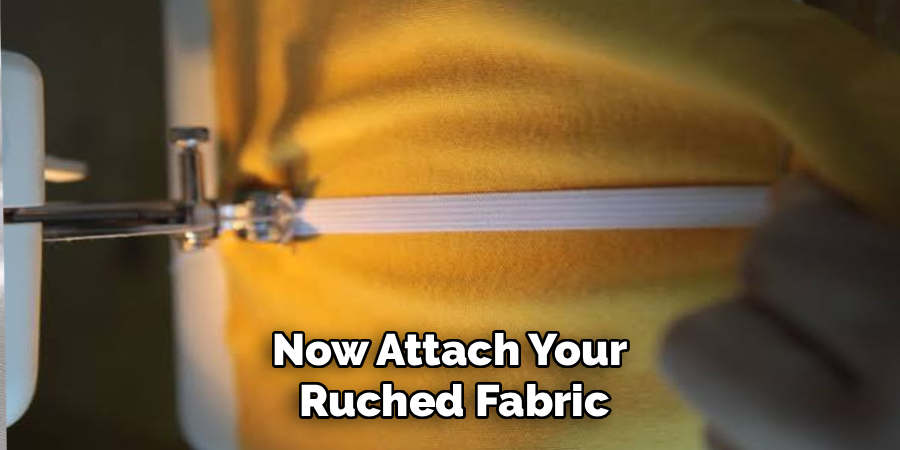
Now attach your ruched fabric to your project or sew a final securing line. Stitch directly over or just beside your gathering rows to hold the folds permanently. Pin the fabric first to keep it steady. Sew slowly, making sure the gathers stay even as you go. Once this line is in, you can gently remove your original gathering threads if they’re visible.
Step 10: Press and Finish
Give your finished ruching a light press with your iron. Be careful here, use low heat and avoid flattening the folds completely. You want to set the shape while keeping that soft, dimensional look. Trim any stray threads, inspect your work, and admire your beautiful gathers. Congratulations, you’ve just completed your first ruching project.
5 Things You Should Avoid
Even simple techniques come with a few traps. Steer clear of these common mistakes:
- Using stitches that are too short. Short stitches grip the fabric tightly and make gathering nearly impossible. Always use the longest stitch length for your gathering rows.
- Backstitching at the ends. Backstitching locks your threads and stops you from pulling them to create gathers. Leave those thread tails loose and long instead.
- Pulling the threads too hard. Rushing this step often snaps the thread, forcing you to start over. Gentle, patient pulling wins every time.
- Skipping the second row of stitches. A single row gives uneven, floppy gathers. Two parallel rows give you far more control and a cleaner result.
- Choosing the wrong fabric. Heavy or stiff fabrics resist gathering and produce bulky, awkward folds. Stick to lightweight, flexible materials, especially while you’re learning.
Avoid these pitfalls, and your ruching will come out looking neat and professional.
Conclusion
How to sew ruching may look like an advanced technique, but as you’ve seen, it’s completely achievable for beginners. With the right fabric, a few basic tools, and these ten simple steps, you can add elegant gathers to almost any project. The secret lies in patience: long stitches, gentle pulling, and even spacing make all the difference between messy bunching and beautiful, professional-looking folds.
Remember to choose lightweight fabrics while you’re learning, sew two parallel rows for better control, and always leave your thread tails loose so you can gather with ease. Watch out for those common mistakes, and don’t be afraid to practice on scrap fabric before tackling your main project.
So gather your supplies, take your time, and enjoy the process. Happy sewing!

About
Bennie Wilder is a dedicated figure in the world of sewing, clothing repair, and garment care, with years of hands-on experience exploring practical techniques for making, repairing, and maintaining everyday clothing. His professional focus lies in combining traditional sewing craftsmanship with modern, easy-to-follow solutions, helping readers confidently handle common clothing problems at home. As an author at SewFixes, Bennie shares practical knowledge on sewing techniques, garment alterations, fabric care, clothing repairs, and DIY projects for beginners and experienced sewing enthusiasts alike.
Education
Fashion Institute of Technology (New York, USA)
Associate Degree in Fashion Design & Apparel Studies
- Focused on garment construction, sewing techniques, fabric fundamentals, and clothing alterations.
- Developed practical skills in pattern making, hand stitching, machine sewing, and garment finishing.
- Gained hands-on experience working with different fabrics, sewing tools, and apparel construction methods.
Academy of Art University (San Francisco, USA)
Bachelor’s in Fashion Design
- Specialized in apparel construction, textile selection, garment fitting, and contemporary clothing design.
- Studied the relationship between fabric properties, garment structure, durability, and comfort.
- Participated in practical design projects involving garment creation, alterations, repairs, and sustainable clothing practices.
Publications and Impact
Through SewFixes, Bennie shares practical insights into sewing, clothing repair, fabric care, garment alterations, and everyday DIY solutions. His writing focuses on turning complicated sewing tasks into simple, understandable steps that readers can follow at home.
Bennie covers everything from repairing torn seams and replacing buttons to fixing hems, adjusting garment fit, choosing suitable fabrics, and maintaining sewing machines and tools. His content is designed to help readers become more confident with their clothing while encouraging practical repair and reuse instead of unnecessary replacement.
Through his work, Bennie aims to bridge the gap between traditional sewing knowledge and modern everyday needs—making sewing more approachable, useful, and accessible to anyone who wants to repair better, sew smarter, and make their clothes last longer.