

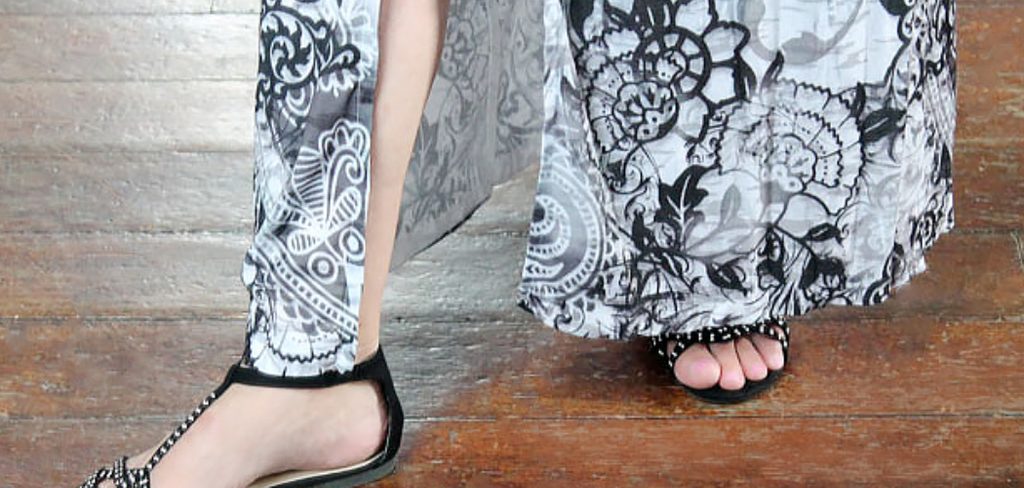
A well-placed slit can transform an ordinary dress into something that feels graceful, bold, and completely your own. Whether you want a subtle side split for easier movement or a dramatic thigh-high slit for a special occasion, sewing one yourself is far simpler than it looks. You don’t need years of tailoring experience or a fancy studio full of equipment. With a sewing machine, a few basic tools, and a little patience, you can add a professional-looking slit to almost any dress in an afternoon.
In this guide on how to sew a slit in a dress, we’ll walk you through everything step by step. You’ll learn why a slit is such a useful addition, what supplies you’ll need, and exactly how to sew one that lies flat and holds up to wear.
By the end, you’ll feel confident enough to pick up your scissors and get started.
What Are the Benefits?
Adding a slit to a dress does more than just look pretty. It brings real, practical value to your wardrobe.
First, a slit gives you freedom of movement. Long, fitted dresses can feel restrictive, making it hard to walk, sit, or climb stairs comfortably. A slit opens up the fabric so you can move with ease, which is especially helpful for formal gowns and maxi dresses.
Second, it adds style and personality. A slit draws attention to the legs and creates a flattering, elongated silhouette. You can make it as modest or as daring as you like, depending on the occasion and your comfort level.
Third, sewing your own slit saves money. Instead of buying a new dress or paying a tailor, you can update a piece you already own. This is a wonderful way to breathe new life into an older dress that no longer feels exciting.
Finally, it builds your sewing skills. Learning to create a clean, reinforced slit teaches you techniques you can use on skirts, pants, and other projects. It’s a small task with a big payoff for your confidence.
What Will You Need?
Before you begin, gather your supplies. Having everything within reach makes the whole process smoother and more enjoyable.
- The dress you want to alter (make sure it’s clean and pressed)
- Sewing machine (or a needle and thread for hand-sewing)
- Matching thread that blends with your fabric color
- Fabric scissors or a rotary cutter for clean cuts
- Seam ripper to open existing seams neatly
- Measuring tape or ruler for accurate placement
- Tailor’s chalk or a fabric marker to mark your lines
- Straight pins or sewing clips to hold fabric in place
- Iron and ironing board to press seams flat
- A mirror to check the slit height on your body
- Optional: interfacing or seam tape for extra reinforcement
Take a moment to choose thread that closely matches your dress. This small detail makes your finished slit look neat and nearly invisible.
10 Easy Steps on How to Sew a Slit in a Dress
Step 1: Decide on the Slit Placement

Start by choosing where you want your slit. The most common spots are the side seam, the center back, or the center front. Side slits are popular because they flatter the legs while staying practical. Try on the dress and use a mirror to picture where the opening would look best. Consider your comfort, the occasion, and how much leg you want to show. Once you’ve made your choice, mark the general area lightly with chalk so you remember your plan.
Step 2: Measure and Mark the Slit Height
Now decide how high you want the slit to go. Put the dress on and use a measuring tape to figure out the exact spot where the slit should end. A knee-length slit feels modest and easy to walk in, while a thigh-high slit makes a bolder statement. Mark this point clearly with tailor’s chalk. Measure from the hem upward so both sides stay even if you’re working with a symmetrical design. Double-check your mark in the mirror before moving on.
Step 3: Draw a Straight Cutting Line

Take off the dress and lay it flat on a clean surface. Using your ruler and chalk, draw a straight vertical line from the hem up to your marked slit height. This line should follow the seam if you’re opening an existing one, or run straight up the fabric if you’re creating a brand-new slit. Accuracy matters here, so take your time. A crooked line leads to a crooked slit, so use your ruler as a guide the whole way.
Step 4: Open the Existing Seam (If Applicable)
If your slit will follow an existing seam, grab your seam ripper. Gently slide it under the stitches and pull them out one by one, working from the hem up to your marked point. Go slowly to avoid tearing the fabric. Remove any loose threads as you go. If you’re cutting a fresh slit instead of using a seam, skip this step and move to cutting. Opening a seam is usually the easiest route, so use one when you can.
Step 5: Cut the Slit (For a New Opening)
If your dress has no seam where you want the slit, you’ll need to cut. Fold the fabric along your chalk line and use sharp fabric scissors to cut straight up to your marked stopping point. Cut only through the outer layer if your dress has a lining you want to keep separate. Make a clean, single cut rather than several small snips, which can leave jagged edges. Stop exactly at your mark to keep both sides even.

Step 6: Reinforce the Top of the Slit
The top of the slit takes the most stress when you walk, so it needs reinforcement. Press a small piece of interfacing or seam tape behind the top point for extra strength. This step prevents the slit from tearing further over time. If you don’t have interfacing, you can simply sew a few extra stitches across the top later. Reinforcing now saves you from repairs down the road, so don’t skip it.
Step 7: Fold and Pin the Raw Edges
Turn the raw edges of the slit inward about a quarter to a half inch to create a clean hem. Fold once, then fold again to hide the raw edge completely. Pin or clip the folded edges in place along both sides of the slit. Press the folds with your iron so they stay flat and crisp. This double fold keeps the fabric from fraying and gives your slit a polished, professional look.
Step 8: Sew Along the Folded Edges
Set your sewing machine to a straight stitch and choose thread that matches your dress. Starting at the hem, sew slowly up one side of the slit, keeping your stitches close to the folded edge. When you reach the top, pivot carefully and continue down the other side. Keep your stitch line even and straight. If you’re hand-sewing, use a small, tidy backstitch for strength. Go steady and let the machine do the work.
Step 9: Secure the Top of the Slit
When you reach the top point, sew a few extra stitches back and forth to lock everything in place. Some people sew a small horizontal bar across the top for added durability. This reinforcement stops the slit from ripping when you move. Backstitch at the start and end of your sewing to secure the thread. A strong top point is the secret to a slit that lasts through many wears.
Step 10: Press and Finish
Give your finished slit a final press with the iron to set the stitches and smooth the fabric. Trim any loose threads for a clean look. Try the dress on one more time to admire your work and check that the slit falls where you want it. Walk around to make sure it feels comfortable. Pressing at the end makes a huge difference, giving your project that crisp, store-bought finish.

5 Things You Should Avoid
- Cutting before measuring twice. Rushing the measuring step leads to uneven or overly high slits. Always double-check your marks before you cut anything.
- Skipping the reinforcement. The top of a slit endures constant strain. Without interfacing or extra stitches, it will tear far sooner than you’d like.
- Using mismatched thread. Thread that clashes with your fabric draws attention to your stitches. Choose a shade that blends in for a clean finish.
- Forgetting to press. Sewing without pressing your folds leaves bulky, uneven edges. Ironing as you go keeps everything flat and neat.
- Sewing too fast. Speeding through your stitches creates crooked lines and puckered fabric. Slow, steady sewing gives you a much better result.
Conclusion
How to sew a slit in a dress is one of the most rewarding beginner projects you can take on. It’s quick, budget-friendly, and instantly upgrades a piece you already own. As you’ve seen, the process comes down to a handful of clear steps: choose your placement, measure carefully, cut or open the seam, finish the edges, and reinforce the top. Each step builds on the last, and none of them require advanced skills.
The real secret to success is patience. Take your time with your measurements, press your folds as you go, and never skip the reinforcement at the top. These small habits make the difference between a slit that looks homemade and one that looks professionally tailored. Every project you complete will build your confidence and your skills.
So grab that dress you’ve been wanting to update, gather your tools, and give it a try. You’ll be amazed at how a simple slit can refresh your wardrobe and give your favorite dress a whole new life. Happy sewing!

About
Bennie Wilder is a dedicated figure in the world of sewing, clothing repair, and garment care, with years of hands-on experience exploring practical techniques for making, repairing, and maintaining everyday clothing. His professional focus lies in combining traditional sewing craftsmanship with modern, easy-to-follow solutions, helping readers confidently handle common clothing problems at home. As an author at SewFixes, Bennie shares practical knowledge on sewing techniques, garment alterations, fabric care, clothing repairs, and DIY projects for beginners and experienced sewing enthusiasts alike.
Education
Fashion Institute of Technology (New York, USA)
Associate Degree in Fashion Design & Apparel Studies
- Focused on garment construction, sewing techniques, fabric fundamentals, and clothing alterations.
- Developed practical skills in pattern making, hand stitching, machine sewing, and garment finishing.
- Gained hands-on experience working with different fabrics, sewing tools, and apparel construction methods.
Academy of Art University (San Francisco, USA)
Bachelor’s in Fashion Design
- Specialized in apparel construction, textile selection, garment fitting, and contemporary clothing design.
- Studied the relationship between fabric properties, garment structure, durability, and comfort.
- Participated in practical design projects involving garment creation, alterations, repairs, and sustainable clothing practices.
Publications and Impact
Through SewFixes, Bennie shares practical insights into sewing, clothing repair, fabric care, garment alterations, and everyday DIY solutions. His writing focuses on turning complicated sewing tasks into simple, understandable steps that readers can follow at home.
Bennie covers everything from repairing torn seams and replacing buttons to fixing hems, adjusting garment fit, choosing suitable fabrics, and maintaining sewing machines and tools. His content is designed to help readers become more confident with their clothing while encouraging practical repair and reuse instead of unnecessary replacement.
Through his work, Bennie aims to bridge the gap between traditional sewing knowledge and modern everyday needs—making sewing more approachable, useful, and accessible to anyone who wants to repair better, sew smarter, and make their clothes last longer.