

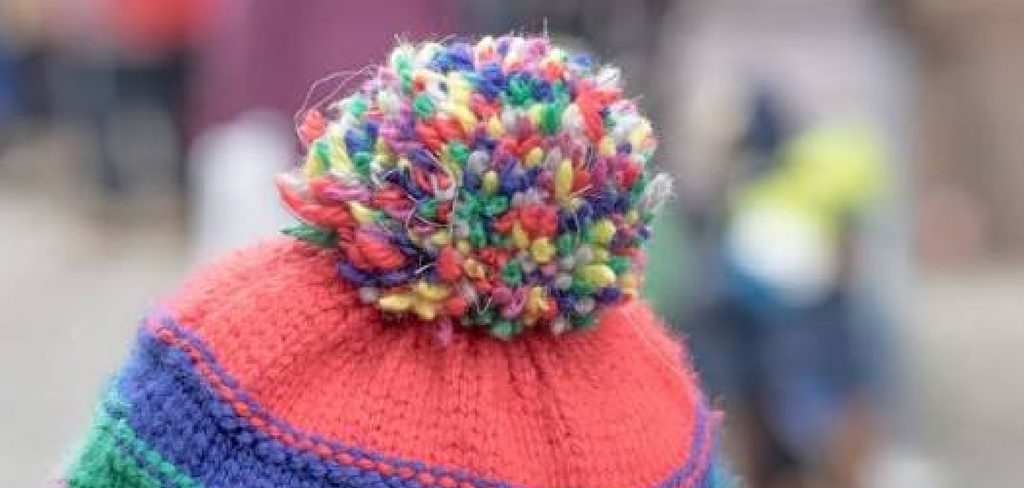
A plain beanie is nice. A beanie with a fluffy pom-pom bouncing on top? That’s a whole different vibe. Pom poms add personality, warmth, and a little playful charm to any hat, and the best part is that attaching one is easier than you might think. You don’t need fancy equipment or years of sewing experience. With a needle, some thread, and a few spare minutes, you can transform a basic hat into something that feels custom-made.
Maybe you knitted or crocheted a hat yourself and want to finish it off with a flourish. Maybe you bought a plain beanie and wish it had a bit more flair. Or perhaps your favorite hat lost its pom-pom, and you want to bring it back to life. Whatever your reason, this guide walks you through every step in plain, friendly language.
By the time you finish reading, you’ll know exactly what tools to grab, how to sew that pom pom on securely, and which common mistakes to sidestep. Let’s dive into how to sew a pom pom on a hat.
Benefits of Adding a Pom Pom to a Hat
Sewing a pom pom onto a hat is a small project with big rewards. Here’s why it’s worth doing:
- Instant style upgrade. A pom pom turns an ordinary hat into a statement piece. It adds texture, movement, and a touch of fun that catches the eye.
- Personalization. You choose the color, size, and material. Match it to your coat, mix contrasting shades, or go bold with a faux fur pom for a luxe look.
- Extra warmth and coziness. A thick pom adds a soft, snuggly feel to the crown of your hat, making it feel more finished and comforting.
- Budget-friendly makeover. Instead of buying a new hat, you can refresh one you already own for just a few cents’ worth of yarn.
- A great beginner project. If you’re new to sewing, this is a low-pressure way to practice basic hand-stitching skills and build confidence.
- Removable options. If you sew a snap or button underneath, you can swap pom poms whenever you want a new look or need to wash the hat.
- A thoughtful gift touch. Adding a handmade pom pom to a store-bought hat makes it feel personal and special for someone you care about.
Small effort, big payoff. That’s the beauty of this little craft.
What Will You Need?
Before you start, gather your supplies. Having everything within reach makes the whole process smooth and stress-free. Here’s your checklist:
- A hat – knitted, crocheted, or store-bought. Any beanie works.
- A pom pom – either store-bought or one you’ve made yourself from yarn or faux fur.
- A hand-sewing needle – choose one with an eye large enough for your thread or yarn.
- Strong thread or yarn – matching or coordinating with your pom pom color. Upholstery thread works well for extra strength.
- Scissors – sharp ones for clean cuts.
- A yarn tail or long strings – if your pom pom already has long ties, keep them; they help with attaching.
- A button (optional) – handy if you want a removable pom pom.
- A ruler or tape measure (optional) – useful for centering the pom pom.
- A safety pin or fabric marker (optional) – to mark the exact center of the hat.
If you’re making your own pom pom, you’ll also want a pom pom maker or two cardboard circles and some yarn. Once your supplies are ready, you’re set to begin.
10 Easy Steps on How to Sew a Pom Pom on a Hat
Step 1: Prepare Your Pom Pom
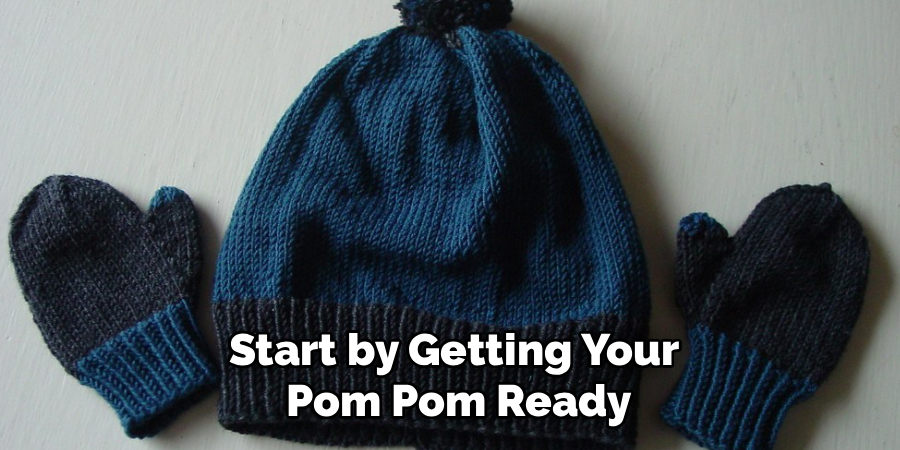
Start by getting your pom pom ready. If you bought one, check that it has long strings or a tail at its base. These strings are what you’ll use to secure it to the hat. If your pom pom doesn’t have them, thread a piece of yarn through the center core and tie it tightly, leaving two long tails hanging. If you made your own pom pom, don’t trim those center ties too short. Give the pom a gentle shake and a little trim to shape it into a nice, even ball. A well-groomed pom pom looks polished once it’s attached, so take a moment here to fluff and tidy it.
Step 2: Find the Center of Your Hat
Turn your hat right-side out and look at the crown, the very top. You want your pom pom to sit dead center for a balanced look. Lay the hat flat and use your fingers, a ruler, or a fabric marker to locate the middle point. If your hat has a visible seam or a decreasing pattern at the top, that center is usually easy to spot. Mark it lightly with a safety pin or a small dot from a washable marker. Taking a few seconds to find the true center saves you from a lopsided pom pom later.
Step 3: Thread Your Needle
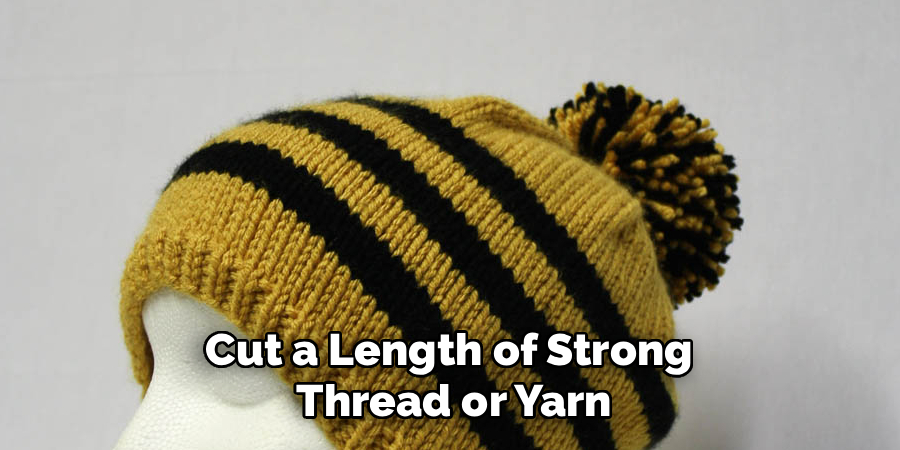
Cut a length of strong thread or yarn, about 18 to 24 inches long. Thread it through the eye of your needle. If you’re using yarn to match the pom pom, a large-eyed needle makes this easier. Pull the thread through so you have a doubled strand, then tie a knot at the end. A doubled thread gives you extra strength, which matters because the pom pom needs to stay put through wind, movement, and everyday wear. Take your time threading, especially if the light is dim, so you don’t fray the thread.
Step 4: Position the Pom Pom
Place the pom pom on the center point you marked. Hold it firmly with one hand. If your pom pom has long tail strings, push them through the hat fabric to the inside of the crown. You can use your needle or a crochet hook to pull them through. Once the tails are inside, tie them together in a tight double knot. This anchors the pom pom before you even start sewing and keeps it from shifting while you work. Check from a distance that it looks centered and sits upright.
Step 5: Turn the Hat Inside Out
Carefully turn your hat inside out so you can work from the underside of the crown. The pom pom will now be hanging inside. Working from the inside keeps your stitches hidden, which gives your hat a clean, professional finish. Don’t worry, the pom pom stays attached thanks to the knot you tied in the previous step. Make sure you can clearly see the base of the pom pom and the fabric around it.
Step 6: Start Stitching
Insert your threaded needle from the inside of the hat, right at the base of the pom pom. Push it through the fabric and into the core of the pom pom, then bring it back down through the fabric a tiny bit away from where you started. Pull the thread snug. This first stitch locks the pom pom in place. Try to catch the sturdy center of the pom pom rather than just the loose strands, so your stitches hold firmly.

Step 7: Sew Around the Base
Continue stitching in a small circle around the base of the pom pom. Make several stitches, each one passing through the fabric and the core of the pom pom. Aim for six to eight stitches spaced evenly around the base. Pull each stitch firmly but not so hard that you pucker the hat fabric. The goal is a secure ring of stitches that holds the pom pom steady from every angle. Keep the pom pom centered as you go.
Step 8: Reinforce the Attachment
Once you’ve gone around once, go around a second time for extra security. A pom pom takes a fair bit of tugging over its life, so this reinforcement really pays off. Pass your needle back and forth through the base and the core, adding a few crisscross stitches. This double layer of stitching means your pom pom won’t wobble loose after a few wears. Keep your tension even and steady.
Step 9: Tie Off the Thread
When you’re happy that the pom pom feels solid, it’s time to finish. Make a small stitch on the inside of the hat and pass your needle through the loop before pulling tight to create a knot. Repeat this two or three times to lock everything in place. A well-tied knot on the inside keeps your work from unraveling. Give the pom pom a gentle tug to test that it’s firmly attached before moving on.
Step 10: Trim and Turn Right-Side Out
Snip off any excess thread close to the knot, being careful not to cut your stitches. Turn the hat right-side out again. Give your pom pom a final fluff, shaking it and shaping it with your fingers so it looks full and round. Step back and admire your work. Your hat now has a bouncy, secure pom pom that looks like it came that way from the store. Well done.
5 Things You Should Avoid
Even a simple project has a few traps. Steer clear of these common mistakes:
- Using weak thread. Thin, flimsy thread snaps easily. Always choose strong thread or yarn so your pom pom stays attached through daily wear.
- Skipping the reinforcement stitches. One pass of stitching often isn’t enough. If you skip the second round, your pom pom may loosen and fall off sooner than you’d like.
- Off-center placement. Failing to find the true center leaves your pom pom looking crooked. Take the time to measure and mark before you sew.
- Pulling stitches too tight. Yanking the thread too hard can pucker the fabric and warp the shape of your hat. Keep your tension firm but gentle.
- Cutting the pom pom tails too short. Short tails give you nothing to anchor with. Always leave long strings so you can knot the pom pom securely before stitching.
Avoid these, and your project will turn out beautifully every time.
Conclusion
How to sew a pom pom on a hat is one of those small crafts that delivers big results. In just ten simple steps, you can take a plain beanie and turn it into a cozy, eye-catching accessory that feels truly your own. All it takes is a needle, some strong thread, a fluffy pom pom, and a little patience.
Remember the key points: prepare your pom pom well, find the exact center, stitch securely, and always reinforce your work. Steer clear of common mistakes like weak thread and off-center placement, and you’ll end up with a pom pom that stays put through every chilly walk and winter adventure.
So grab your supplies, pick a color you love, and give it a try. Your hats will never be boring again. Happy sewing.

About
Bennie Wilder is a dedicated figure in the world of sewing, clothing repair, and garment care, with years of hands-on experience exploring practical techniques for making, repairing, and maintaining everyday clothing. His professional focus lies in combining traditional sewing craftsmanship with modern, easy-to-follow solutions, helping readers confidently handle common clothing problems at home. As an author at SewFixes, Bennie shares practical knowledge on sewing techniques, garment alterations, fabric care, clothing repairs, and DIY projects for beginners and experienced sewing enthusiasts alike.
Education
Fashion Institute of Technology (New York, USA)
Associate Degree in Fashion Design & Apparel Studies
- Focused on garment construction, sewing techniques, fabric fundamentals, and clothing alterations.
- Developed practical skills in pattern making, hand stitching, machine sewing, and garment finishing.
- Gained hands-on experience working with different fabrics, sewing tools, and apparel construction methods.
Academy of Art University (San Francisco, USA)
Bachelor’s in Fashion Design
- Specialized in apparel construction, textile selection, garment fitting, and contemporary clothing design.
- Studied the relationship between fabric properties, garment structure, durability, and comfort.
- Participated in practical design projects involving garment creation, alterations, repairs, and sustainable clothing practices.
Publications and Impact
Through SewFixes, Bennie shares practical insights into sewing, clothing repair, fabric care, garment alterations, and everyday DIY solutions. His writing focuses on turning complicated sewing tasks into simple, understandable steps that readers can follow at home.
Bennie covers everything from repairing torn seams and replacing buttons to fixing hems, adjusting garment fit, choosing suitable fabrics, and maintaining sewing machines and tools. His content is designed to help readers become more confident with their clothing while encouraging practical repair and reuse instead of unnecessary replacement.
Through his work, Bennie aims to bridge the gap between traditional sewing knowledge and modern everyday needs—making sewing more approachable, useful, and accessible to anyone who wants to repair better, sew smarter, and make their clothes last longer.