

You spot a charming little sampler hanging in a friend’s kitchen, and something clicks. You want to make one too. If you’ve ever wondered, “how do i do cross stitch,” the honest answer is that it’s far gentler to learn than it looks.
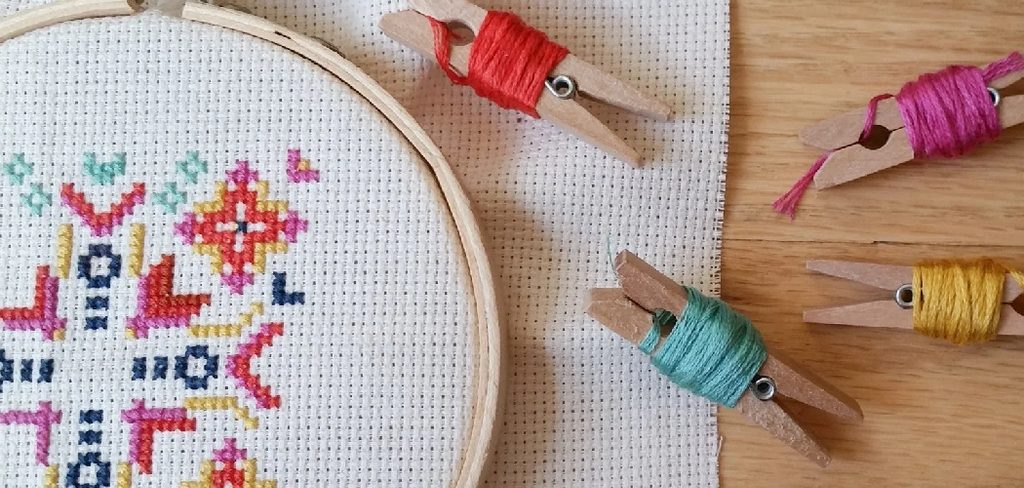
Really. Most people can finish a small design in a single cozy afternoon.
This is one of those crafts that rewards patience over talent. Below, I’ll walk you through reading a chart, prepping your fabric, and forming those neat little X-shaped stitches that slowly build into a picture.
What Is Cross Stitch?
Before you thread a needle, it helps to understand what you’re actually making. A little grounding here tends to make every later step feel obvious rather than mysterious.
Cross stitch is, at its core, a counting craft. You follow a grid, and the grid tells you where each stitch goes.
The Simple Idea Behind the Stitch
Each stitch is a small X, formed by two diagonal lines crossing over each other. Picture the letter X drawn hundreds of times across a piece of fabric.
Those little X shapes gather together into shapes, letters, and eventually a full image. It’s a bit like building a picture out of tiny tiles.
How Counted Cross Stitch Works
The version most people start with is called counted cross stitch. You work from a printed chart, counting squares on the fabric to know where each stitch belongs.
That counting is the whole rhythm of it. Once you find your place on the grid, the rest tends to fall into line.
Why It Stays So Popular
Part of the appeal is how forgiving it is for a complete beginner. The stitches are simple, and the results look far more impressive than the effort suggests.
There’s also a calm to it. Many stitchers describe the repetitive motion as genuinely soothing, which may explain why the craft has held on for so long.
Tools and Materials You Will Need
Gathering everything first saves a fair bit of mid-project frustration. Nothing stalls a relaxing afternoon faster than realizing you’re missing the right floss.
The list is short, thankfully, and beginner kits often bundle most of it together.
Choosing Your Fabric
Start with Aida cloth. It has a clear, even grid of holes that practically tells you where to stitch, which takes the guesswork out for a newcomer.
Aida comes in different counts, meaning holes per inch. A lower count gives bigger, easier stitches, so an 11 or 14 count is a kind place to begin.
Needles, Floss, and Hoops
You’ll want a blunt tapestry needle, which slips between the fabric threads rather than piercing them. Embroidery floss provides the color, and it usually comes as six thin strands twisted together.
A hoop holds the fabric taut while you work. That tension keeps your stitches even and stops the cloth from bunching under your hand.
Helpful Extras for Beginners
A small pair of sharp scissors makes clean cuts and quick color changes. A printed chart, whether from a kit or a pattern, gives you the map to follow.
And a needle threader? Optional, but oddly satisfying when the light is low and your patience is thin.
Reading a Cross Stitch Pattern
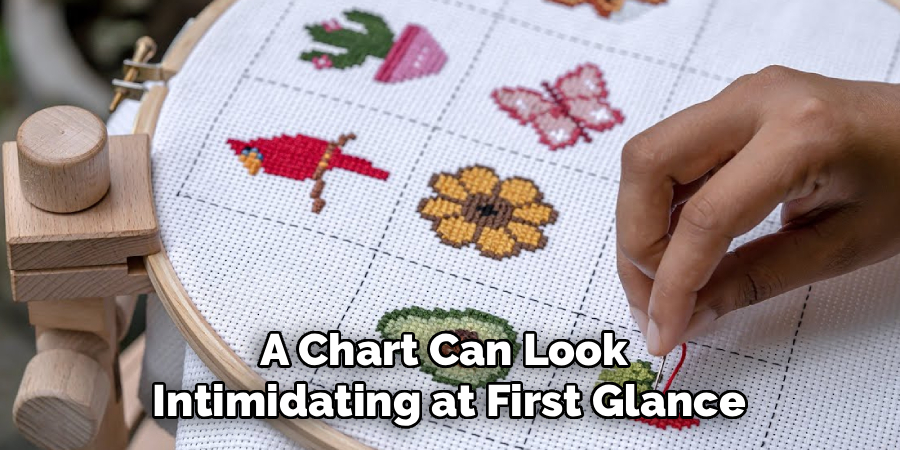
A chart can look intimidating at first glance, all those symbols packed into tiny squares. Give it a minute, though. The logic underneath is refreshingly simple.
Once you crack the code, following it becomes almost automatic.
Understanding the Grid and Symbols
Every square on the chart stands for one stitch on your fabric. That’s the key relationship to hold onto.
Inside each square sits a symbol or a color, telling you which shade of floss to use. So the chart is really just a colored map, one square at a time.
Finding Your Starting Point
Most stitchers begin from the center of the design. The chart usually marks its middle with small arrows along the edges.
Finding the center of both the chart and the fabric keeps your finished picture balanced. Start off-center, and you risk running out of room on one side.
Following the Color Key
Somewhere on your pattern sits a legend, or key. It matches each symbol to a specific floss number, so you always know what to stitch next.
Keep that key close as you work. Glancing at it becomes second nature after the first few rows.
Preparing Your Fabric and Floss
A little setup makes everything that follows feel effortless. Skip it, and you’ll fight small annoyances the whole way through.
None of this takes long. Five minutes, maybe less.
Securing the Fabric in a Hoop
Place your fabric over the inner ring of the hoop, then press the outer ring down over it. Tighten the screw until the cloth sits flat and drum-tight.
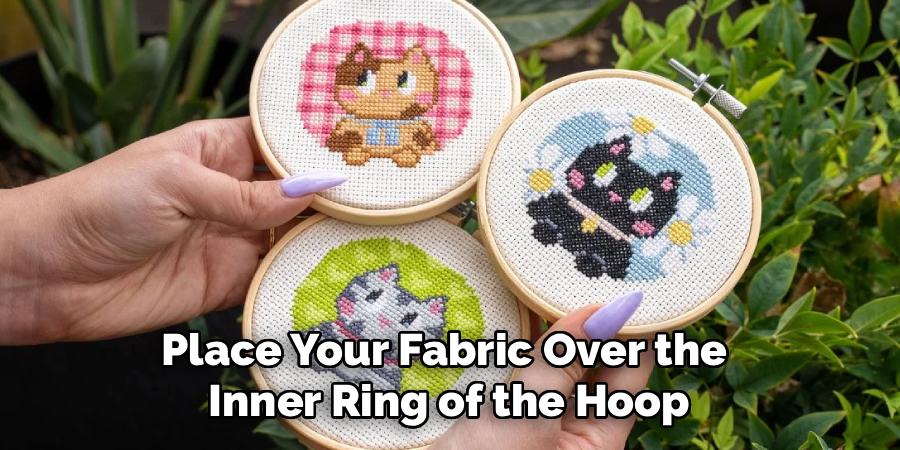
That firm surface matters more than you’d expect. Loose fabric leads to uneven, puckered stitches.
Separating and Threading the Floss
Embroidery floss comes as six strands, but you rarely use all six. For common 14-count Aida, two strands is the usual choice.
Gently pull the strands apart to get the number your pattern calls for, then thread your needle. Separating them first, rather than stitching with the whole bundle, gives cleaner, flatter stitches.
Marking the Center
Fold your fabric in half, then in half again, and pinch the corner. That center point matches the middle of your chart.
A light mark or a tiny basting stitch there gives you a reliable place to begin. It’s a small habit that saves a lot of recounting later.
How Do I Do Cross Stitch: Step-by-Step Guide
Here’s the heart of it. You’re only a handful of simple stitches away from a finished design, so settle in and take your time.
None of these steps ask for a steady surgeon’s hand. They just ask for a little attention.
Step 1: Anchor Your Thread Without a Knot
Skip the knot. Instead, try the loop start method, which keeps the back of your work tidy and flat.
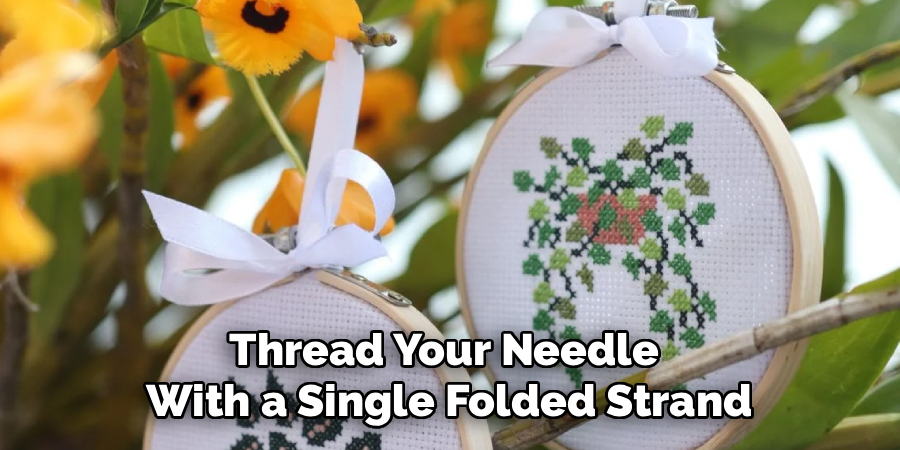
Thread your needle with a single folded strand, so the loop sits at the tail end. Bring the needle up through the fabric, make your first half-stitch, then pass the needle through that waiting loop underneath to lock it in place.
That gentle anchor holds firmly without any bulky bump on the back.
Step 2: Make Your First Diagonal Stitch
Bring the needle up through one corner of a fabric square, then take it back down through the diagonally opposite corner. You’ve just made a single diagonal line.
Keep all your diagonals leaning the same direction. This one small habit is the quiet secret behind neat, uniform stitches.
Step 3: Complete the X
Now bring the needle up through a third corner and down through the fourth, crossing over that first diagonal. There’s your X.
That completed X is one finished stitch, matching one square on your chart. Simple as that, and you’ll repeat it hundreds of times without ever getting bored of the little click of satisfaction.
Step 4: Stitch a Row Using the Two-Pass Method
For a run of stitches in the same color, work smarter than one X at a time. Sew a whole row of diagonals leaning one way first.
Then travel back across the row, completing every X on the return pass. This method moves faster, and it keeps your tension even across the whole line.
Step 5: Keep Your Tension Relaxed and Even
Pull each stitch snug, but stop short of yanking it tight. Too much force puckers the fabric and warps those tidy squares.
Aim for stitches that sit plump and flat against the cloth. Finding a comfortable, steady rhythm helps here, and that rhythm tends to arrive within the first dozen stitches or so.
Step 6: Change Colors and Follow the Chart
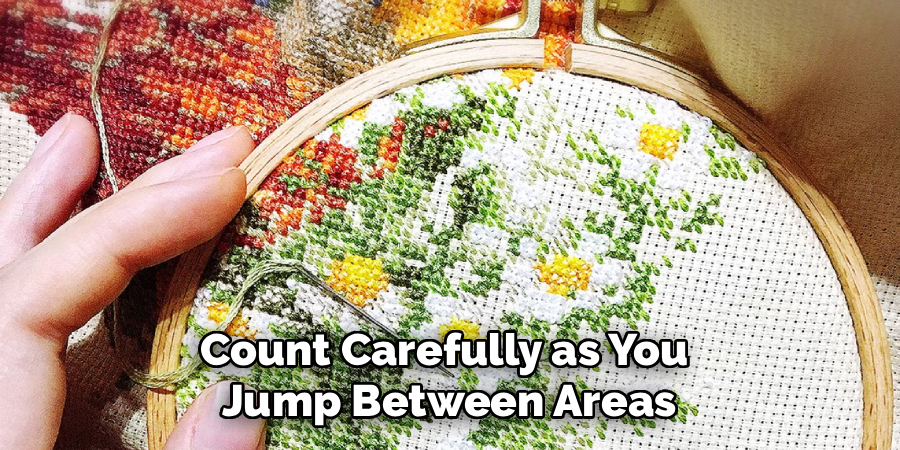
When a color section ends, secure that thread and start the next shade by matching symbols on your chart. Count carefully as you jump between areas, since a miscount early on ripples through everything after.
Keep checking the chart against your fabric. And enjoy this part, honestly, because watching the picture slowly emerge is where the whole craft earns its quiet loyal following.
How to Keep Your Stitches Neat and Even
The difference between beginner work and polished work rarely comes down to skill. It comes down to a couple of small, repeatable habits.
Build these early, and they’ll serve every project you ever make.
Crossing Every Stitch the Same Way
I’ll say it again, because it matters that much. Always cross your top diagonal in the same direction.
When every X leans identically, light catches the threads uniformly, giving the finished piece a smooth, even texture. Mix the directions, and the surface looks subtly bumpy, even if you can’t quite say why.
Managing Thread on the Back
The back of your work deserves a little thought. Rather than jumping long distances across it, weave loose tails under existing stitches.
Long floats of thread on the reverse can show through the front as faint shadows, particularly on lighter fabric. A tidy back may seem fussy, yet it appears to keep the front cleaner too.
How to End Your Thread Neatly
Finishing a thread well is what keeps your work from quietly coming apart later. It takes seconds, and it’s worth every one of them.
No knots required here either.
Weaving the Tail Under Stitches
Turn your work over and slide the needle under three or four nearby stitches on the back. Pull the thread through gently.
That woven tail locks the thread in place through friction alone, with no bulky knot to press through the front. Spread across several stitches, it holds surprisingly well.
Trimming the Thread Close
Snip the tail close to the fabric, but leave a small margin, maybe an eighth of an inch. Cut it flush, and you risk the whole thing slipping free.
A little caution here saves the frustration of a stitch quietly unraveling weeks down the line.
Common Mistakes to Avoid
Every beginner stumbles over a few of the same things. None of them are hard to dodge once you know they’re waiting.
Consider this a gentle heads-up rather than a warning.
Miscounting the Squares
Losing your place on the grid is probably the most common slip. One miscounted square, and the design starts drifting sideways.
Counting from the center outward helps keep everything aligned. When something looks off, stop and recount before you stitch any further. It’s far easier to fix two stitches than twenty.
Crossing Stitches in Different Directions
We covered this, but it earns a second mention here for a reason. Flipping the direction of your top diagonal creates an uneven, bumpy look across the whole piece.
Pick a direction and commit to it. Consistency does more for a clean finish than almost anything else.
Pulling the Floss Too Tight
Over-tightening puckers the fabric into little wrinkles that refuse to lie flat. Once they set in, smoothing them out is a genuine chore.
A gentle, even pull keeps the surface calm and the stitches plump. Firm enough to hold, relaxed enough to breathe.
Tips for a Beautiful Finished Piece
A handful of small choices can turn a shaky first attempt into something you’ll actually want to display. Nothing complicated, just thoughtful.
These are the habits that build quiet confidence.
Starting With a Small, Simple Pattern
Resist the urge to begin with an elaborate landscape. A compact design with just a few colors gives you a finish line you can actually reach.
That early success matters more than you’d think. Completing a small piece builds the confidence to tackle something bigger next time.
Washing and Framing Your Work
Once you’ve placed the final stitch, a gentle hand wash and a careful press bring the piece to life. Iron it face-down on a soft towel to protect those raised stitches.
Then frame it, or turn it into a little gift. Displaying your work has a way of making all that quiet counting feel deeply worthwhile.
Frequently Asked Questions
A few questions come up again and again from new stitchers. Let’s clear them up plainly.
How Long Does It Take to Learn?
Faster than most crafts, honestly. The basic stitch itself clicks for most people within a single sitting.
Getting smooth and quick takes a bit longer, of course. But you’ll be stitching a real design on day one, which is part of the charm.
How Many Strands of Floss Should I Use?
That depends on your fabric and your pattern. For common 14-count Aida, two strands is the standard, giving good coverage without crowding the holes.
When in doubt, check your pattern’s instructions. It usually spells out the right number for the fabric it was designed around.
What Should I Stitch First as a Beginner?
A small kit is a lovely place to start. It arrives with everything counted out for you, the fabric, floss, needle, and chart all matched.
Beyond that, look for simple charts with few colors and clean shapes. Skill grows quickly when you’re not fighting a design that’s too ambitious for your first go.
Conclusion
So there it is. If you came to this asking, “how do i do cross stitch,” the whole thing really comes down to reading a chart, prepping your fabric, forming even X-shaped stitches, and finishing each thread neatly.
None of it demands special talent. It rewards patience and a bit of counting more than anything else.
My honest suggestion? Grab a small beginner kit and stitch your very first row today, before the idea cools off. Once your hands learn that quiet, steady rhythm, this gentle little craft has a way of giving back far more calm and creative hours than you put in.

About
Bennie Wilder is a dedicated figure in the world of sewing, clothing repair, and garment care, with years of hands-on experience exploring practical techniques for making, repairing, and maintaining everyday clothing. His professional focus lies in combining traditional sewing craftsmanship with modern, easy-to-follow solutions, helping readers confidently handle common clothing problems at home. As an author at SewFixes, Bennie shares practical knowledge on sewing techniques, garment alterations, fabric care, clothing repairs, and DIY projects for beginners and experienced sewing enthusiasts alike.
Education
Fashion Institute of Technology (New York, USA)
Associate Degree in Fashion Design & Apparel Studies
- Focused on garment construction, sewing techniques, fabric fundamentals, and clothing alterations.
- Developed practical skills in pattern making, hand stitching, machine sewing, and garment finishing.
- Gained hands-on experience working with different fabrics, sewing tools, and apparel construction methods.
Academy of Art University (San Francisco, USA)
Bachelor’s in Fashion Design
- Specialized in apparel construction, textile selection, garment fitting, and contemporary clothing design.
- Studied the relationship between fabric properties, garment structure, durability, and comfort.
- Participated in practical design projects involving garment creation, alterations, repairs, and sustainable clothing practices.
Publications and Impact
Through SewFixes, Bennie shares practical insights into sewing, clothing repair, fabric care, garment alterations, and everyday DIY solutions. His writing focuses on turning complicated sewing tasks into simple, understandable steps that readers can follow at home.
Bennie covers everything from repairing torn seams and replacing buttons to fixing hems, adjusting garment fit, choosing suitable fabrics, and maintaining sewing machines and tools. His content is designed to help readers become more confident with their clothing while encouraging practical repair and reuse instead of unnecessary replacement.
Through his work, Bennie aims to bridge the gap between traditional sewing knowledge and modern everyday needs—making sewing more approachable, useful, and accessible to anyone who wants to repair better, sew smarter, and make their clothes last longer.