

A blind stitch is a hand-sewing technique that joins two pieces of fabric so the thread stays hidden from view. You often see it on hems, cuffs, and the openings of pillows or stuffed toys, where a visible line of stitching would spoil the clean look. The magic lies in catching only a thread or two of fabric at a time, so the seam seems to close itself.
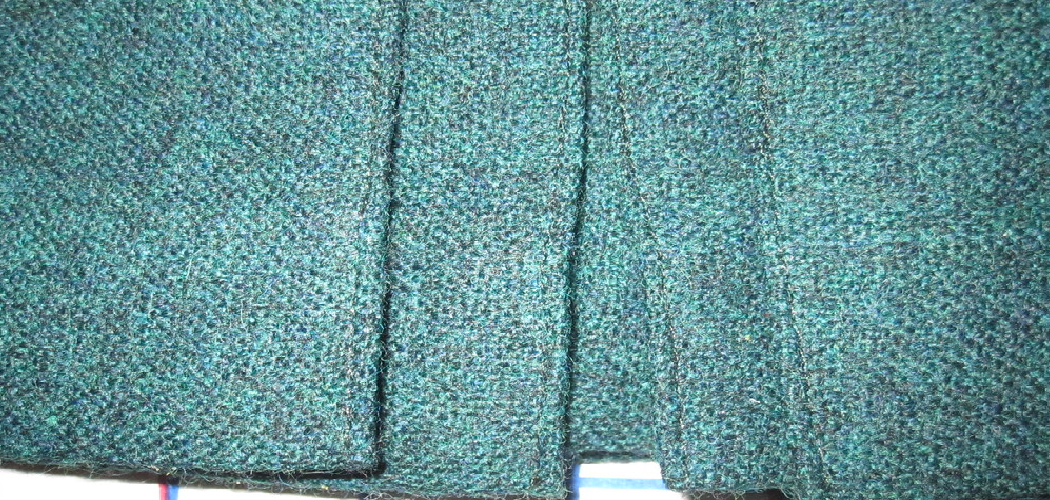
If you have ever wanted a professional finish on your clothing or home projects, learning how to do a blind stitch by hand is a skill worth having. It sounds fancy, but it rests on a simple rhythm anyone can pick up with a little practice. You do not need a machine or special gear, just a needle, matching thread, and a few quiet minutes. In the sections ahead, we will walk through the tools, the reasoning, and each move in plain language. By the end, you will feel confident enching hems and closing seams that look neat, tidy, and completely invisible.
Why Doing A Blind Stitch By Hand Is Worth Learning
This stitch gives you a polished, invisible finish that machine sewing sometimes cannot match, especially on delicate or curved edges. Because the thread hides inside the fold, your hems and repairs look clean from the outside, which instantly raises the quality of any garment or project.
It is also budget-friendly and portable, since you only need a needle and thread to work anywhere. The technique repairs falling hems, closes stuffed items, and rescues store-bought clothes in minutes, saving you money on alterations. Beyond the practical wins, hand stitching is calming and gives you full control over every pass of the needle. Once you master this one method, you gain a reliable tool for countless everyday fixes, and each finished seam builds real confidence for bigger sewing adventures down the road.
Step-By-Step Guide To How to Do a Blind Stitch by Hand
Step 1: Gather Your Supplies
Start by collecting everything you need so you can work without pausing to hunt for tools. You want a fine hand-sewing needle, thread that matches your fabric as closely as possible, sharp scissors, and a few pins to hold your fold in place. A thimble helps protect your finger during longer projects.
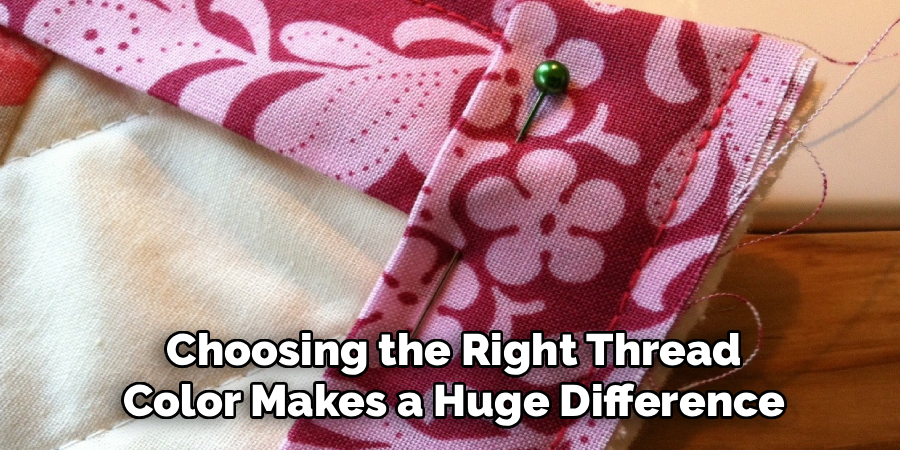
Choosing the right thread color makes a huge difference, since a close match is what keeps your stitches truly hidden. Thin, sharp needles slide through fabric cleanly and leave tiny holes that disappear. Lay your supplies out in one spot, take a breath, and you are ready to begin with everything within easy reach.
Step 2: Prepare And Fold Your Fabric
Press your hem or seam before you stitch, because a crisp fold gives you a clear guide to follow. For a hem, turn the raw edge under once, then fold it up again to hide the rough edge inside. Pin the fold in place so it does not shift while you work.
Take a moment to check that the fold is even along its whole length, since uneven folds lead to wavy, noticeable seams. Ironing sets the crease and flattens the layers, making them easier to handle. This small bit of prep saves frustration later and sets you up for smooth, tidy stitching from the very first pass.
Step 3: Thread Your Needle And Tie A Knot
Cut a length of thread about the size of your forearm, which is long enough to work with but short enough to avoid tangles. Slide one end through the eye of the needle and pull it a few inches so it stays put. For most blind stitching, a single strand keeps the work delicate and hidden.
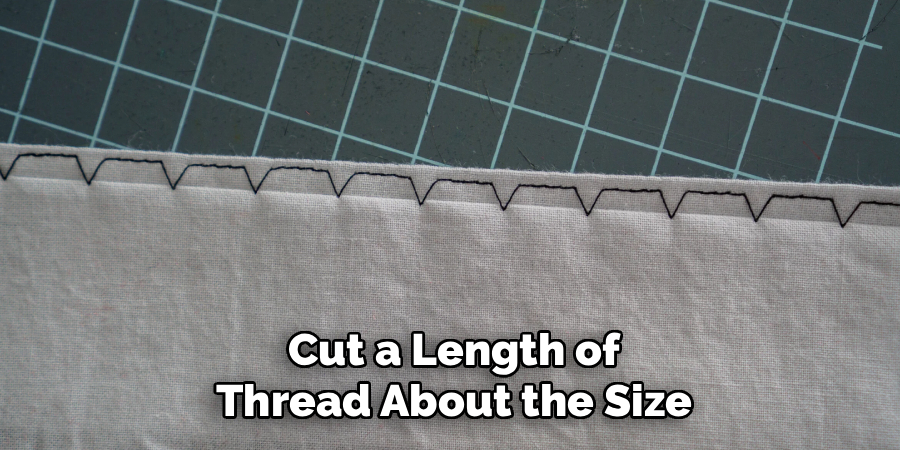
Tie a small, neat knot at the longer end of the thread. A tidy knot anchors your first stitch and prevents the thread from pulling through the fabric. Keep the knot small so it tucks neatly inside the fold, staying out of sight when your seam is complete.
Step 4: Anchor Your First Stitch
Begin by hiding your knot inside the fold of the fabric so it never shows on the outside. Bring your needle up through the folded edge, letting the knot rest snugly within the crease. This first anchor holds everything steady and keeps your starting point invisible.
Learning how to do a blind stitch by hand really clicks once you master this hidden start, because a clean anchor sets the tone for the whole seam. Pull the thread gently until the knot catches inside the fold, then position your needle to make the first tiny catch in the main fabric. Take your time here, since a secure beginning keeps the rest of your work smooth.
Step 5: Make The Hidden Catch Stitches
Now for the heart of the technique. Move your needle to the flat fabric just opposite the fold and pick up only one or two threads of the weave. Catching this tiny amount is what keeps the stitch from showing on the right side. Pull the thread through gently, without tugging too hard.
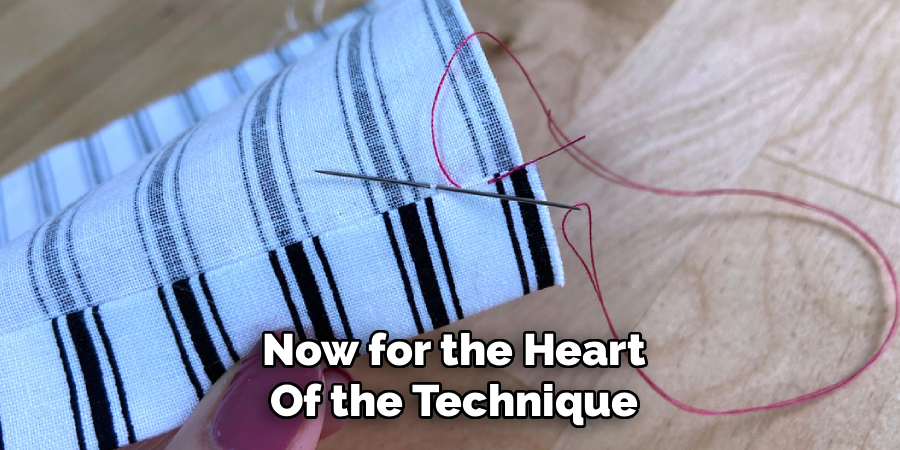
Next, slide your needle back into the folded edge and travel a short distance inside the crease before coming out again. Repeat this rhythm of catching a few threads, then hiding the needle in the fold. Keeping your stitches small and evenly spaced is the secret to a seam that seems to vanish before your eyes.
Step 6: Keep Your Tension Even
Consistent tension is what separates a smooth, invisible seam from a puckered one. As you pull each stitch, use just enough pressure to close the gap without gathering the fabric. If you tug too tightly, the fabric bunches and your careful work becomes visible from the front.
Pause every few stitches to check both sides of your project. The right side should show almost nothing, while the inside reveals a gentle, even line. Mastering how to do a blind stitch by hand comes down to this balance, so relax your grip and let the thread settle naturally. A steady, gentle pull each time keeps your seam flat and flawless.
Step 7: Finish And Secure The Thread
When you reach the end of your seam, it is time to lock the thread so your stitches never come loose. Make a small stitch in place, then pass your needle through the loop it creates to form a knot right against the fabric. Repeat this once more for extra security.
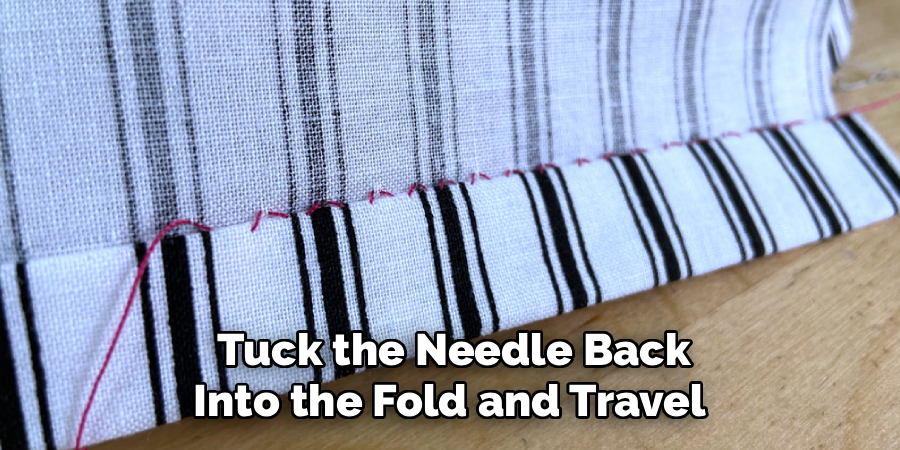
Tuck the needle back into the fold and travel an inch or so before bringing it out, then snip the thread close to the surface. This buries the tail inside the fold, keeping your finish clean and hidden. Give the seam a final press, and step back to admire a neat, invisible result you made entirely by hand.
Frequently Asked Questions
What Fabrics Work Best For This Stitch?
Medium-weight woven fabrics like cotton, linen, and wool are ideal because they hold the tiny catches securely without fraying quickly. These materials let your needle slip through cleanly and hide small stitches with ease. Very sheer or loosely woven fabrics can be trickier, since the thread may show or slip. Start with a stable, matte fabric while you build confidence, then move on to more delicate materials.
How Do I Keep My Stitches Truly Invisible?
The secret is catching only one or two threads of the main fabric on each pass and using thread that matches your fabric closely. Keep your stitches small, evenly spaced, and gently tensioned so the fabric never puckers. Working slowly helps you control each catch. Check the right side often, and if a stitch peeks through, simply remove it and try picking up fewer threads next time.
What Thread Should I Use?
A good all-purpose polyester or cotton thread works well for most projects, and matching the color to your fabric matters far more than the brand. For a nearly seamless look, choose a shade slightly darker than your fabric, since dark tones tend to blend better than light ones. Use a single strand for delicate work and a slightly thicker thread only when you need extra strength on heavier fabrics.
Can I Use This Stitch To Fix A Falling Hem?
Absolutely, and it is one of the most popular uses for this technique. When a hem comes loose on trousers, skirts, or curtains, you can re-secure it invisibly in just a few minutes. Press the hem back into place, pin it, and stitch along the fold using small hidden catches. The repair blends right in, so no one will ever notice the fabric was mended by hand.
How Long Does It Take To Learn?
Most beginners get the basic rhythm within an hour of focused practice. Your first seam might feel slow and a little uneven, and that is completely normal. With each project, your hands learn the motion, your stitches grow smaller, and your speed improves naturally. Practicing on a scrap of fabric first lets you experiment freely, so you can build real confidence before working on a garment you care about.
Conclusion
Mastering this invisible technique gives you a reliable way to finish hems, close seams, and repair clothing with a clean, professional look. From gathering your supplies and pressing a crisp fold to making those tiny hidden catches and securing the thread, each step builds skill you can use again and again. The method is forgiving, portable, and endlessly practical, so every project sharpens your hands and your confidence.
Now that you understand how to do a blind stitch by hand from start to finish, there is nothing stopping you from picking up a needle today. Grab a fabric scrap, thread your needle, and practice the rhythm until it feels natural. Before long, you will close hems and seams that look flawless, turning quick repairs into a skill you truly enjoy. Take your time, trust each stitch, and let your neat, invisible results speak for themselves.

About
Bennie Wilder is a dedicated figure in the world of sewing, clothing repair, and garment care, with years of hands-on experience exploring practical techniques for making, repairing, and maintaining everyday clothing. His professional focus lies in combining traditional sewing craftsmanship with modern, easy-to-follow solutions, helping readers confidently handle common clothing problems at home. As an author at SewFixes, Bennie shares practical knowledge on sewing techniques, garment alterations, fabric care, clothing repairs, and DIY projects for beginners and experienced sewing enthusiasts alike.
Education
Fashion Institute of Technology (New York, USA)
Associate Degree in Fashion Design & Apparel Studies
- Focused on garment construction, sewing techniques, fabric fundamentals, and clothing alterations.
- Developed practical skills in pattern making, hand stitching, machine sewing, and garment finishing.
- Gained hands-on experience working with different fabrics, sewing tools, and apparel construction methods.
Academy of Art University (San Francisco, USA)
Bachelor’s in Fashion Design
- Specialized in apparel construction, textile selection, garment fitting, and contemporary clothing design.
- Studied the relationship between fabric properties, garment structure, durability, and comfort.
- Participated in practical design projects involving garment creation, alterations, repairs, and sustainable clothing practices.
Publications and Impact
Through SewFixes, Bennie shares practical insights into sewing, clothing repair, fabric care, garment alterations, and everyday DIY solutions. His writing focuses on turning complicated sewing tasks into simple, understandable steps that readers can follow at home.
Bennie covers everything from repairing torn seams and replacing buttons to fixing hems, adjusting garment fit, choosing suitable fabrics, and maintaining sewing machines and tools. His content is designed to help readers become more confident with their clothing while encouraging practical repair and reuse instead of unnecessary replacement.
Through his work, Bennie aims to bridge the gap between traditional sewing knowledge and modern everyday needs—making sewing more approachable, useful, and accessible to anyone who wants to repair better, sew smarter, and make their clothes last longer.