

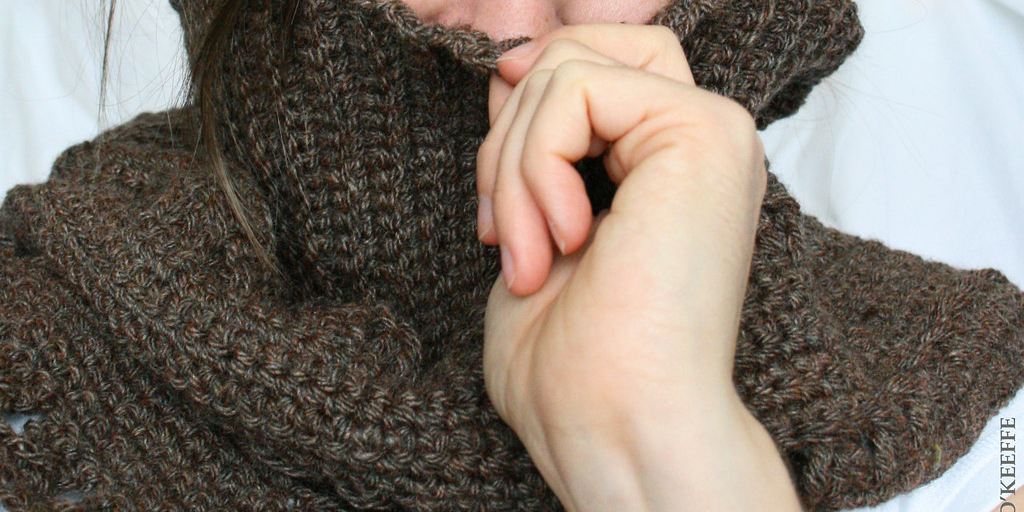
When the temperature drops, keeping your neck warm can make all the difference between comfort and misery. A neck warmer is one of the simplest and most practical accessories you can own during the colder months — and the best part? You can make one yourself. Whether you’re a seasoned sewer or just picking up a needle and thread for the first time, sewing a neck warmer is a beginner-friendly project that delivers impressive results with minimal effort.
Unlike a bulky scarf that needs constant rewrapping, a neck warmer sits snugly around your neck, stays in place, and looks stylish without any fuss.
In this complete guide on how to sew a neck warmer, you’ll learn everything you need to know — from the benefits of making your own neck warmer to the tools required, a full step-by-step tutorial, common mistakes to avoid, and answers to frequently asked questions. Let’s get started.
What Are the Benefits?
Making your own neck warmer comes with a surprising number of advantages. Here’s why it’s worth your time:
- Cost-effective: Store-bought neck warmers can be pricey, especially those made with quality fabric. Sewing your own lets you get the same — or better — result for a fraction of the cost.
- Fully Customizable: Choose your own fabric, color, length, and thickness. You can tailor every detail to suit your personal style or match an outfit.
- Great for Gifting: A handmade neck warmer makes a thoughtful, personal gift for friends and family during the holiday season.
- Quick Project: Unlike quilts or garments, a neck warmer can be completed in just one or two hours — perfect for a weekend craft session.
- Beginner-friendly: You don’t need advanced sewing skills. Basic straight stitching is all it takes to complete this project successfully.
- Sustainable Choice: Repurposing leftover fabric scraps or fleece remnants reduces waste and gives materials a second life.
What Will You Need?
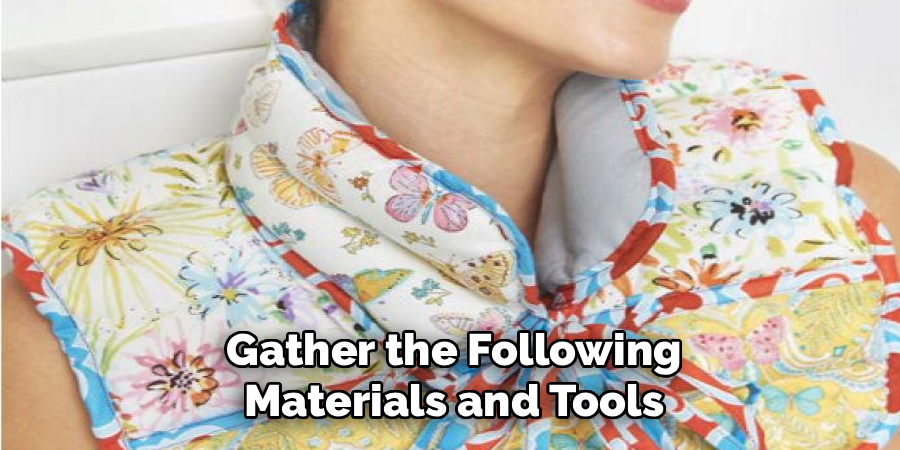
Before you begin, gather the following materials and tools. Having everything ready before you start will make the process smoother and more enjoyable.
- Fabric: Fleece, ribbed knit, or minky fabric works best. You’ll need approximately half a yard (about 18 x 60 inches), depending on your desired size.
- Matching Thread: Choose a thread color that blends well with your fabric.
- Sewing Machine: While hand-sewing is possible, a sewing machine will give you cleaner, faster results.
- Fabric Scissors or Rotary Cutter: For clean, precise cuts.
- Cutting Mat and Ruler: Especially helpful if you’re using a rotary cutter.
- Pins or Sewing Clips: To hold fabric layers in place before sewing.
- Iron and Ironing Board: For pressing seams flat (optional with fleece but helpful for knit fabrics).
- Seam Ripper: Handy for fixing any mistakes.
- Measuring Tape: To ensure accurate dimensions.
- Fabric Marker or Chalk: For marking cut lines on your fabric.
10 Easy Steps on How to Sew a Neck Warmer
This section walks you through the entire process from start to finish. Take your time with each step, and don’t rush — precision at the beginning makes the final result much cleaner.
Step 1: Choose Your Fabric
Start by selecting the right fabric for your neck warmer. Fleece is the most popular choice because it’s warm, stretchy, soft, and doesn’t fray when cut. Ribbed knit is another excellent option, offering a classic look with great stretch. Avoid woven fabrics like cotton or linen for this project, as they don’t offer the stretch needed for comfortable wear around the neck. Once you’ve chosen your fabric, wash and dry it before cutting to prevent any shrinkage later.
Step 2: Measure and Mark Your Fabric
A standard neck warmer is approximately 10 to 12 inches wide and 22 to 26 inches long. However, you can adjust these measurements based on the wearer’s neck size and how thick you want it to be. Using your measuring tape and fabric marker, mark the dimensions directly on the wrong side of your fabric. Double-check your measurements before cutting — it’s easy to correct a marking, but not so easy to fix a cut that’s too short.
Step 3: Cut Your Fabric Pieces
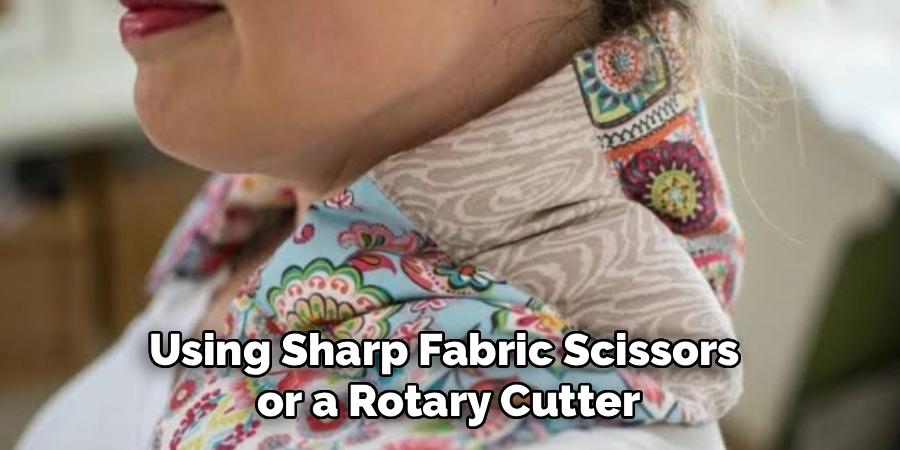
Using sharp fabric scissors or a rotary cutter, cut along your marked lines. For a simple single-layer neck warmer, cut one piece. For a double-layer version (which is warmer and more polished-looking), cut two identical pieces. Keep your cuts as straight and even as possible. If you’re new to cutting fabric, a rotary cutter and cutting mat will give you the most accurate lines. ron and Ironing Board: For pressing seams flat.
Step 4: Place Fabric Pieces Together
If you’re making a double-layer neck warmer, place the two fabric pieces together with the right sides facing each other. This is called “right sides together,” and it ensures that when you flip the warmer right-side out, the seams will be hidden on the inside. Smooth out any wrinkles and align the edges carefully before pinning.
Step 5: Pin the Edges
Using sewing pins or sewing clips, secure the edges of your fabric pieces together. Place pins every 2 to 3 inches along all sides. This keeps the layers from shifting while you sew. Pay extra attention to the corners — keeping them aligned will make the turning and finishing process much easier later on.
Step 6: Sew Along the Long Edges
Set your sewing machine to a straight stitch with a seam allowance of about half an inch. Begin sewing along one of the long edges, removing pins as you go. Sew all the way to the other long edge. Leave both short ends open for now. Backstitch at the beginning and end of each seam to lock your stitches in place. If your fabric is stretchy, use a slight zigzag stitch instead of a straight stitch to allow for movement without breaking the thread.
Step 7: Sew One Short End Closed
Now sew one of the short ends closed using the same stitch and seam allowance. Make sure the corners are neatly aligned before you stitch across. This end will eventually be tucked inside, so clean stitching here is important for a tidy finish.
Step 8: Turn the Warmer Right-Side Out
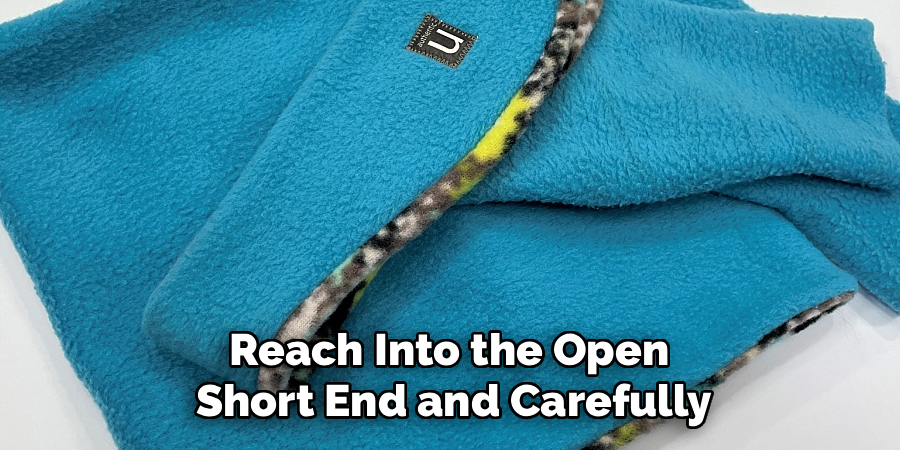
Reach into the open short end and carefully pull the fabric through until the neck warmer is right-side out. Use a pen or a blunt tool to gently push the corners out for a crisp, neat shape. Once fully turned, smooth the fabric flat with your hands. At this point, you should be looking at the outside of your neck warmer, with all seams hidden on the inside.
Step 9: Tuck and Pin the Open End
Fold the raw edges of the open short end inward by about half an inch so they align with the sewn edges. This creates a clean, finished opening. Press this folded edge with an iron if needed, or hold it in place with pins or sewing clips. This step is crucial for a professional-looking finish — take your time to get the fold neat and even.
Step 10: Sew the Open End Closed and Finish
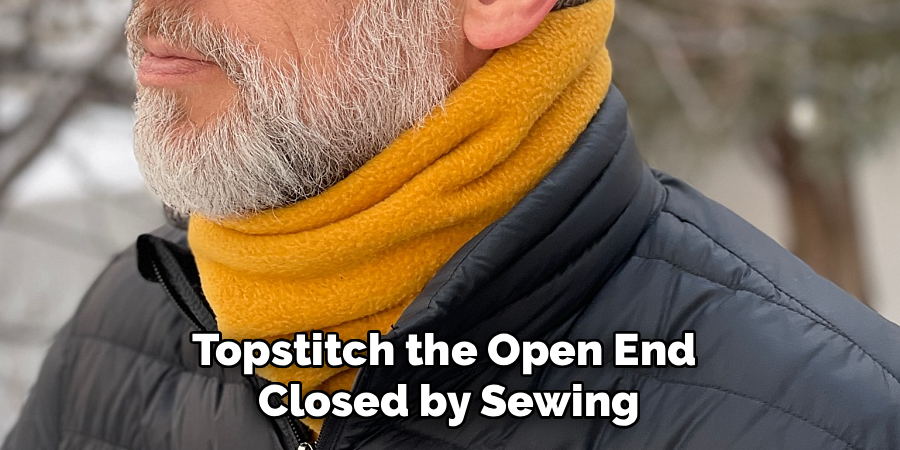
Topstitch the open end closed by sewing as close to the edge as possible — about an eighth of an inch from the fold. This final seam closes the warmer and gives it a polished look. If you like, you can also topstitch along the other edges for a consistent, decorative finish. Once done, remove any remaining pins, trim any loose threads, and give your neck warmer a final press if needed. Your neck warmer is now complete and ready to wear!
5 Things You Should Avoid
Even simple sewing projects can go wrong if you’re not careful. Here are five common mistakes to steer clear of:
- Skipping the Pre-wash: Always wash and dry your fabric before cutting. Fabrics can shrink significantly after their first wash, and you don’t want your finished neck warmer to become too tight or misshapen.
- Using the Wrong Stitch for Stretchy Fabric: If your fabric has stretch (like fleece or knit), avoid using only a straight stitch. A straight stitch can snap when the fabric stretches. Use a small zigzag or a stretch stitch instead to keep the seams flexible and durable.
- Cutting without Measuring: Eyeballing dimensions might seem like a time-saver, but it often leads to an uneven or ill-fitting neck warmer. Always measure and mark before you cut.
- Rushing through Pinning: Skipping or minimizing the pinning step is a common beginner mistake. Without enough pins, your fabric layers can shift during sewing, resulting in crooked seams and misaligned edges.
- Ignoring Seam Allowances: Inconsistent seam allowances throw off the proportions of your finished piece. Stick to your chosen seam allowance throughout the entire project for a clean, even result.
Conclusion
How to sew a neck warmer is a simple, satisfying project that builds confidence with cutting, pinning, and sewing stretchy fabrics. With careful measurements and steady seams, you can create a soft accessory that is both practical and personal.
Try experimenting with contrasting fabrics, decorative topstitching, or a slightly taller finished height to make each version your own.
Hopefully, your new neck warmer will keep you comfortable on chilly walks, errands, and outdoor adventures. Once you are familiar with the basic construction, you can adjust the size, add a reversible lining, or sew several as thoughtful handmade gifts.

About
Bennie Wilder is a dedicated figure in the world of sewing, clothing repair, and garment care, with years of hands-on experience exploring practical techniques for making, repairing, and maintaining everyday clothing. His professional focus lies in combining traditional sewing craftsmanship with modern, easy-to-follow solutions, helping readers confidently handle common clothing problems at home. As an author at SewFixes, Bennie shares practical knowledge on sewing techniques, garment alterations, fabric care, clothing repairs, and DIY projects for beginners and experienced sewing enthusiasts alike.
Education
Fashion Institute of Technology (New York, USA)
Associate Degree in Fashion Design & Apparel Studies
- Focused on garment construction, sewing techniques, fabric fundamentals, and clothing alterations.
- Developed practical skills in pattern making, hand stitching, machine sewing, and garment finishing.
- Gained hands-on experience working with different fabrics, sewing tools, and apparel construction methods.
Academy of Art University (San Francisco, USA)
Bachelor’s in Fashion Design
- Specialized in apparel construction, textile selection, garment fitting, and contemporary clothing design.
- Studied the relationship between fabric properties, garment structure, durability, and comfort.
- Participated in practical design projects involving garment creation, alterations, repairs, and sustainable clothing practices.
Publications and Impact
Through SewFixes, Bennie shares practical insights into sewing, clothing repair, fabric care, garment alterations, and everyday DIY solutions. His writing focuses on turning complicated sewing tasks into simple, understandable steps that readers can follow at home.
Bennie covers everything from repairing torn seams and replacing buttons to fixing hems, adjusting garment fit, choosing suitable fabrics, and maintaining sewing machines and tools. His content is designed to help readers become more confident with their clothing while encouraging practical repair and reuse instead of unnecessary replacement.
Through his work, Bennie aims to bridge the gap between traditional sewing knowledge and modern everyday needs—making sewing more approachable, useful, and accessible to anyone who wants to repair better, sew smarter, and make their clothes last longer.