

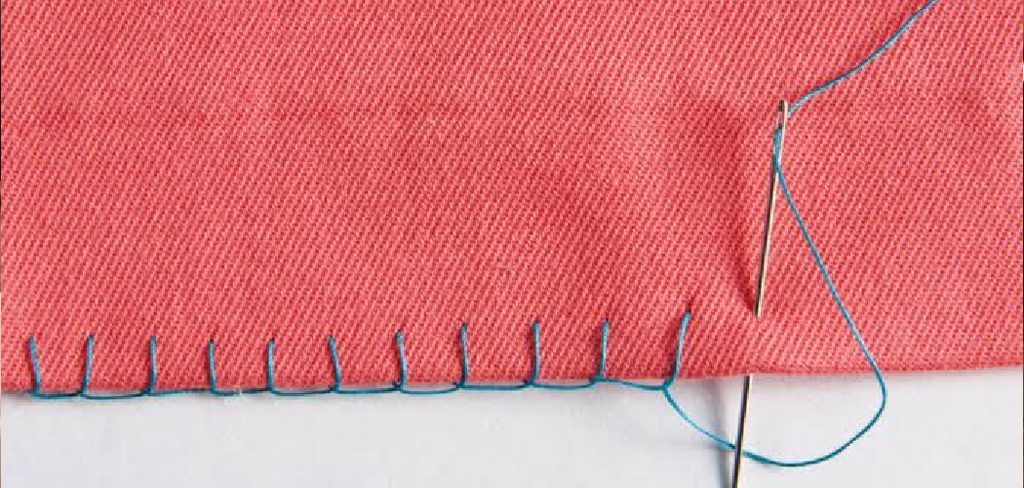
Embroidery thread isn’t just for fancy stitching and colorful designs. It’s also a wonderful tool for everyday sewing projects. Whether you want to add a decorative touch to your clothes, repair a torn seam with a pop of color, or create handmade gifts, embroidery thread can help you do it all.
If you’ve only ever sewn with regular thread, you’re in for a treat. Embroidery thread, also known as embroidery floss, is thicker, shinier, and comes in hundreds of gorgeous colors. It gives your stitches character and makes even simple projects look special.
In this guide on how to sew with embroidery thread, we’ll walk you through everything you need to know. From the benefits and tools to a step-by-step tutorial, we’ve got you covered. Let’s grab some thread and get started on this creative and relaxing journey.
What are the Benefits?
Sewing with embroidery thread offers plenty of advantages that make it worth trying. Here are some of the biggest benefits you’ll enjoy:
- It looks beautiful. Embroidery thread has a natural sheen that catches the light. Your stitches will stand out and add a polished, handmade look to any project.
- You get endless color choices. Embroidery floss comes in a rainbow of shades. You can match any fabric, mix colors, or create eye-catching contrasts. The creative possibilities are truly endless.
- It’s strong and durable. Because embroidery thread is thicker than regular sewing thread, your stitches hold up well over time. This makes it great for both decorative work and light repairs.
- It’s easy to work with. The thickness of the thread makes it simple to see and handle. Beginners often find it easier to control than thin sewing thread, which can slip and tangle.
- It’s affordable. A single skein of embroidery floss costs very little, yet it goes a long way. You can build a colorful collection without spending much money.
- It’s relaxing and fun. Hand sewing with embroidery thread is a calming hobby. Many people find the repetitive motion soothing and a great way to unwind after a busy day.
- It adds a personal touch. Handmade items made with embroidery thread feel special. They make thoughtful gifts and let you express your unique style.
What Will You Need?
Before you begin, gather your supplies. Having everything ready makes the process smooth and enjoyable. Here’s your simple checklist:
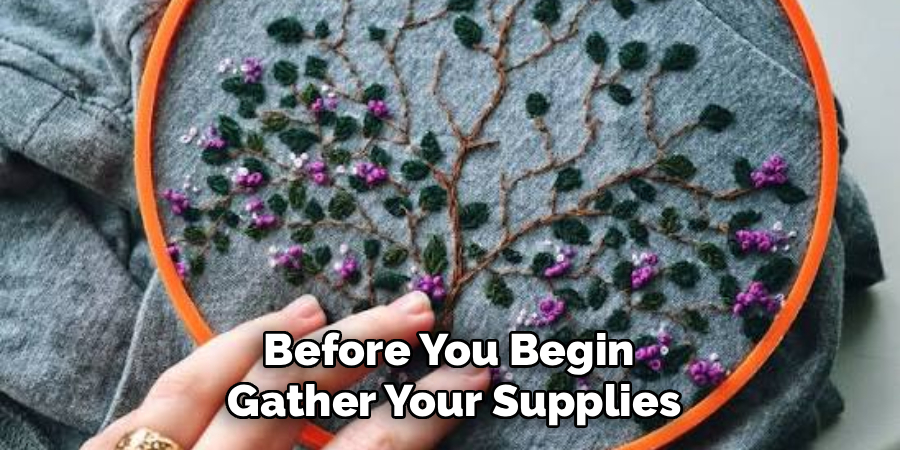
- Embroidery thread (floss)
- Embroidery or hand-sewing needle
- Fabric
- Scissors
- Embroidery hoop (optional)
- Thimble (optional)
- Marking tool
- Measuring tape or ruler
Once you have these items, you’re ready to start. Don’t worry if you don’t have every optional tool. The basics are all you truly need to begin.
10 Easy Steps on How to Sew with Embroidery Thread
Step 1: Choose Your Thread and Colors
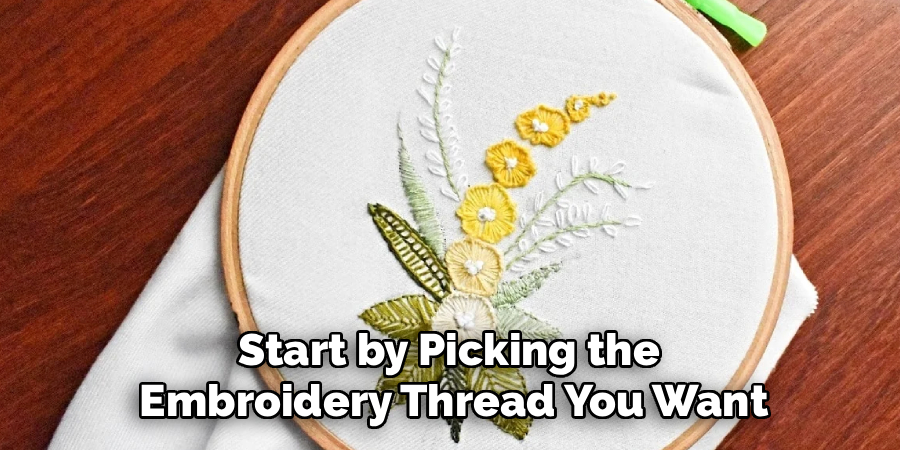
Start by picking the embroidery thread you want to use. Most embroidery floss comes in a bundle of six thin strands twisted together. Think about your project and the look you want. For bold, thick stitches, use all six strands. For fine, delicate work, separate the strands and use just two or three. Choosing your colors is the fun part, so take your time. Pick shades that match or contrast nicely with your fabric.
Step 2: Prepare Your Fabric
Lay your fabric flat on a clean surface. If it’s wrinkled, give it a quick iron so your stitches sit evenly. If you’re doing decorative work, use a marking tool to sketch your design lightly onto the fabric. This gives you a guide to follow. For repairs, simply position the fabric so the area you want to sew is easy to reach. Smooth, prepared fabric makes the whole process easier.
Step 3: Separate the Strands
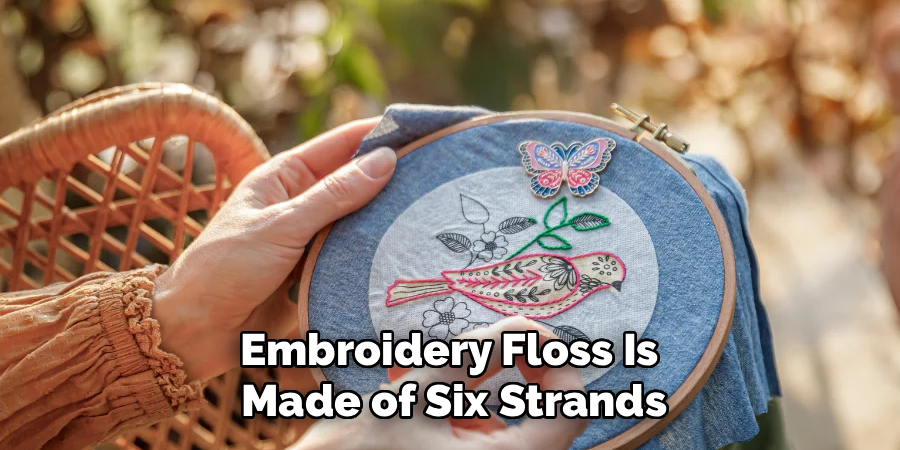
Embroidery floss is made of six strands, and you’ll often want fewer for your project. To separate them, cut a length of thread about 18 inches long. Longer pieces tend to tangle, so keep it manageable. Hold the thread at one end and gently pull out the number of strands you need, one at a time. Pull slowly to avoid knots. Once separated, smooth the strands back together before threading your needle.
Step 4: Thread Your Needle
Now it’s time to thread your needle. Moisten the end of your thread slightly and pinch it flat between your fingers. Push it through the eye of the needle. If it won’t go through, trim the tip for a cleaner edge, or use a needle threader to help. Pull the thread through until you have a short tail on one side and a long working length on the other. Take your time here, as a well-threaded needle sets you up for success.
Step 5: Tie a Knot
To keep your thread from slipping through the fabric, tie a knot at the end. Wrap the long end of the thread around your finger two or three times. Roll it off your finger into a small bundle, then pull it tight to form a knot. This simple knot anchors your first stitch. A neat knot keeps your work secure from the very beginning. If it won’t go through, trim the tip for a cleaner edge, or use a needle threader to help.
Step 6: Start Your First Stitch
Push your needle up through the back of the fabric until the knot catches. Pull the thread all the way through until it stops at the knot. This is your starting point. Now bring the needle back down through the fabric a short distance away to create your first stitch. Keep your stitches even in size for a tidy look. This first stitch is the foundation of your work.
Step 7: Continue with Even Stitches
Keep stitching in a steady rhythm. For a basic running stitch, simply move the needle up and down through the fabric in a straight line. Try to keep the space between stitches the same. If you want a solid line, use a backstitch by bringing the needle back to meet the previous stitch. Consistent stitches give your work a clean, professional finish. Don’t rush; steady hands create the best results.
Step 8: Keep the Tension Right
Tension is key to neat sewing. Pull each stitch snug, but not too tight. If you pull too hard, the fabric will pucker and bunch up. If you leave it too loose, your stitches will look sloppy and may snag. Aim for a gentle, even pull each time. With a little practice, you’ll find the perfect balance. Good tension makes your stitches lie flat and look beautiful.
Step 9: Finish and Secure the Thread
When you’re done or running low on thread, it’s time to finish off. Turn your fabric to the back side. Slide your needle under a few nearby stitches to anchor the thread. Do this twice for extra security. Then pull the thread snug and trim the excess with your scissors. This keeps your work from unraveling. A well-secured end means your stitches will last a long time.
Step 10: Inspect and Clean Up
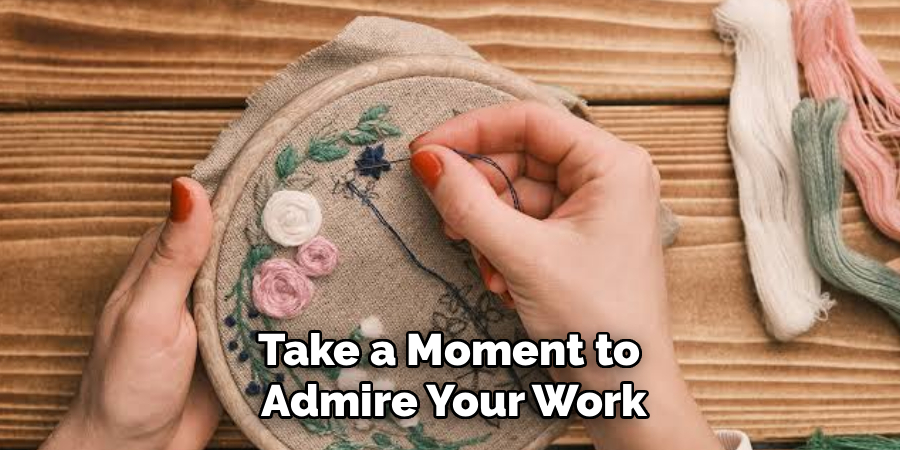
Take a moment to admire your work. Check both sides of the fabric for loose threads or uneven stitches. Trim any stray ends you find. If you marked your fabric with a washable pen, gently remove the lines with a damp cloth. Give your project a final look to make sure everything is neat. Cleaning up the little details makes a big difference in the finished result.
5 Things You Should Avoid
Even simple projects can go sideways if you’re not careful. Here are five common mistakes to avoid:
- Using thread that’s too long. It’s tempting to cut a long piece to save time, but long thread tangles easily. Stick to around 18 inches for smooth sewing.
- Pulling too tight. Yanking your stitches will pucker the fabric and ruin the look. Keep your tension gentle and even.
- Skipping the knot. Without a secure knot, your stitches will slip right out. Always anchor your thread at the start and finish.
- Choosing the wrong needle. A needle with a small eye makes threading a struggle. Pick one with a large eye made for embroidery thread.
- Rushing the process. Sewing is meant to be relaxing. Hurrying leads to uneven stitches and mistakes. Slow down and enjoy the rhythm.
Frequently Asked Questions
- Can I Use Embroidery Thread Instead of Regular Sewing Thread?
Yes, you can use embroidery thread for many projects. It’s thicker and more decorative than regular thread. It works great for hand sewing, repairs, and craft projects. However, it’s not ideal for machine sewing or very fine seams. For decorative and beginner-friendly work, it’s a fantastic choice. - How Many Strands Should I Use?
It depends on the look you want. All six strands create bold, thick stitches. For finer, more delicate work, separate the floss and use two or three strands. Experiment on scrap fabric to see what you like best. Most beginners start with three strands for a nice balance. - How Do I Stop My Embroidery Thread From Tangling?
Keep your thread lengths short, around 18 inches. Separate your strands carefully before threading the needle. Smooth the thread out as you sew, and don’t pull too fast. If a knot forms, gently loosen it with your needle. A little patience goes a long way in preventing tangles.
Conclusion
How to sew with embroidery thread is a rewarding skill that anyone can learn. It opens up a world of color, creativity, and handmade charm. Whether you’re fixing a favorite shirt or crafting something brand new, embroidery thread gives your work a special touch that plain thread simply can’t match.
Remember the key steps: choose your thread, prepare your fabric, keep your tension even, and finish your stitches securely. Avoid common mistakes like pulling too tight or using thread that’s too long. With practice, these habits will become second nature.
So grab your favorite colors, thread your needle, and start creating. You’ll be amazed at what you can make with a simple needle and some embroidery thread. Happy stitching, and enjoy every colorful moment of your creative journey.

About
Bennie Wilder is a dedicated figure in the world of sewing, clothing repair, and garment care, with years of hands-on experience exploring practical techniques for making, repairing, and maintaining everyday clothing. His professional focus lies in combining traditional sewing craftsmanship with modern, easy-to-follow solutions, helping readers confidently handle common clothing problems at home. As an author at SewFixes, Bennie shares practical knowledge on sewing techniques, garment alterations, fabric care, clothing repairs, and DIY projects for beginners and experienced sewing enthusiasts alike.
Education
Fashion Institute of Technology (New York, USA)
Associate Degree in Fashion Design & Apparel Studies
- Focused on garment construction, sewing techniques, fabric fundamentals, and clothing alterations.
- Developed practical skills in pattern making, hand stitching, machine sewing, and garment finishing.
- Gained hands-on experience working with different fabrics, sewing tools, and apparel construction methods.
Academy of Art University (San Francisco, USA)
Bachelor’s in Fashion Design
- Specialized in apparel construction, textile selection, garment fitting, and contemporary clothing design.
- Studied the relationship between fabric properties, garment structure, durability, and comfort.
- Participated in practical design projects involving garment creation, alterations, repairs, and sustainable clothing practices.
Publications and Impact
Through SewFixes, Bennie shares practical insights into sewing, clothing repair, fabric care, garment alterations, and everyday DIY solutions. His writing focuses on turning complicated sewing tasks into simple, understandable steps that readers can follow at home.
Bennie covers everything from repairing torn seams and replacing buttons to fixing hems, adjusting garment fit, choosing suitable fabrics, and maintaining sewing machines and tools. His content is designed to help readers become more confident with their clothing while encouraging practical repair and reuse instead of unnecessary replacement.
Through his work, Bennie aims to bridge the gap between traditional sewing knowledge and modern everyday needs—making sewing more approachable, useful, and accessible to anyone who wants to repair better, sew smarter, and make their clothes last longer.