

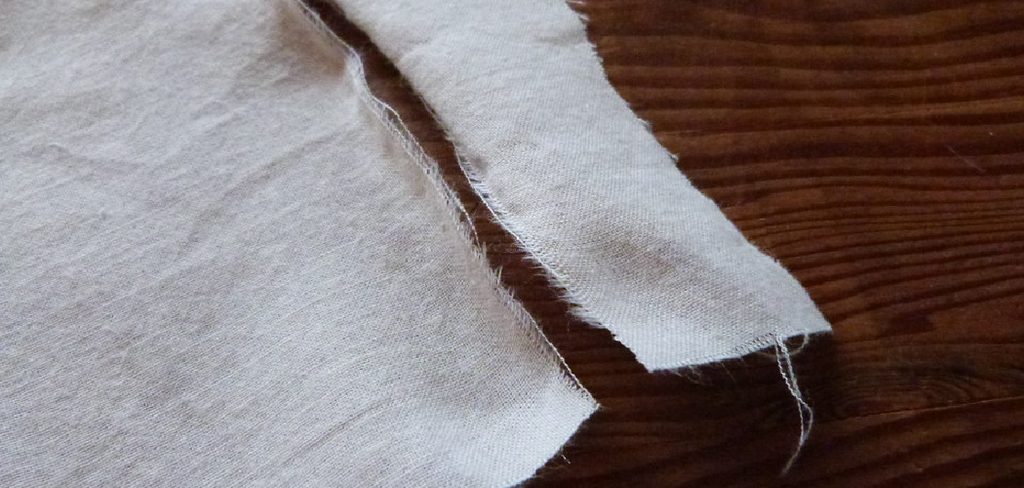
You reach into your pocket for your keys, and your fingers slide right through the fabric. A few days later, you’ve lost a coin, a lip balm, or worse, a house key. A hole in your pocket seems like a small problem, but it can quickly become a daily headache.
The good news is that fixing a pocket hole is one of the easiest sewing repairs you can learn. You don’t need to be an expert or own a fancy sewing machine. With a needle, some thread, and about 20 minutes, you can make your favorite jeans, jackets, or trousers useful again.
This guide on how to sew a pocket hole walks you through the whole process from start to finish. You’ll learn why this repair is worth your time, what supplies to gather, and exactly how to stitch the hole closed in 10 simple steps.
What Will You Need?
You don’t need much to get started. Most of these items are likely already in your home or can be found at any craft store.
- Hand-Sewing Needle or Sewing Machine: A medium-sized needle works for most fabrics. Use a heavier needle for denim or canvas.
- Thread: Choose all-purpose polyester thread for strength. Match the color to the pocket lining if possible.
- Sharp Fabric Scissors: These help you trim frayed edges cleanly.
- Straight Pins or Sewing Clips: These hold the fabric in place while you stitch.
- Thimble (Optional): Protects your finger when pushing the needle through thick fabric.
- Fabric Patch or Iron-On Mending Tape: Needed for large holes or very thin, worn fabric.
- Seam Ripper (Optional): Handy for removing old, loose stitches.
- Iron and ironing board: Helps flatten the fabric before and after sewing.
- Fray Check Liquid (Optional): Stops cut edges from unraveling further.
- Good Lighting: A bright lamp makes it much easier to see small stitches.
10 Easy Steps on How to Sew a Pocket Hole
Follow these steps in order, and take your time. Rushing leads to crooked stitches and weak seams. Slow and steady gives you a repair that lasts.
Step 1: Turn the Garment Inside Out
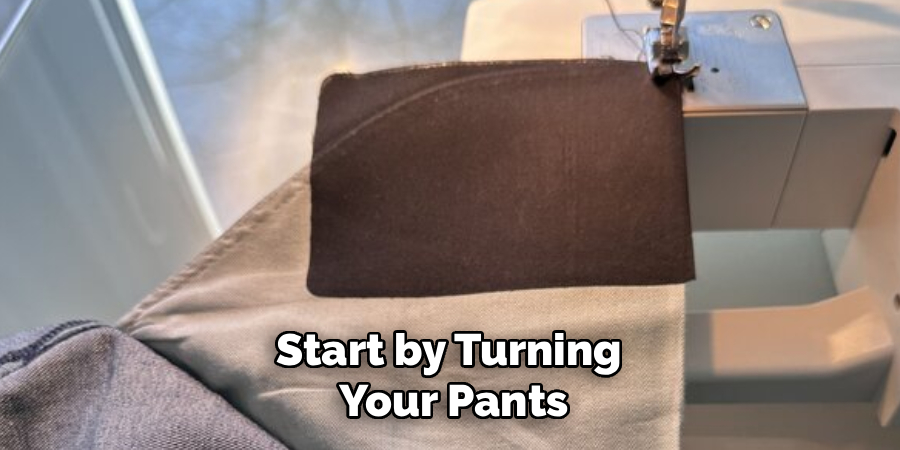
Start by turning your pants, jacket, or shirt inside out. This gives you full access to the pocket lining, which is the pouch of fabric that hangs inside the garment. Pull the pocket out so it lies flat and you can see the entire bag.
Working from the inside also keeps your stitches hidden. When you flip the garment right side out again, no one will know the pocket was ever damaged. Lay the pocket on a flat, clean surface like a table or ironing board.
Step 2: Inspect the Damage
Take a close look at the hole. Is it a simple split along the seam, or a tear in the middle of the fabric? This matters because each type needs a slightly different approach. The good news is that fixing a pocket hole is one of the easiest sewing repairs you can learn.
A split seam happens when the original stitches break. These are the easiest to fix since you just sew the seam closed again. A tear in the fabric itself, especially one caused by thin, worn material, may need a patch. Also check the rest of the pocket for weak spots. If the fabric feels thin elsewhere, you’ll want to reinforce those areas too.
Step 3: Trim Loose Threads and Frayed Edges
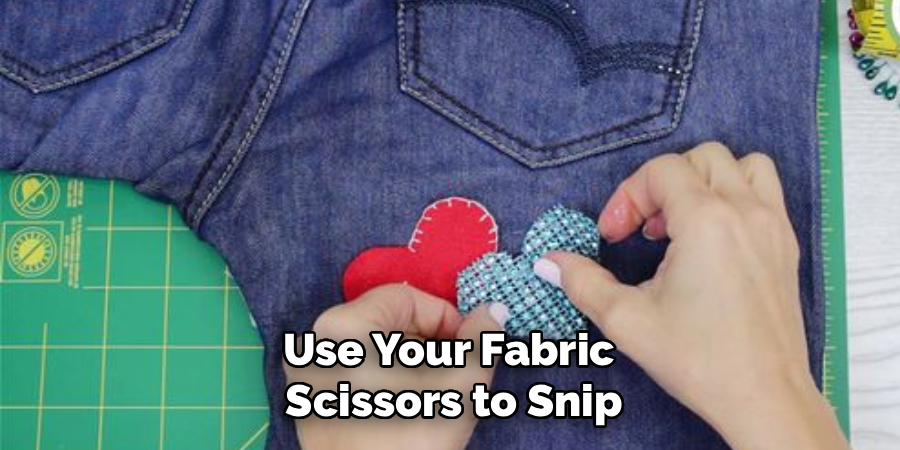
Use your fabric scissors to snip away any dangling threads and ragged edges around the hole. Be careful not to cut too much fabric. You only want to remove the loose, fuzzy bits that could get in the way of your stitches.
If you’re fixing a split seam, use a seam ripper to pull out any old broken stitches near the hole. This gives you a clean starting point. For fabric that frays easily, dab a small amount of fray check liquid along the edges and let it dry before moving on.
Step 4: Press the Fabric Flat
Heat up your iron to a setting that suits the fabric. Cotton pocket linings can usually handle medium to high heat, while synthetic blends need a lower setting. Press the pocket flat, paying special attention to the area around the hole.
This step may seem optional, but it makes a big difference. Flat fabric is much easier to line up and sew. Wrinkles can cause puckers in your seam, which weaken the repair and make it uncomfortable to use.
Step 5: Pin the Edges Together
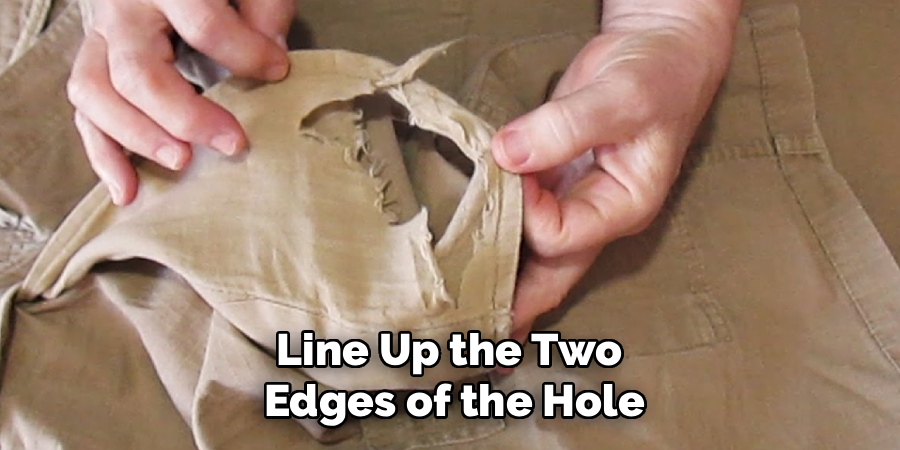
Line up the two edges of the hole so they meet neatly. For a split seam, fold the fabric along the original seam line, matching the edges together. Place straight pins or sewing clips about one inch apart to hold everything in place.
Point the pins toward the edge of the fabric so they’re easy to remove as you sew. Make sure the fabric lies flat with no bunching. Take a moment to double-check that you’re only pinning the pocket lining and not the outer fabric of the garment.
Step 6: Thread Your Needle and Tie a Knot
Cut a piece of thread about 18 to 24 inches long. Longer pieces tend to tangle, so keep it manageable. Slide one end through the eye of the needle and pull it until both ends are even, creating a double strand.
Tie a secure knot at the end by wrapping the thread around your finger two or three times, rolling it off, and pulling it tight. A double strand gives your repair extra strength, which matters since pockets handle a lot of daily stress. If you’re using a sewing machine, simply thread it according to its manual and set it to a straight stitch.
Step 7: Sew the Hole Closed with a Backstitch
Start about half an inch before the hole begins, on solid fabric. Push the needle up from the underside and pull the thread through until the knot catches. Now use a backstitch, which is the strongest hand stitch for this job.
To backstitch, take one small stitch forward, then bring the needle back up a stitch length ahead. Push it down into the end of your previous stitch, then repeat. Keep stitches small, around one-eighth of an inch. Continue sewing until you’re about half an inch past the end of the hole. On a machine, sew slowly along the same line and backstitch a few times at the start and finish.
Step 8: Reinforce the Stress Points
The corners and bottom of a pocket take the most wear. These are the spots where your keys and coins rub most often. Go back over the start and end of your seam with two or three extra stitches to lock them in place.
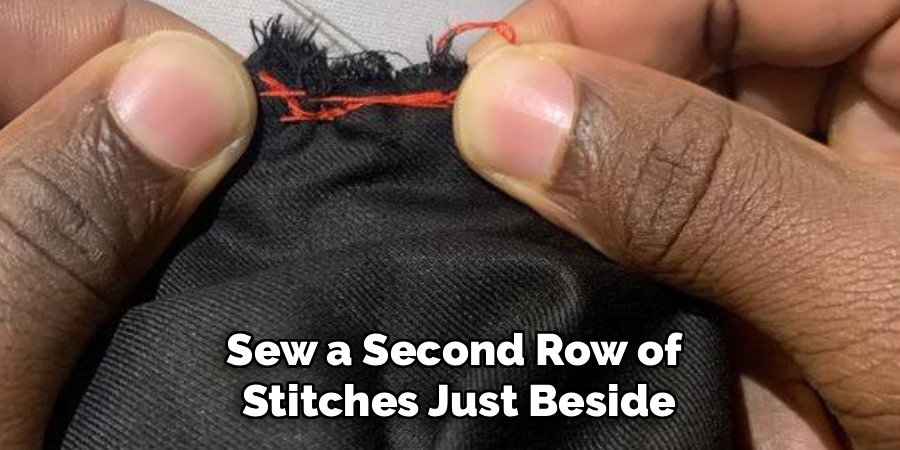
For added strength, sew a second row of stitches just beside the first one. This double line spreads out the pressure and helps the seam hold up for years. If the hole was in an area with heavy use, this step is especially important.
Step 9: Patch Larger Holes If Needed
If the tear is too big to pull together, or the fabric is too thin to hold stitches, add a patch. Cut a piece of sturdy cotton fabric about one inch larger than the hole on all sides. Place it over the hole on the inside of the pocket.
You can attach it with iron-on mending tape by following the package directions. For a stronger hold, stitch around all four edges of the patch using small running stitches or a backstitch. You can also combine both methods, ironing the patch down first and then sewing around it.
Step 10: Tie Off, Trim, and Test
When you finish sewing, secure your thread with a strong knot. Make a tiny stitch, then pass the needle through the loop before pulling it tight. Repeat this two or three times for a secure finish, then trim the extra thread close to the knot.
Remove all the pins and give the pocket a final press with the iron. Turn the garment right side out and slide your hand into the pocket. Push gently against the repaired area to make sure it holds. If everything feels solid, your repair is complete.
5 Things You Should Avoid
Even simple repairs can go wrong. Keep these common mistakes in mind so your hard work pays off.
1. Using Weak or Cheap Thread
Pockets deal with constant friction and pressure. Thin or low-quality thread may snap after only a few uses. Choose strong polyester or all-purpose thread, and use heavy-duty thread for denim and work clothes.
2. Sewing Through the Outer Fabric
It’s easy to accidentally catch the front of your pants or jacket in your stitches. This can close off the pocket opening or leave visible stitches on the outside. Always check that only the pocket lining sits under your needle.
3. Making Stitches Too Large or Loose
Big, loose stitches leave gaps that small items can slip through. They also pull apart quickly. Keep your stitches small, even, and snug without pulling so hard that the fabric puckers.
4. Skipping the Reinforcement
A single row of stitches might work for a while, but pockets need extra support. Skipping the reinforcement step often means the hole comes back within weeks. Take an extra minute to double up at stress points.
5. Waiting Too Long to Fix the Hole
A small hole grows fast with daily use. What starts as a tiny split can turn into a large tear that needs a full patch or even a new pocket lining. Fix holes as soon as you notice them to save time and effort.
Conclusion
A hole in your pocket doesn’t mean the end of your favorite pants or jacket. With just a few basic supplies and some patience, you can fix it yourself in less time than it takes to drive to a tailor. You’ll save money, protect your belongings, and keep good clothes out of the landfill.
Remember the key points from this guide on how to sew a pocket hole. Work from the inside of the garment, trim away frayed edges, and press the fabric flat before you start. Use strong thread and a tight backstitch, reinforce the stress points, and add a patch for larger holes. Avoid common mistakes like loose stitches or sewing through the outer fabric.
Hopefully, you’ll feel confident enough to tackle the next small repair as soon as you notice it.

About
Bennie Wilder is a dedicated figure in the world of sewing, clothing repair, and garment care, with years of hands-on experience exploring practical techniques for making, repairing, and maintaining everyday clothing. His professional focus lies in combining traditional sewing craftsmanship with modern, easy-to-follow solutions, helping readers confidently handle common clothing problems at home. As an author at SewFixes, Bennie shares practical knowledge on sewing techniques, garment alterations, fabric care, clothing repairs, and DIY projects for beginners and experienced sewing enthusiasts alike.
Education
Fashion Institute of Technology (New York, USA)
Associate Degree in Fashion Design & Apparel Studies
- Focused on garment construction, sewing techniques, fabric fundamentals, and clothing alterations.
- Developed practical skills in pattern making, hand stitching, machine sewing, and garment finishing.
- Gained hands-on experience working with different fabrics, sewing tools, and apparel construction methods.
Academy of Art University (San Francisco, USA)
Bachelor’s in Fashion Design
- Specialized in apparel construction, textile selection, garment fitting, and contemporary clothing design.
- Studied the relationship between fabric properties, garment structure, durability, and comfort.
- Participated in practical design projects involving garment creation, alterations, repairs, and sustainable clothing practices.
Publications and Impact
Through SewFixes, Bennie shares practical insights into sewing, clothing repair, fabric care, garment alterations, and everyday DIY solutions. His writing focuses on turning complicated sewing tasks into simple, understandable steps that readers can follow at home.
Bennie covers everything from repairing torn seams and replacing buttons to fixing hems, adjusting garment fit, choosing suitable fabrics, and maintaining sewing machines and tools. His content is designed to help readers become more confident with their clothing while encouraging practical repair and reuse instead of unnecessary replacement.
Through his work, Bennie aims to bridge the gap between traditional sewing knowledge and modern everyday needs—making sewing more approachable, useful, and accessible to anyone who wants to repair better, sew smarter, and make their clothes last longer.