

Capes have a magic all their own. They swirl, they drape, and they turn an ordinary outfit into something dramatic and memorable.
Whether you want a cozy wool wrap for chilly evenings, a flowing costume piece for a school play, or a superhero cape for a delighted child, learning how to make capes opens up a world of creative possibilities.
The best part is that capes are one of the friendliest projects for anyone new to sewing, since they use simple shapes and forgiving seams.
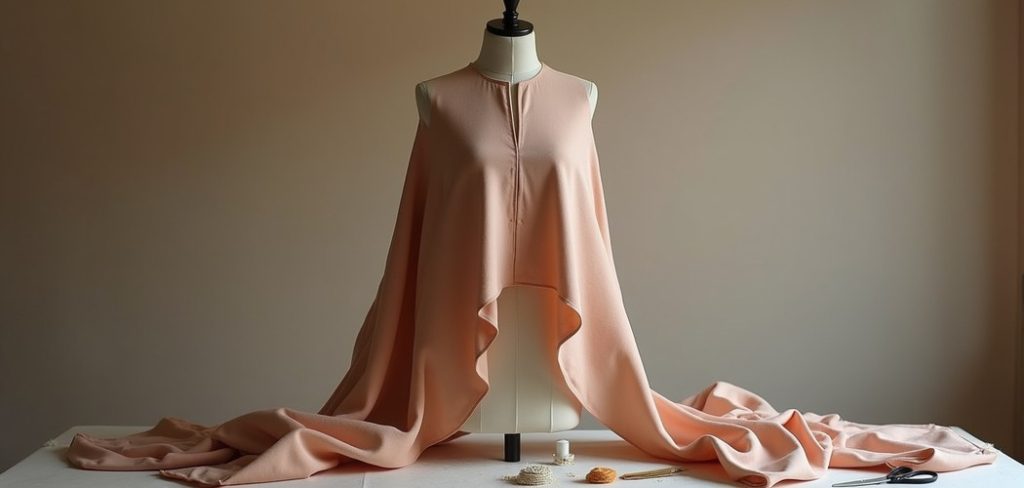
You do not need years of experience or a fancy machine to get started. A cape is essentially a single piece of fabric shaped to fall gracefully from your shoulders, which means fewer complicated pattern pieces and less chance of mistakes.
This guide walks you through everything step by step, from picking your fabric to adding those finishing touches that make your cape look polished.
By the end, you will feel confident tackling your first project and empowered to customize it any way you like.
Why Making Capes Is A Rewarding Sewing Project
Sewing your own cape gives you something you simply cannot buy off the rack, which is a piece made exactly to your taste and measurements. You choose the color, the length, the closure, and the fabric weight, so the result feels truly yours.
Capes also build core skills you will use in countless future projects. You practice measuring, cutting, hemming, and attaching closures, all within a low-pressure design. Because the construction is forgiving, small errors rarely show, giving beginners a real confidence boost.
Beyond the learning, there is the pure joy of wearing something handmade. Friends will ask where you got it, and you will smile knowing you made it yourself. That sense of accomplishment keeps many new sewists coming back for more.

Step-By-Step Guide To How To Make Capes
Step 1: Gather Your Materials And Tools
Before you cut anything, collect everything you need in one spot.
You will want two to three yards of fabric depending on the cape length, matching thread, sharp scissors, pins, a measuring tape, and a sewing machine.
Fabric choice matters, so pick something with nice drape like fleece, wool blend, or cotton twill for beginners. Keep a piece of chalk or a fabric marker handy for tracing your shape.
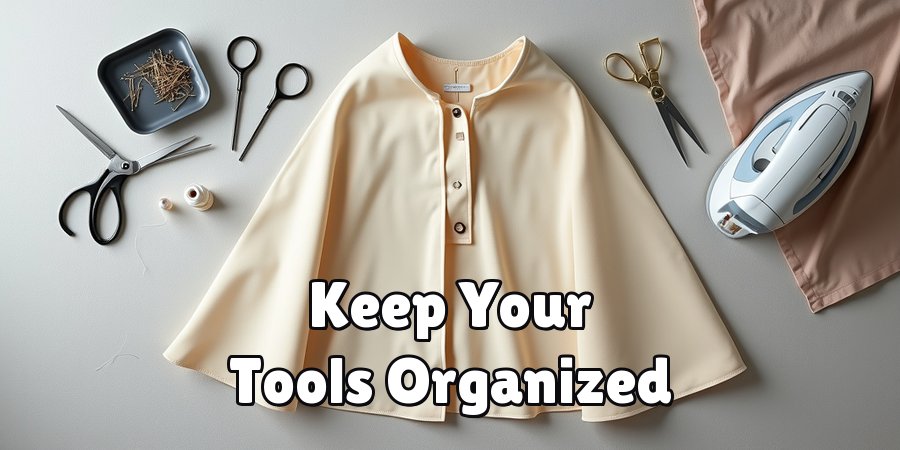
Having your tools organized before you start saves frustration later and keeps your workflow smooth. This simple prep step sets you up for a calm, enjoyable sewing session from beginning to end.
Step 2: Take Accurate Measurements
Good measurements make the difference between a cape that hangs beautifully and one that feels off.
Start by measuring from the base of your neck down to where you want the cape to end, whether that is your hips, knees, or ankles.
Next, measure around your shoulders to understand how wide the top opening should be. Write these numbers down so you do not forget them mid-project.
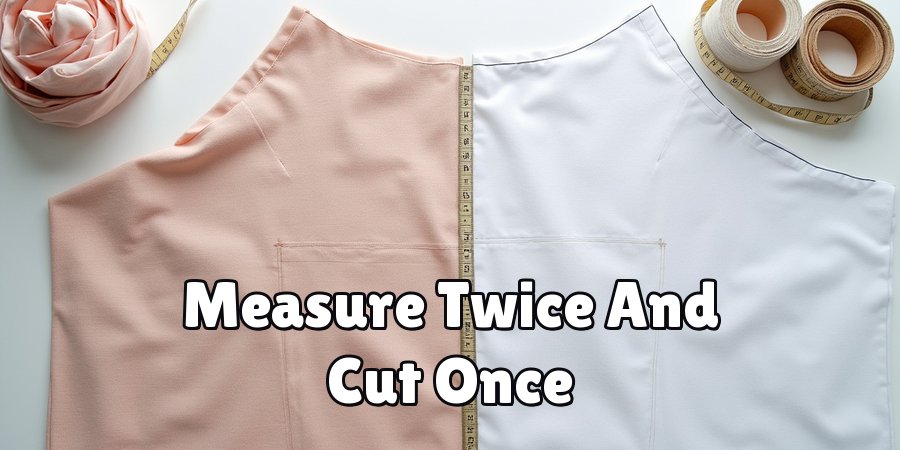
If you are making a cape for someone else, measure them directly rather than guessing. Taking your time here means fewer surprises when you try on the finished piece, so measure twice and cut once.
Step 3: Create Your Cape Pattern
Now you turn your measurements into a shape you can cut. Fold your fabric in half so you only need to draw half the cape, which keeps everything symmetrical.
Using chalk, mark a small curve at the top for the neckline, then draw a longer sweeping curve outward for the hem. Think of it like drawing a quarter of a large circle.
This half-circle method is a classic approach to how to make capes because it produces that lovely flared drape without complicated math.
Double-check your curves look smooth before moving on, since clean lines here lead to a professional finish.
Step 4: Cut The Fabric Carefully
With your pattern drawn, it is time to cut. Keep your fabric flat and smooth on a large surface so nothing shifts while you work.
Cut slowly along your chalk lines, using long, confident strokes rather than short choppy ones, which helps you avoid jagged edges. Pin the fabric layers together if they tend to slide around.
Remember to cut a little outside your line if you want extra room for hems and seams. Precision at this stage rewards you later, so resist the urge to rush.
A clean cut is the foundation of a cape that looks neat and hangs evenly.
Step 5: Sew The Neckline And Seams
Head to your machine and start with the neckline, since it holds the whole cape together at the top.
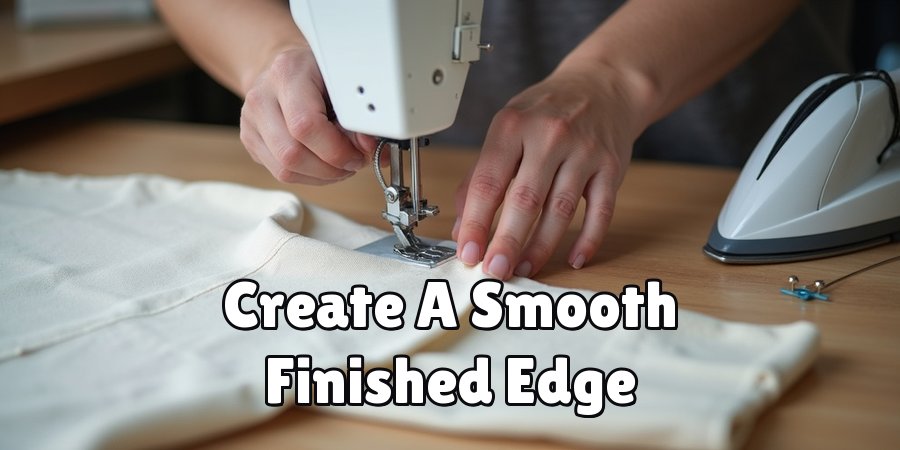
Fold the raw edge under about half an inch, pin it in place, and stitch a straight line to create a smooth finished edge.
If your cape has a back seam, sew that next with right sides facing each other, then press it open with an iron.
Go slowly and let the machine guide the fabric rather than pulling it.
Consistent, even stitching keeps your cape looking tidy and holds up well over time, giving you a result you will be proud to wear.
Step 6: Hem The Edges For A Clean Finish
Hemming transforms rough edges into a polished border. Fold the bottom and side edges under by about a quarter inch, press with an iron, then fold again to hide the raw edge completely.
Pin as you go so the fabric stays put. Stitch all the way around, keeping your line even and steady.
Curved hems can pucker, so ease the fabric gently and take smaller stitches on tight curves. This step is a big part of how to make capes look store-bought instead of homemade.
A careful hem signals quality and stops the fabric from fraying after repeated wear.
Step 7: Add Closures And Personal Touches
The final step brings your cape to life. Choose a closure that matches your style, such as a ribbon tie, a decorative clasp, or a simple button and loop.
Attach it securely at the neckline so it holds without pulling. Now let your creativity shine by adding personal touches like trim, embroidery, a contrasting lining, or a hood.
These details make your cape one of a kind and reflect your personality. Try the cape on, check the fit, and adjust anything that feels off.
Once you are happy, your handmade cape is ready for its grand debut.
Frequently Asked Questions
What Fabric Is Best For Beginners?
For your first cape, choose a medium-weight fabric that drapes well and does not fray easily. Fleece is fantastic because it needs no hemming and feels cozy.
Cotton twill and felt are also beginner-friendly since they hold their shape and are easy to cut.
Avoid slippery materials like satin at first, as they shift under the needle and make sewing trickier for newcomers.
How Long Does It Take To Make A Cape?
A simple cape can take as little as two to three hours from start to finish, making it a perfect weekend project.
More detailed designs with hoods, linings, or embroidery may stretch to a full day or two. Your speed improves with practice, so do not worry if your first attempt takes longer.
Enjoy the process and give yourself plenty of time.
Do I Need A Sewing Machine?
A sewing machine speeds things up and creates sturdy, even stitches, but it is not strictly required. You can hand-sew a cape, especially with no-fray fabrics like fleece that need minimal stitching.
Hand sewing takes more patience and time, yet it works well for small projects or quick costumes. If you plan to sew often, investing in a basic machine is worthwhile.
Can I Make A Cape Without A Pattern?
Absolutely. Many sewists create beautiful capes using only the half-circle folding method described earlier, which requires no store-bought pattern at all. You simply measure, fold, draw your curves, and cut.
This freeform approach gives you full control over length and shape. Once you feel comfortable, you can experiment with different silhouettes and add your own creative variations without ever buying a printed pattern.
How Do I Add A Hood To My Cape?
Adding a hood is easier than it looks. Cut two matching hood shapes, sew them together along the curved back edge, then attach the open bottom edge to your cape’s neckline.
Match the center points first and pin outward for an even fit. Press the seams flat for a neat result.
A hood adds warmth and drama, and it is a great way to level up a basic cape.
Conclusion
Making your own cape is a fun, rewarding project that welcomes sewists of every skill level. You have learned how to gather materials, take careful measurements, create a simple pattern, cut with confidence, sew clean seams, hem for a polished look, and add closures that show off your style.
Each step builds practical skills while giving you a garment that is uniquely yours.
The beauty of learning how to make capes is that once you master the basics, you can adapt the design endlessly with new fabrics, colors, and details.
So grab your materials, trust the process, and start stitching. Your first handmade cape is waiting, and the satisfaction of wearing something you created yourself is well worth the effort.

About
Bennie Wilder is a dedicated figure in the world of sewing, clothing repair, and garment care, with years of hands-on experience exploring practical techniques for making, repairing, and maintaining everyday clothing. His professional focus lies in combining traditional sewing craftsmanship with modern, easy-to-follow solutions, helping readers confidently handle common clothing problems at home. As an author at SewFixes, Bennie shares practical knowledge on sewing techniques, garment alterations, fabric care, clothing repairs, and DIY projects for beginners and experienced sewing enthusiasts alike.
Education
Fashion Institute of Technology (New York, USA)
Associate Degree in Fashion Design & Apparel Studies
- Focused on garment construction, sewing techniques, fabric fundamentals, and clothing alterations.
- Developed practical skills in pattern making, hand stitching, machine sewing, and garment finishing.
- Gained hands-on experience working with different fabrics, sewing tools, and apparel construction methods.
Academy of Art University (San Francisco, USA)
Bachelor’s in Fashion Design
- Specialized in apparel construction, textile selection, garment fitting, and contemporary clothing design.
- Studied the relationship between fabric properties, garment structure, durability, and comfort.
- Participated in practical design projects involving garment creation, alterations, repairs, and sustainable clothing practices.
Publications and Impact
Through SewFixes, Bennie shares practical insights into sewing, clothing repair, fabric care, garment alterations, and everyday DIY solutions. His writing focuses on turning complicated sewing tasks into simple, understandable steps that readers can follow at home.
Bennie covers everything from repairing torn seams and replacing buttons to fixing hems, adjusting garment fit, choosing suitable fabrics, and maintaining sewing machines and tools. His content is designed to help readers become more confident with their clothing while encouraging practical repair and reuse instead of unnecessary replacement.
Through his work, Bennie aims to bridge the gap between traditional sewing knowledge and modern everyday needs—making sewing more approachable, useful, and accessible to anyone who wants to repair better, sew smarter, and make their clothes last longer.