

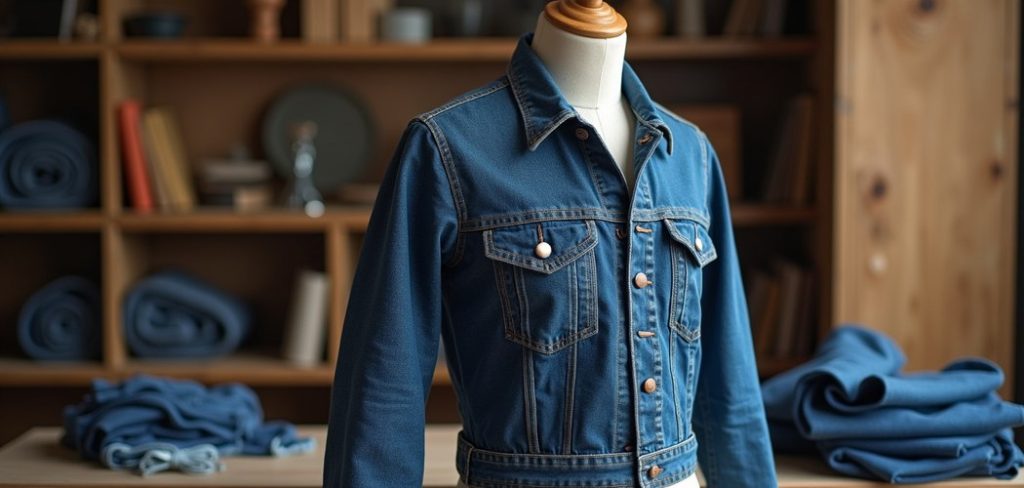
If you have ever admired the crisp, clean edges inside a pair of jeans or a well-made shirt, you have already seen the magic of a flat fell seam at work.
This sturdy sewing technique hides raw fabric edges completely, leaving a smooth finish on both sides of your project.
Learning how to do a flat fell seam opens the door to garments that last longer, look more professional, and stand up to plenty of washing and wearing.
The beauty of this method is that it works for beginners and seasoned stitchers alike. You do not need fancy tools or years of practice to get great results.
With a little patience and the steps in this guide, you can master a skill that home sewers have relied on for generations.
Whether you are patching up denim or crafting your first shirt, this technique gives your work the kind of durable, tidy edge that makes people ask where you bought it.
Why Flat Fell Seams Matter
Flat fell seams matter because they solve two problems at once.
They encase raw edges so your fabric never frays, and they add real strength to areas that take constant stress, such as inseams, shoulders, and side panels.
That is why you find them on workwear, jeans, and outdoor gear that needs to survive rough handling.
Beyond durability, these seams look clean from the inside out, which means no messy threads peeking through. You save time on extra finishing steps like serging, and you gain a polished result that feels professional.
For anyone building sewing confidence, mastering this seam is a satisfying win that instantly upgrades the quality of your projects and reduces common mistakes along the way.
Step-by-Step Guide to How to Do a Flat Fell Seam
Follow these seven steps carefully, and take your time with each one. Precision at the start makes the later folds much easier, so keep your iron nearby and your seam allowance consistent throughout.
Step 1: Gather Your Tools and Fabric
Before you begin, set up a comfortable workspace with everything within reach.
You will want your sewing machine, matching thread, sharp fabric scissors, pins or clips, a ruler, and a hot iron with a pressing surface.
Choose a fabric that presses well, since crisp folds are the heart of this technique. Cotton, denim, and linen all behave nicely for practice.
Cut two pieces with a generous seam allowance of at least five eighths of an inch, because you will trim one side later.
Having your materials organized from the start keeps the process smooth and helps you avoid pausing midway to hunt for supplies.
Step 2: Pin and Sew the First Seam
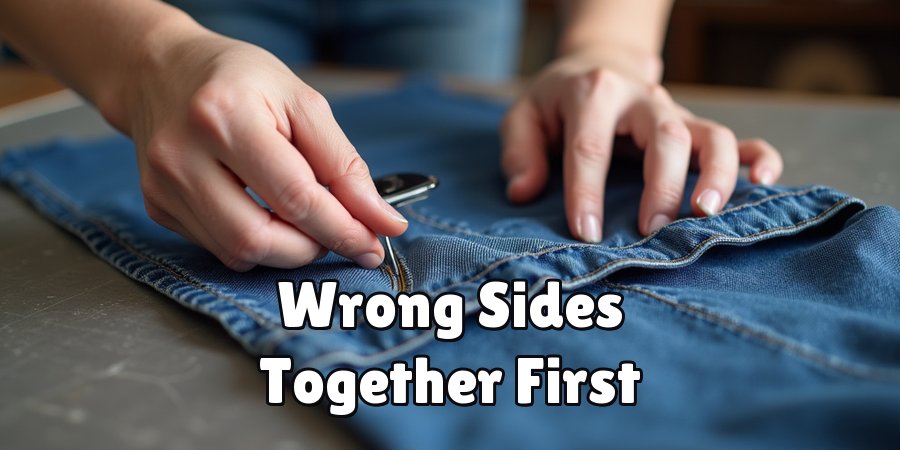
Place your two fabric pieces with wrong sides together, which may feel backward if you are used to standard seams.
Line up the raw edges carefully and pin along the seam line to hold everything steady.
Sew a straight line at your chosen seam allowance, keeping the stitching even and consistent from one end to the other.
This first pass sets the foundation for everything that follows, so go slowly and watch your guide markings. Once finished, remove the pins and press the seam flat while it is still closed.
A firm press now makes the folding steps far easier.
Step 3: Trim One Seam Allowance
Now you will reduce the bulk that makes folding difficult. Open your fabric and look at the two layers of seam allowance sitting on one side.
Trim only the bottom layer, cutting it down to roughly one eighth of an inch. Leave the top layer at its full width, because you will fold it over the trimmed edge in a moment.
Use sharp scissors and cut carefully so you do not nick the stitching or the main fabric.
This trimming trick is a big part of how to do a flat fell seam neatly, since it removes the excess that would otherwise create a lumpy, uneven finish.
Step 4: Fold and Press the Wider Edge
Take the wider, untrimmed seam allowance and fold it over the shorter trimmed edge you just created. The goal is to wrap the raw edge completely so nothing frays inside your garment.
Press this fold firmly with your iron, holding it in place until the crease sets.
A well-pressed fold here saves you frustration during sewing, because the fabric will stay put instead of shifting under the needle.
Take your time and make sure the fold sits flat and even along the entire length. If your fabric resists, add a touch of steam to encourage a sharp, lasting crease.
Step 5: Pin the Folded Seam Flat
With your fold pressed and tidy, lay the whole seam down against the fabric so it lies flat and smooth.
Pin along the folded edge to secure it in place, spacing your pins evenly so the fabric cannot slip.
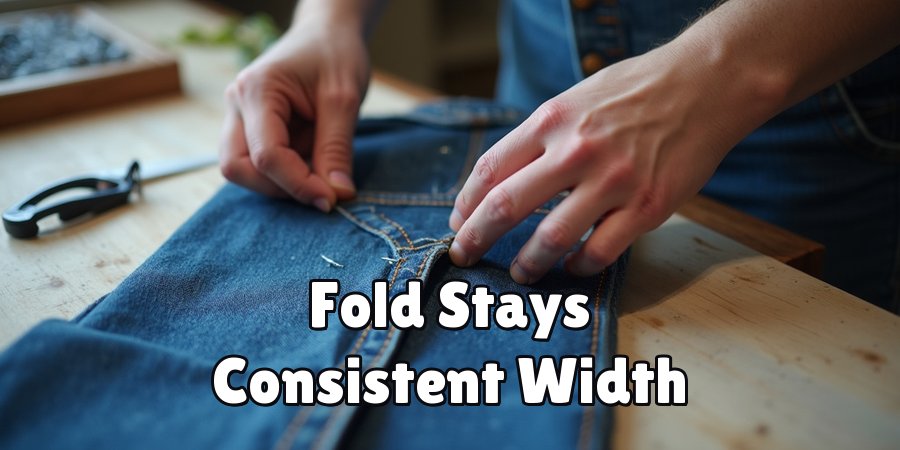
Check that the fold stays a consistent width from top to bottom, since uneven folds show up clearly once stitched. If you prefer, use sewing clips instead of pins for thicker fabrics like denim.
This is the stage where careful preparation really pays off. A neatly pinned fold gives you a reliable path to follow when you return to the machine for the final row of stitching.
Step 6: Stitch the Second Line
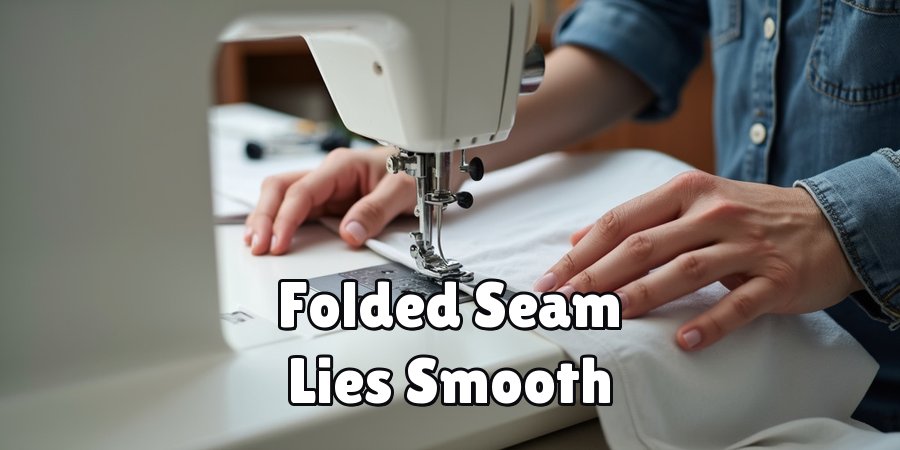
Return to your sewing machine and stitch close to the folded edge, keeping your line straight and steady.
This second row of stitching locks the folded seam down and creates that signature double line you see on the outside of jeans.
Aim for an even distance from the fold, about one eighth of an inch, and remove pins as you approach them to protect your needle.
Learning how to do a flat fell seam really comes together here, because this final pass is what gives the seam its strength and its clean, finished look on both the front and back of your fabric.
Step 7: Press and Inspect Your Work
Give your completed seam one last firm press to set the stitches and flatten any small ripples. Then turn your fabric over and inspect both sides carefully.
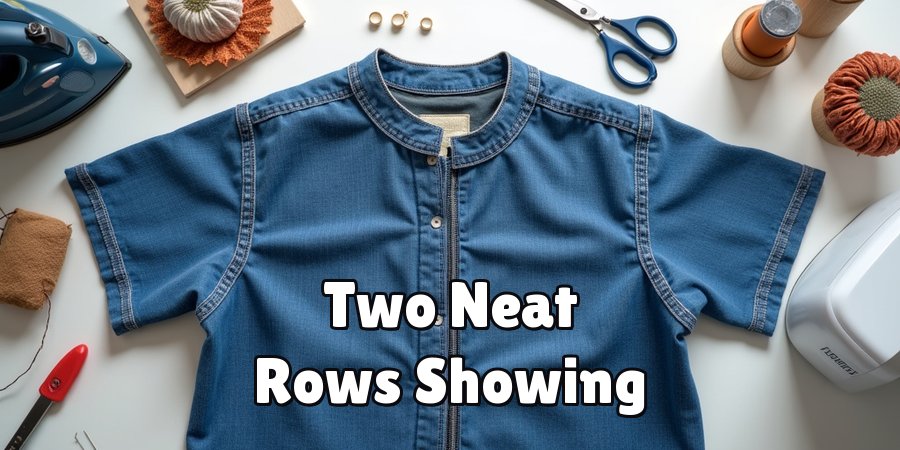
You should see two neat rows of stitching on one side and a single clean line on the other, with absolutely no raw edges showing.
Run your fingers along the seam to check for smoothness and make sure nothing feels bulky or loose. If you spot a wobble, do not worry, since practice quickly sharpens your results.
Celebrate this moment, because you have just finished a durable, professional seam you can trust in any project.
Frequently Asked Questions
What Fabrics Work Best For This Seam?
Medium-weight woven fabrics like cotton, denim, twill, and linen give the best results because they press crisply and hold folds well. Lightweight cottons also work nicely for shirts and blouses.
Very stretchy knits or extremely thick materials can be tricky for beginners, since they resist sharp creases.
Start with a fabric that irons easily, and you will find the whole process far more forgiving and enjoyable.
Can I Make This Seam Without A Serger?
Absolutely, and that is one of the biggest advantages of this technique. You do not need a serger or any special finishing machine at all.
A standard sewing machine handles everything perfectly, since the folds themselves enclose every raw edge. This makes the method ideal for home sewers who want professional, fray-free results without investing in extra equipment.
Just a straight stitch and a good iron will do the job.
How Wide Should My Seam Allowance Be?
A seam allowance of five eighths of an inch works well for most projects, giving you enough fabric to trim and fold comfortably.
If you are new to the technique, a slightly wider allowance offers more room for error and easier handling. For lightweight fabrics, you can reduce it a little to avoid bulk.
Just keep your allowance consistent along the whole seam so your folds stay even and tidy.
Why Does My Seam Look Bulky Or Uneven?
Bulk usually comes from skipping the trimming step or folding unevenly. Make sure you trim one seam allowance down before folding the wider one over it.
Pressing at every stage also matters more than people expect, since sharp creases keep the fabric flat and controlled. If your line wobbles, slow down and follow the folded edge closely.
Small adjustments in these habits fix most bulk and unevenness quickly.
Which Side Should Face Out When I Start?
Place your fabric pieces with wrong sides together for the first seam, which feels unusual compared to standard sewing.
This setup lets you fold the seam allowance neatly toward the wrong side later, leaving the visible double stitch on the right side.
If you accidentally start with right sides together, the fold will land on the wrong surface. Double-check your fabric orientation before that first row of stitching.
Conclusion
Mastering how to do a flat fell seam gives you a reliable, professional finish that strengthens your garments and hides every raw edge for good. The key takeaways are simple.
Press at each stage, trim one seam allowance before folding, and keep your stitching lines straight and even.
Once these habits become second nature, you will breeze through this technique on everything from jeans to shirts to sturdy bags.
Now it is your turn to put these steps into practice. Grab a scrap of cotton or denim, follow along, and build your confidence one seam at a time.
Every project you finish sharpens your skills and brings you closer to effortless, polished results.
Start stitching today, and enjoy the satisfaction of creating work that looks and lasts like it came straight from a shop.

About
Bennie Wilder is a dedicated figure in the world of sewing, clothing repair, and garment care, with years of hands-on experience exploring practical techniques for making, repairing, and maintaining everyday clothing. His professional focus lies in combining traditional sewing craftsmanship with modern, easy-to-follow solutions, helping readers confidently handle common clothing problems at home. As an author at SewFixes, Bennie shares practical knowledge on sewing techniques, garment alterations, fabric care, clothing repairs, and DIY projects for beginners and experienced sewing enthusiasts alike.
Education
Fashion Institute of Technology (New York, USA)
Associate Degree in Fashion Design & Apparel Studies
- Focused on garment construction, sewing techniques, fabric fundamentals, and clothing alterations.
- Developed practical skills in pattern making, hand stitching, machine sewing, and garment finishing.
- Gained hands-on experience working with different fabrics, sewing tools, and apparel construction methods.
Academy of Art University (San Francisco, USA)
Bachelor’s in Fashion Design
- Specialized in apparel construction, textile selection, garment fitting, and contemporary clothing design.
- Studied the relationship between fabric properties, garment structure, durability, and comfort.
- Participated in practical design projects involving garment creation, alterations, repairs, and sustainable clothing practices.
Publications and Impact
Through SewFixes, Bennie shares practical insights into sewing, clothing repair, fabric care, garment alterations, and everyday DIY solutions. His writing focuses on turning complicated sewing tasks into simple, understandable steps that readers can follow at home.
Bennie covers everything from repairing torn seams and replacing buttons to fixing hems, adjusting garment fit, choosing suitable fabrics, and maintaining sewing machines and tools. His content is designed to help readers become more confident with their clothing while encouraging practical repair and reuse instead of unnecessary replacement.
Through his work, Bennie aims to bridge the gap between traditional sewing knowledge and modern everyday needs—making sewing more approachable, useful, and accessible to anyone who wants to repair better, sew smarter, and make their clothes last longer.