

Adding hand-stitched letters to fabric turns a plain item into something personal and memorable.
Whether you want to monogram a napkin, sign a piece of art, or add a name to a baby blanket, letters give your projects a thoughtful finishing touch.
Learning how to embroider letters by hand is one of the most useful skills a beginner can pick up, because lettering appears in so many projects, from gifts to home decor to keepsakes you will treasure for years.
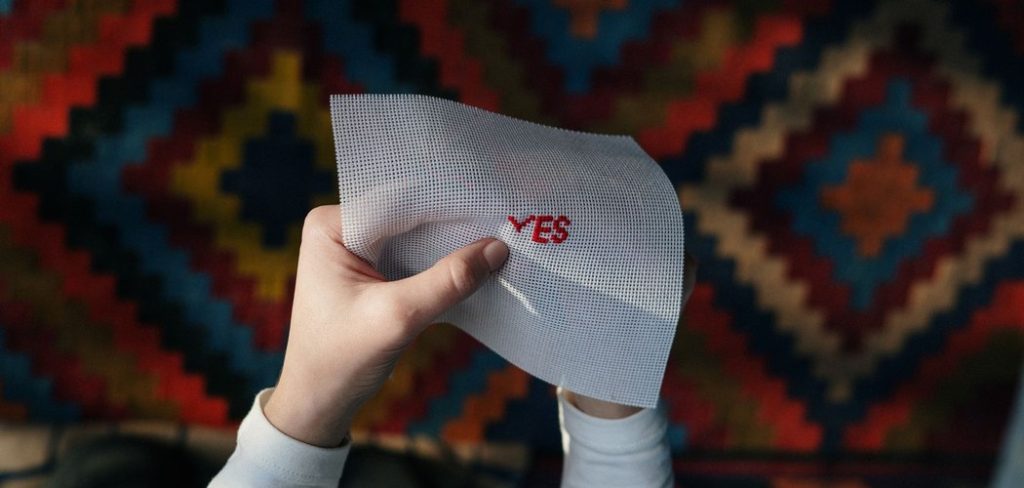
The best part is that you do not need expensive gear or advanced experience to get started.
With a few basic supplies, a simple stitch or two, and a little patience, you can create clean, readable letters that look wonderfully professional.
Small mistakes are easy to fix, and each attempt builds real confidence.
In the sections ahead, we will break the process into clear, manageable steps, cover the tools you need, and answer the questions beginners ask most.
By the end, you will feel ready to stitch your first word with pride.
Why Embroidering Letters By Hand Is Worth Learning
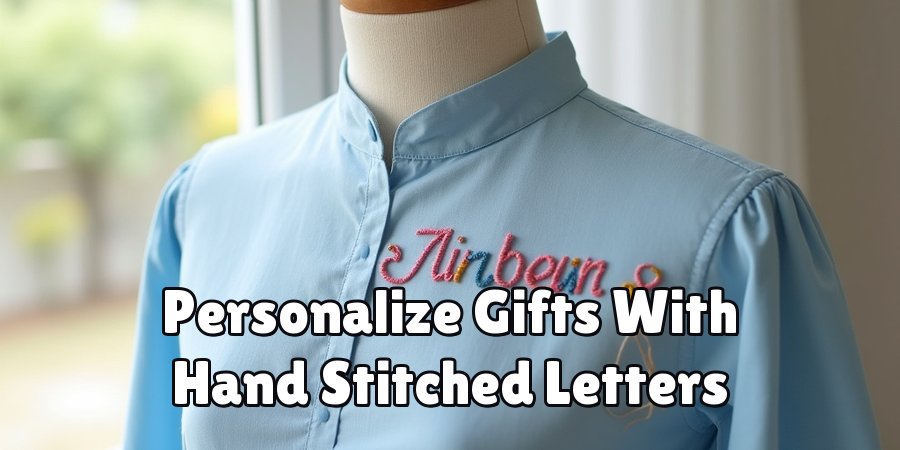
Hand lettering opens up a world of creative options that machines simply cannot match. You control every curve, color, and spacing choice, so each piece feels truly one of a kind. This flexibility makes your work stand out and lets you personalize gifts in a way store-bought items never can.
The skill is also budget-friendly and portable, since you only need floss, a needle, and fabric to practice anywhere.
Beyond the practical side, stitching letters is calming and satisfying, offering a quiet break from screens and busy schedules. Every finished word sharpens your hand and boosts your confidence for bigger projects.
Best of all, the results last for years, turning simple fabric into heartfelt keepsakes that carry real meaning for the people who receive them.
Step-By-Step Guide To Embroidering Letters By Hand
Step 1: Gather Your Tools And Materials
Start by collecting everything you need in one place so you can work without stopping to search for supplies. You will want a piece of smooth cotton or linen fabric, an embroidery hoop, embroidery floss in your chosen colors, sharp scissors, a few embroidery needles, and a water-soluble fabric pen.
Learning how to embroider letters by hand becomes much easier when your materials are good quality and organized. Tightly woven fabric holds stitches neatly and keeps your letters crisp, while smooth floss glides without tangling.
Press your fabric flat before you begin, since wrinkles distort your lines and make even lettering harder to achieve on a small surface.
Step 2: Choose And Prepare Your Font
Pick a lettering style that matches your skill level and your project. Simple block or rounded fonts are perfect for beginners because they use clear, steady lines. Script and cursive styles look elegant but take more practice, so save them for once you feel comfortable with the basics.
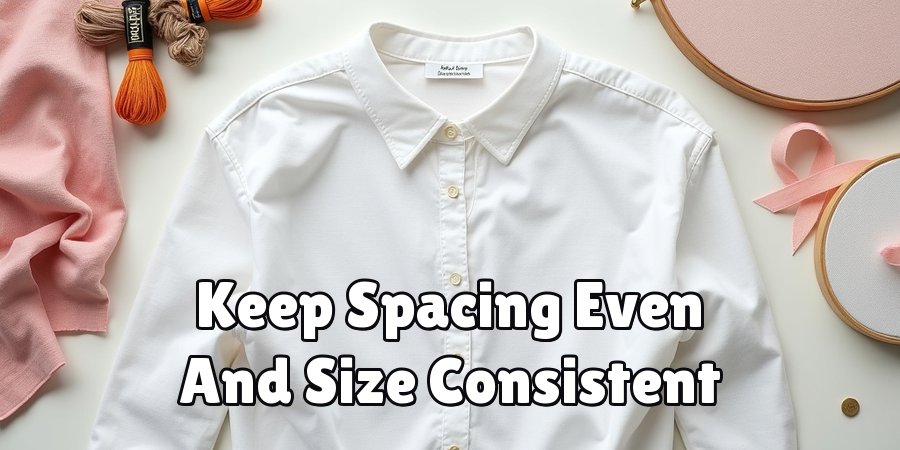
Print your chosen letters at the size you want, or draw them lightly by hand. Keep the spacing even and the size consistent so the finished word reads clearly.
Take a moment to check the proportions, since letters that are too cramped or too spread out can look unbalanced. A little planning here saves frustration later and gives you a clean guide to follow.
Step 3: Transfer The Letters Onto Your Fabric
With your design ready, you need to move the letters onto the fabric so you have clear lines to stitch along.
For light fabrics, place your printed letters underneath and trace them with a water-soluble pen.
If your fabric is thicker, tape the design and fabric to a bright window and trace as the light shines through.
Keep your traced lines light and accurate, since these guides shape the final look of your work. Double-check the placement before you commit, especially for centered monograms. Getting the position right at this stage means your letters will sit exactly where you want them once the stitching is complete.
Step 4: Secure Your Fabric In The Hoop
A well-tensioned hoop keeps your fabric steady and helps you stitch smooth, even letters. Loosen the screw on your hoop and separate the two rings. Lay the inner ring flat, center your traced design over it, then press the outer ring down so the fabric sits snugly between them.
Gently pull the fabric edges while tightening the screw, working around the hoop until the surface feels taut like a drum. Avoid stretching so hard that the weave warps out of shape.
Good tension prevents puckering and makes every stitch easier to place. This simple setup step often makes the difference between shaky lines and clean, confident lettering.
Step 5: Thread Your Needle And Pick A Stitch
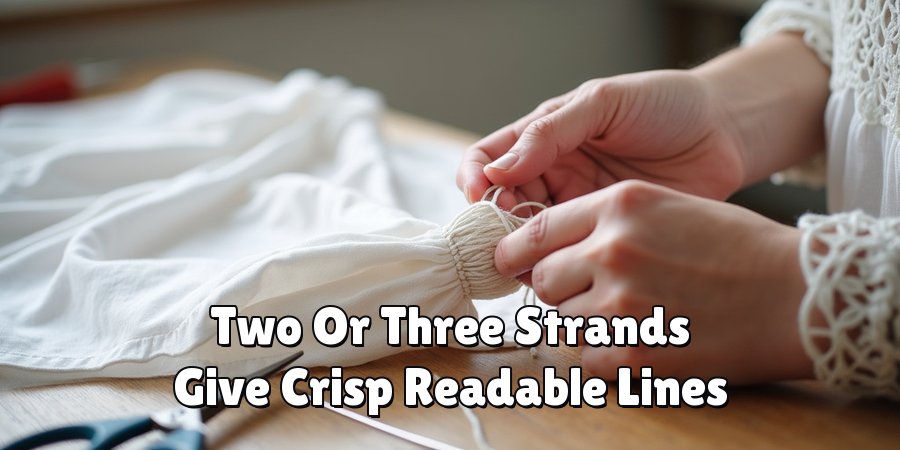
Embroidery floss usually comes as six strands twisted together, and you rarely use them all at once. For most lettering, two or three strands give you crisp, readable lines that suit small text. Cut a length about the size of your forearm to avoid tangles, then separate the strands you need.
When you know how to embroider letters by hand with the right stitch, your words look polished and professional.
The backstitch is the friendliest choice for beginners because it creates solid, smooth outlines that follow any shape.
Thread your needle, tie a small knot at the end, and you are ready to begin stitching your first letter.
Step 6: Stitch Your Letters With Care
Now the fun begins. Start at one end of a letter and work along your traced line using small, even backstitches. Bring your needle up through the fabric, take a stitch backward, then come up again a stitch ahead, filling the gap as you go. Keep your stitch length consistent for a clean, uniform look.
Work one letter at a time and follow the natural direction of each stroke, moving slowly around curves. Pause often to check the back of your work for loose threads. Patience matters more than speed here, so take your time and let each letter take shape gently before moving on to the next.
Step 7: Finish, Clean, And Press Your Work
When your letters are complete, secure the final thread on the back with a few tiny stitches and trim any excess neatly. Remove the fabric from the hoop and gently dab away the pen marks with a damp cloth or a quick rinse in cool water. Let the piece dry fully before you move on.
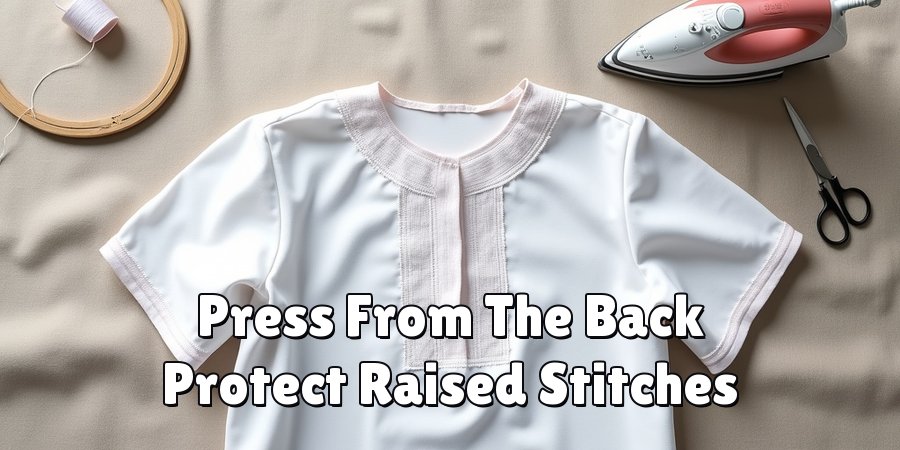
Press your finished work from the back, laying it face down on a soft towel so the stitches keep their raised texture. Avoid pressing directly on the letters, since heavy heat can flatten them. With this careful finish, your lettering stays crisp, vibrant, and ready to display or gift for many years to come.
Frequently Asked Questions
What Fabric Works Best For Beginners?
Smooth, tightly woven cotton or linen is the top choice for anyone just starting out. These fabrics hold stitches firmly, resist puckering, and give you clean, readable letters.
Avoid stretchy or slippery materials, since they shift while you stitch and make even spacing harder.
A medium-weight fabric feels comfortable in the hoop and rewards you with a tidy, professional finish on your very first try.
Which Stitch Is Easiest For Lettering?
The backstitch is the most beginner-friendly option for text. It creates a solid, continuous line that follows straight strokes and curves with ease, making it perfect for both block and script fonts.
Once you feel confident, you can experiment with the stem stitch for a slightly rope-like effect or the satin stitch to fill thicker letters with smooth, rich color.
How Do I Keep My Letters Evenly Sized?
Consistency starts before you stitch. Print or draw your letters at a fixed height and use guidelines to keep the tops and bottoms aligned.
Trace carefully and check the spacing between each letter so the word looks balanced. While stitching, keep your stitch length uniform.
Working slowly and pausing to compare letters helps you catch any size differences early and correct them.
Can I Fix A Mistake Without Starting Over?
Absolutely, and mistakes are completely normal. Simply thread your needle back through the wrong stitches or use a seam ripper to remove them gently, working slowly so you do not snag the fabric.
Because letters are small and forgiving, you can redo a section quickly. Keep loose threads trimmed and re-trace faint lines if needed, then stitch again with fresh confidence.
How Long Does A Simple Word Take?
A short name or monogram usually takes one to two hours, making it a satisfying weekend project. Longer phrases or decorative script styles can stretch to several hours, especially if you add fill stitches.
The good news is that you can work in short sessions and set the project down anytime, which keeps the whole experience relaxed rather than rushed.
Conclusion
Stitching letters by hand is a rewarding skill that blends creativity, focus, and a lasting sense of accomplishment.
From gathering your tools and choosing a font to transferring your design and pressing the final piece, each step builds real confidence you can carry into future projects.
The process is forgiving and flexible, so you can experiment freely, fix mistakes with ease, and watch your lettering improve with every word you complete.
Now that you understand how to embroider letters by hand from start to finish, there is nothing stopping you from threading a needle today.
Choose a short name, pick a simple font, and give yourself permission to enjoy the process without chasing perfection. Each letter you stitch becomes a personal touch that turns ordinary fabric into a meaningful keepsake.
Take your time, trust the steps, and let your creativity shine one stitch at a time.

About
Bennie Wilder is a dedicated figure in the world of sewing, clothing repair, and garment care, with years of hands-on experience exploring practical techniques for making, repairing, and maintaining everyday clothing. His professional focus lies in combining traditional sewing craftsmanship with modern, easy-to-follow solutions, helping readers confidently handle common clothing problems at home. As an author at SewFixes, Bennie shares practical knowledge on sewing techniques, garment alterations, fabric care, clothing repairs, and DIY projects for beginners and experienced sewing enthusiasts alike.
Education
Fashion Institute of Technology (New York, USA)
Associate Degree in Fashion Design & Apparel Studies
- Focused on garment construction, sewing techniques, fabric fundamentals, and clothing alterations.
- Developed practical skills in pattern making, hand stitching, machine sewing, and garment finishing.
- Gained hands-on experience working with different fabrics, sewing tools, and apparel construction methods.
Academy of Art University (San Francisco, USA)
Bachelor’s in Fashion Design
- Specialized in apparel construction, textile selection, garment fitting, and contemporary clothing design.
- Studied the relationship between fabric properties, garment structure, durability, and comfort.
- Participated in practical design projects involving garment creation, alterations, repairs, and sustainable clothing practices.
Publications and Impact
Through SewFixes, Bennie shares practical insights into sewing, clothing repair, fabric care, garment alterations, and everyday DIY solutions. His writing focuses on turning complicated sewing tasks into simple, understandable steps that readers can follow at home.
Bennie covers everything from repairing torn seams and replacing buttons to fixing hems, adjusting garment fit, choosing suitable fabrics, and maintaining sewing machines and tools. His content is designed to help readers become more confident with their clothing while encouraging practical repair and reuse instead of unnecessary replacement.
Through his work, Bennie aims to bridge the gap between traditional sewing knowledge and modern everyday needs—making sewing more approachable, useful, and accessible to anyone who wants to repair better, sew smarter, and make their clothes last longer.