

That gorgeous sleeveless dress hanging in your closet deserves a second life, and giving it sleeves is easier than you might think.
Whether you want extra warmth, sun protection, or simply a fresh new look, learning how to add sleeves to a dress opens up a world of styling options.
You get to transform a piece you already love into something that feels brand new, all without buying anything off the rack.
This guide walks you through the whole process in clear, friendly steps that work for every skill level.
You don’t need years of sewing experience or a fancy studio, just a few basic tools and a little patience.
We’ll cover measuring, cutting, and stitching in a way that makes sense even if you’re picking up a needle for the first time.
By the end, you’ll feel confident tackling this project and proud of the results. Sewing your own sleeves means you control the fit, fabric, and finish, so the final dress reflects exactly what you want. Let’s get started and turn that idea into a wearable success.
Why Adding Sleeves To A Dress Matters
Adding sleeves changes far more than the look of a garment, it shapes how you feel wearing it.
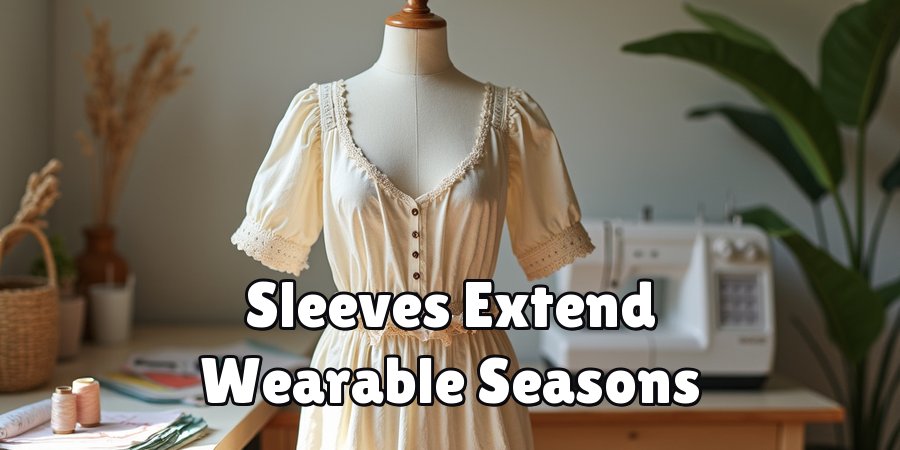
Sleeves extend the seasons you can wear a favorite dress, taking a summer sundress into cooler autumn days without losing its charm.
They also offer coverage and comfort, which many people appreciate for work, events, or simply everyday confidence.
Beyond practicality, this skill saves money and reduces waste. Instead of retiring a dress that no longer suits your needs, you refresh it with your own hands.
You gain creative freedom too, choosing sleeve styles, lengths, and fabrics that match your taste.
Each project builds your confidence and expands what you can do with the clothes you already own, turning small alterations into lasting satisfaction.
Step-By-Step Guide To How To Add Sleeves To A Dress
Follow these seven steps closely and you’ll move from a bare-shouldered dress to a beautifully sleeved one. Take your time with each stage, because careful preparation makes the sewing itself feel simple and rewarding.
Step 1: Gather Your Tools And Materials
Before you begin how to add sleeves to a dress, set up everything you need in one place.
You’ll want fabric that matches or complements your dress, a measuring tape, sharp fabric scissors, pins, matching thread, and a sewing machine or a needle for hand stitching.
Having a seam ripper nearby helps if you make a mistake, and it will not derail your progress.
Choosing the right fabric matters more than you might expect. Pick a material with a similar weight and stretch to the dress so the sleeves hang naturally. Lay all your supplies out and check them off before you start, since a smooth setup keeps frustration low and momentum high.
Step 2: Measure Your Arm And Armhole
Accurate measurements form the foundation of a good result. Wrap the measuring tape around the fullest part of your upper arm and note that number, then measure from your shoulder down to where you want the sleeve to end. Write these figures down so you can refer back to them without guessing later.
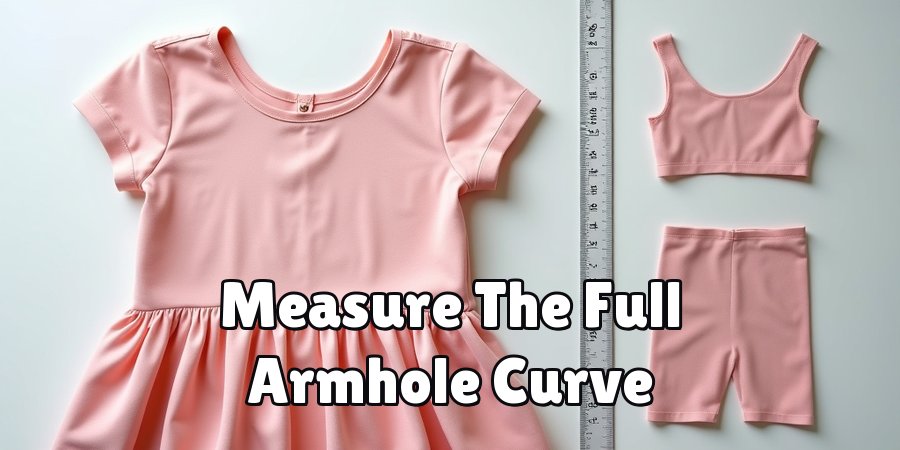
Next, measure the armhole opening on the dress itself. Run the tape along the entire curve of the armhole, from the underarm up over the shoulder and back down.
This measurement tells you how long the top edge of your sleeve needs to be. Double-check each number, because a few extra minutes here prevents sleeves that pull, gape, or feel too tight.
Step 3: Create Or Trace A Sleeve Pattern
With your measurements ready, you can build a simple sleeve pattern on paper.
Draw a curved top edge that matches your armhole length, then extend the sides down to your desired sleeve length, tapering slightly toward the wrist for a flattering shape.
Add roughly half an inch around every edge for seam allowance so you have room to stitch.
If drafting from scratch feels intimidating, borrow a pattern from an existing sleeve you like. Turn a well-fitting shirt inside out, lay the sleeve flat, and trace its outline onto your paper. This shortcut gives beginners a reliable starting point and takes much of the guesswork out of the shaping process.
Step 4: Cut Your Fabric Carefully
Place your paper pattern on the fabric, making sure the grain runs in the right direction for a clean drape.
Pin the pattern down firmly so it does not shift while you work, then cut slowly and steadily along the edges.
Remember to cut two sleeve pieces, one for each arm, and flip the pattern for the second so they mirror each other.
Precision at this stage pays off during sewing. Rushing the cut often leads to uneven edges that make stitching harder and the final fit less polished. Keep your scissors sharp, follow the pattern lines exactly, and set your finished pieces aside neatly so they stay smooth and ready for assembly.
Step 5: Pin The Sleeves In Place
Now comes the satisfying part where the project starts to take shape. Turn your dress inside out and align the top curve of each sleeve with the matching armhole edge.
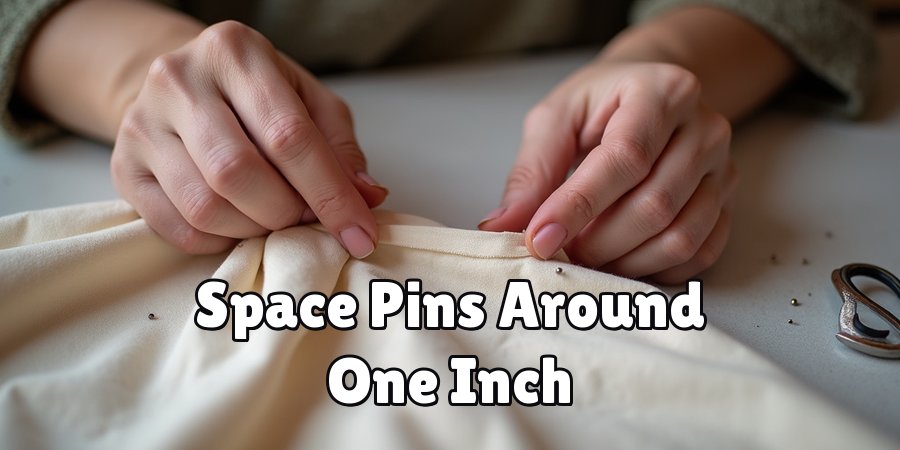
Start pinning at the shoulder point, then work your way down both sides, easing the fabric gently so it fits the curve without bunching or stretching.
This is a natural moment in how to add sleeves to a dress where patience really shows. Space your pins close together, around every inch, so the fabric stays secure as you sew.
If the sleeve feels slightly larger than the opening, distribute that extra fabric evenly rather than forcing it into one spot, which keeps the seam looking smooth.
Step 6: Sew The Sleeves To The Dress
With everything pinned, stitch along the seam line you planned, keeping a steady half-inch allowance.
Sew slowly around the curved armhole, removing each pin just before your needle reaches it so you never stitch over metal.
A machine gives strong, even results, but careful hand stitching works beautifully too if you keep your stitches small and consistent.
Once both sleeves are attached, turn the dress right side out and check the fit. Slip it on and move your arms to make sure nothing pulls or restricts you. If something feels off, use your seam ripper to open the section and adjust, since small corrections now lead to a comfortable, lasting result.
Step 7: Finish The Seams And Hems
Finishing gives your project a professional, durable feel. Trim any excess fabric from the seam allowance, then secure the raw edges with a zigzag stitch, an overlock, or a simple fold-and-stitch technique to stop fraying. Clean edges keep your sleeves looking neat wash after wash and protect all the careful work you’ve done.
Finally, hem the bottom of each sleeve to your chosen length. Fold the edge under twice, press it flat with an iron, and stitch it in place for a tidy finish.
Give the whole dress one last press to smooth every seam. Step back, admire your work, and enjoy wearing a garment you refreshed entirely on your own.

Frequently Asked Questions
What Fabric Works Best For Adding Sleeves?
Choose a fabric that closely matches the weight, stretch, and drape of your original dress. A cotton dress pairs well with cotton sleeves, while a stretchy knit needs a stretchy sleeve fabric to move naturally.
Matching or complementary colors look intentional and polished. When in doubt, bring a swatch of your dress to the store so you can compare textures directly.
Do I Need A Sewing Machine For This Project?
No, you can complete this project entirely by hand if you prefer. Hand stitching takes longer and requires small, even stitches for strength, but it delivers lovely results for those without a machine.
A machine simply speeds up the process and reinforces seams more easily. Either method works, so choose whichever tool feels comfortable and available to you.
How Long Does It Take To Add Sleeves?
The timeline depends on your experience and the sleeve style you pick. A confident sewer might finish in two to three hours, while a beginner should set aside an afternoon to work without rushing.
Measuring and pinning take the most patience, so give those stages plenty of attention. Working slowly reduces errors and makes the whole experience far more enjoyable.
Can Beginners Really Do This Successfully?
Absolutely, this project suits all skill levels when you follow each step carefully. Beginners often succeed by tracing an existing sleeve for their pattern and pinning generously before sewing.
Mistakes are easy to fix with a seam ripper, so there’s no pressure to be perfect on the first try. Every project you complete builds skill and confidence for the next one.
What Sleeve Styles Can I Choose From?
You have plenty of creative options, including short cap sleeves, elbow-length designs, flowing bell shapes, or full-length fitted sleeves. Your choice depends on the dress, the season, and the look you want.
Simple straight sleeves work best for first attempts, while more dramatic styles suit sewers with a little practice. Feel free to experiment once you feel comfortable with the basics.
Conclusion
Refreshing a beloved dress with new sleeves is a rewarding project that blends practicality with creativity, and now you have every step you need to succeed.
From gathering your tools and taking careful measurements to cutting, pinning, sewing, and finishing, each stage builds toward a result you’ll be proud to wear.
The process rewards patience far more than perfection, so give yourself room to learn as you go.
Knowing how to add sleeves to a dress means you’ll never look at a sleeveless garment the same way again, because you hold the power to transform it.
Grab your fabric, set up your workspace, and start your first project today.
With a little practice, you’ll build the confidence to tackle bigger alterations and keep breathing new life into the clothes you already love.

The Sew Fixes team — we mend our own clothes and write down what worked. Every guide here started as a repair on something we were not ready to throw away.