

There is a quiet magic in running your fingers over fabric and feeling a raised design that seems to rise straight from the cloth.
That texture, soft yet defined, is the result of embossing, a technique that presses patterns into material so they hold their shape and catch the light.
Whether you dream of monogrammed napkins, decorated tote bags, or velvet pillows with delicate motifs, learning how to emboss on fabric opens a whole new world of tactile, professional-looking crafts you can make right at home.
The best part is that it works for all skill levels, so beginners and seasoned makers alike can get beautiful results.
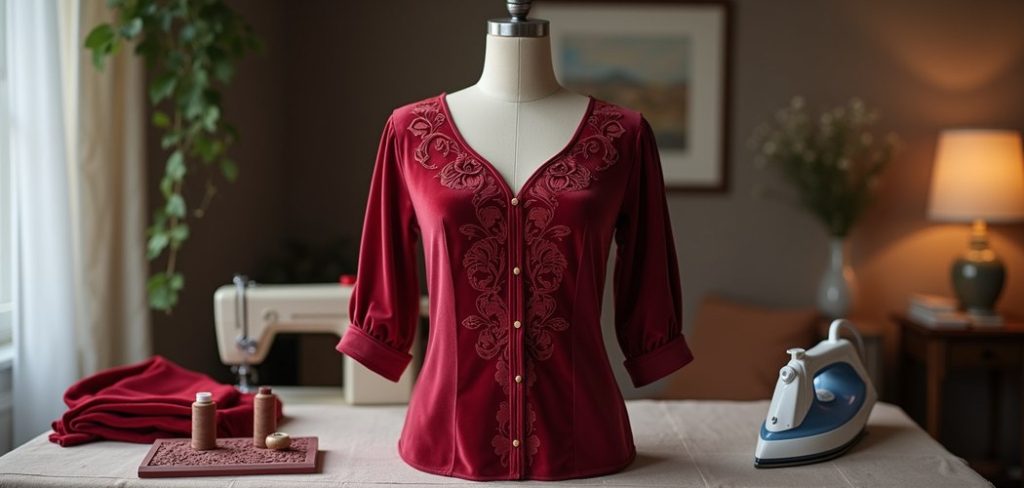
Fabric embossing matters because it adds dimension and personality that flat prints or plain stitching simply cannot match. It transforms ordinary textiles into something memorable, giving handmade gifts and personal projects a polished, boutique feel.
You do not need expensive machinery or years of experience to start. With a few affordable tools, a little patience, and clear guidance, you can create stunning textured designs that last.
This guide walks you through everything step by step, so you feel confident and supported from your very first attempt.
Why Embossing On Fabric Matters
Embossing gives fabric a sense of craftsmanship that instantly elevates any project.
Instead of a printed image sitting on the surface, you get depth and texture that people want to touch, which makes your work feel special and high quality.
This technique is wonderfully versatile, working on velvet, cotton, felt, and many other materials, so you can customize almost anything.
It also empowers you to personalize gifts, home decor, and clothing without relying on store-bought designs. That means less waste, more creativity, and a fit for your exact taste.
Because the results look professional yet the process stays beginner-friendly, embossing builds real confidence with each project.
You gain a reusable skill that adapts to seasonal crafts, business ideas, or simple everyday joy, all while keeping costs low and satisfaction high.
Step-By-Step Guide To How To Emboss On Fabric
Step 1: Gather Your Tools And Materials
before you begin, set everything out in one tidy spot so nothing interrupts your flow.
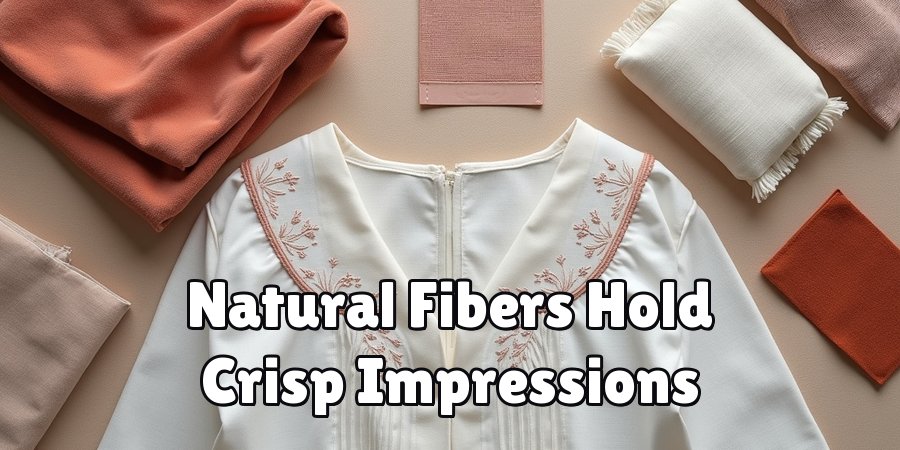
you will want a rubber stamp or embossing plate with a clear design, a natural fiber fabric such as velvet, cotton, or silk, a household iron, a spray bottle filled with water, and a firm flat surface to work on.
natural fibers respond best because their fibers compress and hold the pattern well.
having your supplies ready and within reach keeps the process calm and enjoyable, and it helps you focus on each step without scrambling for missing items halfway through your first project.
Step 2: Choose The Right Fabric
your fabric choice makes an enormous difference in how crisp and lasting your design turns out. velvet is a favorite because its plush pile takes impressions beautifully, showing deep, defined patterns that catch the light.
cotton, linen, and silk also work well since their natural fibers respond to heat and pressure.
avoid synthetic blends when you can, because polyester and similar materials resist embossing and may even melt under a hot iron. test a small scrap first if you are unsure.
taking a moment to match the right cloth to your project saves frustration and rewards you with sharper, more professional-looking results.
Step 3: Prepare Your Design And Stamp
pick a stamp with bold, simple lines, since intricate details can blur or fade once pressed into fabric.
deeply etched rubber stamps or metal embossing plates give the cleanest impressions, so choose quality over novelty here.
place your stamp rubber side up on your flat surface, ready for the fabric to rest on top of it.
if you are working on how to emboss on fabric for the first time, start with a large, uncomplicated motif to build confidence.
this preparation stage sets the foundation for a strong, visible design, so give it the attention it deserves before reaching for the iron.
Step 4: Position The Fabric Correctly
lay your fabric face down directly onto the stamp, making sure the side you want embossed touches the raised design.
for velvet, this means the plush pile presses into the pattern, which creates that gorgeous crushed texture.
smooth the fabric gently with your hands to remove wrinkles and keep it perfectly flat, because any folds can distort the impression.
take a second to align the design exactly where you want it on the finished piece.
careful positioning now prevents crooked or off-center results, and it gives you the control needed to place your motif with precision and confidence.
Step 5: Mist And Apply Heat
lightly mist the back of the fabric with water from your spray bottle, since a little moisture helps the fibers reshape under heat.
do not soak it, because too much water slows the process and can leave marks. set your iron to a medium heat setting suited to your fabric, with the steam function turned off.
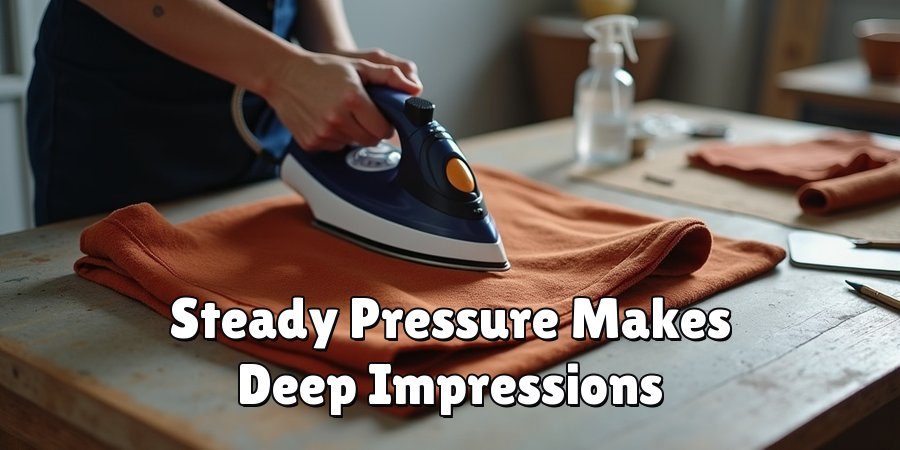
press the iron firmly onto the fabric over the stamp, holding it in place without sliding for about twenty to forty seconds.
steady, even pressure is the secret to a deep, crisp impression, so resist the urge to wiggle the iron around as you work.
Step 6: Check And Reinforce The Impression
carefully lift a corner of the fabric to peek at your design without shifting everything out of place.
if the impression looks faint, lower the fabric back down and apply heat and pressure for another twenty seconds or so.
different materials need different timing, so trust what you see rather than the clock alone. when practicing how to emboss on fabric, this checking habit helps you learn exactly how your chosen cloth behaves.
patience here pays off, because a second gentle press often turns a soft, hazy pattern into a bold, defined design you will be proud to show off.
Step 7: Cool, Set, And Finish
once you are happy with the impression, remove the iron and let the fabric cool completely while it still rests on the stamp.
this cooling time allows the fibers to lock into their new shape, which helps the design last through handling and gentle use. after it cools, lift the fabric away slowly and admire your raised pattern.
avoid washing the item too aggressively, since harsh laundering can soften the texture over time. hand washing or spot cleaning keeps your work looking sharp for longer.
now you have a finished piece with a professional, tactile design made entirely by your own hands.
Frequently Asked Questions
Does Fabric Embossing Last After Washing?
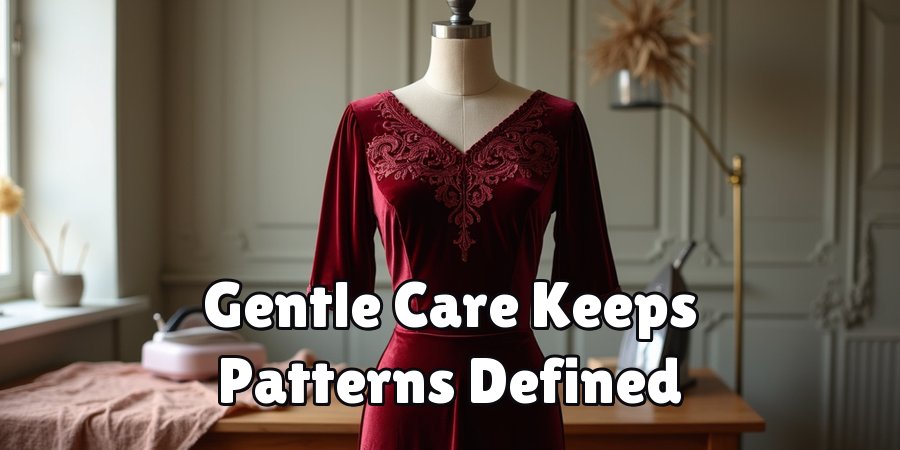
Embossed designs can last a good while, though gentle care makes all the difference. Aggressive machine washing and high heat drying tend to relax the fibers and soften the pattern over time.
To keep your design crisp, hand wash the item or spot clean it, then let it air dry.
Treated with care, your textured motif can stay defined and beautiful through many uses, especially on plush fabrics like velvet.
What Fabrics Should I Avoid Embossing?
Steer clear of synthetic materials such as polyester, nylon, and acrylic, since they resist heat impressions and can scorch or even melt under a hot iron.
Tightly woven, stiff fabrics also struggle to hold a clear pattern. Instead, reach for natural fibers like velvet, cotton, linen, and silk, which compress nicely and show off your design.
When in doubt, test a small scrap first to see how it responds before committing.
Do I Need Special Equipment To Start?
Not at all, which is part of the appeal. Most beginners succeed with tools they already own, including a household iron, a spray bottle, and a firm work surface.
The only item you may need to buy is a deeply etched rubber stamp or a metal embossing plate.
This low startup cost makes the technique wonderfully accessible, so you can experiment freely and build your skills without a big investment upfront.
Why Is My Design Coming Out Faint?
A faint impression usually points to one of a few fixable issues. Your iron may not be hot enough, you might not be pressing firmly or long enough, or your stamp lines could be too shallow.
Try adding a light mist of water, increasing pressure, and holding the iron steady for a longer stretch. Choosing a plush fabric and a bold stamp design also helps produce that deep, satisfying texture you want.
Can Beginners Really Get Good Results?
Absolutely, and that is the beauty of this craft. The steps are simple, forgiving, and easy to repeat, so even a first attempt can look impressive.
Starting with a large, bold design and a soft fabric like velvet stacks the odds in your favor. Each project teaches you something new about timing and pressure, and your confidence grows quickly.
With a little practice, polished, professional-looking results are well within reach.
Conclusion
Creating raised, tactile designs on cloth is a rewarding skill that blends creativity with a satisfying sense of craftsmanship.
From gathering simple tools and choosing the right natural fibers to positioning your stamp, applying gentle heat, and letting the fabric cool and set, each step builds toward a beautiful, professional finish.
Along the way, you learn to read how different materials respond, which turns small experiments into confident, repeatable success. Best of all, you achieve boutique-quality texture using affordable supplies you likely already have at home.
Now that you understand how to emboss on fabric from start to finish, there is nothing stopping you from turning plain textiles into personalized treasures.
Begin with a bold, simple design and a forgiving fabric like velvet, then take each step at your own pace and celebrate every small win.
Do not aim for perfection on your first try, because every project sharpens your technique and makes the next one even better. Gather your materials, warm up your iron, and give it a go today.

The Sew Fixes team — we mend our own clothes and write down what worked. Every guide here started as a repair on something we were not ready to throw away.