

There is something wonderfully personal about a hand-stitched handkerchief. Whether you want to add delicate initials to a wedding gift or brighten a plain cotton square with tiny flowers, this small project offers big rewards.
Learning how to embroider a hankie is one of the friendliest ways to step into the world of needlework, because the piece is small, forgiving, and quick to finish.
You do not need fancy equipment or years of practice to create something beautiful.
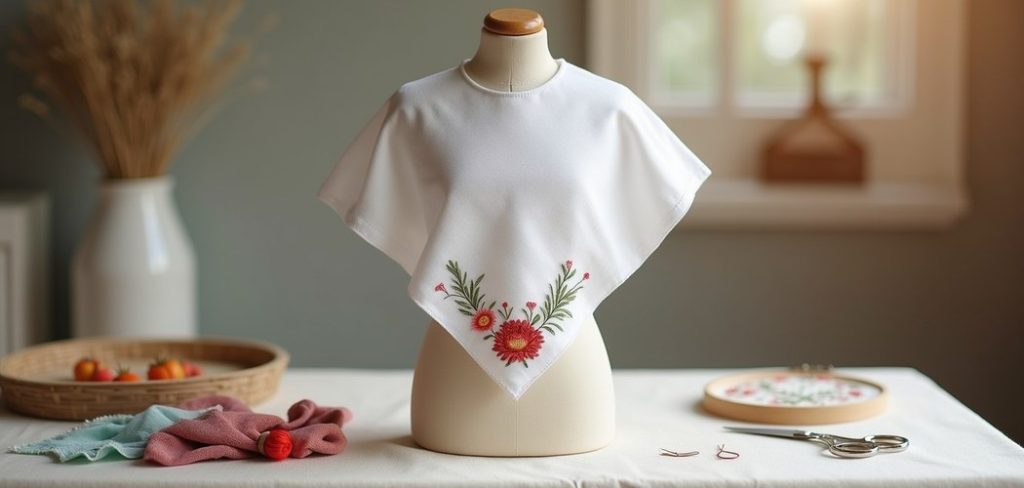
A hankie gives you a compact canvas that feels manageable from the very first stitch. That means you can experiment with new patterns, practice fresh techniques, and build real confidence without feeling overwhelmed.
Beginners love these projects because mistakes are easy to fix and each finished piece feels like a genuine keepsake. Along the way, you pick up skills that carry over to larger embroidery projects later on.
In the sections below, we will walk through the tools, the techniques, and every step you need to turn a simple square of fabric into a treasured, personalized gift.
Why Embroidering A Hankie Is Worth Your Time
Stitching a handkerchief is more than a relaxing hobby, though the calming rhythm of the needle is a lovely bonus.
It teaches you core embroidery skills on a small, low-pressure scale, so you learn faster and stay motivated.
Each square only takes an hour or two, which makes it perfect for busy schedules and quick creative breaks.
The results also feel meaningful in a way store-bought items rarely do. A monogrammed hankie becomes a thoughtful gift for weddings, birthdays, or graduations, and it lasts for years.
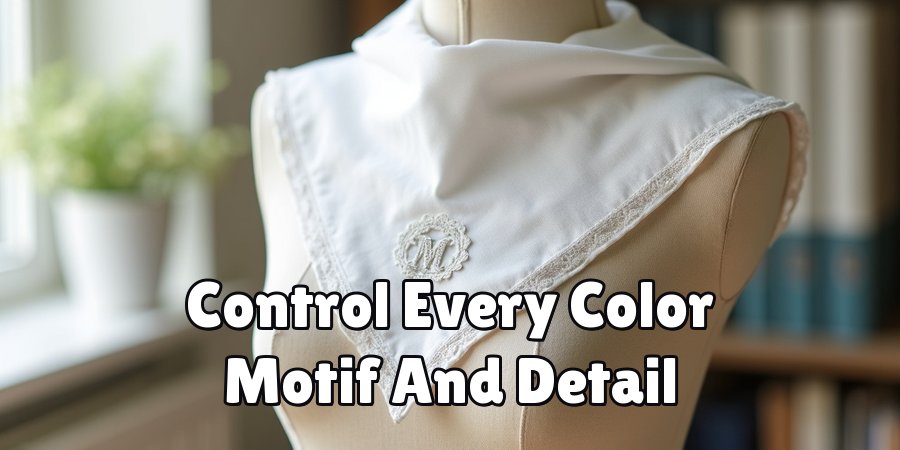
You control every color, motif, and detail, so the piece truly reflects the person receiving it.
Best of all, the low cost means you can practice freely, try bold ideas, and enjoy the satisfaction of making something useful with your own two hands.
Step-By-Step Guide To How to Embroider a Hankie
Step 1: Gather Your Tools And Materials
Start by collecting everything in one spot so you can work without interruptions. You will need a plain cotton or linen handkerchief, an embroidery hoop, sharp embroidery scissors, and a pack of embroidery floss in your chosen colors. Add a few embroidery needles, a water-soluble fabric pen, and a printed pattern or simple design idea.
Choosing quality materials makes a noticeable difference, especially for beginners. Soft, tightly woven fabric holds stitches neatly, while good floss glides smoothly and resists tangling. Take a moment to press your handkerchief flat before you begin, since a wrinkle-free surface gives you cleaner lines and a more professional finish once your design comes together.
Step 2: Choose And Transfer Your Design
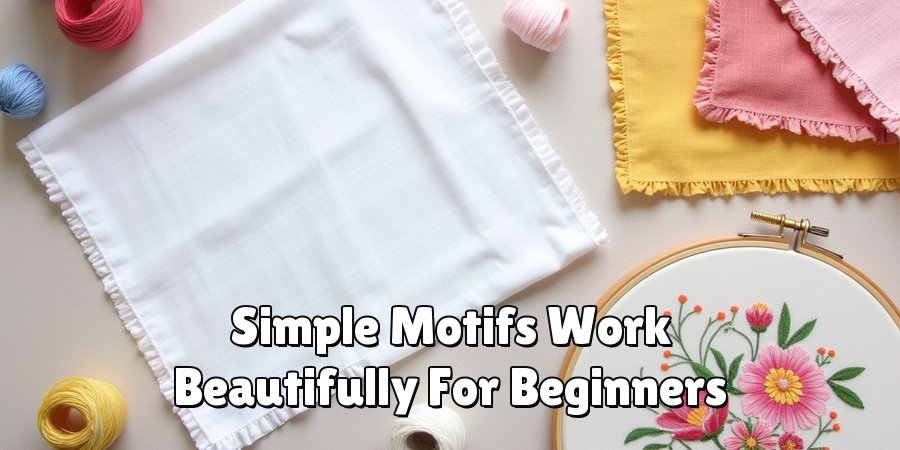
Pick a design that matches your skill level and the occasion. Simple motifs like initials, small flowers, or delicate borders work beautifully for a first attempt. Once you have settled on a pattern, you need to transfer it onto the fabric so you have clear lines to follow.
For light fabrics, place your design underneath the handkerchief and trace it with a water-soluble pen.
If the fabric is thicker, tape the pattern and hankie to a sunny window and trace the shapes as the light shines through. Keep your lines light and accurate.
This planning stage is the foundation for how to embroider a hankie with clean, confident results.
Step 3: Secure The Fabric In Your Hoop
A well-tensioned hoop is your best friend during this project. Loosen the screw on your embroidery hoop and separate the two rings. Lay the inner ring on a flat surface, center your traced design over it, then press the outer ring down on top so the fabric sits snugly between them.
Gently pull the edges of the handkerchief while tightening the screw, working your way around until the fabric feels taut like a drum. Avoid stretching it so hard that the weave distorts.
Proper tension keeps your stitches even and prevents puckering, which makes the entire stitching process smoother and far more enjoyable from start to finish.
Step 4: Thread Your Needle And Separate The Floss
Embroidery floss usually comes as six strands twisted together, and you rarely use all six at once. For delicate handkerchief work, two or three strands give you fine, detailed lines that suit the small scale of the fabric. Cut a length of floss about the size of your forearm to prevent tangles.
Gently separate the strands you need, then thread them through the eye of your needle. Tie a small knot at the longer end, or use a knotless start if you prefer a tidy back. Working with the right number of strands keeps your design crisp and stops the stitches from looking bulky or crowded.
Step 5: Practice Your Core Stitches
Before diving into your final piece, warm up on a scrap of fabric. A few basic stitches carry you through almost any handkerchief design. The backstitch creates smooth, solid outlines, the satin stitch fills shapes with color, and the French knot adds charming little dots for flower centers or texture.
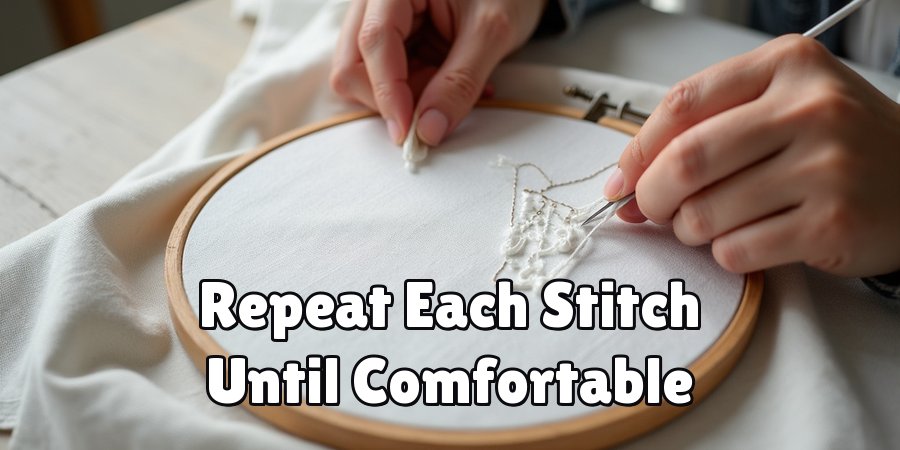
Spend a few minutes repeating each stitch until your hands feel comfortable and your tension stays consistent. This quick practice pays off immediately when you move to the real project.
Understanding these stitches is central to how to embroider a hankie, because they form the building blocks of every motif you will ever create on fabric.
Step 6: Stitch Your Design With Care
Now the fun really begins. Start with the outlines of your motif using a backstitch, following your traced lines slowly and steadily. Work from the center of the design outward when possible, which helps you keep everything balanced and evenly spaced across the small surface.
Once your outlines are complete, fill in the shapes with satin stitches and add any decorative details like French knots.
Keep your stitches close together for a smooth, polished look, and pause often to check the back of your work for loose threads.
Patience matters more than speed here, so enjoy the process and let each section come together at its own gentle pace.
Step 7: Finish, Press, And Care For Your Hankie
When your design is complete, secure the final thread on the back with a few small stitches and trim the excess neatly. Remove the fabric from the hoop and dab away any remaining pen marks with a damp cloth or a light rinse in cool water. Let the piece dry fully before the next step.
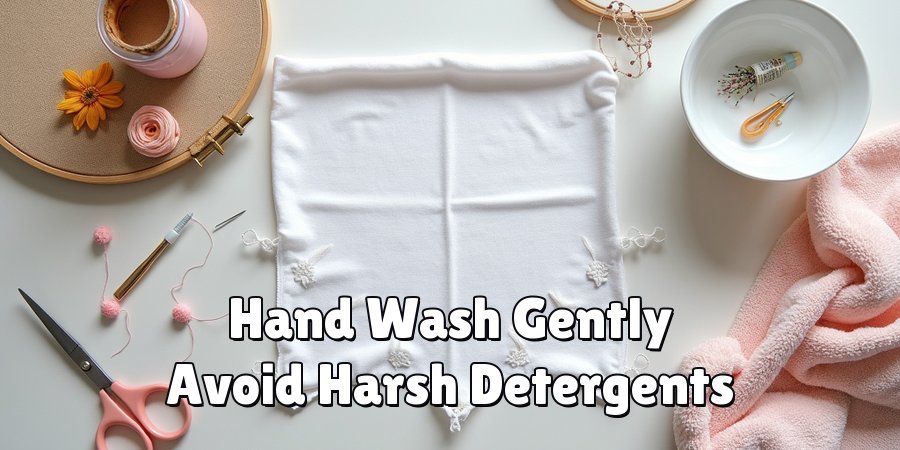
Press your finished handkerchief from the back, placing it face down on a soft towel so the stitches keep their raised texture. To keep it looking its best, hand wash gently and avoid harsh detergents. With a little care, your handmade creation stays vibrant and ready to treasure for many years to come.
Frequently Asked Questions
What Fabric Works Best For A Beginner Handkerchief Project?
Soft, tightly woven cotton or linen is the ideal choice for beginners. These fabrics hold stitches securely, resist puckering, and feel comfortable in the hoop.
Avoid very stretchy or slippery materials, since they shift while you stitch and make even tension harder to achieve.
A smooth, medium-weight square gives you clean lines and a satisfying result on your very first attempt.
How Long Does It Take To Finish One Piece?
A simple design such as a monogram or a small flower usually takes one to two hours, making it a great weekend project.
More detailed patterns with heavy fill stitches can stretch to three or four hours.
The good news is that you can work in short sessions and set it down anytime, which keeps the process relaxed rather than rushed.
Do I Really Need An Embroidery Hoop?
A hoop is not strictly required, but it makes a huge difference for beginners. It keeps your fabric taut and stable, which leads to even stitches and far less puckering.
Without one, the fabric bunches easily and your design can look uneven. Hoops are inexpensive and reusable, so investing in a small one is well worth the smooth, professional results you gain.
How Do I Fix A Mistake In My Stitching?
Mistakes are completely normal, and most are easy to correct.
Simply thread your needle back through the wrong stitches or use a seam ripper to gently remove them, working slowly so you do not snag the fabric.
Because a handkerchief is small and forgiving, you can redo a section quickly. Keep any loose threads trimmed to maintain a tidy, clean surface.
What Colors Should I Choose For A Gift?
Think about the recipient and the occasion when picking your palette. Soft pastels feel elegant for weddings, while bright, cheerful shades suit birthdays and everyday joy. Classic white-on-white monograms look timeless and sophisticated.
If you are unsure, a single accent color against a plain background always looks polished. Matching the colors to their personality makes the finished gift feel even more thoughtful.
Conclusion
Creating a hand-embroidered handkerchief is a rewarding project that blends relaxation, creativity, and a lasting sense of accomplishment.
From gathering your tools and transferring a design to mastering core stitches and pressing the final piece, each step builds skills you will carry into future needlework.
The small scale keeps things manageable, so you can experiment freely, fix mistakes with ease, and watch your confidence grow with every stitch you complete along the way.
Now that you understand how to embroider a hankie from start to finish, there is nothing stopping you from picking up a needle today.
Choose a simple motif, gather your floss, and give yourself permission to enjoy the process without chasing perfection. Each square you finish becomes a heartfelt keepsake or a treasured gift, and every project sharpens your talent a little more.
Trust the steps, take your time, and let your creativity shine one beautiful stitch at a time.

About
Bennie Wilder is a dedicated figure in the world of sewing, clothing repair, and garment care, with years of hands-on experience exploring practical techniques for making, repairing, and maintaining everyday clothing. His professional focus lies in combining traditional sewing craftsmanship with modern, easy-to-follow solutions, helping readers confidently handle common clothing problems at home. As an author at SewFixes, Bennie shares practical knowledge on sewing techniques, garment alterations, fabric care, clothing repairs, and DIY projects for beginners and experienced sewing enthusiasts alike.
Education
Fashion Institute of Technology (New York, USA)
Associate Degree in Fashion Design & Apparel Studies
- Focused on garment construction, sewing techniques, fabric fundamentals, and clothing alterations.
- Developed practical skills in pattern making, hand stitching, machine sewing, and garment finishing.
- Gained hands-on experience working with different fabrics, sewing tools, and apparel construction methods.
Academy of Art University (San Francisco, USA)
Bachelor’s in Fashion Design
- Specialized in apparel construction, textile selection, garment fitting, and contemporary clothing design.
- Studied the relationship between fabric properties, garment structure, durability, and comfort.
- Participated in practical design projects involving garment creation, alterations, repairs, and sustainable clothing practices.
Publications and Impact
Through SewFixes, Bennie shares practical insights into sewing, clothing repair, fabric care, garment alterations, and everyday DIY solutions. His writing focuses on turning complicated sewing tasks into simple, understandable steps that readers can follow at home.
Bennie covers everything from repairing torn seams and replacing buttons to fixing hems, adjusting garment fit, choosing suitable fabrics, and maintaining sewing machines and tools. His content is designed to help readers become more confident with their clothing while encouraging practical repair and reuse instead of unnecessary replacement.
Through his work, Bennie aims to bridge the gap between traditional sewing knowledge and modern everyday needs—making sewing more approachable, useful, and accessible to anyone who wants to repair better, sew smarter, and make their clothes last longer.