

Few things separate a homemade project from a professional one quite like a clean, tidy hem. If you have ever flipped over a store-bought scarf or a lightweight blouse and admired that thin, rolled edge, you have already seen the magic of a rolled hem. And here is the good news: you can create that same crisp finish at home with a small, affordable attachment called a roll hem presser foot.
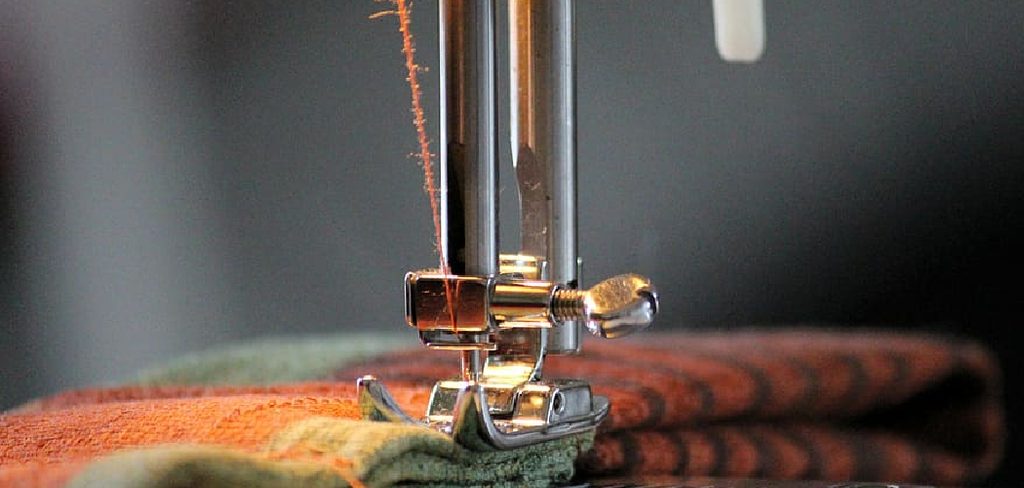
This little tool often comes tucked away in the accessory box of your sewing machine, forgotten and mysterious. Many sewists avoid it because it looks tricky at first glance. But once you understand how it works, you will wonder how you ever managed without it.
In this complete guide on how to use roll hem presser foot, we will walk through everything you need to know. By the end, you will feel confident enough to tackle scarves, napkins, ruffles, and delicate garments with ease. Let’s get started.
What Are the Benefits?
The roll hem presser foot is a small investment that pays off in big ways. Here are the key reasons sewists love it.
- A professional finish. The rolled hem creates a slim, even edge that looks polished and store-quality. It hides the raw fabric completely, so there is no fraying and no bulky fold.
- Speed and efficiency. Without this foot, you would need to fold, press, pin, and stitch each hem by hand or in multiple passes. The roll hem foot does the folding for you as you sew, which cuts your work in half.
- Perfect for lightweight fabrics. Delicate materials like chiffon, silk, organza, and lightweight cotton are notoriously hard to hem. This foot handles them beautifully, keeping the edge from puckering or bunching.
- Consistency. Because the foot rolls the fabric to the same width every time, your hems stay uniform across the entire project. This is especially helpful for items with long edges, such as curtains or table linens.
- Less fabric waste. A rolled hem uses only a small amount of the edge, so you keep more of your fabric intact. This matters when you are working with expensive material.
- Versatility. From scarves and handkerchiefs to ruffles, napkins, and blouse hems, this foot works on a wide range of projects. Once you master it, you will find countless uses.
What Will You Need?
Before you begin, gather these tools and materials. Having everything within reach makes the process smooth and stress-free.
- A sewing machine in good working order.
- A roll hem presser foot that fits your machine. These come in different widths, commonly 2mm, 3mm, and 6mm. A 3mm foot is a great starting point.
- Matching thread in a quality you trust.
- Fabric for your project. Lightweight and medium-weight fabrics work best.
- Sharp fabric scissors or a rotary cutter for clean edges.
- An iron and ironing board to press your fabric flat before you start.
- Pins or fabric clips to help guide your material.
- A seam ripper, just in case you need to undo a stitch.
- A small scrap of the same fabric for practice runs.
Once you have these items ready, you are set to begin.
10 Easy Steps on How to Use Roll Hem Presser Foot
Step 1: Choose the Right Foot for Your Fabric
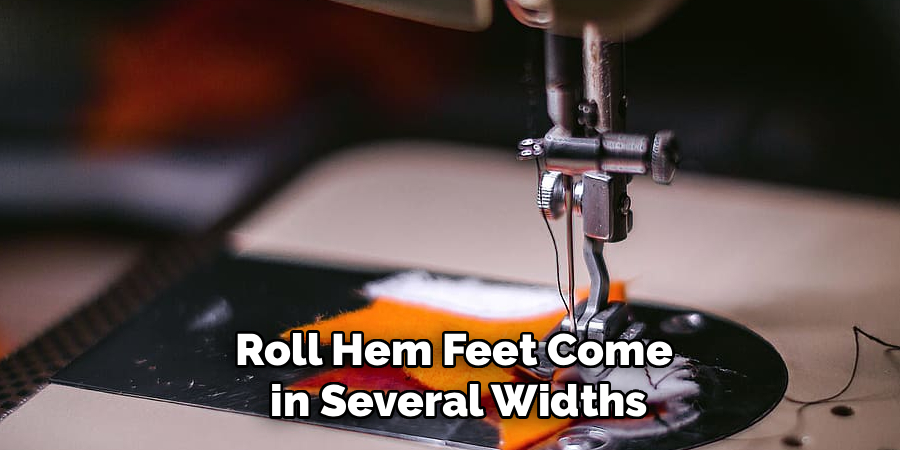
Roll hem feet come in several widths, so start by matching the foot to your fabric. A narrow 2mm or 3mm foot suits fine, lightweight fabrics like silk and chiffon. A wider 6mm foot handles medium-weight cottons and linens better. Using the wrong size can lead to messy folds, so take a moment to select carefully. If you are unsure, test a few options on scrap fabric first. This small step sets the foundation for a clean result and saves you frustration later on.
Step 2: Prepare and Press Your Fabric
Smooth, flat fabric feeds through the roll hem foot far more easily than wrinkled material. Start by pressing your fabric with an iron so the edge you plan to hem lies perfectly flat. If your fabric frays easily, trim the raw edge with sharp scissors or a rotary cutter to create a clean, straight line. A neat edge rolls more evenly and reduces the chance of jamming. Take your time here, because a well-prepared edge makes every following step smoother and gives you a more polished finish.
Step 3: Attach the Foot to Your Machine
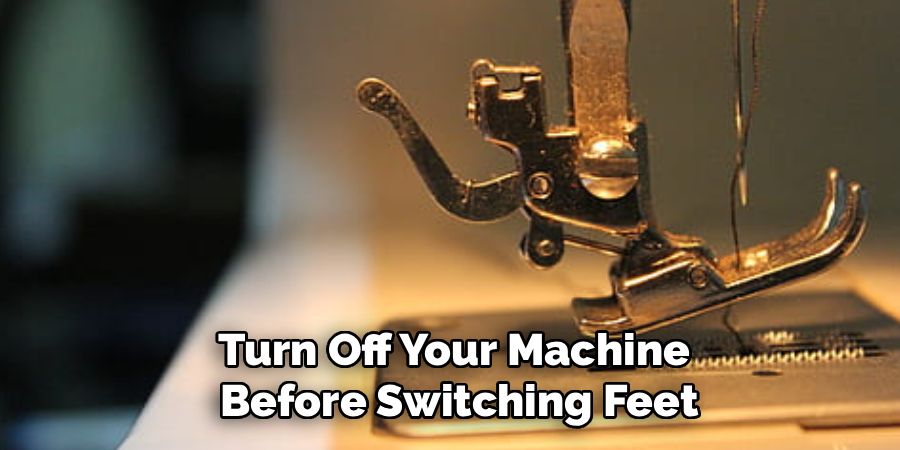
Turn off your machine before switching feet to stay safe. Remove your current presser foot by lifting the lever and releasing the snap or unscrewing the holder, depending on your model. Attach the roll hem foot securely, making sure it clicks or locks into place. Give it a gentle wiggle to confirm it is stable. A loose foot can shift while you sew and ruin your hem. Once attached, lower and raise the foot a few times to check that it moves freely without catching on anything.
Step 4: Thread Your Machine and Set the Stitch
Thread your machine as you normally would, using thread that matches your fabric. Set your stitch to a straight stitch for most rolled hems, though some sewists prefer a narrow zigzag for stretchy fabrics. Choose a stitch length between 2 and 2.5mm as a good middle ground. Adjust your thread tension if needed, and always test on scrap fabric first. Proper threading and stitch settings prevent skipped stitches and puckering, so do not rush this part of the setup.
Step 5: Create the Starting Fold
The roll hem foot needs a little help getting started. Fold the raw edge of your fabric over twice, about the width of the foot’s curl, to create a small rolled edge at the very beginning. Press this starting fold with your fingers or a quick touch of the iron. This tiny fold gives the foot something to grab and guide. Skipping this step is one of the most common reasons beginners struggle, so give your fabric that first roll before you place it under the foot.
Step 6: Position the Fabric in the Foot’s Curl
Slide your pre-folded edge into the spiral or curl of the roll hem foot. This curved channel is what folds the fabric as it feeds through. Gently tuck the fabric into the curl so it sits snugly, then lower the presser foot to hold it in place. Make sure the raw edge stays lined up with the guide. Correct placement here is the heart of the whole process, because the foot can only roll the hem properly if the fabric enters the curl the right way.
Step 7: Take the First Few Stitches Slowly
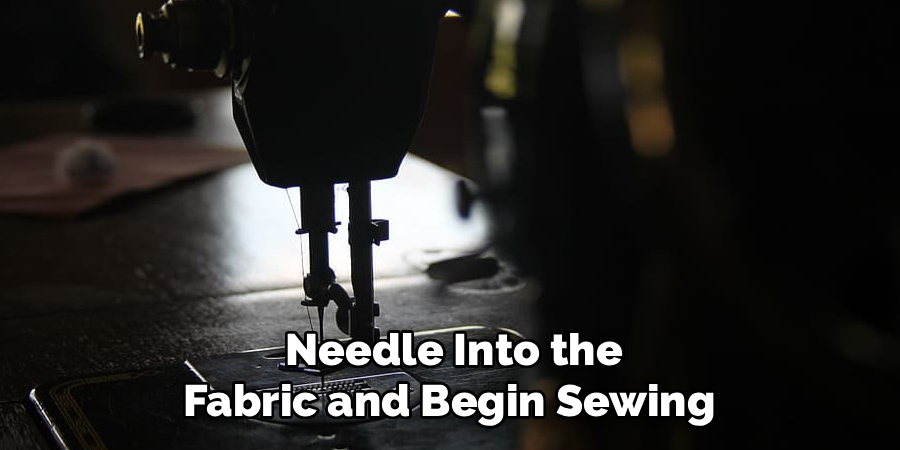
Lower your needle into the fabric and begin sewing slowly. Stitch just a few stitches to anchor the start of your hem, then pause. This slow beginning gives you control and lets you confirm the fabric is feeding correctly through the curl. Backstitch a couple of stitches to secure the thread if you like. Rushing at the start often leads to slipped folds, so ease into it. Once you see the hem forming neatly, you can pick up a little speed with confidence.
Step 8: Guide the Fabric as You Sew
As you continue stitching, hold the fabric edge up and slightly to the left, feeding it gently into the curl at a steady pace. Do not push or pull the fabric, as this can stretch it or cause uneven stitches. Instead, let the foot do the work and simply guide the raw edge so it keeps rolling into the curl. Keep your hands relaxed and your eyes on the guide. A smooth, consistent feed is the secret to a straight, even rolled hem from start to finish.
Step 9: Finish the Hem Neatly
As you near the end of your fabric, slow down again for control. Stitch to the very edge, then backstitch a few stitches to lock the thread in place. Lift the presser foot and needle, and gently pull your fabric away from the machine. Leave a few inches of thread tail before you cut. Finishing with care prevents the hem from unraveling later. Take a quick look at both ends to make sure everything is secure and tidy before moving on.
Step 10: Trim Threads and Press the Hem
Clip any loose thread tails close to the fabric for a clean look. Then give your finished hem a light press with the iron to set the stitches and flatten the roll. Pressing gives the hem a crisp, professional appearance and helps it lie flat. Step back and admire your work. You have just created a neat rolled hem. With practice, these ten steps will become second nature, and you will breeze through even large projects with confidence.
5 Things You Should Avoid
Even with the best tools, a few common mistakes can trip you up. Watch out for these.
- Skipping the practice run. Always test your settings and technique on a scrap of the same fabric first. This saves your actual project from costly errors.
- Pulling or stretching the fabric. Yanking the material as you sew leads to puckered, uneven hems. Let the foot guide the fabric and keep your touch gentle.
- Using the wrong foot size. A foot that is too wide or too narrow for your fabric will produce a sloppy fold. Match the width to your material.
- Ignoring the starting fold. Feeding a flat, raw edge into the foot rarely works. Always create that small starting roll to help the fabric enter the curl.
- Sewing too fast. Speed is the enemy of control, especially at the start and finish. Slow down and let the foot do its job for the cleanest result.
Conclusion
How to use roll hem presser foot may look intimidating at first, but as you can see, it is a friendly little tool once you understand how it works. With a bit of preparation, the right foot for your fabric, and a slow, steady hand, you can create beautiful, professional-looking hems right at home. No more bulky folds, no more fraying edges, and no more spending extra time on multiple passes.
The key to success is practice. Your first few attempts might feel awkward, and that is completely normal. Keep a stack of fabric scraps nearby and experiment until the motion feels natural.
Pay attention to that important starting fold, keep your feeding gentle, and remember to slow down at the beginning and end of each hem. Before long, you will be rolling hems without a second thought.

About
Bennie Wilder is a dedicated figure in the world of sewing, clothing repair, and garment care, with years of hands-on experience exploring practical techniques for making, repairing, and maintaining everyday clothing. His professional focus lies in combining traditional sewing craftsmanship with modern, easy-to-follow solutions, helping readers confidently handle common clothing problems at home. As an author at SewFixes, Bennie shares practical knowledge on sewing techniques, garment alterations, fabric care, clothing repairs, and DIY projects for beginners and experienced sewing enthusiasts alike.
Education
Fashion Institute of Technology (New York, USA)
Associate Degree in Fashion Design & Apparel Studies
- Focused on garment construction, sewing techniques, fabric fundamentals, and clothing alterations.
- Developed practical skills in pattern making, hand stitching, machine sewing, and garment finishing.
- Gained hands-on experience working with different fabrics, sewing tools, and apparel construction methods.
Academy of Art University (San Francisco, USA)
Bachelor’s in Fashion Design
- Specialized in apparel construction, textile selection, garment fitting, and contemporary clothing design.
- Studied the relationship between fabric properties, garment structure, durability, and comfort.
- Participated in practical design projects involving garment creation, alterations, repairs, and sustainable clothing practices.
Publications and Impact
Through SewFixes, Bennie shares practical insights into sewing, clothing repair, fabric care, garment alterations, and everyday DIY solutions. His writing focuses on turning complicated sewing tasks into simple, understandable steps that readers can follow at home.
Bennie covers everything from repairing torn seams and replacing buttons to fixing hems, adjusting garment fit, choosing suitable fabrics, and maintaining sewing machines and tools. His content is designed to help readers become more confident with their clothing while encouraging practical repair and reuse instead of unnecessary replacement.
Through his work, Bennie aims to bridge the gap between traditional sewing knowledge and modern everyday needs—making sewing more approachable, useful, and accessible to anyone who wants to repair better, sew smarter, and make their clothes last longer.