

Sewing beautiful ruffles, gathers, and pleats used to feel like a task reserved for advanced sewists, but that idea is quickly fading away. If you have ever admired the soft, even folds on a skirt hem or the delicate ruffle along a pillowcase, you have already seen the magic of this handy tool at work. Learning how to use a gathering foot opens a whole new world of creative possibilities, and the best part is that it saves you loads of time compared to pulling threads by hand. This little attachment fits most sewing machines and does the hard work for you while you simply guide the fabric along.
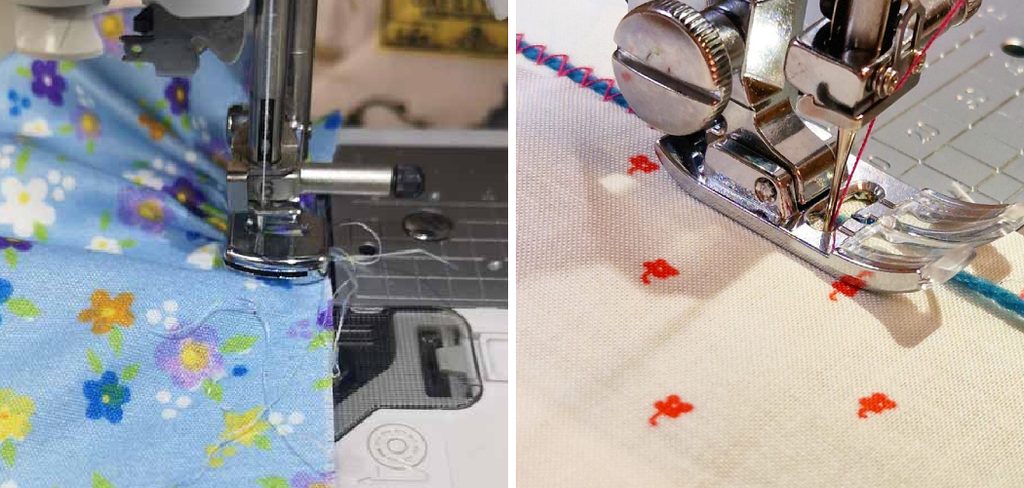
A gathering foot is a specialized presser foot designed to draw fabric into neat, consistent gathers as you stitch. Instead of manually bunching material and hoping for even spacing, the foot creates uniform tucks automatically. That means fewer errors, smoother results, and a more enjoyable sewing session. Whether you are a total beginner or someone brushing up on forgotten skills, this guide breaks everything down into simple, friendly steps you can follow with confidence.
Why Using a Gathering Foot Matters
A gathering foot matters because it turns a slow, frustrating process into a quick and reliable one. Hand-gathering fabric can take ages and often produces uneven puckers that need redoing. With the right attachment, you get consistent results every single time, which is a huge win for both new and experienced makers.
Beyond speed, this tool gives your projects a polished, professional finish. It works wonderfully for ruffles, skirts, curtains, home décor, and children’s clothing. It also reduces strain on your hands and cuts down on wasted thread. The confidence boost alone is worth it, because you spend less time fixing mistakes and more time enjoying the craft you love.
Step-By-Step Guide to Mastering Your Gathering Foot
Step 1: Gather Your Materials And Prepare Your Workspace
Before you start, set yourself up for success by collecting everything you need in one place. Grab your fabric, matching thread, sharp scissors, pins, and of course your specialty presser foot. Choose a lightweight or medium-weight fabric for your first attempt, since heavier materials can be trickier to control.
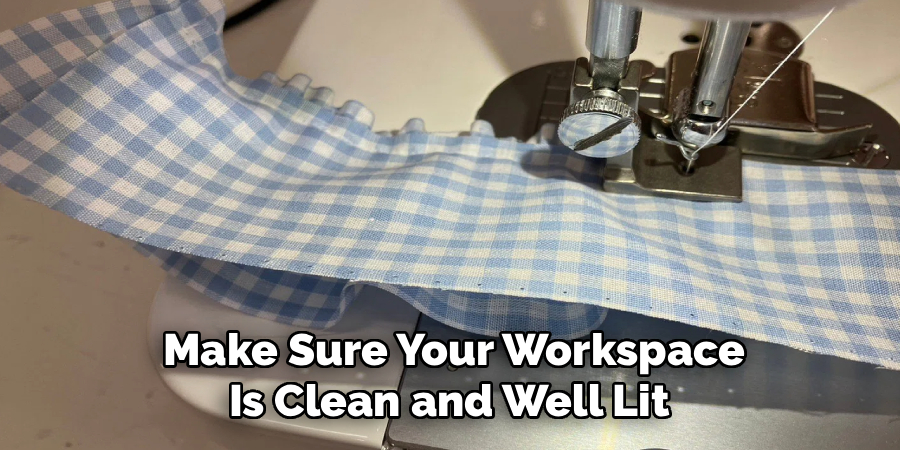
Make sure your workspace is clean and well lit so you can see your stitches clearly. Wind a fresh bobbin and check that your thread supply is full. Taking a few minutes now to organize your tools helps you avoid interruptions later and keeps your focus on learning the technique smoothly and calmly.
Step 2: Attach The Foot To Your Machine Correctly
Start by turning off your machine to stay safe while you swap out the presser foot. Raise the needle to its highest position and lift the presser foot lever so you have room to work. Remove your standard foot by pressing the release lever or unscrewing it, depending on your model.
Snap or screw the new foot securely into place, making sure it sits flat and stable. Give it a gentle wiggle to confirm it is locked in properly. Learning how to use a gathering foot begins with this simple setup, and a secure attachment prevents skipped stitches or uneven feeding once you start sewing.
Step 3: Adjust Your Stitch Length And Tension
Your stitch settings play a big role in how tight or loose your gathers turn out. For gentle, subtle ruffles, choose a shorter stitch length. For fuller, more dramatic gathers, increase the stitch length so the fabric bunches more noticeably as it feeds through.
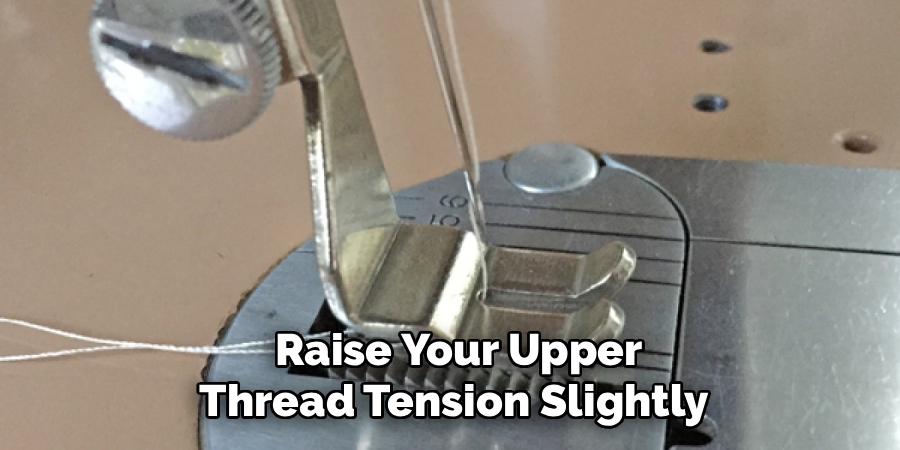
Tension matters just as much, so raise your upper thread tension slightly to encourage tighter gathering. Every machine behaves a little differently, so treat these settings as a starting point rather than a fixed rule. A quick test on scrap fabric lets you see the effect right away and adjust before touching your actual project.
Step 4: Test On A Scrap Piece First
Never skip this step, because testing saves you from disappointment later. Cut a strip of the same fabric you plan to use for your project and run it through the machine using your current settings. Watch how the material feeds and how tight the gathers become.
If the folds look too loose, shorten the stitch or raise the tension a touch. If they look too tight, do the opposite. This is exactly how to use a gathering foot with confidence, because a few small test runs teach you how your fabric responds. Once you are happy with the sample, you are ready to move forward.
Step 5: Feed The Fabric Slowly And Evenly
Place your fabric under the foot with the right side facing up, then lower the presser foot to hold it in position. Begin stitching at a slow, steady pace, letting the machine pull the fabric through on its own. Resist the urge to push or tug the material.
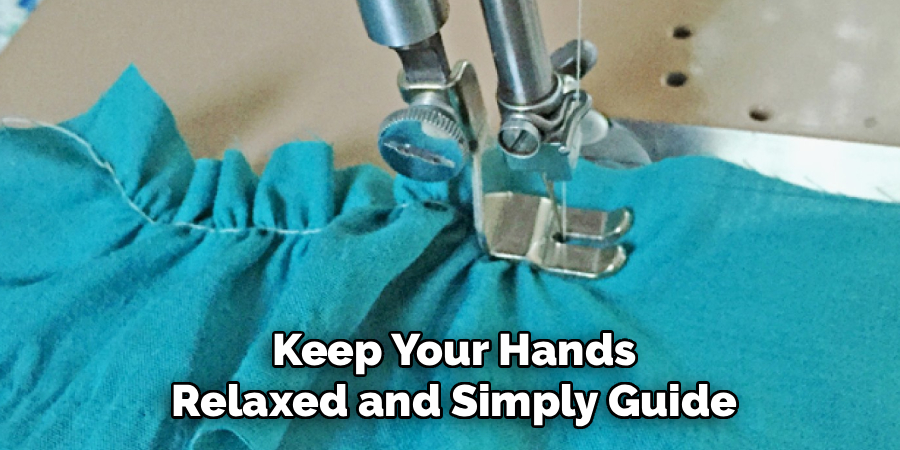
Keep your hands relaxed and simply guide the edge so it stays straight. The foot does the gathering automatically as the fabric feeds, so your only job is to maintain a smooth line. Going slowly gives you better control and produces the even, tidy gathers that make projects look beautifully finished.
Step 6: Attach Gathered Fabric To A Flat Piece
One of the most useful tricks is joining your gathered fabric to a flat panel in a single pass. To do this, place the flat fabric in the slot above the foot and the fabric to be gathered underneath. As you sew, the bottom layer gathers while the top layer stays flat.
This technique is perfect for attaching ruffles to a bodice or adding a gathered trim to a plain edge. Line up your raw edges carefully and pin if needed for stability. The result is a clean seam that joins and gathers at the same time, saving you a whole extra step.
Step 7: Press And Finish Your Project
Once your gathers are complete, give them a gentle press with your iron to set the folds and smooth out any wrinkles. Be careful not to flatten the gathers completely, so use the tip of the iron and work slowly around each tuck. Pressing helps your seams lie neatly and gives everything a crisp, professional look.
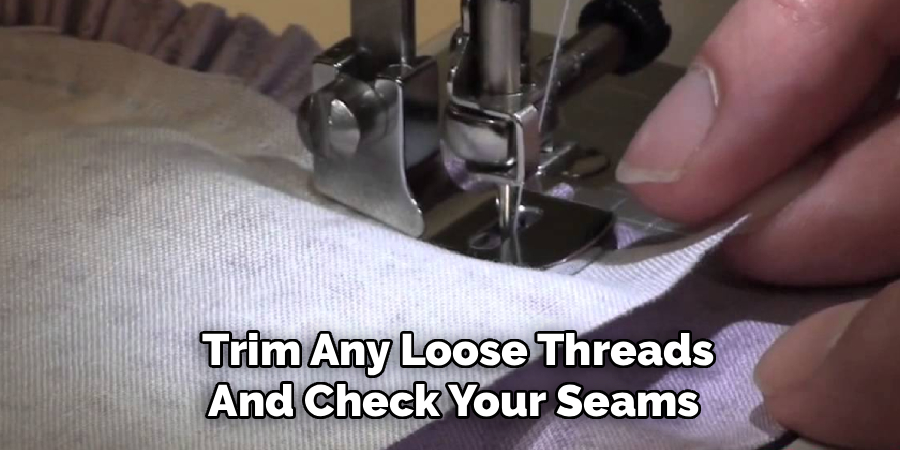
Finally, trim any loose threads and check your seams for consistency. If you spot an uneven section, you can restitch that small area rather than starting over. Take a moment to admire your work, because you have just completed a technique that adds charm to countless future projects.
Frequently Asked Questions
What Fabrics Work Best With A Gathering Foot?
Lightweight and medium-weight fabrics such as cotton, chiffon, muslin, and voile gather beautifully and are ideal for beginners. These materials feed smoothly and create even folds without much effort. Heavier fabrics like denim or canvas are harder to gather and may require adjusted settings. Starting with soft, thin fabric helps you build confidence and learn how the tool responds before tackling trickier materials.
Can I Use This Foot On Any Sewing Machine?
Most modern sewing machines accept a gathering foot, but you must match the foot to your machine’s shank type, which is usually low, high, or slant. Check your manual or measure the distance from the needle plate to the screw to confirm the right fit. Universal versions exist, yet a model-specific foot often performs best. When in doubt, contact your machine’s manufacturer for guidance and reliable support.
Why Are My Gathers Uneven Or Too Loose?
Uneven gathers usually come from incorrect tension or stitch length settings. If your folds look too loose, try increasing the upper thread tension and shortening the stitch length. Feeding the fabric too quickly or pushing it manually can also cause inconsistency. Always test on a scrap piece first, then adjust gradually until you reach the look you want. Small changes often make a big difference in the final result.
How Is A Gathering Foot Different From A Ruffler?
A gathering foot creates soft, continuous gathers and works well for lightweight fabrics and subtle effects. A ruffler is a larger, more complex attachment that makes structured pleats and tighter ruffles at set intervals. The foot is simpler, quieter, and easier for beginners to master. Choose the foot for gentle gathering and the ruffler when you need bold, precise pleating for heavier projects.
Do I Need To Adjust Settings For Different Projects?
Yes, adjusting your settings ensures the perfect gather for each project. Delicate garments often need shorter stitches and higher tension for fine folds, while curtains or bedding may call for longer stitches and fuller gathers. Because every fabric behaves differently, a quick test run is your best friend. This habit reduces errors and helps you achieve consistent, professional results across all your creations.
Conclusion
Mastering fabric gathering is one of those skills that instantly upgrades your sewing projects, and now you have a clear path to follow. From setting up your workspace and attaching the foot correctly to adjusting your stitches and pressing the final result, each step builds on the last. Knowing how to use a gathering foot means you can create ruffles, skirts, curtains, and countless other pieces with even, professional folds that once seemed out of reach. The more you practice, the more natural the process becomes.
So grab your fabric, snap on that foot, and start experimenting with a scrap piece today. Every test run teaches you something new, and every finished project boosts your confidence a little more. Sewing should feel joyful and rewarding, and this simple tool helps you get there faster. Trust the process, embrace the small adjustments, and enjoy watching your creativity come to life one beautiful gather at a time.

About
Bennie Wilder is a dedicated figure in the world of sewing, clothing repair, and garment care, with years of hands-on experience exploring practical techniques for making, repairing, and maintaining everyday clothing. His professional focus lies in combining traditional sewing craftsmanship with modern, easy-to-follow solutions, helping readers confidently handle common clothing problems at home. As an author at SewFixes, Bennie shares practical knowledge on sewing techniques, garment alterations, fabric care, clothing repairs, and DIY projects for beginners and experienced sewing enthusiasts alike.
Education
Fashion Institute of Technology (New York, USA)
Associate Degree in Fashion Design & Apparel Studies
- Focused on garment construction, sewing techniques, fabric fundamentals, and clothing alterations.
- Developed practical skills in pattern making, hand stitching, machine sewing, and garment finishing.
- Gained hands-on experience working with different fabrics, sewing tools, and apparel construction methods.
Academy of Art University (San Francisco, USA)
Bachelor’s in Fashion Design
- Specialized in apparel construction, textile selection, garment fitting, and contemporary clothing design.
- Studied the relationship between fabric properties, garment structure, durability, and comfort.
- Participated in practical design projects involving garment creation, alterations, repairs, and sustainable clothing practices.
Publications and Impact
Through SewFixes, Bennie shares practical insights into sewing, clothing repair, fabric care, garment alterations, and everyday DIY solutions. His writing focuses on turning complicated sewing tasks into simple, understandable steps that readers can follow at home.
Bennie covers everything from repairing torn seams and replacing buttons to fixing hems, adjusting garment fit, choosing suitable fabrics, and maintaining sewing machines and tools. His content is designed to help readers become more confident with their clothing while encouraging practical repair and reuse instead of unnecessary replacement.
Through his work, Bennie aims to bridge the gap between traditional sewing knowledge and modern everyday needs—making sewing more approachable, useful, and accessible to anyone who wants to repair better, sew smarter, and make their clothes last longer.
1 thought on “How to Use a Gathering Foot”