

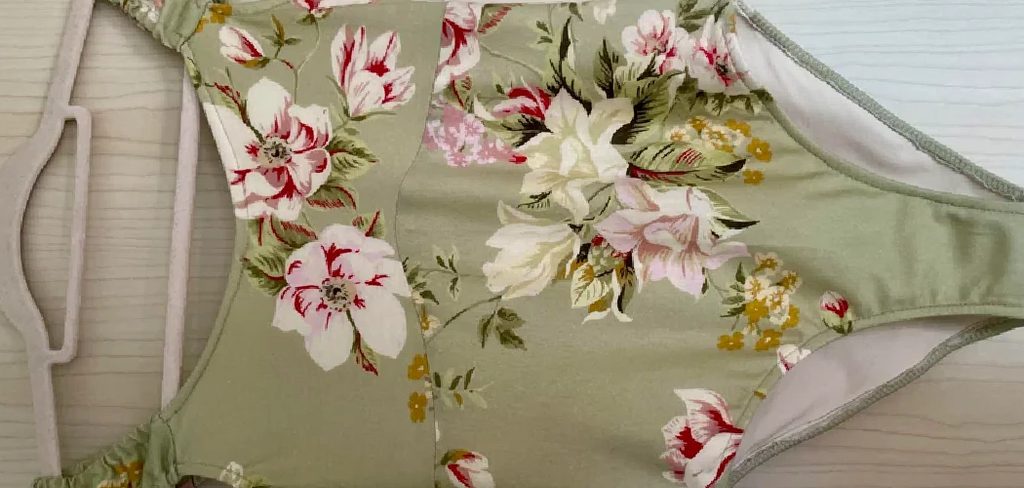
Making your own leotard might sound tricky, but it’s more achievable than you think. Whether you dance, do gymnastics, swim, or just love a good sewing project, stitching a leotard from scratch gives you total control over fit, color, and style. Store-bought options can be pricey, and they don’t always hug your body the way you want. When you sew your own, you get a garment that fits like a second skin and looks exactly how you imagined.
This guide on how to sew a leotard walks you through every part of the process. From picking the right stretchy fabric to sewing your final seams, you’ll learn each step in plain, simple language.
No confusing sewing jargon here. Grab your supplies, clear a little workspace, and let’s turn a piece of fabric into a leotard you’ll be proud to wear.
What Are the Benefits?
Sewing your own leotard comes with plenty of perks that go beyond just saving money. Here’s why it’s worth the effort:
- Perfect fit. Bodies come in all shapes and sizes, and off-the-rack leotards rarely fit everyone well. When you sew your own, you can adjust the pattern to match your exact measurements. No more gapping straps or tight legs.
- Save money over time. Quality leotards can cost a lot, especially for competitive dancers or gymnasts who need several. Once you learn the basics, you can make many for the price of a few store-bought ones.
- Endless design choices. Want a bold pattern, a specific color, or a cute cutout back? You decide. Your creativity is the only limit.
- A rewarding skill. Sewing stretchy fabric teaches you techniques you can use on swimwear, dancewear, and activewear. It’s a skill that keeps giving.
- Eco-friendly option. Making your own clothing reduces waste and lets you reuse leftover fabric scraps for future projects.
There’s also a special kind of pride that comes from wearing something you made with your own two hands. That feeling alone makes the project worthwhile.
What Will You Need?
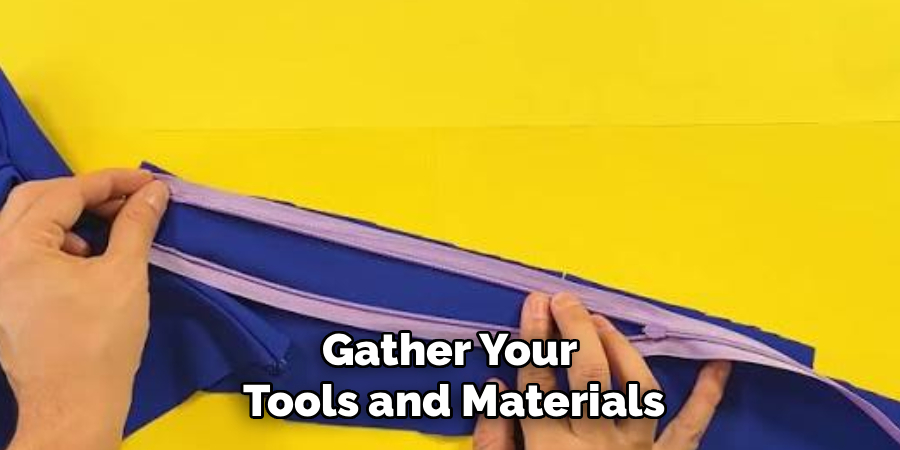
Before you start, gather your tools and materials. Having everything ready makes the whole process smoother. Here’s your checklist:
Fabric and Notions:
- Stretch fabric such as nylon-spandex, cotton-lycra, or polyester-spandex (about 1 yard for most sizes)
- Matching thread (polyester thread works well for stretch)
- Elastic (1/4 inch or 3/8 inch wide for leg and neck openings)
- A leotard pattern (printed or traced)
Tools:
- Sewing machine (with a zigzag stitch or stretch stitch setting)
- A serger, if you have one (optional but helpful)
- Ballpoint or stretch sewing needles
- Sharp fabric scissors or a rotary cutter
- Straight pins or sewing clips
- Measuring tape
- Fabric marker or tailor’s chalk
- Iron and ironing board
- Seam ripper (for fixing mistakes)
You don’t need everything on this list to succeed. A basic sewing machine and stretch needles will get you far. A serger just makes the seams stronger and neater. Once your supplies are ready, you’re set to begin.
10 Easy Steps on How to Sew a Leotard
Step 1: Choose Your Fabric
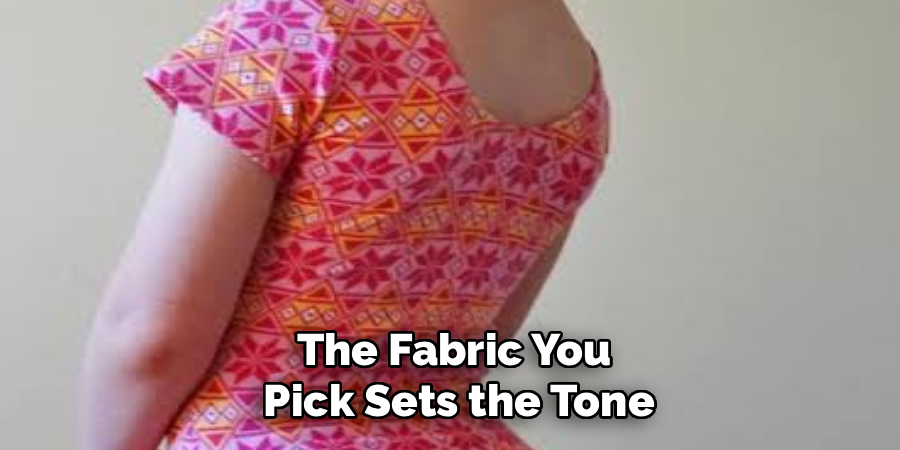
The fabric you pick sets the tone for your whole project. For a leotard, you need material with good four-way stretch, meaning it stretches both across and up-and-down. Nylon-spandex and cotton-lycra are popular choices because they’re soft, breathable, and hold their shape. Look for fabric with at least 15% spandex for enough stretch and recovery. Avoid stiff woven fabrics; they won’t move with your body. If you’re new to sewing stretch fabric, buy a little extra so you have room for practice cuts and mistakes.
Step 2: Take Accurate Measurements
Good fit starts with good measurements. Grab your measuring tape and record your bust, waist, hips, and torso length. The torso measurement is key for a leotard. Measure from your shoulder, down through your legs, and back up to the same shoulder. This tells you how long the body of the leotard needs to be. Write everything down and compare your numbers to the pattern’s size chart. If you fall between sizes, it’s usually safer to size down slightly since stretch fabric hugs the body.
Step 3: Prepare Your Pattern
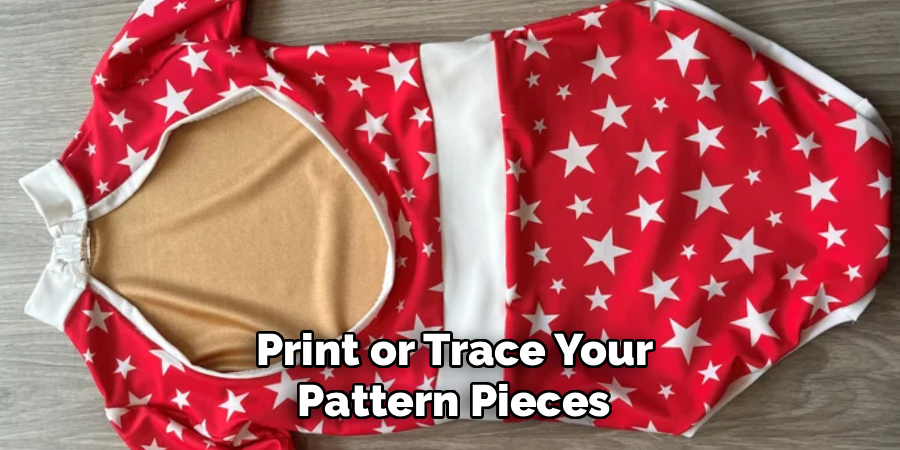
Once you know your size, print or trace your pattern pieces. Most leotard patterns include a front piece, a back piece, and sometimes a lining for the front. Cut out each paper piece carefully along the correct size line. If your pattern needs adjustments for your torso length, now is the time to make them. Lengthen or shorten the pattern by cutting along the marked lines and adding or removing paper. Label each piece so you don’t mix them up later.
Step 4: Cut Out Your Fabric
Lay your fabric flat on a clean surface with the stretch running the right direction, usually side to side. Pin or weigh down your pattern pieces, then trace around them with a fabric marker. Cut slowly and steadily using sharp scissors or a rotary cutter. Make sure to cut on the fold where the pattern says to, and pay attention to any notches or markings. These small marks help you line up pieces later. Take your time here; clean cuts lead to clean seams.
Step 5: Sew the Shoulder Seams
With your pieces cut, it’s time to start stitching. Place the front and back pieces right sides together, matching up the shoulder edges. Pin or clip them in place. Using a zigzag stitch or a stretch stitch on your machine, sew along the shoulder seams. A zigzag stitch lets the seam stretch without popping. If you have a serger, you can serge these seams for a neat, professional finish. Once done, your leotard will start to take shape.
Step 6: Attach the Lining (Optional)
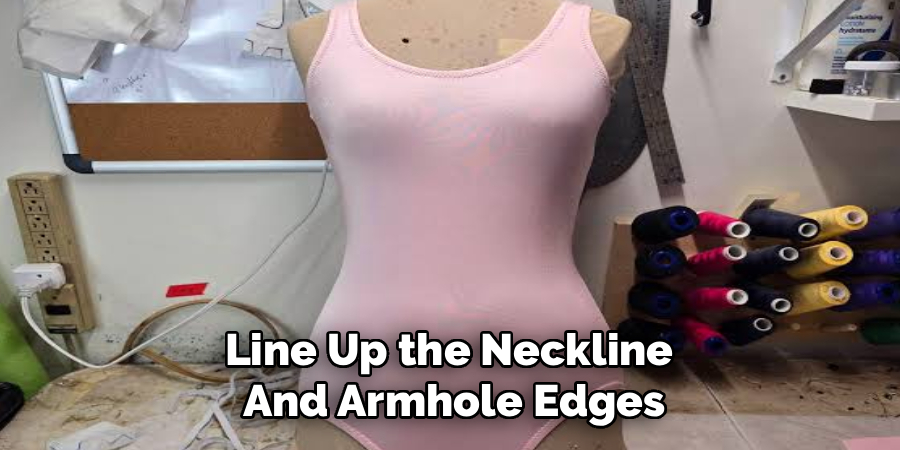
Many leotards include a front lining for extra comfort and modesty. If your pattern has one, place the lining piece against the wrong side of the front. Line up the neckline and armhole edges, then baste them together with a long stitch. This holds the lining in place while you work on the rest of the leotard. A lining is especially nice for lighter-colored fabrics, which can turn see-through when stretched. Skip this step if your pattern doesn’t call for a lining.
Step 7: Sew the Side Seams
Now bring the front and back together at the sides. With right sides facing each other, match the side edges from the underarm down to the leg opening. Pin or clip carefully, making sure the underarm points line up. Sew each side seam with your stretch stitch. Go slowly around curves to keep the seam smooth. After sewing both sides, turn the leotard right side out and check the fit. This is a good moment to try it on before adding the elastic.
Step 8: Add Elastic to the Leg Openings
Elastic gives the leg openings a snug, secure fit. Measure the elastic against the leg opening, stretching it slightly so it pulls the fabric in gently. Cut it to length and join the ends into a loop. Pin the elastic to the wrong side of the leg opening, spacing it evenly. Using a zigzag stitch, sew the elastic in place while gently stretching it as you go. Then fold the fabric over the elastic and stitch again to enclose it. This creates a clean, comfortable edge.
Step 9: Finish the Neckline and Armholes
Just like the legs, the neckline and armholes need elastic for a good fit. Follow the same method: measure the elastic slightly shorter than the opening, form a loop, and pin it evenly around the edge. Zigzag stitch it in place while stretching gently, then fold and topstitch to hide the elastic. Take extra care here since these edges are the most visible. Neat, even stitching around the neck and arms makes your leotard look store-bought.
Step 10: Final Touches and Try-On
You’re almost done. Trim any loose threads and check every seam for gaps or missed spots. Give the leotard a light press with your iron on a low setting, being careful not to scorch the stretch fabric. Now for the best part: try it on. Move around, stretch, and bend to make sure it fits well and feels comfortable. If something feels off, use your seam ripper to fix it. Once you’re happy, your handmade leotard is ready to wear.
5 Things You Should Avoid
Even with a clear plan, a few common mistakes can trip up beginners. Watch out for these:
- Using the wrong fabric. Woven fabric or material with little stretch will leave you with a leotard that won’t move. Always choose four-way stretch fabric.
- Skipping the stretch stitch. A straight stitch snaps when the fabric stretches. Use a zigzag or stretch stitch so your seams can move with you.
- Cutting the fabric with stretch in the wrong direction. If the stretch runs up and down instead of side to side, the fit will feel tight and awkward. Double-check before you cut.
- Making the elastic too tight or too loose. Too tight and it digs in; too loose and it gaps. Measure carefully and test the stretch before sewing.
- Rushing the process. Sewing stretch fabric takes patience. Going too fast leads to crooked seams and puckered edges. Slow, steady stitching gives the best results.
Avoiding these pitfalls will save you frustration and help you end up with a leotard you love.
Conclusion
How to sew a leotard is a fun, rewarding project that pays off every time you slip it on. You’ve learned how to pick the right fabric, take solid measurements, cut with care, and stitch each piece together for a snug, comfortable fit. Along the way, you also picked up tips on avoiding common mistakes and answers to questions many beginners have.
The first leotard you make might not be perfect, and that’s completely okay. Each project teaches you something new, and your skills will grow with every stitch. Soon you’ll be creating leotards in any color, style, or design you dream up.
So trust the process, be patient with yourself, and enjoy the creative journey. Your custom, handmade leotard is waiting. Grab your fabric and start sewing today.

About
Bennie Wilder is a dedicated figure in the world of sewing, clothing repair, and garment care, with years of hands-on experience exploring practical techniques for making, repairing, and maintaining everyday clothing. His professional focus lies in combining traditional sewing craftsmanship with modern, easy-to-follow solutions, helping readers confidently handle common clothing problems at home. As an author at SewFixes, Bennie shares practical knowledge on sewing techniques, garment alterations, fabric care, clothing repairs, and DIY projects for beginners and experienced sewing enthusiasts alike.
Education
Fashion Institute of Technology (New York, USA)
Associate Degree in Fashion Design & Apparel Studies
- Focused on garment construction, sewing techniques, fabric fundamentals, and clothing alterations.
- Developed practical skills in pattern making, hand stitching, machine sewing, and garment finishing.
- Gained hands-on experience working with different fabrics, sewing tools, and apparel construction methods.
Academy of Art University (San Francisco, USA)
Bachelor’s in Fashion Design
- Specialized in apparel construction, textile selection, garment fitting, and contemporary clothing design.
- Studied the relationship between fabric properties, garment structure, durability, and comfort.
- Participated in practical design projects involving garment creation, alterations, repairs, and sustainable clothing practices.
Publications and Impact
Through SewFixes, Bennie shares practical insights into sewing, clothing repair, fabric care, garment alterations, and everyday DIY solutions. His writing focuses on turning complicated sewing tasks into simple, understandable steps that readers can follow at home.
Bennie covers everything from repairing torn seams and replacing buttons to fixing hems, adjusting garment fit, choosing suitable fabrics, and maintaining sewing machines and tools. His content is designed to help readers become more confident with their clothing while encouraging practical repair and reuse instead of unnecessary replacement.
Through his work, Bennie aims to bridge the gap between traditional sewing knowledge and modern everyday needs—making sewing more approachable, useful, and accessible to anyone who wants to repair better, sew smarter, and make their clothes last longer.