

A straight skirt is one of the most flattering and versatile pieces you can add to your wardrobe, and the good news is that it’s beginner-friendly to make at home.
If you’ve ever wanted to create clothes that fit you perfectly, learning how to sew straight skirt is the ideal starting point.
This simple garment skims the hips and falls in a clean line to the knee, giving you a polished look for work, casual outings, or special events.
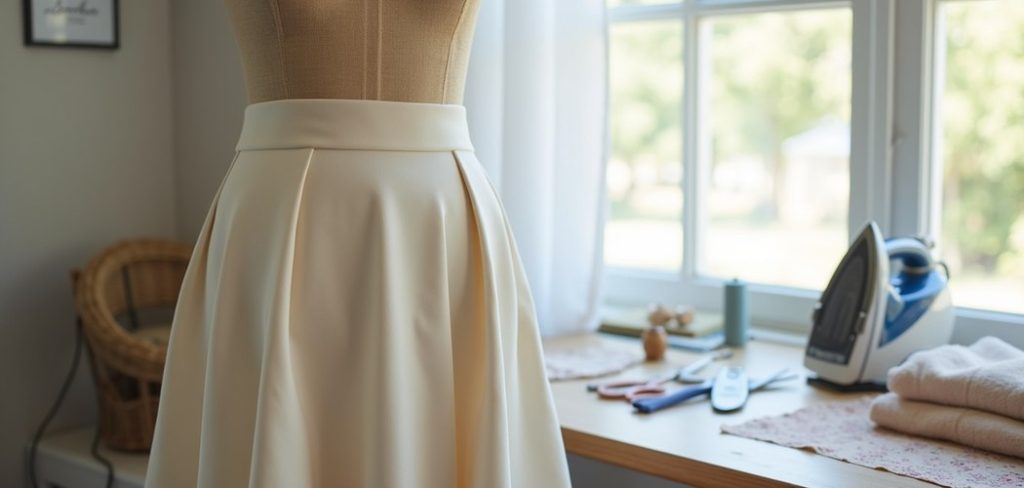
What makes this project so rewarding is that it teaches you the core skills every home sewist needs. You’ll practice measuring, cutting, seaming, and hemming, all while making something you can actually wear.
There’s no complicated pattern piece or tricky construction to worry about, which means less stress and more fun. By the end of this guide, you’ll feel confident tackling your own designs, choosing your favorite fabrics, and building a handmade wardrobe piece by piece.
Let’s get started and turn that plain length of fabric into something special.
Why Sewing A Straight Skirt Is A Must-Learn Skill
Mastering this skill opens the door to endless creativity and real savings. When you sew your own skirt, you control the fit, the fabric, and the finish, so you never have to settle for something that almost works. Store-bought skirts rarely match every body shape, but a handmade one hugs your measurements exactly.
Beyond the perfect fit, this project builds a strong foundation for future sewing adventures. The techniques you learn here carry over to dresses, trousers, and more advanced garments.
You’ll also reduce waste, cut costs over time, and gain the satisfaction of wearing something you made yourself. It’s a practical, empowering skill that pays off in confidence and style, no matter your experience level.
Step-by-Step Guide to How To Sew Straight Skirt
Step 1: Gather Your Materials And Tools
Before you begin, set up your workspace with everything within reach so the process stays smooth.
You’ll need about a yard of medium-weight fabric like cotton, linen, or a stable knit, along with matching thread, a zipper, and interfacing for the waistband.
Grab your sewing machine, fabric scissors, pins, a measuring tape, tailor’s chalk, and an iron.
Having quality tools makes a real difference in your results and helps you avoid frustrating errors. Take a moment to check that your machine is threaded correctly and running smoothly. A little preparation now saves you plenty of time and stress later on.
Step 2: Take Accurate Body Measurements
Accurate measurements are the secret to a skirt that fits like it was made for you, because it was.
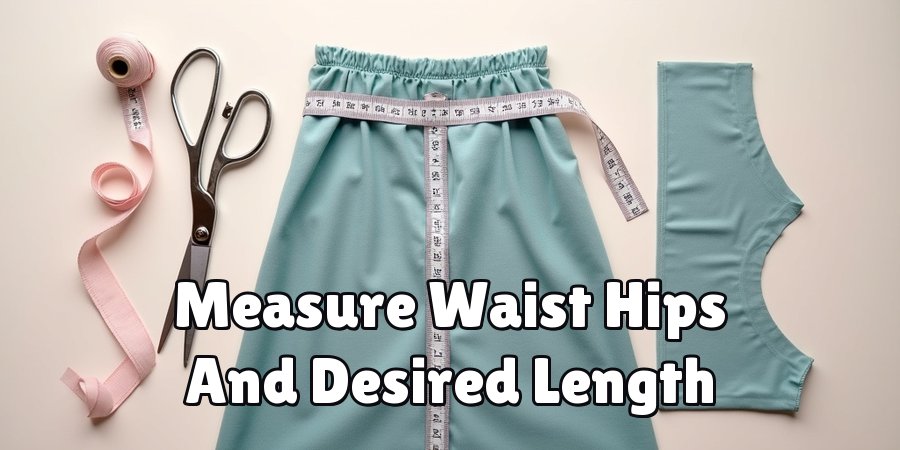
Wrap the measuring tape around the widest part of your hips and note that number, then measure your natural waist where the skirt will sit.
Finally, decide how long you want the skirt to fall and measure from your waist down to that point.
Write everything down clearly so you can refer back without guessing. If you’re unsure, measure twice to be safe. These three simple numbers form the blueprint for your entire project, so take your time and get them right.
Step 3: Draft And Cut Your Fabric
Now it’s time to turn your measurements into pattern pieces. Add roughly two inches to your hip measurement for ease and seam allowance, then divide the total to create front and back panels.
Using your chalk and ruler, mark straight lines onto the fabric for each piece, keeping the grain aligned so the skirt hangs beautifully.
Cut carefully along your marked lines with sharp scissors, and don’t rush this stage. Learning how to sew straight skirt starts with clean, precise cutting, since neat pieces make every following step easier. Label your front and back panels lightly with chalk to stay organized.
Step 4: Sew The Side Seams
With your panels cut, place the front and back pieces right sides together, lining up the raw edges neatly.
Pin along both side seams to hold everything in place, then stitch each seam with a straight stitch, leaving your standard seam allowance.
Remember to backstitch at the start and end so your seams stay secure through plenty of wear.
Once both sides are joined, press the seams open with your iron for a crisp, professional finish. Pressing as you go is a habit that separates polished garments from rushed ones, so keep that iron warm and use it often.
Step 5: Install The Zipper
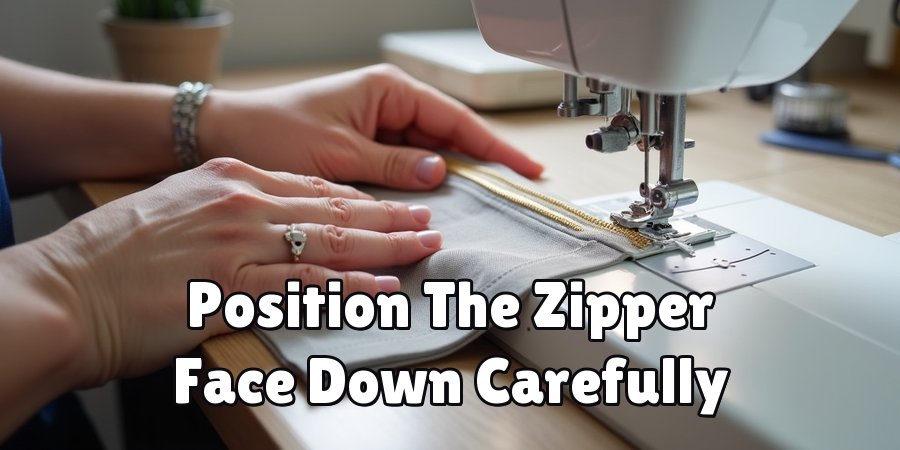
The zipper is often the step beginners fear most, but with patience it’s completely manageable. Choose the left side seam and mark where the zipper will sit near the waistline. Open the seam allowance in that spot, then position the zipper face down against the fabric and pin it carefully.
Using a zipper foot on your machine, stitch close to the zipper teeth on both sides, moving slowly and evenly. Test that the zipper glides smoothly before finishing. If something looks off, unpick and try again, since real progress comes from adjusting as you learn. Take a breath and trust the process here.
Step 6: Attach The Waistband
A tidy waistband gives your skirt structure and a clean edge at the top. Cut a strip of fabric equal to your waist measurement plus seam allowance, then fuse interfacing to it for extra support.
Fold the strip lengthwise and press it, then pin one long edge to the top of the skirt with right sides together.
Stitch along that edge, fold the waistband over, and topstitch to enclose the raw edges neatly. This step in how to sew straight skirt gives the garment its finished shape, so work slowly and keep your stitches even for a smooth, comfortable band that sits well.
Step 7: Hem And Finish
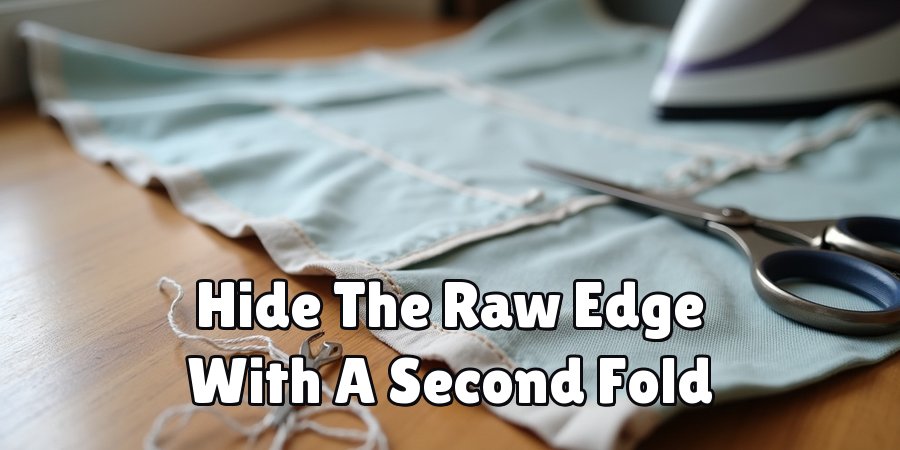
You’re almost there, and this final step brings everything together. Try the skirt on to confirm the length still suits you, then fold the bottom edge up by half an inch and press it flat.
Fold it again to hide the raw edge completely, pin it in place, and stitch all the way around with a straight stitch.
Press your hem one last time for a crisp result, and clip away any loose threads. Give the whole skirt a final press to sharpen every seam. Step back and admire your work, because you’ve just created a wearable piece from scratch.
Frequently Asked Questions
What Fabric Works Best For A Beginner Straight Skirt?
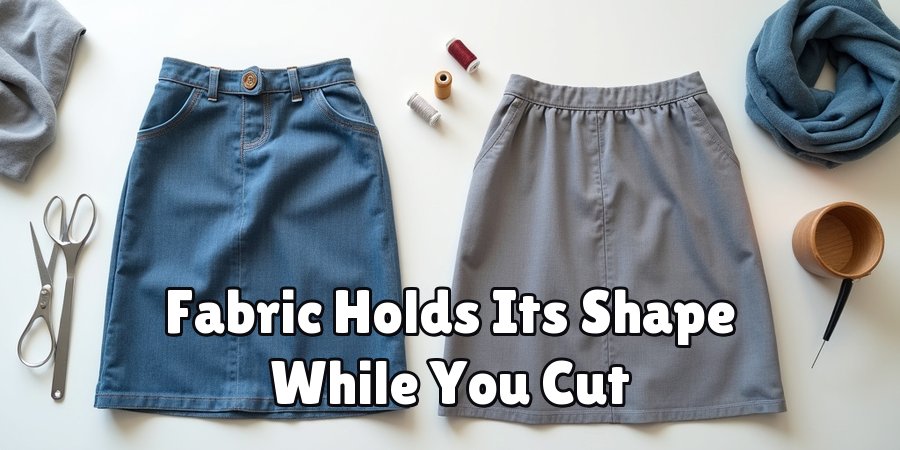
Medium-weight woven fabrics like cotton, linen, or a cotton blend are ideal for beginners. They hold their shape, don’t slip around while you cut, and press beautifully with an iron.
Avoid slippery materials like silk or very stretchy knits until you’ve built confidence, since those can shift and stretch unpredictably. Choosing a stable fabric sets you up for a smooth, satisfying first project.
How Long Does It Take To Make A Skirt From Start To Finish?
Most beginners finish in around three to five hours, depending on your comfort with the machine and the zipper step.
If you break the work into shorter sessions, you’ll feel less rushed and make fewer mistakes. Experienced sewists can complete one in about two hours.
Remember that speed comes naturally with practice, so focus on accuracy first and let the timing improve on its own.
Do I Really Need A Zipper Or Are There Easier Options?
You don’t have to use a zipper if it feels intimidating right now. An elastic waistband is a wonderful beginner-friendly alternative that skips the zipper entirely and still looks great.
Simply create a casing at the top of the skirt and thread elastic through it.
This approach offers a comfortable, forgiving fit and lets you finish faster while you build your skills toward tackling zippers later.
How Do I Make Sure My Skirt Fits Perfectly?
Accurate measurements are your best friend, so measure your waist, hips, and desired length carefully before cutting.
Always add ease for comfortable movement, and consider basting the seams first with long stitches so you can try the skirt on before committing.
If it’s too loose or tight, adjust the side seams and stitch again. This try-and-adjust method gives you real control over the final fit.
What Common Mistakes Should I Watch Out For?
The most frequent slip-ups are skipping the pressing step, cutting fabric off-grain, and rushing the zipper. Pressing each seam as you sew makes a huge difference in the finished look, so never skip your iron.
Cutting along the fabric grain keeps the skirt hanging straight instead of twisting. Take your time with each stage, and don’t hesitate to unpick and redo anything that doesn’t look right.
Conclusion
Creating a garment from a simple length of fabric is one of the most rewarding experiences a home sewist can enjoy, and now you have every step you need to succeed.
You’ve learned how to gather materials, take accurate measurements, cut with confidence, and finish with a clean, professional look.
Each stage builds a skill you’ll use again and again, giving you a solid foundation for bigger projects down the road.
The best way to master how to sew straight skirt is simply to start, so pull out your fabric and give it a try today.
Don’t worry about perfection on your first attempt, since every stitch teaches you something new and brings you closer to a wardrobe filled with pieces you made yourself.
Grab your tools, trust the process, and enjoy the satisfaction of wearing something truly your own. You’ve got this, and your next handmade skirt is only a few hours away.

About
Bennie Wilder is a dedicated figure in the world of sewing, clothing repair, and garment care, with years of hands-on experience exploring practical techniques for making, repairing, and maintaining everyday clothing. His professional focus lies in combining traditional sewing craftsmanship with modern, easy-to-follow solutions, helping readers confidently handle common clothing problems at home. As an author at SewFixes, Bennie shares practical knowledge on sewing techniques, garment alterations, fabric care, clothing repairs, and DIY projects for beginners and experienced sewing enthusiasts alike.
Education
Fashion Institute of Technology (New York, USA)
Associate Degree in Fashion Design & Apparel Studies
- Focused on garment construction, sewing techniques, fabric fundamentals, and clothing alterations.
- Developed practical skills in pattern making, hand stitching, machine sewing, and garment finishing.
- Gained hands-on experience working with different fabrics, sewing tools, and apparel construction methods.
Academy of Art University (San Francisco, USA)
Bachelor’s in Fashion Design
- Specialized in apparel construction, textile selection, garment fitting, and contemporary clothing design.
- Studied the relationship between fabric properties, garment structure, durability, and comfort.
- Participated in practical design projects involving garment creation, alterations, repairs, and sustainable clothing practices.
Publications and Impact
Through SewFixes, Bennie shares practical insights into sewing, clothing repair, fabric care, garment alterations, and everyday DIY solutions. His writing focuses on turning complicated sewing tasks into simple, understandable steps that readers can follow at home.
Bennie covers everything from repairing torn seams and replacing buttons to fixing hems, adjusting garment fit, choosing suitable fabrics, and maintaining sewing machines and tools. His content is designed to help readers become more confident with their clothing while encouraging practical repair and reuse instead of unnecessary replacement.
Through his work, Bennie aims to bridge the gap between traditional sewing knowledge and modern everyday needs—making sewing more approachable, useful, and accessible to anyone who wants to repair better, sew smarter, and make their clothes last longer.
1 thought on “How To Sew Straight Skirt”