

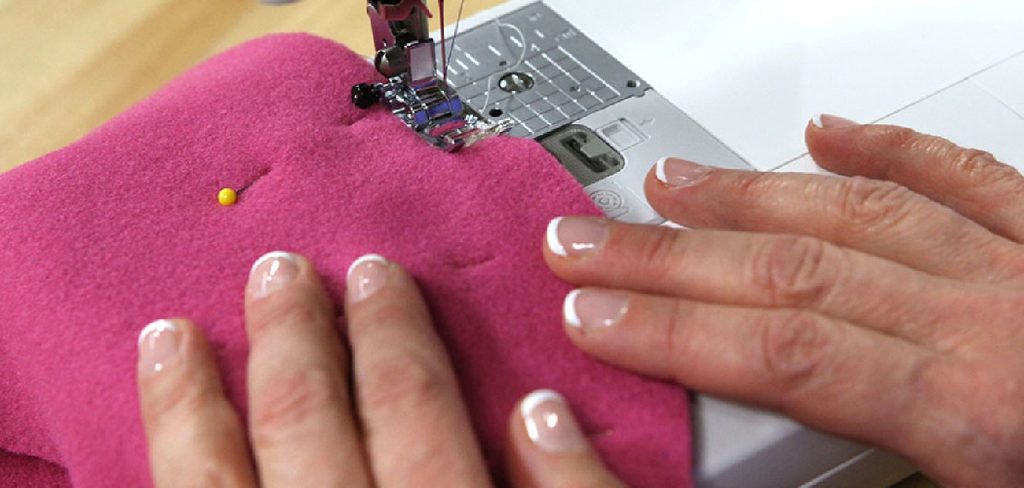
There is something deeply satisfying about wrapping yourself in a blanket you made with your own hands. Maybe you want a cozy throw for chilly evenings, a thoughtful handmade gift, or a fun weekend project to sharpen your sewing skills.
You do not need years of experience or a fancy studio full of gadgets. With a basic sewing machine, some fabric, and a little patience, you can create a blanket that looks polished and feels wonderful. Machine sewing also speeds things up dramatically compared to hand stitching, so you can finish a project in an afternoon rather than a week.
In this guide on how to sew a blanket with a sewing machine, we will walk through everything from the tools you need to the exact steps for cutting, pinning, and stitching. By the end, you will feel confident enough to thread your machine and start your very first blanket. Let’s get stitching.
What Are the Benefits?
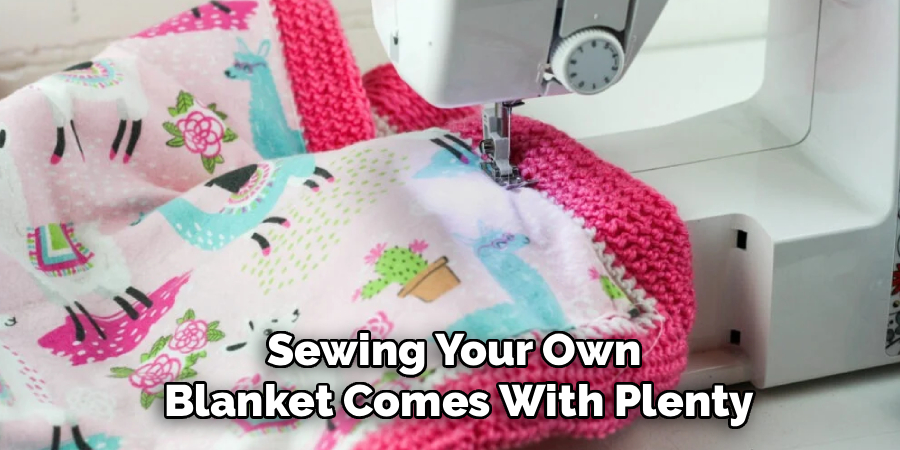
Sewing your own blanket comes with plenty of rewards, and not all of them are obvious at first. Here are the biggest reasons to grab your machine and give it a go.
- You save money. Quality store-bought blankets can be surprisingly pricey. When you buy fabric on sale or use materials you already own, you often spend far less than you would in a shop.
- You get exactly what you want. Store shelves limit you to whatever colors, sizes, and patterns happen to be in stock. When you make your own, you choose the fabric, the dimensions, and every little detail. Want an oversized throw in your favorite shade of teal? You can make it happen.
- It’s faster than you think. A sewing machine stitches in minutes what would take hours by hand. Many simple blankets come together in a single afternoon, which makes them perfect for last-minute gifts.
- You build real skills. Blankets are mostly straight lines, so they are a fantastic way to practice machine sewing. You will grow comfortable with seams, corners, and finishing techniques that carry over to bigger projects later.
- Handmade gifts mean more. A blanket you stitched yourself carries warmth that a store-bought one simply cannot match. Friends and family remember gifts made with care.
- It’s relaxing. The steady hum of the machine and the rhythm of guiding fabric can be wonderfully calming. Many people find sewing a great way to unwind after a busy day.
What Will You Need?
Before you start, gather your supplies so you are not hunting for scissors halfway through. Here is your complete list.
- Fabric – Choose two pieces if you want a double-sided blanket, or one large piece of fleece for a no-fuss option. Cotton, flannel, minky, and fleece all work beautifully.
- Batting (optional) – Add this middle layer if you want extra warmth and weight, like in a quilt.
- Sewing machine – Any basic model with a straight stitch will do.
- Matching thread – Pick a color that blends with or complements your fabric.
- Fabric scissors or a rotary cutter – Sharp blades make clean cuts.
- Cutting mat – Helpful if you use a rotary cutter.
- Straight pins or sewing clips – These hold your layers together.
- Measuring tape or a clear quilting ruler – Accuracy matters.
- Iron and ironing board – Pressing gives your blanket a crisp, professional finish.
- Fabric marking pen or chalk – For marking cut lines and seams.
- Seam ripper – Everyone makes mistakes, and this little tool fixes them fast.
Once everything is within reach, you are ready to begin.
10 Easy Steps on How to Sew a Blanket with a Sewing Machine
Step 1: Choose and Prepare Your Fabric
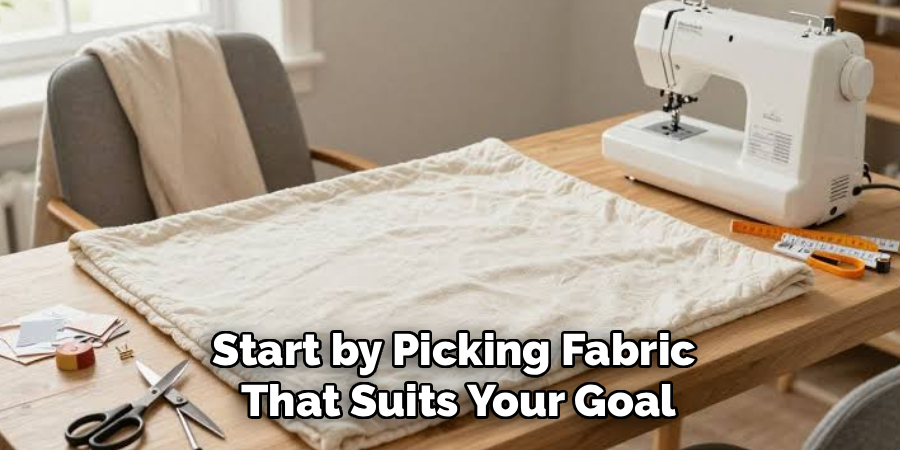
Start by picking fabric that suits your goal. Fleece is warm and forgiving, cotton is light and breathable, and flannel offers a soft, cozy feel. If your fabric can shrink, wash and dry it first. This step, called pre-washing, prevents your finished blanket from puckering after its first laundry cycle. Once dry, press the fabric with an iron to smooth out wrinkles. Flat, clean fabric is far easier to measure and cut accurately, so do not skip this preparation.
Step 2: Measure and Cut to Size
Decide how big you want your blanket. A baby blanket runs about 30 by 40 inches, a throw around 50 by 60 inches, and a twin-size cover close to 66 by 90 inches. Use your measuring tape and ruler to mark the dimensions on the wrong side of the fabric with chalk or a marking pen. Cut carefully along your lines with sharp scissors or a rotary cutter. If you are using two pieces of fabric, cut them to the exact same size so the edges line up neatly later.
Step 3: Layer Your Fabric Correctly
If you chose two fabric pieces, place them right sides together. That means the pretty, finished sides face each other on the inside. If you are adding batting for warmth, lay it on the bottom, then your two fabrics on top with right sides facing. This sandwich method hides your seams inside, giving the blanket a clean, tidy look once you turn it right side out. Smooth each layer flat with your hands to remove any bumps or wrinkles.
Step 4: Pin or Clip the Layers Together
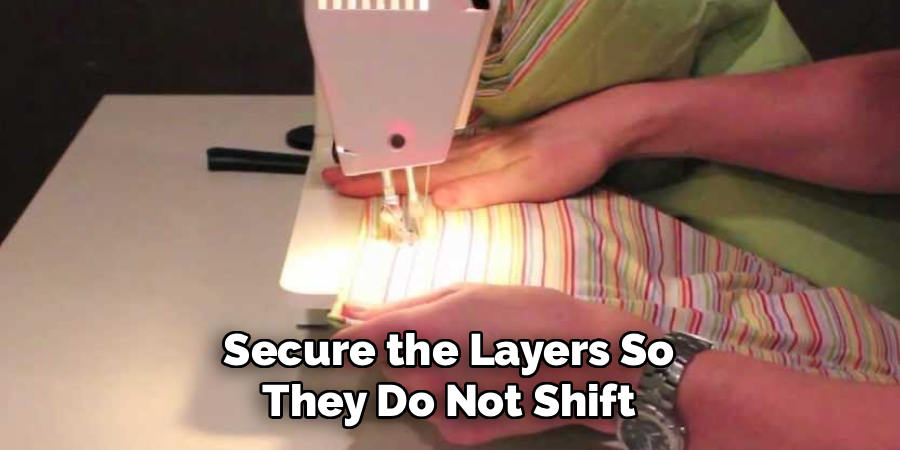
Secure the layers so they do not shift while you sew. Place pins or sewing clips around all four edges, spacing them about three to four inches apart. Pins should point inward with heads facing out, which makes them easy to remove as you sew. Take your time here. Well-secured layers stay aligned, and that keeps your seams straight and even. Loose fabric slips and slides, which leads to crooked edges and frustration.
Step 5: Leave a Gap for Turning
Before you sew, mark a gap along one side, roughly six to eight inches wide. You will leave this section unstitched so you can turn the blanket right side out later. Use two pins to mark where the gap starts and stops so you remember to stop sewing there. This small step is one that beginners often forget, and it makes all the difference. Without the gap, you would have no way to flip your blanket.
Step 6: Sew Around the Edges
Set your machine to a straight stitch and choose a seam allowance of about half an inch. Begin sewing at one of your gap markers. Stitch slowly and steadily around all four sides, removing pins as you approach them. When you reach a corner, stop with your needle down in the fabric, lift the presser foot, pivot the fabric ninety degrees, lower the foot, and continue. Backstitch a few stitches at the start and end to lock your seam in place.
Step 7: Trim the Corners
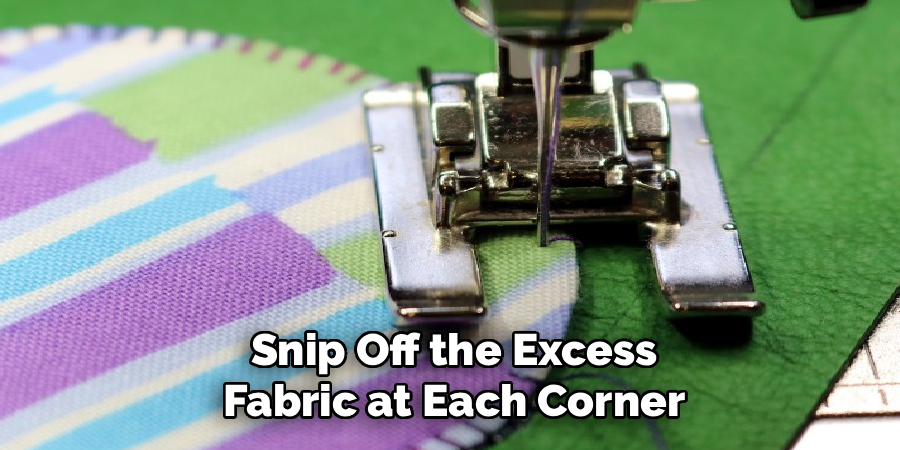
Once you finish sewing, snip off the excess fabric at each corner. Cut diagonally close to the stitching, but be careful not to cut through your seam. Trimming the corners removes bulk so they turn out sharp and pointed instead of rounded and lumpy. This tiny detail gives your blanket a crisp, professional appearance. Do this for all four corners before moving on.
Step 8: Turn the Blanket Right Side Out
Reach into the gap you left and gently pull the fabric through so the right sides now face outward. Take your time and work the corners out fully using a blunt tool like a chopstick or the eraser end of a pencil. Push carefully so you do not poke through the fabric. Once everything is turned, smooth the blanket flat with your hands. It should already start to look like a finished piece.
Step 9: Press and Close the Gap
Lay your blanket on the ironing board and press all the edges flat. Pressing gives crisp seams and a neat outline. At the gap, fold the raw edges inward so they match the sewn seam, then pin them closed. You can hand stitch this opening with a slip stitch for an invisible finish, or simply sew it shut on the machine in the next step.
Step 10: Add a Finishing Topstitch
For a durable, polished result, sew a topstitch around the entire blanket about a quarter inch from the edge. This decorative line closes the gap, keeps the layers from shifting, and adds a lovely handmade touch. Sew slowly and keep your distance from the edge consistent. Backstitch at the start and finish, clip any loose threads, and give the blanket one final press. Congratulations, your blanket is complete.
5 Things You Should Avoid
1. Skipping the pre-wash. If you sew without washing shrink-prone fabric first, your blanket may pucker or warp the first time you launder it. A quick wash and dry beforehand saves heartache later.
2. Rushing your cuts. Uneven cutting leads to mismatched edges that never quite line up. Measure twice, cut once, and use a ruler to keep your lines straight.
3. Forgetting the turning gap. Sew all the way around without leaving a gap and you will have no way to turn the blanket right side out. Always mark and remember this opening.
4. Sewing too fast. Speed is tempting, but rushing causes crooked seams and skipped stitches. Slow, steady sewing gives you far better control and cleaner results, especially around corners.
5. Ignoring the iron. Pressing may feel like an extra chore, but it transforms a homemade look into a polished one. Skip it and your seams will look bulky and uneven.
Conclusion
How to sew a blanket with a sewing machine is a rewarding project that anyone can master, even without prior experience. By choosing the right fabric, measuring carefully, and following each step at a steady pace, you can create a cozy, professional-looking blanket in just an afternoon.
Remember the key points: pre-wash your fabric, cut with care, leave that all-important turning gap, and never skip pressing your seams. Avoid the common pitfalls we covered, and your blanket will turn out beautifully. Whether you are making a gift for someone special or treating yourself to a handmade comfort, the satisfaction of finishing your own blanket is hard to beat.
So gather your supplies, thread your machine, and enjoy the cozy results of your effort.

About
Bennie Wilder is a dedicated figure in the world of sewing, clothing repair, and garment care, with years of hands-on experience exploring practical techniques for making, repairing, and maintaining everyday clothing. His professional focus lies in combining traditional sewing craftsmanship with modern, easy-to-follow solutions, helping readers confidently handle common clothing problems at home. As an author at SewFixes, Bennie shares practical knowledge on sewing techniques, garment alterations, fabric care, clothing repairs, and DIY projects for beginners and experienced sewing enthusiasts alike.
Education
Fashion Institute of Technology (New York, USA)
Associate Degree in Fashion Design & Apparel Studies
- Focused on garment construction, sewing techniques, fabric fundamentals, and clothing alterations.
- Developed practical skills in pattern making, hand stitching, machine sewing, and garment finishing.
- Gained hands-on experience working with different fabrics, sewing tools, and apparel construction methods.
Academy of Art University (San Francisco, USA)
Bachelor’s in Fashion Design
- Specialized in apparel construction, textile selection, garment fitting, and contemporary clothing design.
- Studied the relationship between fabric properties, garment structure, durability, and comfort.
- Participated in practical design projects involving garment creation, alterations, repairs, and sustainable clothing practices.
Publications and Impact
Through SewFixes, Bennie shares practical insights into sewing, clothing repair, fabric care, garment alterations, and everyday DIY solutions. His writing focuses on turning complicated sewing tasks into simple, understandable steps that readers can follow at home.
Bennie covers everything from repairing torn seams and replacing buttons to fixing hems, adjusting garment fit, choosing suitable fabrics, and maintaining sewing machines and tools. His content is designed to help readers become more confident with their clothing while encouraging practical repair and reuse instead of unnecessary replacement.
Through his work, Bennie aims to bridge the gap between traditional sewing knowledge and modern everyday needs—making sewing more approachable, useful, and accessible to anyone who wants to repair better, sew smarter, and make their clothes last longer.