

Embroidery has a way of turning plain fabric into something special, and few stitches add as much charm as the tiny, textured dot known as the French knot.
If you have ever admired the little raised bumps on a floral design or a piece of hand-lettered cloth, you have already seen this stitch in action.
Learning how to sew a french knot stitch opens the door to countless creative projects, from filling flower centers to adding delicate detail across any pattern you love.
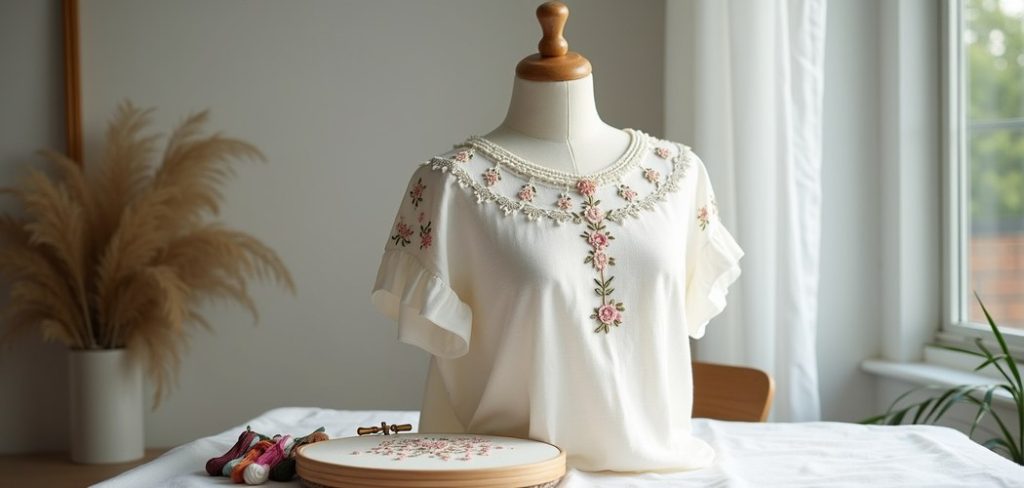
The good news is that this stitch is far easier than it looks. Many beginners feel nervous at first, worried their knots will slip through the fabric or bunch up in a mess.
That happens to almost everyone in the beginning, and it is completely fixable. With a bit of guidance, some patience, and a little practice, you will be creating clean, even knots in no time.
This guide walks you through everything step by step, so you can stitch with confidence.
Why French Knot Stitching Matters
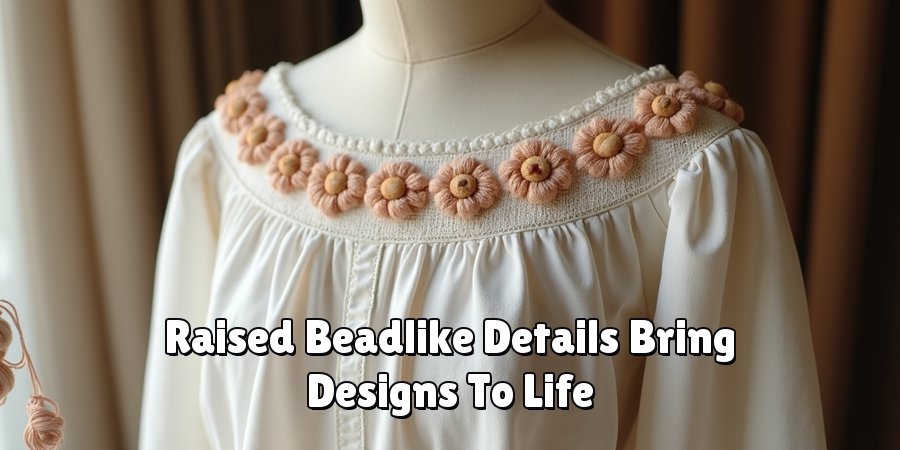
The French knot is a small stitch with a big impact. It adds dimension and texture that flat stitches simply cannot match, giving your work a professional, handmade quality. That raised, beadlike effect brings designs to life, making flowers, eyes, dots, and scattered details feel real and full of character.
Beyond looks, mastering this stitch builds your overall embroidery skills. It teaches you thread control, tension, and needle handling, all of which carry over to more advanced techniques.
Once you feel comfortable, you can cluster knots for fluffy textures or space them out for subtle accents. It is versatile, budget-friendly, and works on almost any fabric.
Learning it well means you gain a reliable tool you will reach for again and again across your creative projects.
Step-by-Step Guide to How To Sew a French Knot Stitch
Step 1: Gather Your Materials
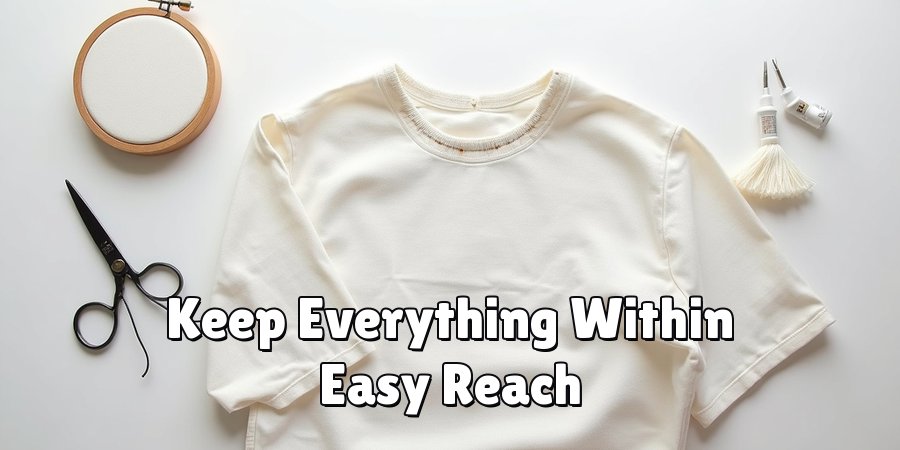
Before you begin, set yourself up for success by collecting a few basic supplies. You will need embroidery floss, an embroidery needle, a hoop to keep your fabric taut, some fabric to work on, and small scissors.
A hoop is especially helpful for beginners because it holds everything steady, letting you focus on your hands rather than fighting a loose surface.
Choose a floss color that stands out against your fabric so you can see your progress clearly.
Having everything within reach before you start keeps the process smooth and enjoyable, and it prevents frustrating interruptions once you settle into a comfortable stitching rhythm.
Step 2: Prepare Your Thread
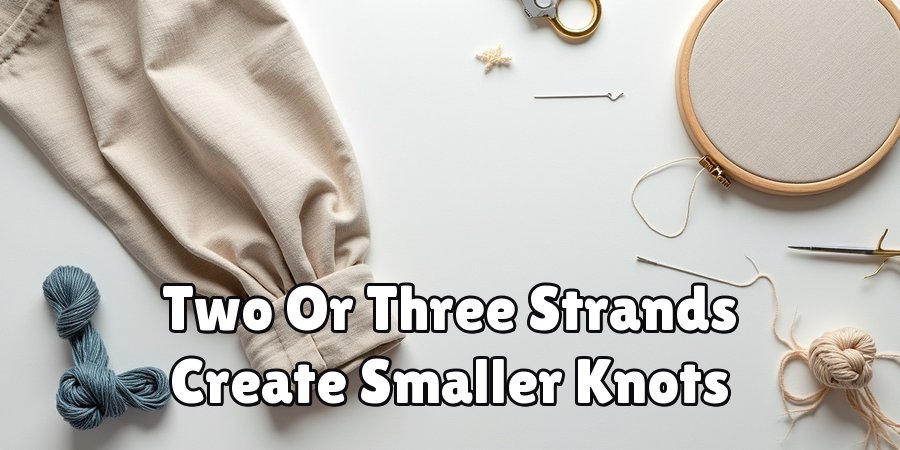
Cut a length of floss roughly eighteen inches long, since anything longer tends to tangle as you work. Embroidery floss usually comes with six strands twisted together, so decide how many you want to use. Two or three strands create a small, tidy knot, while all six give you a larger, bolder dot.
Thread your needle and tie a small knot at the end of the strands to anchor them. Learning how to sew a french knot stitch starts with getting this thread setup right, because the number of strands you choose directly shapes the size and texture of your finished knot.
Step 3: Bring the Needle Up
Push your needle up through the back of the fabric at the exact spot where you want your knot to sit. Pull the thread all the way through until the anchor knot on the back stops it from slipping.
Take a moment to smooth the thread so it lies flat and free of tangles. This starting point matters, because the knot will form right here.
If you are working on a detailed design, mark your dots lightly with a water-soluble pen beforehand so each knot lands exactly where you planned, keeping your pattern neat and even.
Step 4: Wrap the Thread Around the Needle
Hold the needle in one hand and the thread taut in the other. Wrap the thread around the needle two or three times, depending on how large you want the knot to be. Keep gentle tension as you wrap so the coils stay snug against the needle without being too tight to move.
This wrapping action is the heart of the technique. Beginners often wrap too loosely, which creates a messy knot, or too tightly, which makes the needle hard to pull through. A little practice helps you find that comfortable middle ground quickly.
Step 5: Insert the Needle Back Down
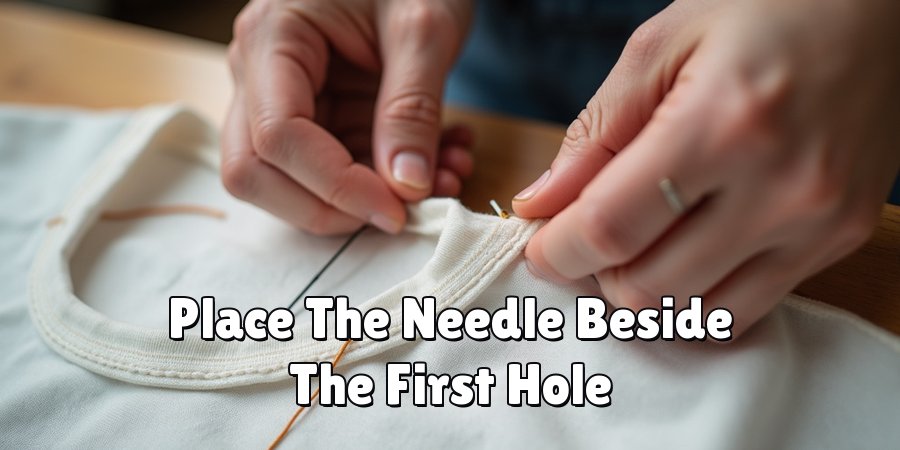
Guide the tip of the needle back into the fabric right next to where it first came up, but not into the exact same hole. Placing it a thread or two away keeps the knot from pulling straight through to the back.
While you do this, keep holding the wrapped thread firmly with your other hand so the coils stay in place. This gentle tension is what shapes a clean, rounded knot. Rushing this moment is the most common mistake, so move slowly and stay in control as the needle slides down through the fabric.
Step 6: Pull the Thread Through
Now comes the satisfying part. Slowly pull the needle and thread down through the fabric while keeping light tension on the wrapped coils with your free hand. As the thread passes through, the wraps will tighten and form a neat little knot resting on the surface.
Knowing how to sew a french knot stitch really comes together in this step, so ease the thread through gently rather than yanking it. If you pull too fast, the knot can slip through or turn lumpy. Steady, patient movement rewards you with a smooth, professional-looking result every single time.
Step 7: Secure and Repeat
Once your knot sits neatly on the fabric, you can move on to the next one or finish your work. To create more knots, simply bring the needle back up at your next marked point and repeat the wrapping and pulling process.
When you are finished, flip your fabric over, weave the thread under a few nearby stitches on the back, and snip off the excess. This locks everything in place without an ugly bulky knot showing through. Give yourself credit here, because completing your first clean knot is a real milestone worth celebrating.
Frequently Asked Questions
Why Does My French Knot Keep Slipping Through The Fabric?
This usually happens when the needle goes back into the exact same hole it came out of, leaving nothing to hold the knot.
Insert the needle a thread or two away from the starting point instead. Loose wrapping can also cause slipping, so keep gentle tension on the thread as you pull it through.
A little practice quickly solves this common beginner problem.
How Many Times Should I Wrap The Thread?
Two to three wraps is the sweet spot for most projects. Fewer wraps create a very small, delicate knot, while more wraps produce a larger, chunkier one.
Avoid wrapping more than four times, because oversized knots become loose and lose their neat shape. Experiment on a scrap of fabric first to discover which size best suits your particular design and personal style.
What Fabric Works Best For Beginners?
Medium-weight woven fabrics like cotton or linen are ideal for learning. They are stable, easy to grip, and hold knots securely without stretching out of shape.
Avoid very thin or slippery materials at first, since they make control harder.
Using an embroidery hoop with any fabric keeps everything taut, giving you a steady surface that makes forming each knot far more manageable.
Can I Use Regular Sewing Thread Instead Of Floss?
You can, though embroidery floss is strongly recommended for the best results. Floss is thicker and creates fuller, more visible knots that stand out beautifully on fabric.
Regular sewing thread is thin and produces tiny knots that may get lost in your design.
If floss is all you have trouble finding, doubling up regular thread can help create a slightly bolder, more noticeable effect.
How Do I Make My Knots All The Same Size?
Consistency comes from repeating the same steps every time. Use the same number of thread strands, wrap the needle the same number of times, and apply steady, even tension with each knot.
Marking your dots ahead of time also helps with spacing and placement. The more you practice, the more natural this rhythm becomes, and soon uniform knots will feel effortless.
Conclusion
Creating textured, professional-looking embroidery is well within your reach, and it all starts with mastering this one versatile technique.
By gathering the right materials, preparing your thread carefully, and moving through each step with steady, patient hands, you can turn a nervous first attempt into confident, repeatable results.
Remember that slipping knots and uneven sizes are normal at the beginning, and every skilled stitcher started exactly where you are now.
The best way to improve is simply to keep going. Grab a scrap of fabric, thread your needle, and practice how to sew a french knot stitch until it feels second nature.
Before long, you will be adding beautiful raised details to flowers, letters, and designs of every kind.
So pick up your hoop, trust the process, and enjoy watching your embroidery skills grow with each and every knot you make.

About
Bennie Wilder is a dedicated figure in the world of sewing, clothing repair, and garment care, with years of hands-on experience exploring practical techniques for making, repairing, and maintaining everyday clothing. His professional focus lies in combining traditional sewing craftsmanship with modern, easy-to-follow solutions, helping readers confidently handle common clothing problems at home. As an author at SewFixes, Bennie shares practical knowledge on sewing techniques, garment alterations, fabric care, clothing repairs, and DIY projects for beginners and experienced sewing enthusiasts alike.
Education
Fashion Institute of Technology (New York, USA)
Associate Degree in Fashion Design & Apparel Studies
- Focused on garment construction, sewing techniques, fabric fundamentals, and clothing alterations.
- Developed practical skills in pattern making, hand stitching, machine sewing, and garment finishing.
- Gained hands-on experience working with different fabrics, sewing tools, and apparel construction methods.
Academy of Art University (San Francisco, USA)
Bachelor’s in Fashion Design
- Specialized in apparel construction, textile selection, garment fitting, and contemporary clothing design.
- Studied the relationship between fabric properties, garment structure, durability, and comfort.
- Participated in practical design projects involving garment creation, alterations, repairs, and sustainable clothing practices.
Publications and Impact
Through SewFixes, Bennie shares practical insights into sewing, clothing repair, fabric care, garment alterations, and everyday DIY solutions. His writing focuses on turning complicated sewing tasks into simple, understandable steps that readers can follow at home.
Bennie covers everything from repairing torn seams and replacing buttons to fixing hems, adjusting garment fit, choosing suitable fabrics, and maintaining sewing machines and tools. His content is designed to help readers become more confident with their clothing while encouraging practical repair and reuse instead of unnecessary replacement.
Through his work, Bennie aims to bridge the gap between traditional sewing knowledge and modern everyday needs—making sewing more approachable, useful, and accessible to anyone who wants to repair better, sew smarter, and make their clothes last longer.
1 thought on “How To Sew a French Knot Stitch”