

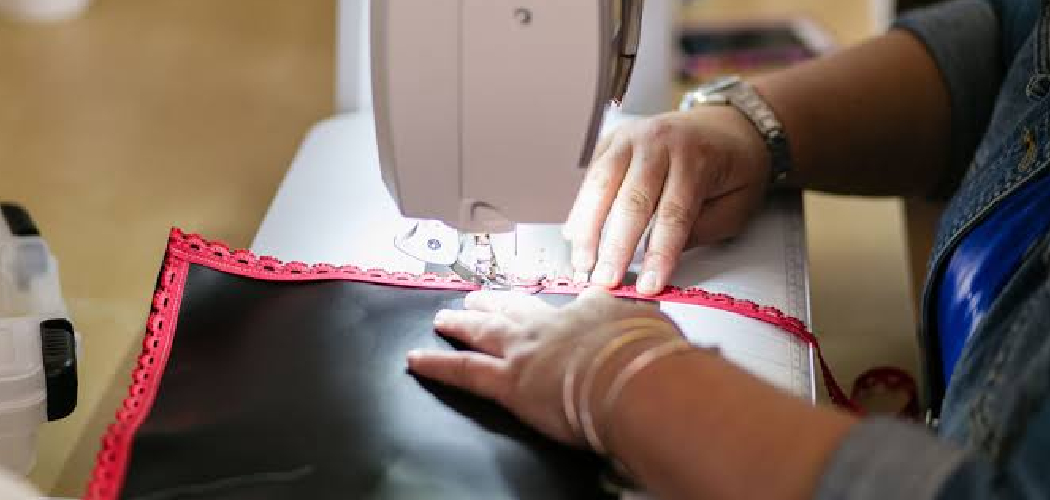
A racing needle can feel intimidating when you are learning to sew, and that little burst of speed often leads to crooked seams or a nervous foot on the pedal. The good news is that most modern machines include a simple control that keeps things calm and steady. Understanding how to set the speed limiter on a sewing machine gives you full command over how fast the needle moves, no matter how firmly you press the foot pedal. It acts like a friendly guardrail, letting you focus on your fabric instead of fighting the machine.
This guide walks you through the process in plain language, with clear steps you can follow at your own pace. Whether you are stitching your first pillowcase or tackling detailed quilt blocks, slowing things down helps you work with confidence. You will learn what the limiter does, why it matters, and exactly how to adjust it so every project feels smoother, safer, and far more enjoyable from start to finish.
Why Setting The Speed Limiter On A Sewing Machine Matters
Control is everything when you are guiding fabric under a moving needle. A speed limiter lets you cap the maximum stitching pace, so a heavy foot never sends the machine into a sprint. This is especially helpful for beginners, who often make fewer mistakes and produce neater seams when the pace stays gentle.
Beyond comfort, the benefits are practical. Slower speeds reduce broken needles, tangled thread, and puckered fabric. They also make tricky tasks like curves, corners, and zippers far easier to handle. Even seasoned sewists lean on this feature for delicate materials or precision work. In short, a well-set limit protects your project, your machine, and your patience, giving you room to grow your skills one confident stitch at a time.
Step-By-Step Guide To How To Set The Speed Limiter On A Sewing Machine
Step 1: Check Your Machine For A Speed Control
Before you adjust anything, confirm that your machine actually has this feature. Most computerized models and many mechanical ones include it, though the design varies. Look for a small sliding switch, a dial, or an on-screen setting near the front panel.
If you are unsure, your user manual is the fastest way to confirm. Learning how to set the speed limiter on a sewing machine starts with knowing where the control lives on your specific model. Take a moment to locate it now, since every following step depends on finding this simple but powerful adjustment.
Step 2: Read The Manual For Your Model
Manuals often get tucked away and forgotten, yet they hold the clearest instructions for your exact machine. Flip to the section covering speed settings, usually listed under operation or controls.
Manufacturers describe whether your limiter is a physical slider or a digital menu option, and they note any labels to look for. If you lost the printed copy, most brands offer free downloads on their websites. Spending five minutes here saves confusion later and ensures you adjust the right control rather than guessing and accidentally changing an unrelated setting.
Step 3: Locate The Slider Or Dial
Once you know what to look for, find the control on your machine. On mechanical models, a slider marked with a turtle and a rabbit is common, showing slow and fast ends of the range. You will likely be surprised by how much fluffy buildup appears, especially if you sew often or work with fabrics that shed a lot.
On computerized machines, the option may sit in a settings menu on the display. Some machines place the slider along the front edge or the right side, near the stitch controls. Give it a gentle test to feel how it moves, and note which direction lowers the speed so you can adjust it easily.
Step 4: Adjust The Setting To Slow
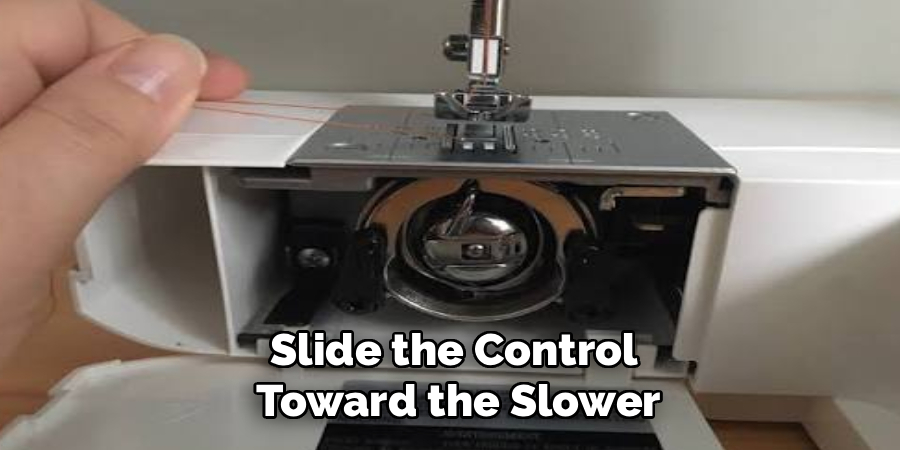
Now comes the satisfying part. Slide the control toward the slower end, or lower the number on your digital display. If you are new to sewing, start near the slowest setting and build up as you gain comfort.
Understanding how to set the speed limiter on a sewing machine means finding the pace that matches your skill and your project. There is no single correct number, so treat this as a personal choice. A slower cap gives you time to steer fabric, watch your seam, and stop cleanly whenever you need to.
Step 5: Test On A Fabric Scrap
Never trust a new setting on your actual project. Grab a spare piece of the same fabric and stitch a short line to feel the difference. Press the foot pedal all the way down and notice that the machine now refuses to race past your chosen limit.
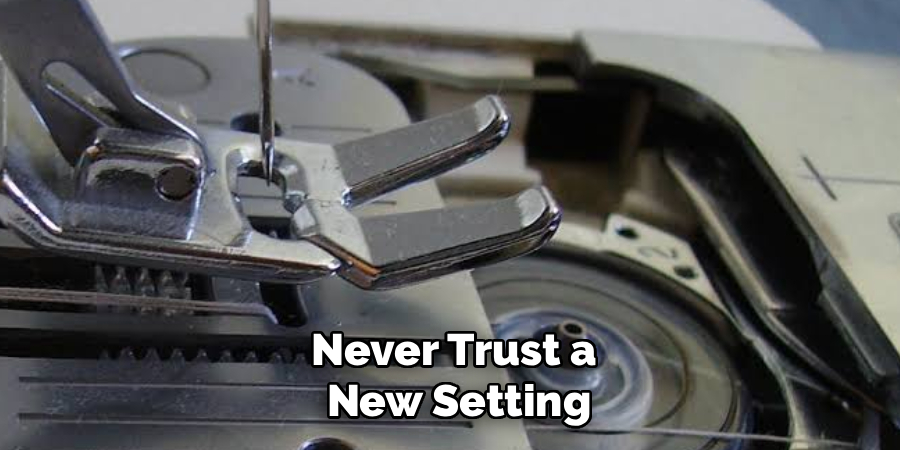
This test tells you whether the pace feels manageable or still too quick. Watch how the stitches form and how easily you can guide the material. Testing first protects your good fabric and builds confidence before the real work begins.
Step 6: Fine-Tune As You Practice
Your first setting rarely needs to be your last. As you sew more, you may want a little extra speed for long straight seams or an even slower crawl for detailed corners. Nudge the control up or down until it feels right for the task in front of you.
This ongoing adjustment is completely normal and shows you are learning to read your own comfort level. Think of it as a dial you tune throughout a project, matching the pace to each section rather than locking it in once and forgetting it.
Step 7: Save Or Note Your Preferred Setting
Some computerized machines remember your preferred speed between projects, while mechanical sliders simply stay where you left them. If your machine has memory functions, save the setting so you do not repeat the process each session.
For manual sliders, make a mental note of your favorite position for different fabrics. Keeping track of what worked helps you set up faster next time and reduces trial and error. Over time, you will build a reliable routine that lets you start each project calm, prepared, and fully in control.
Frequently Asked Questions
Does Every Sewing Machine Have A Speed Limiter?
No, not every machine includes one. This feature is common on computerized models and many modern mechanical machines, but older or very basic units may lack it. Check your manual or look for a slider marked with slow and fast symbols. If your machine does not have one, you can still control pace by pressing the foot pedal gently and practicing a lighter, more consistent touch.
Will A Slower Speed Weaken My Stitches?
Not at all. Stitch strength depends on thread tension, needle choice, and correct settings, not on how fast the needle moves. A slower pace often produces neater, more even stitches because you have better control over the fabric. Many experienced sewists actually prefer moderate speeds for quality work. Focus on proper tension and a suitable needle, and your seams will stay strong regardless of the pace you choose.
Can I Change The Setting While Sewing?
It is best to stop before adjusting the control, especially on mechanical sliders, to keep the process safe and accurate. Pausing takes only a second and prevents accidental changes mid-seam. On some computerized machines you can tweak digital settings quickly between sections. Either way, lifting your foot from the pedal first gives you a clear, controlled moment to fine-tune the pace without risking a slip or an uneven line.
Is This Feature Good For Children Learning To Sew?
Yes, it is one of the best tools for young or beginner sewists. Capping the top speed removes the fear of a runaway needle and lets learners build confidence gradually. Parents and teachers often set the slowest option so a heavy foot cannot cause surprises. As skills improve, you can raise the limit slightly, making it a flexible feature that grows alongside the person using the machine.
What If I Cannot Find The Control On My Machine?
Start with your user manual, which pinpoints the exact location for your model. If the manual is missing, search the manufacturer’s website for a free digital copy or a support page. You can also contact customer support, which is often available around the clock, for friendly guidance. Do not force any switches you do not recognize, and reach out for help so you adjust the correct setting safely.
Conclusion
Taking charge of your machine’s pace is one of the simplest ways to improve your sewing, and it costs you nothing but a few minutes of setup. You have seen how to check for the feature, locate the control, lower the pace, test on a scrap, and fine-tune until everything feels comfortable. Each of these small actions adds up to smoother seams, fewer mistakes, and a far more relaxed experience at the machine. Best of all, the process works for every skill level, from curious first-timers to confident makers tackling detailed designs.
Now that you know how to set the speed limiter on a sewing machine, put that knowledge into practice on your very next project. Start slow, stitch a test line, and adjust as you go until the pace feels just right for you. With a little practice, this quick habit becomes second nature, giving you steady control and the freedom to enjoy every stitch. Grab your fabric, ease into a comfortable speed, and let your creativity lead the way.

About
Bennie Wilder is a dedicated figure in the world of sewing, clothing repair, and garment care, with years of hands-on experience exploring practical techniques for making, repairing, and maintaining everyday clothing. His professional focus lies in combining traditional sewing craftsmanship with modern, easy-to-follow solutions, helping readers confidently handle common clothing problems at home. As an author at SewFixes, Bennie shares practical knowledge on sewing techniques, garment alterations, fabric care, clothing repairs, and DIY projects for beginners and experienced sewing enthusiasts alike.
Education
Fashion Institute of Technology (New York, USA)
Associate Degree in Fashion Design & Apparel Studies
- Focused on garment construction, sewing techniques, fabric fundamentals, and clothing alterations.
- Developed practical skills in pattern making, hand stitching, machine sewing, and garment finishing.
- Gained hands-on experience working with different fabrics, sewing tools, and apparel construction methods.
Academy of Art University (San Francisco, USA)
Bachelor’s in Fashion Design
- Specialized in apparel construction, textile selection, garment fitting, and contemporary clothing design.
- Studied the relationship between fabric properties, garment structure, durability, and comfort.
- Participated in practical design projects involving garment creation, alterations, repairs, and sustainable clothing practices.
Publications and Impact
Through SewFixes, Bennie shares practical insights into sewing, clothing repair, fabric care, garment alterations, and everyday DIY solutions. His writing focuses on turning complicated sewing tasks into simple, understandable steps that readers can follow at home.
Bennie covers everything from repairing torn seams and replacing buttons to fixing hems, adjusting garment fit, choosing suitable fabrics, and maintaining sewing machines and tools. His content is designed to help readers become more confident with their clothing while encouraging practical repair and reuse instead of unnecessary replacement.
Through his work, Bennie aims to bridge the gap between traditional sewing knowledge and modern everyday needs—making sewing more approachable, useful, and accessible to anyone who wants to repair better, sew smarter, and make their clothes last longer.
1 thought on “How To Set The Speed Limiter On A Sewing Machine”