

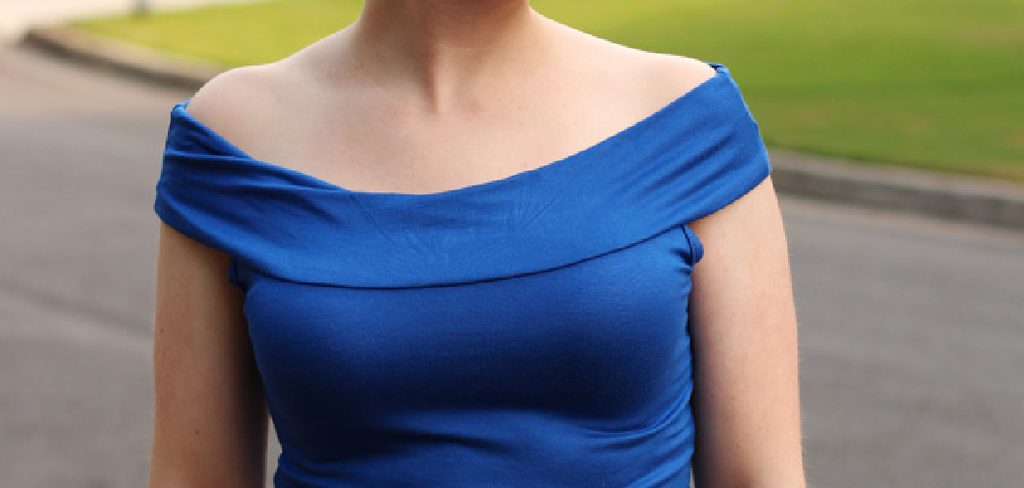
An off the shoulder t shirt is one of those effortless style upgrades that makes a plain top feel fresh, breezy, and totally your own. If you have ever looked at a boxy old tee and wished it had a little more personality, you are in for a treat. Learning how to cut off the shoulder t shirt takes only a few minutes, needs almost no special tools, and gives you a custom piece you will actually want to wear.
The best part is that this project welcomes everyone, whether you have never picked up fabric scissors or you already love upcycling old clothes. The steps are simple, forgiving, and easy to adjust to your comfort level. You control the fit, the neckline width, and the final look. Along the way, you will pick up skills you can reuse on future projects. So grab a shirt you are ready to transform, clear a little space, and let’s turn something ordinary into a piece you feel great in.
Why Cut An Off The Shoulder T Shirt
Cutting a regular tee into an off the shoulder style gives you a stylish, on-trend top without spending money on something new. It is a smart way to breathe life into shirts that feel dated, too tight around the neck, or simply boring. You get to customize the fit exactly how you like it, which means better comfort and a look tailored to your body.
This project also builds real confidence with basic fabric work, and it barely takes any time. Because t shirt knit fabric does not fray, you can skip complicated hemming and still get a clean result. It is beginner-friendly, budget-friendly, and endlessly repeatable, so you can experiment with different shirts until you find your favorite version.
Step-By-Step Guide To How To Cut Off The Shoulder T Shirt
Follow these seven steps carefully and you will end up with a comfortable, flattering top. Take your time, work slowly, and remember that small adjustments are easy to make as you go.
Step 1: Gather Your Tools And Pick The Right Shirt

Start by setting up a tidy workspace with everything you need within reach. You will want sharp fabric scissors, tailor’s chalk or a washable marker, a ruler or measuring tape, and a few pins if you have them.
Choose a t shirt made from soft cotton or a cotton blend, since knit fabric does not fray and gives clean edges. A slightly oversized shirt works beautifully because it drapes nicely off the shoulders. Lay your shirt flat and smooth out any wrinkles so your marks stay accurate. Good preparation here makes every later step feel calm, simple, and stress-free.
Step 2: Try It On And Mark The Neckline
Before you cut anything, slip the shirt on and stand in front of a mirror. This is the moment to decide how low and wide you want the neckline to sit across your shoulders.
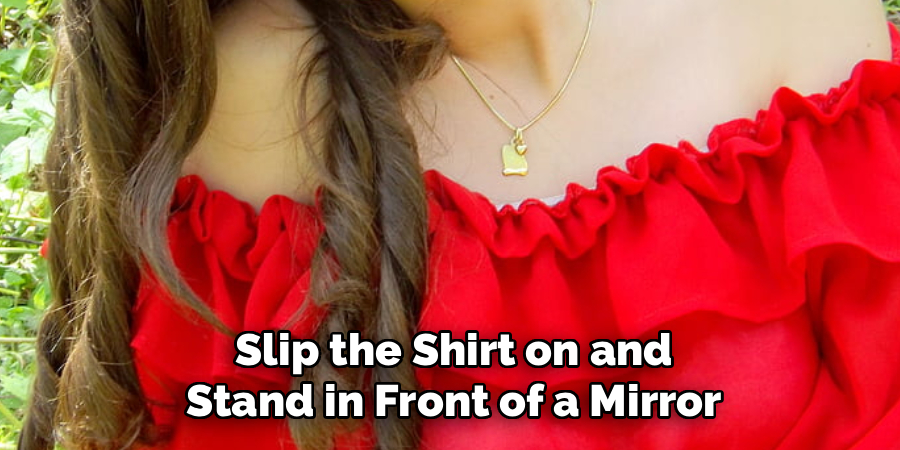
Use your chalk to make a light mark where you want the front edge to fall, keeping in mind that the fabric will stretch and drop a little once cut. Understanding how to cut off the shoulder t shirt starts with this planning stage, because a thoughtful mark now prevents regret later. Take the shirt off gently so your marks stay in place, then lay it flat again for the next step.
Step 3: Draw Your Cutting Line
With the shirt lying flat, connect your marks into one smooth, even curve using chalk and a ruler. Aim for a gentle arc that sweeps from one shoulder area to the other rather than a straight horizontal line, since curves look softer and more natural on the body. Fold the shirt in half lengthwise to check that both sides match, adjusting any spot that looks uneven.
A symmetrical line makes a huge difference in the final look. Double-check everything before you pick up your scissors, because a steady, well-planned line gives you a polished, professional finish you will be proud of.
Step 4: Cut Along The Neckline

Now comes the exciting part where your vision takes shape. Pick up your sharp scissors and cut slowly along the line you drew, using long, smooth strokes instead of small choppy snips. You’re only a handful of simple stitches away from a smooth, satisfying line, so settle in and take your time.
Long cuts keep the edge clean and prevent jagged spots. Remove the entire collar and the top section of fabric in one continuous piece if you can. Keep the shirt flat and steady with your free hand as you work. If your scissors feel dull, switch to a sharper pair, since clean blades protect your fabric. Once the top strip is off, you will already see that flattering off the shoulder shape appear.
Step 5: Adjust The Sleeves For The Perfect Drape
To help the shirt sit low across your arms, you may want to loosen the sleeves a little. Try the shirt on again and notice how the neckline falls. If the fabric feels too tight near the shoulders, trim a small amount from the top edge of each sleeve seam so the top drapes more freely.
Work in tiny increments here, because you can always remove more but never add it back. This small adjustment is often the secret to how to cut off the shoulder t shirt looks feel relaxed and intentional rather than stiff. Check both sides in the mirror to keep the balance even.
Step 6: Refine And Even Out The Edges
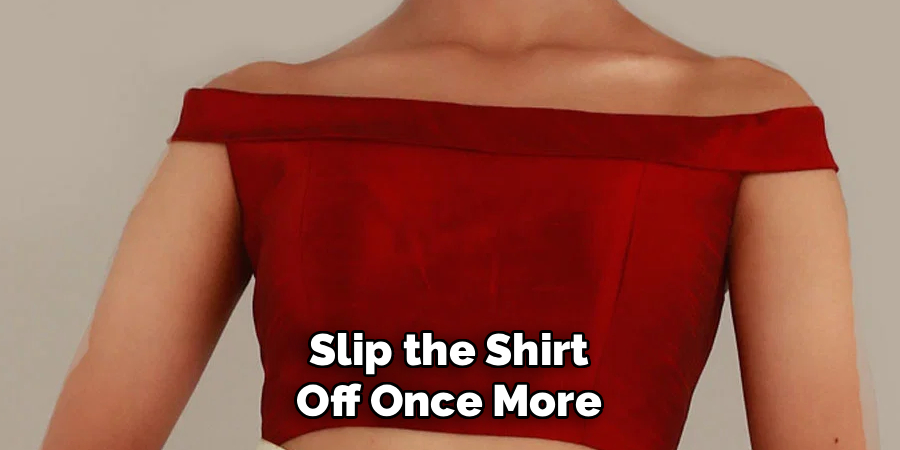
Slip the shirt off once more and lay it flat to inspect your handiwork closely. Look for any bumpy sections, uneven curves, or spots where one side dips lower than the other. Gently trim these areas with the tips of your scissors, taking off only a sliver at a time.
Smooth, matching edges are what separate a homemade look from a stylish, custom one. Since knit fabric naturally rolls slightly at the cut edge, you can leave it raw for a casual vibe or press it flat with your fingers. This tidy-up stage rewards patience with a beautifully finished result.
Step 7: Style, Wear, And Care For Your New Top
Congratulations, your transformation is complete and ready to show off. Pair your new top with high-waisted jeans, a flowy skirt, or shorts for an easy, put-together outfit. If you want the raw edge to curl a little more for a lived-in look, simply stretch it gently along the neckline.
When it comes to washing, turn the shirt inside out and use a cool, gentle cycle to keep the shape looking fresh. Air drying helps too, since high heat can distort knit fabric over time. With a little care, your handmade top will stay comfortable and cute for many wears to come.
Frequently Asked Questions
Will The Fabric Fray After I Cut It?
Most t shirts are made from knit cotton, which does not fray the way woven fabrics do. Instead of unraveling, the cut edge tends to curl slightly, giving a soft, casual finish. This means you can leave the edge raw without any sewing. If you prefer a neater look, you can add a simple hem, but for most people the natural rolled edge looks stylish and effortless.
How Much Fabric Should I Remove From The Neckline?
Start conservatively and remove only a small amount at first, since you can always trim more later. Generally, cutting about two to three inches below the original collar creates a gentle off the shoulder drape. Try the shirt on frequently as you go to check the fit against your shoulders. Working slowly protects you from cutting too deep and helps you land on a neckline that feels comfortable and looks flattering.
Do I Need Special Scissors For This Project?
Sharp fabric scissors give the cleanest results, but you do not need anything fancy or expensive. A dedicated pair of scissors kept just for fabric works best, since paper and other materials dull the blades quickly. Dull scissors cause jagged, uneven edges that are hard to fix. If sharp fabric scissors are not available, use the sharpest general-purpose scissors you own and cut in long, smooth strokes.
Can I Do This With Any Type Of Shirt?
This technique works best on soft knit t shirts made from cotton or cotton blends because they drape well and resist fraying. Slightly oversized shirts are ideal since they fall gracefully off the shoulders. Very stiff, structured, or woven fabrics do not behave the same way and may need hemming to look finished. For a first attempt, choose a comfortable jersey tee you already like the feel of.
What If I Cut The Neckline Too Wide?
Do not worry, because a few easy fixes can help. If the neckline gapes too much, you can add a small stitch at each shoulder to bring the fabric in a little. Another option is to thread thin elastic or a ribbon through a folded edge to gently cinch the opening. In many cases, a slightly wider neckline simply gives a more relaxed, slouchy style that looks intentional and trendy.
Conclusion
Turning a plain tee into a breezy, shoulder-baring favorite is one of the most satisfying beginner projects you can try. By gathering the right tools, marking a thoughtful neckline, cutting slowly, and refining your edges, you create a custom top that fits your style perfectly. Each step is forgiving and easy to adjust, so even a first attempt can look wonderfully polished and unique to you.
Now that you know how to cut off the shoulder t shirt, you have a skill you can reuse again and again on shirts hiding in the back of your closet. Grab one you are ready to reinvent, take your time with each cut, and enjoy the creative process. Your new go-to top is only a few snips away, so pick up those scissors and start creating something you will love to wear.

The Sew Fixes team — we mend our own clothes and write down what worked. Every guide here started as a repair on something we were not ready to throw away.