

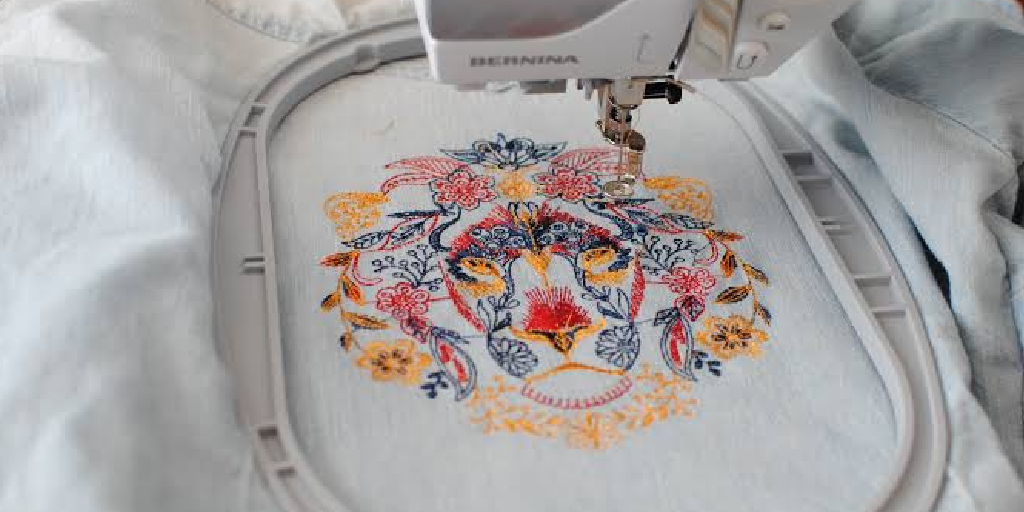
Adding a personal touch to your clothing is one of the most satisfying crafts you can pick up, and learning how to embroider on a shirt opens the door to endless creative possibilities. Whether you want to monogram a plain tee, cover a small stain with a cute flower, or turn a basic shirt into a wearable piece of art, embroidery gives you the freedom to make something truly yours. The best part is that you do not need fancy machines or years of experience to get started. With a needle, some thread, and a little patience, anyone can create beautiful stitched designs at home.
This guide walks you through everything step by step, so you feel confident from your very first stitch. We will cover the tools you need, how to prepare your fabric, and simple techniques that produce clean, professional-looking results. If you have ever admired embroidered shirts in stores and wished you could make your own, you are in the right place. By the end, you will have the skills and know-how to decorate almost any shirt in your closet.
Why Embroidering On a Shirt Matters
Embroidering your own shirts is more than just a fun hobby. It lets you express your personality, save money on custom apparel, and breathe new life into clothes you might otherwise toss out. A single embroidered design can transform a forgotten shirt into your new favorite, which means less waste and more value from what you already own. It is a rewarding skill that grows with you, no matter your starting point.
Beyond the practical perks, embroidery offers a calming, hands-on escape from screens and busy schedules. Each stitch encourages focus and mindfulness, and finishing a project brings a real sense of accomplishment. You also gain a thoughtful way to create gifts, since a handmade shirt feels far more personal than anything bought off a rack. These lasting benefits make the effort well worth it for crafters of every skill level.
Step-by-Step Guide To How to Embroider on a Shirt
Step 1: Gather Your Supplies
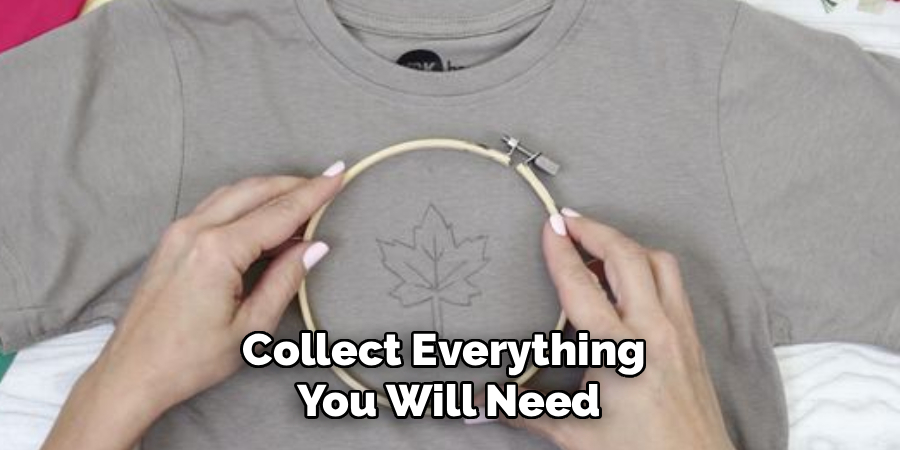
Before you begin, collect everything you will need so you are not scrambling mid-project. You will want an embroidery hoop, a few skeins of embroidery floss in your chosen colors, embroidery needles, small scissors, and a water-soluble fabric marker.
A piece of stabilizer is also essential because it keeps stretchy shirt fabric from puckering as you stitch. Having quality tools makes the whole process smoother and more enjoyable. If you are just starting out, a simple beginner kit covers most of these basics and takes the guesswork out of shopping for each item separately.
Step 2: Choose And Transfer Your Design
Pick a design that matches your skill level, keeping it small and simple for your first attempt. Flowers, initials, and short words are great starting points. Once you have chosen your pattern, transfer it onto the shirt using a water-soluble marker, a printable transfer sheet, or tracing paper held against a bright window.
Draw carefully so your lines are clear but light. This step is where learning how to embroider on a shirt really comes to life, because a well-placed design sets the tone for everything that follows and helps you stitch with confidence and accuracy.
Step 3: Secure The Stabilizer
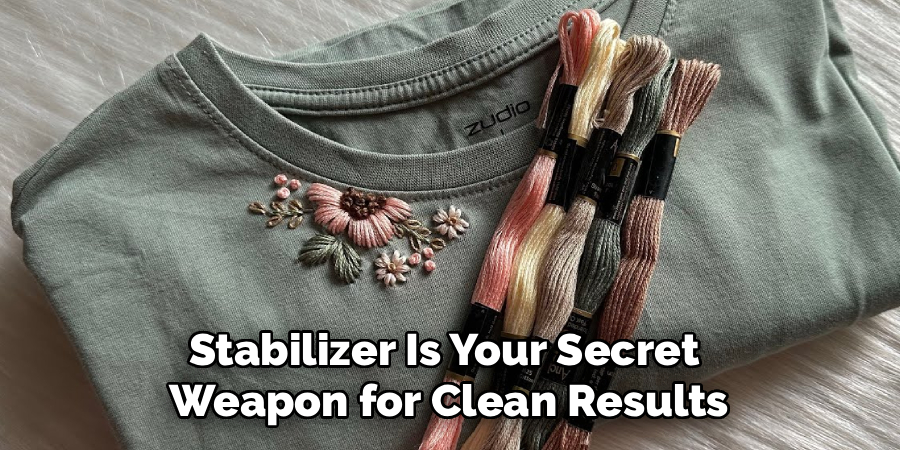
Stabilizer is your secret weapon for clean results, especially on soft or stretchy shirts. Cut a piece slightly larger than your design and attach it to the back of the fabric where you will stitch. You can use an iron-on stabilizer, an adhesive type, or a tear-away version depending on your material.
This backing supports the fabric, prevents stretching, and keeps your stitches even. Skipping this step often leads to bunched, uneven work that looks messy. Take a moment to smooth everything flat, and you will notice a big difference in the quality of your finished piece.
Step 4: Set Up Your Hoop
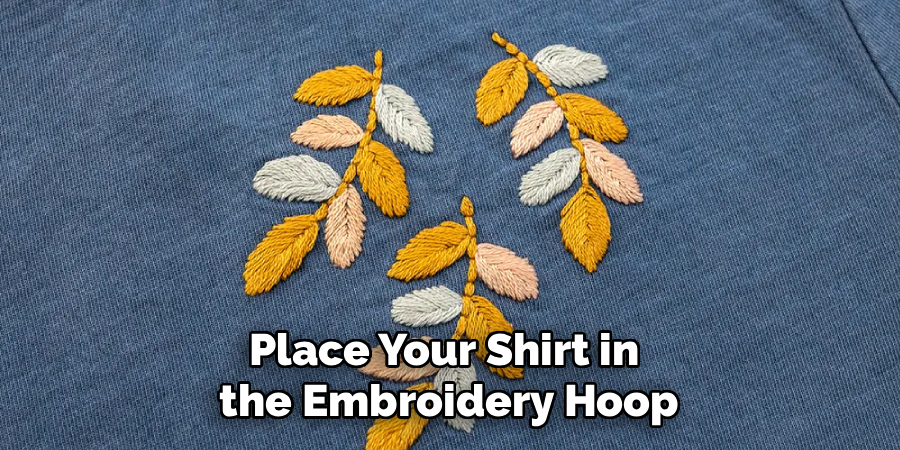
Place your shirt in the embroidery hoop with the design centered in the middle. Loosen the top screw, lay the fabric over the inner ring, then press the outer ring down over it. Tighten the screw gradually while gently pulling the fabric edges until the surface is drum-tight.
A firm, wrinkle-free area is much easier to stitch on and produces neater results. Be careful not to stretch the fabric too aggressively, since that can distort your design once the hoop comes off. A little practice here quickly becomes second nature.
Step 5: Thread The Needle And Start Stitching
Cut a length of floss about eighteen inches long, since anything longer tends to tangle. Embroidery floss usually has six strands, so separate two or three for most designs depending on how bold you want the lines.
Thread your needle, tie a small knot at the end, and bring it up from the back of the fabric. Begin with a basic stitch such as the backstitch for outlines or the satin stitch for filling shapes. Work slowly and keep your tension consistent, and you will see your design take shape beautifully with every pass.
Step 6: Fill And Detail Your Design
Now the fun really begins as you bring color and texture to your work. Use the satin stitch to fill larger areas, the French knot for tiny dots or flower centers, and the split stitch for smooth curved lines. Switch colors as needed, tying off and starting fresh threads neatly on the back.
Mastering how to embroider on a shirt comes down to patience and steady practice with these core stitches. Do not rush the details, because the small touches are what make your finished design look polished, lively, and genuinely handmade rather than rushed.
Step 7: Finish And Care For Your Shirt
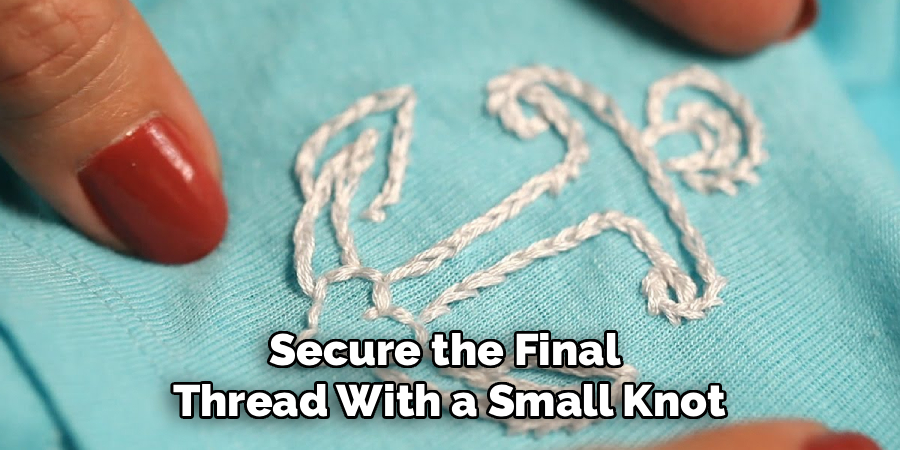
Once your design is complete, secure the final thread with a small knot on the back and trim any loose ends. Remove the shirt from the hoop and carefully tear away or dissolve the stabilizer according to its type.
If you used a water-soluble marker, dab the area with a damp cloth to erase any visible lines. To keep your work looking fresh, wash the shirt inside out in cold water and let it air dry when possible. With proper care, your embroidered creation will stay vibrant through many wears.
Frequently Asked Questions
Do I Need An Embroidery Machine To Get Started?
Not at all. Hand embroidery requires only basic supplies like a hoop, needle, floss, and stabilizer, making it perfect for beginners on any budget. Machines speed up repetitive work and suit large batches, but hand stitching gives you full creative control and a personal touch. Many crafters prefer stitching by hand precisely because it feels relaxing and rewarding, so feel free to start simple and upgrade later.
What Type Of Shirt Fabric Works Best?
Woven cotton is the friendliest fabric for beginners because it holds stitches firmly and resists stretching. Shirts made from tightly woven materials give you stable, clean results with minimal fuss. Stretchy knits like t-shirt jersey are trickier but completely doable when you use the right stabilizer to support the fabric. If you are new to this craft, practice on a cotton shirt first, then move on to softer or stretchier materials as your confidence grows.
How Do I Prevent My Stitches From Puckering?
Puckering usually happens when the fabric shifts or the tension is uneven. The best fix is to always use a stabilizer behind your design, which keeps the fabric flat and supported. Keep your hoop drum-tight, and avoid pulling your thread too hard as you stitch. Consistent, gentle tension makes a huge difference. If puckering still appears, gently steam the finished piece to relax the fabric and smooth everything back into place. Machines speed up repetitive work and suit large batches, but hand stitching gives you full creative control and a personal touch,
How Long Does A Simple Design Take To Complete?
A small, simple design such as a single flower or a set of initials often takes one to three hours, depending on your pace and experience. Larger or more detailed patterns naturally require more time and several sessions. There is no rush, so work at a speed that feels comfortable and enjoyable. As you practice, your stitching will become faster and more accurate, and projects that once felt slow will start to fly by.
Can I Wash An Embroidered Shirt In A Machine?
Yes, you can, but a little extra care keeps your work looking its best. Turn the shirt inside out to protect the stitches, use cold water, and choose a gentle cycle. Avoid harsh detergents and skip the dryer when possible, since air drying reduces wear on the threads. For very delicate or heavily detailed designs, hand washing is the safest option. These simple habits help your embroidery stay bright and intact for years.
Conclusion
Learning how to embroider on a shirt is a genuinely approachable skill that rewards you with beautiful, personalized results and a relaxing creative outlet. From gathering your supplies and transferring your design to setting up your hoop and mastering a few core stitches, each step builds naturally on the last. With a stabilizer to support your fabric, steady tension, and a little patience, even complete beginners can produce clean, professional-looking work that turns an ordinary shirt into something special and uniquely theirs.
The most important thing now is to simply begin, because confidence grows with every stitch you make. Start with a small, simple project, embrace the small mistakes as part of the learning process, and celebrate your progress along the way. Before long, you will be decorating shirts for yourself, your friends, and your family with ease. So grab your hoop, pick a design you love, and enjoy the satisfying journey of bringing your ideas to life one thread at a time.

The Sew Fixes team — we mend our own clothes and write down what worked. Every guide here started as a repair on something we were not ready to throw away.