

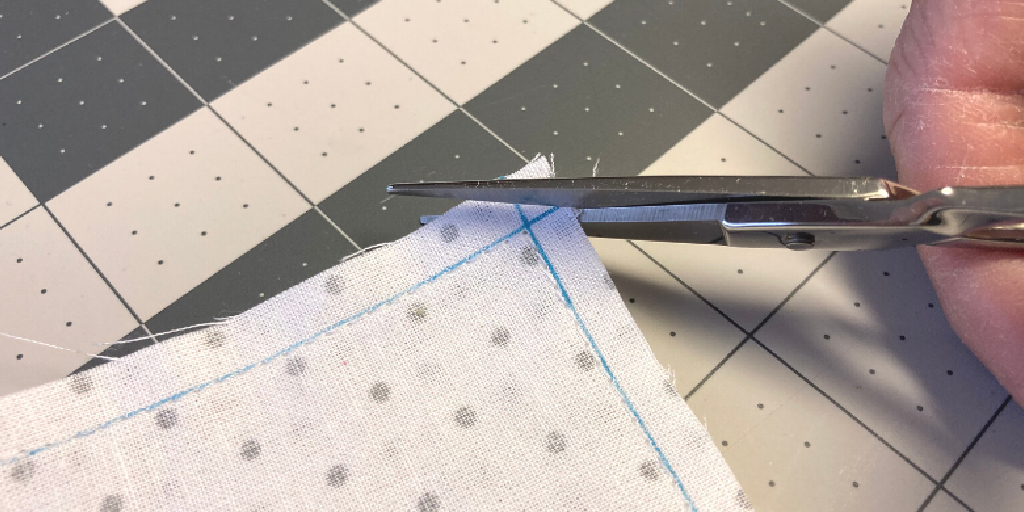
Corners show up in almost every sewing project. You’ll find them on pillow covers, tote bags, napkins, collars, quilts, and cuffs. A crisp, sharp corner makes a handmade piece look polished and professional. A lumpy or rounded one can make even the nicest fabric look homemade in the wrong way.a
The good news is that sewing a clean corner seam isn’t hard. It comes down to a few simple habits: marking your seam allowance, stopping in the right spot, pivoting with the needle down, and trimming away extra bulk before you turn the piece right side out. Once you learn these moves, you’ll use them for the rest of your sewing life.
In this guide on how to sew a corner seam, you’ll learn why corner seams matter, what tools you need, and how to sew one step by step. By the end, you’ll be ready to sew corners that look sharp, lie flat, and hold up well.
What Will You Need?
Before you start, gather these tools and materials. Having everything ready makes the process smoother and helps you avoid mistakes.
- Fabric: Choose a medium-weight woven cotton for practice. It’s easy to handle, presses well, and doesn’t slip much.
- Sewing Machine: Any basic machine with a straight stitch works well.
- Matching Thread: Pick an all-purpose polyester or cotton thread in a color that matches your fabric.
- Machine Needle: A universal needle in size 80/12 suits most medium-weight fabrics.
- Fabric Scissors: Sharp shears help you cut clean edges.
- Small Snips or Embroidery Scissors: These are ideal for clipping corners precisely.
- Pins: These hold your fabric layers together while you sew.
- Fabric Marker: Use this to mark your seam lines and pivot points.
- Ruler or Quilting Ruler: A clear ruler helps you measure seam allowances accurately.
- Point Turner: This blunt tool helps you push corners out neatly. A chopstick or knitting needle can work in a pinch.
- Iron and Ironing Board: Pressing is key to a crisp finish.
- Seam Ripper: Keep one nearby, just in case.
10 Easy Steps on How to Sew a Corner Seam
Follow these steps in order, and take your time. Speed will come with practice, but accuracy matters most at first.
Step 1: Prepare Your Fabric
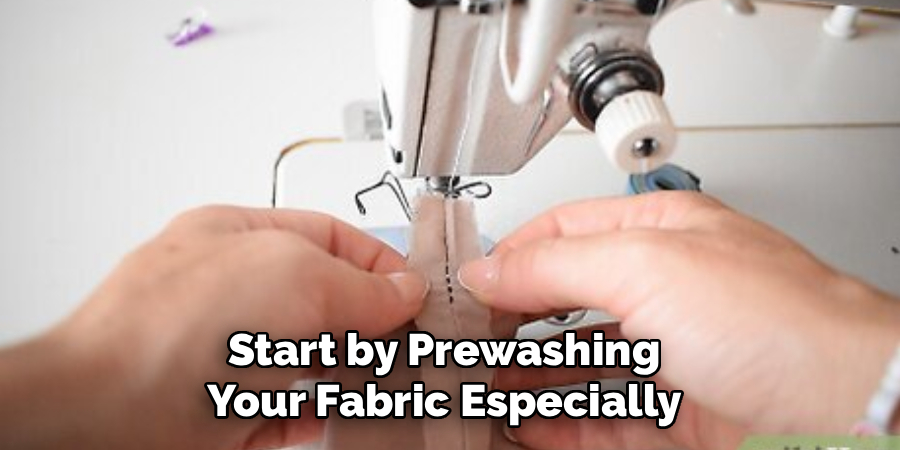
Start by prewashing your fabric, especially if you’re using cotton or linen. Many natural fibers shrink after the first wash. If you skip this step, your finished project could warp or pucker later. Once the fabric is dry, press it with an iron to remove wrinkles and creases.
Smooth, flat fabric is much easier to cut and sew accurately. Wrinkles can throw off your measurements by a surprising amount. Take a moment to check the grain of the fabric too. Lining up your pieces with the straight grain helps your corners stay square instead of stretching out of shape.
Step 2: Cut Your Fabric Pieces Accurately
Lay your fabric on a flat surface and measure your pieces with a ruler. Mark the cutting lines with chalk or a fabric marker. Then cut along the lines with sharp fabric scissors or a rotary cutter.
Accurate cutting is the foundation of a sharp corner. If your pieces aren’t square, your corners won’t be either. Double-check that each corner forms a true 90-degree angle. A quilting ruler with printed grid lines makes this easy. If you’re making something like a pillow cover, make sure both pieces are exactly the same size so the edges line up perfectly.
Step 3: Mark the Seam Allowance and Pivot Point
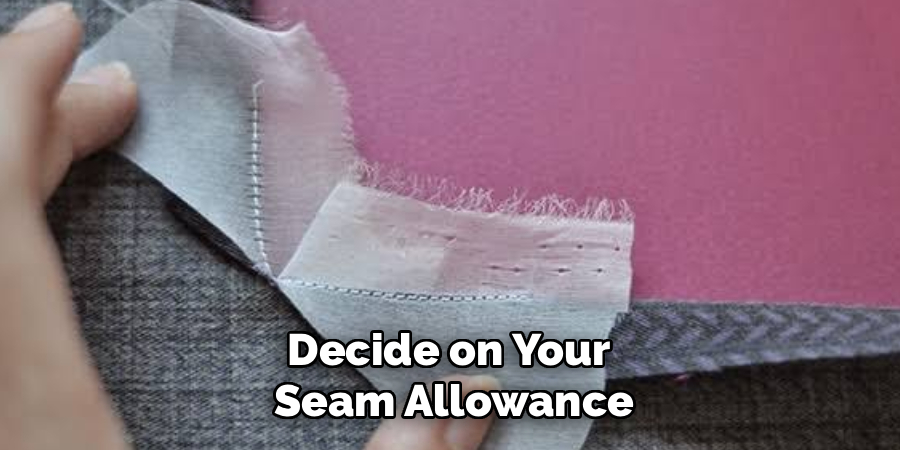
Decide on your seam allowance. Most patterns use either 1/4 inch or 5/8 inch, but beginners often find 1/2 inch easy to work with. Using your ruler and marker, draw the seam line along each edge on the wrong side of the fabric.
Where the two seam lines meet at the corner, make a small dot. This dot is your pivot point. It shows you exactly where to stop sewing and turn. Marking this spot takes the guesswork out of the most important part of the process. Once you have more experience, you may be able to judge the pivot point by eye, but marking is a smart habit for now.
Step 4: Pin or Clip the Fabric Together
Place your two fabric pieces right sides together, so the pretty sides face each other. Line up the raw edges carefully, paying special attention to the corners. Position your fabric under the presser foot, lining up the raw edge with the correct seam guide on your machine’s needle plate.
Secure the layers with pins or sewing clips. Place pins about 2 to 3 inches apart along the edges, and add one near each corner to keep the points aligned. Insert pins at a right angle to the edge so you can pull them out easily as you sew. Clips work especially well for thick fabrics, vinyl, or anything that shows pin holes. Well-secured layers won’t shift when you reach the corner.
Step 5: Set Up Your Sewing Machine
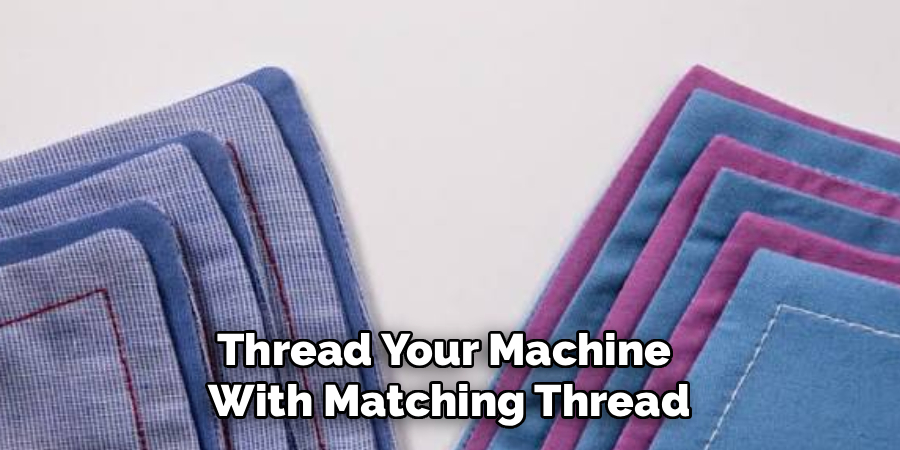
Thread your machine with matching thread and wind a bobbin in the same color. Insert a fresh needle that suits your fabric weight. A dull needle can skip stitches or snag fabric, especially at corners where you need extra control.
Set your machine to a straight stitch with a length of about 2.5 mm. For a stronger corner, you can shorten the stitch length to around 1.5 mm for the last inch before and after the corner. Before you start on your project, sew a few test stitches on a fabric scrap. This lets you check the tension and make sure everything runs smoothly.
Step 6: Start Sewing and Backstitch
Position your fabric under the presser foot, lining up the raw edge with the correct seam guide on your machine’s needle plate. Begin sewing a short distance away from the corner, along one straight edge.
Sew forward two or three stitches, then backstitch the same amount to lock the thread in place. Continue sewing forward along the seam line at a steady, comfortable speed. Keep your eyes on the fabric edge and the seam guide, not on the needle. Gently guide the fabric with your hands, but don’t push or pull it. Let the machine’s feed dogs do the work.
Step 7: Slow Down and Stop at the Pivot Point
As you get close to the corner, slow down. About an inch away, start sewing one stitch at a time. Many machines have a handwheel you can turn toward you for precise control, which works perfectly here.
Stop exactly on the pivot point you marked earlier. Make sure the needle is fully down in the fabric. This is the most important part of the entire process. If you stop too early, the corner will look rounded. If you stop too late, you’ll sew past the seam line and create an uneven point. Taking it slow here makes all the difference.
Step 8: Pivot and Continue Sewing
With the needle down in the fabric, lift the presser foot. Rotate the fabric 90 degrees so the next edge lines up with your seam guide. The needle acts as an anchor and keeps everything in place while you turn.
Lower the presser foot and continue sewing along the next edge. For thick fabrics, try this trick: instead of a sharp pivot, sew one or two small diagonal stitches across the corner before turning. This leaves a tiny bit of space for the fabric to fold inside, which creates a sharper point once you turn it. Repeat the stop-and-pivot process at each corner, then backstitch at the end of your seam.
Step 9: Trim and Clip the Corner
Remove the fabric from the machine and take out any remaining pins. Now it’s time to reduce bulk. Using small, sharp scissors, clip straight across the corner diagonally, cutting about 1/8 inch away from the stitching. Be careful not to cut through the stitches.
For even less bulk, you can also taper the seam allowances on either side of the corner by trimming them at a slight angle. This removes more fabric from the point. Thick materials like canvas, denim, or fleece especially benefit from this step. Without trimming, the extra fabric will bunch up inside the corner and keep it from forming a neat point.
Step 10: Turn, Shape, and Press
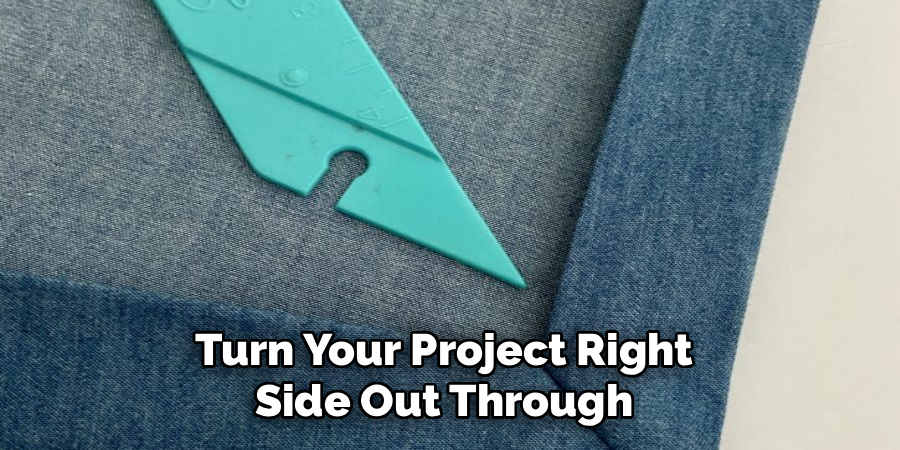
Turn your project right side out through the opening you left. Gently push the corner out from the inside using a point turner, chopstick, or knitting needle. Work slowly and avoid poking too hard, or you could push right through the seam.
If the corner still looks a bit rounded, use a pin from the outside to carefully tease out the fabric at the tip. Once you’re happy with the shape, press the corner flat with an iron. Use steam if your fabric allows it. Pressing sets the seam and gives your corner that crisp, professional look. Take a step back and admire your work.
Frequently Asked Questions
1. What Seam Allowance Should I Use for Corner Seams?
The best seam allowance depends on your pattern and project. Most commercial garment patterns use 5/8 inch, while quilting projects often use 1/4 inch. For home décor items like pillows, 1/2 inch is a popular choice. Whichever size you choose, stay consistent on every edge so your corners meet evenly. Always check your pattern instructions first, since they’re designed around a specific allowance.
2. Why Do My Corners Always Look Rounded?
Rounded corners usually come from stopping too early before the pivot or skipping the trimming step. Extra fabric trapped inside the corner prevents it from forming a sharp point. Try marking your pivot point clearly and sewing the last few stitches by hand with the handwheel. Clip the corner diagonally and taper the seam allowances to remove bulk. Finally, use a point turner and press the corner flat to lock in the shape.
3. Can I Sew a Corner Seam by Hand?
Yes, you can sew a corner seam by hand using a simple backstitch. Mark your seam lines and pivot point just as you would for machine sewing. Stitch along the first edge, and when you reach the pivot point, push the needle through exactly at the dot. Then turn your work and continue stitching along the next edge. Trim, turn, and press the corner the same way to get a clean finish.
Conclusion
How to sew a corner seam is one of the most useful skills you can learn as a beginner. It shows up in so many projects, from cozy throw pillows to sturdy tote bags and neat table linens. Once you understand the process, you’ll notice how much better your finished pieces look.
The secret lies in the small details. Cut your fabric accurately, mark your pivot point, stop with the needle down, and pivot carefully. Then trim away the bulk, turn gently, and press with care. Each of these steps builds on the last to create a crisp, strong corner.
Don’t worry if your first few attempts aren’t perfect. Grab some scrap fabric and practice a few corners before starting your next project. With a little patience, you’ll soon sew sharp, clean corners without even thinking about it. Happy sewing!

About
Bennie Wilder is a dedicated figure in the world of sewing, clothing repair, and garment care, with years of hands-on experience exploring practical techniques for making, repairing, and maintaining everyday clothing. His professional focus lies in combining traditional sewing craftsmanship with modern, easy-to-follow solutions, helping readers confidently handle common clothing problems at home. As an author at SewFixes, Bennie shares practical knowledge on sewing techniques, garment alterations, fabric care, clothing repairs, and DIY projects for beginners and experienced sewing enthusiasts alike.
Education
Fashion Institute of Technology (New York, USA)
Associate Degree in Fashion Design & Apparel Studies
- Focused on garment construction, sewing techniques, fabric fundamentals, and clothing alterations.
- Developed practical skills in pattern making, hand stitching, machine sewing, and garment finishing.
- Gained hands-on experience working with different fabrics, sewing tools, and apparel construction methods.
Academy of Art University (San Francisco, USA)
Bachelor’s in Fashion Design
- Specialized in apparel construction, textile selection, garment fitting, and contemporary clothing design.
- Studied the relationship between fabric properties, garment structure, durability, and comfort.
- Participated in practical design projects involving garment creation, alterations, repairs, and sustainable clothing practices.
Publications and Impact
Through SewFixes, Bennie shares practical insights into sewing, clothing repair, fabric care, garment alterations, and everyday DIY solutions. His writing focuses on turning complicated sewing tasks into simple, understandable steps that readers can follow at home.
Bennie covers everything from repairing torn seams and replacing buttons to fixing hems, adjusting garment fit, choosing suitable fabrics, and maintaining sewing machines and tools. His content is designed to help readers become more confident with their clothing while encouraging practical repair and reuse instead of unnecessary replacement.
Through his work, Bennie aims to bridge the gap between traditional sewing knowledge and modern everyday needs—making sewing more approachable, useful, and accessible to anyone who wants to repair better, sew smarter, and make their clothes last longer.