

Few embroidery techniques feel as satisfying as filling a shape with smooth, glossy thread that catches the light.
That polished look comes from one classic method, and learning how to do a satin stitch opens the door to petals, leaves, letters, and countless other designs.
It might seem tricky at first, but the process rests on a handful of simple movements that anyone can pick up with a little practice.
Whether you are stitching your first monogram or adding detail to a larger project, this guide breaks everything down into clear, manageable steps.
You will learn what tools to gather, how to keep your thread flat, and how to avoid the gaps and loops that trip up beginners. By the end, you will feel confident enough to fill any shape with a clean, even surface.
Grab your hoop, thread your needle, and let’s turn a plain piece of fabric into something you will be proud to show off.
Why Satin Stitch Matters
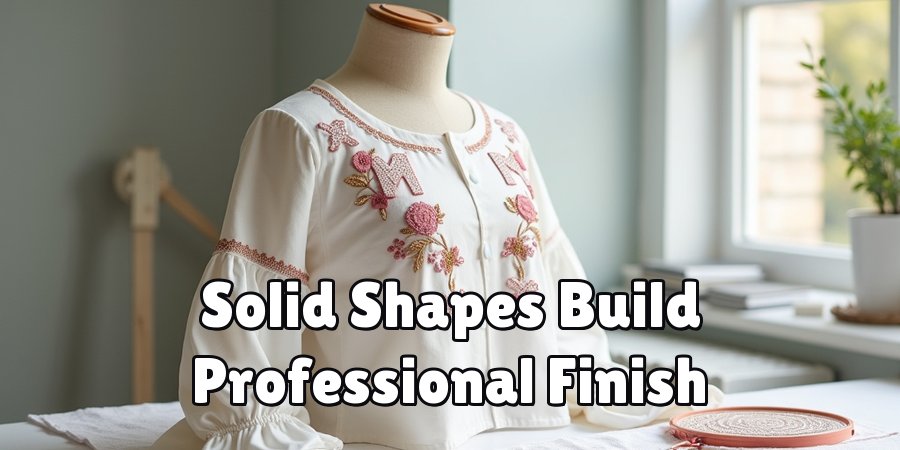
This stitch does more than look pretty. It gives your work a professional, finished quality that flat or scattered stitches simply cannot match. When you master it, you unlock the ability to fill shapes solidly, which is essential for lettering, floral motifs, and bold graphic designs.
It also builds core skills you will use everywhere else in embroidery, like keeping tension even and spacing your stitches with care. Because it relies on repetition, it teaches patience and control in a rewarding way.
Many stitchers find it calming, almost meditative, once the rhythm clicks.
Best of all, the technique adapts to nearly any fabric and thread, so the confidence you gain here transfers straight into every future project you tackle.
Step-by-Step Guide To How To Do A Satin Stitch
Step 1: Gather Your Tools And Fabric
Start by collecting everything you need so nothing interrupts your flow. You will want a piece of tightly woven fabric, an embroidery hoop, a sharp needle, and quality embroidery floss in your chosen color. Cotton floss works beautifully because it lies flat and reflects light well.
Choose a hoop that fits your design with a little room to spare, and press your fabric so it is free of wrinkles.
Secure it snugly in the hoop, pulling gently from all sides until it feels like a drum. A firm, taut surface makes every stitch easier to place and keeps your finished work smooth.
Step 2: Draw And Outline Your Shape
Before you fill anything, mark the shape you plan to cover. Use a water-soluble pen or a light pencil to sketch a simple outline, such as a leaf or a single letter. Keep the shape small at first, since large areas are harder to keep neat when you are learning.
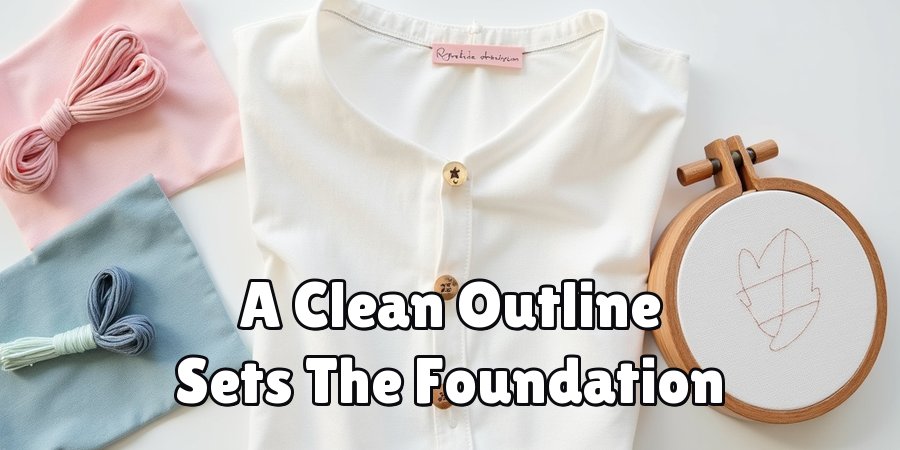
Once you have your outline, stitch a thin row of running stitches or a back stitch right along the edge. This border acts as a guide and gives your filling stitches a crisp, raised edge to rest against. Take your time here, because a clean outline sets the foundation for everything that follows.
Step 3: Bring Your Needle Up At The Edge
With your outline ready, thread your needle and knot the end of your floss. Push the needle up from the back of the fabric, coming out right at one edge of your shape, just outside the outline you stitched. This first point anchors your work and marks where your fill begins.
Learning how to do a satin stitch starts with this single, confident motion. Pull the thread all the way through until the knot rests snugly against the back. Keep the thread relaxed and untwisted as it emerges, because tangles here will show up later as bumps on the surface of your neat, glossy fill.
Step 4: Cross To The Opposite Edge
Now carry your thread straight across the shape to the opposite edge. Insert your needle just outside the outline on the far side, directly across from where you came up. Push it down through the fabric and pull the thread through, keeping it flat and smooth against the surface.
Aim for a stitch that sits parallel to the edge of your shape without twisting. Do not pull so hard that the fabric puckers, and do not leave it so loose that the thread sags.
This first crossing sets the angle for every stitch that follows, so glance at it and make sure it looks straight before you continue.
Step 5: Place Stitches Side By Side
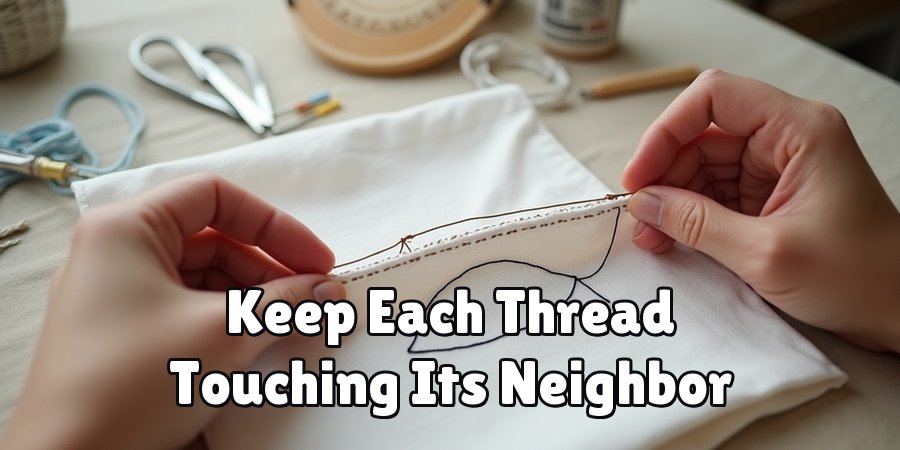
Come back up right next to your starting point, a hair’s width away from your first stitch. Then cross again to the other side, laying this new stitch snugly beside the last one. The goal is to keep each thread touching its neighbor so no fabric peeks through the gaps.
Work steadily across the whole shape, matching the angle of your very first stitch every time. Consistent spacing is the secret to that smooth, satiny finish. If you notice a gap forming, slide your next stitch a touch closer. Slow, even progress here beats rushing and having to unpick uneven rows later.
Step 6: Keep Tension Even Throughout
As you fill the shape, pay close attention to how tightly you pull each stitch. The rhythm of how to do a satin stitch depends on repeating the same gentle tension so every thread lies at the same height. Too tight, and the fabric bunches; too loose, and the stitches look sloppy.
Rest your non-stitching hand near the work to guide the thread as it settles. Pause every few stitches to check that the surface stays flat and glossy. If a stitch twists, gently coax it flat with your needle before moving on. This mindful pacing turns a good fill into a truly professional one.
Step 7: Secure The Thread And Finish
When you reach the far side of your shape and it is fully covered, it is time to fasten off.
Turn your work over and pass the needle under a few stitches on the back, then loop through once to lock it in place.
Trim the excess thread close, but not so close that it slips loose.
Flip your piece back over and admire the smooth, even surface you created. If any stitch looks slightly raised, nudge it gently into line. Finally, dab away your outline marks if you used a water-soluble pen, and let the fabric dry before handling it further.

Frequently Asked Questions
How Long Should My Stitches Be?
Keep individual stitches under about half an inch for the best results. Longer threads tend to sag, snag, or shift out of place, which ruins that smooth finish.
If your shape is wide, break it into smaller sections or switch to a padded technique. Shorter, controlled stitches stay flatter and give you far more consistency across the entire filled area.
Why Does My Fabric Keep Puckering?
Puckering usually happens when you pull your thread too tightly or your fabric is not taut in the hoop. Loosen your tension slightly so each stitch rests on the surface without dragging the cloth.
Re-tighten your hoop until the fabric feels firm like a drum. Practicing on scrap material first helps you find that gentle, even pull before you commit to your real project.
What Thread Works Best For A Smooth Finish?
Cotton embroidery floss is the popular choice because it lies flat and reflects light for that signature sheen. For extra shine, try rayon or silk threads, though they can be slippery for beginners.
Separate the strands and lay them side by side rather than letting them twist. Using two or three strands often gives good coverage without looking bulky on most fabrics.
How Do I Fill Larger Shapes Neatly?
Large areas are tricky because long stitches lose their grip and sag. The trick is to add a layer of padding stitches underneath first, or split the shape into smaller zones.
You can also try long and short stitch for big spaces. Building up support underneath keeps the top layer smooth, raised, and even, giving your work a polished, dimensional appearance.
Can Beginners Really Master This Technique?
Absolutely. Every skilled stitcher started with wobbly rows and visible gaps. Begin with tiny, simple shapes like leaves or dots, and focus on even spacing rather than speed.
Practice a little each day, and check your tension often. Within a few sessions you will notice your surfaces growing smoother.
Patience and repetition, not natural talent, are what turn a beginner into a confident maker.
Conclusion
Mastering this technique comes down to a few dependable habits, keeping your fabric taut, spacing your stitches snugly, and holding your tension even from start to finish.
Once you understand how to do a satin stitch, you can fill almost any shape with a smooth, glossy surface that lifts your entire project.
The steps might feel slow at first, but the rhythm quickly becomes second nature.
So pick a small shape, thread your needle, and give it a try today. Do not worry about perfection on your first attempt, because every stitch teaches you something new.
With a little practice and patience, you will soon be adding crisp, professional fills to petals, letters, and designs of all kinds.
Your next beautiful piece is only a hoop and a length of thread away.

About
Bennie Wilder is a dedicated figure in the world of sewing, clothing repair, and garment care, with years of hands-on experience exploring practical techniques for making, repairing, and maintaining everyday clothing. His professional focus lies in combining traditional sewing craftsmanship with modern, easy-to-follow solutions, helping readers confidently handle common clothing problems at home. As an author at SewFixes, Bennie shares practical knowledge on sewing techniques, garment alterations, fabric care, clothing repairs, and DIY projects for beginners and experienced sewing enthusiasts alike.
Education
Fashion Institute of Technology (New York, USA)
Associate Degree in Fashion Design & Apparel Studies
- Focused on garment construction, sewing techniques, fabric fundamentals, and clothing alterations.
- Developed practical skills in pattern making, hand stitching, machine sewing, and garment finishing.
- Gained hands-on experience working with different fabrics, sewing tools, and apparel construction methods.
Academy of Art University (San Francisco, USA)
Bachelor’s in Fashion Design
- Specialized in apparel construction, textile selection, garment fitting, and contemporary clothing design.
- Studied the relationship between fabric properties, garment structure, durability, and comfort.
- Participated in practical design projects involving garment creation, alterations, repairs, and sustainable clothing practices.
Publications and Impact
Through SewFixes, Bennie shares practical insights into sewing, clothing repair, fabric care, garment alterations, and everyday DIY solutions. His writing focuses on turning complicated sewing tasks into simple, understandable steps that readers can follow at home.
Bennie covers everything from repairing torn seams and replacing buttons to fixing hems, adjusting garment fit, choosing suitable fabrics, and maintaining sewing machines and tools. His content is designed to help readers become more confident with their clothing while encouraging practical repair and reuse instead of unnecessary replacement.
Through his work, Bennie aims to bridge the gap between traditional sewing knowledge and modern everyday needs—making sewing more approachable, useful, and accessible to anyone who wants to repair better, sew smarter, and make their clothes last longer.