

Beads add sparkle, texture, and personality to plain fabric, turning simple stitches into eye-catching art.
If you have ever admired a beaded jacket, a decorated pillow, or a glittering piece of wall art, you already know how powerful a few small beads can be.
The best part is that this craft welcomes everyone, from curious first-timers to seasoned stitchers looking for a fresh challenge. You do not need fancy tools or years of practice to get started, just a little patience and a willingness to learn.
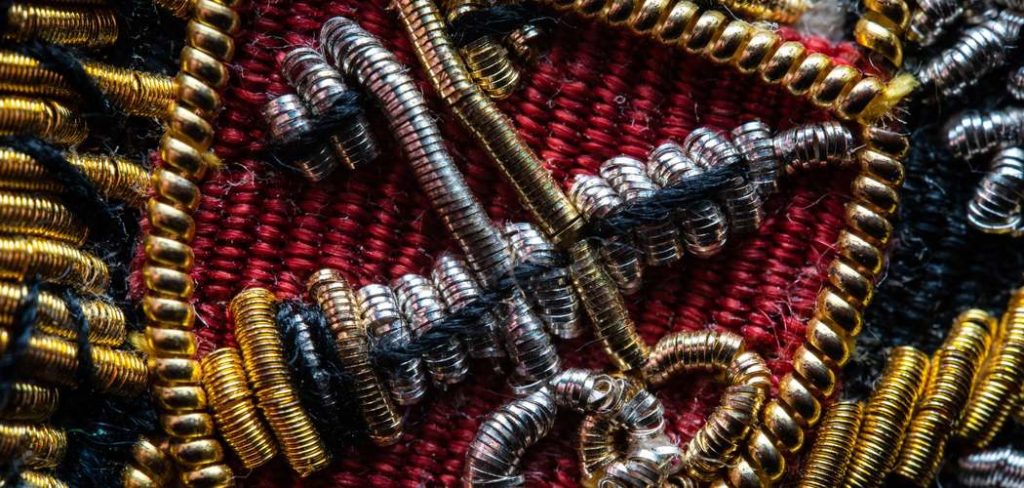
Knowing how to embroidery with beads opens a whole new creative world where color and shine meet handmade charm. This guide walks you through everything in clear, simple steps, so nothing feels confusing or out of reach.
We will cover the tools you need, the techniques that keep beads secure, and the small tricks that make your work look polished. By the end, you will feel confident enough to decorate almost anything you own.
Grab your supplies, find a comfy spot, and let us begin this rewarding hands-on adventure together.
Why Embroidery With Beads Matters
Learning this skill gives you a creative outlet that feels both relaxing and rewarding. Beadwork lets you personalize clothing, accessories, and home décor with details no store-bought item can match. Each project reflects your taste, which makes finished pieces feel truly special and one of a kind.
There are practical perks too. Beading improves focus and hand coordination, and many crafters find the repetitive motion calming after a busy day.
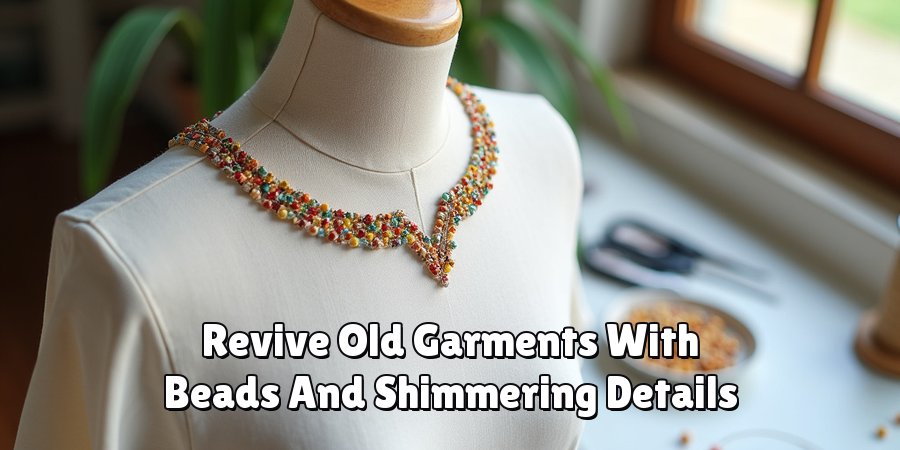
You can revive old garments, hide small stains, or upgrade plain fabric into something worth showing off. The materials are affordable and easy to find, so the barrier to entry stays low.
Best of all, these skills grow with you, letting you tackle bigger, bolder designs as your confidence builds over time.
Step-By-Step Guide To How to Embroidery With Beads
Step 1: Gather Your Tools And Materials
Start by collecting the essentials so you never have to stop mid-project to hunt for something.
You will need seed beads or your chosen bead type, a beading needle, strong thread such as polyester or nylon, an embroidery hoop, and your base fabric.
A small dish or bead mat keeps loose beads from rolling away, which saves time and frustration.
Choose quality supplies where it counts, since good thread and sharp needles make a real difference in your results. Beginners often do best with medium-sized seed beads because they are easy to handle and forgiving. Lay everything out within easy reach, and you will work more smoothly from the very first stitch.
Step 2: Choose And Transfer Your Design
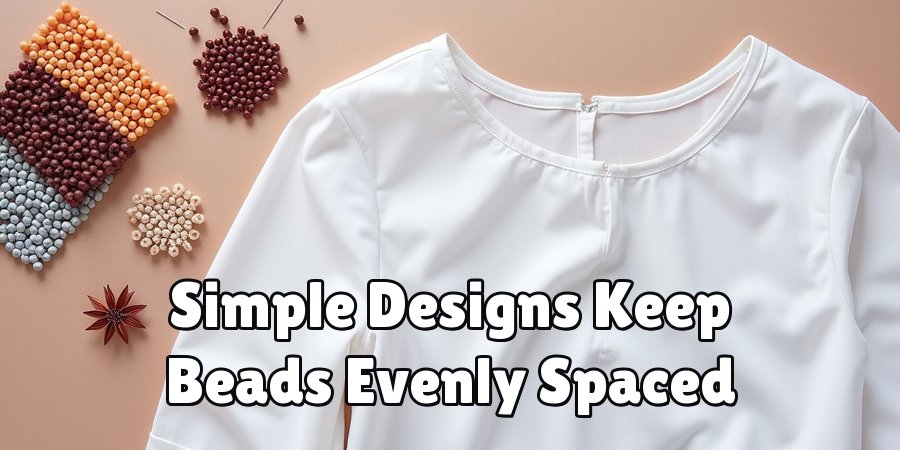
Pick a design that matches your skill level, and keep it simple for your first attempt. Flowers, stars, and geometric shapes work beautifully and give you room to practice without pressure. Sketch the pattern lightly onto your fabric using a water-soluble pen or tailor’s chalk, so the marks disappear later without a trace.
Take your time here because a clear guideline makes the whole process easier. If you feel unsure about drawing freehand, print a template and trace it against a window for a clean transfer. A well-planned design keeps your beads evenly spaced and helps the finished piece look intentional rather than crowded or uneven.
Step 3: Secure Your Fabric In The Hoop
Place your fabric between the two rings of the embroidery hoop, then tighten the screw until the surface feels drum-tight. A taut fabric prevents puckering and keeps your beads sitting flat and even. If the fabric slips, adjust the tension and smooth out any wrinkles before you begin stitching.
Good tension is one of the simplest ways to raise the quality of your work, so do not rush this part.
For delicate fabrics, add a layer of stabilizer behind the design to give the beads a firmer base. When everything feels smooth and secure, you are ready to thread your needle and start adding sparkle.
Step 4: Learn Embroidery With Beads Using The Backstitch
The backstitch is the most reliable method for keeping beads firmly in place. Bring your needle up through the fabric, slide on one bead, then push the needle back down right beside where the bead sits. Come up again a bead’s width away, ready for the next one, and repeat along your design line.
This method holds each bead snugly, which matters for items you wash or wear often. Master embroidery with beads through steady, even stitches, and your lines will look neat and professional. Pull the thread firm but not so tight that the fabric bunches. With a little practice, this rhythm becomes second nature and surprisingly relaxing.
Step 5: Try Couching For Beaded Lines
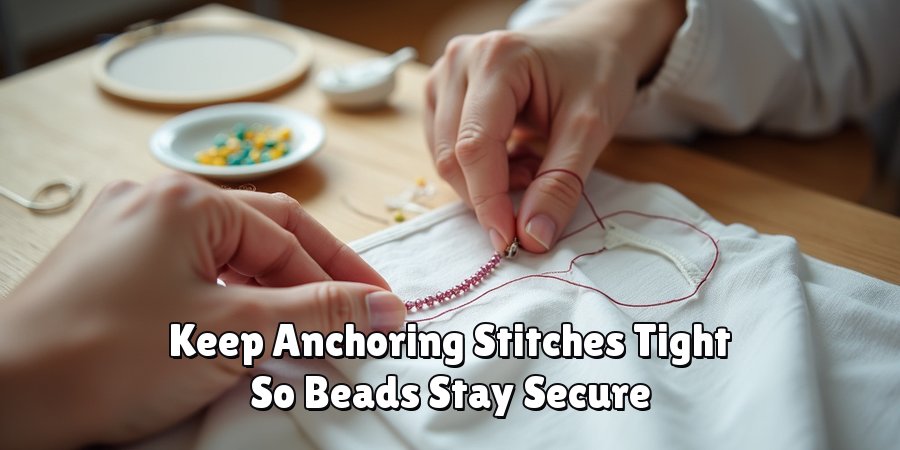
Couching is perfect when you want smooth, flowing rows of beads without stitching each one separately. Thread several beads at once, lay them along your design line, then use a second thread to stitch over the first between every bead or two. This tacks the whole strand down while keeping the line elegant and continuous.
This technique speeds up larger areas and gives curves a graceful, unbroken look. Keep your anchoring stitches tight so no beads shift or gap over time. Couching pairs wonderfully with backstitch, letting you combine crisp outlines with filled, shimmering sections. Experiment on scrap fabric first to find the spacing you like best.
Step 6: Fill Larger Areas With Beads
To cover bigger shapes, work in tight, even rows so the beads sit close together with no fabric peeking through. Follow the contour of your design, moving row by row, and keep your tension consistent so the surface stays smooth. Mixing bead colors here can create shading, gradients, and depth that make your piece pop.
Patience pays off during fill work, since rushing often leads to uneven gaps. Step back now and then to check your spacing and adjust as needed.
If you want extra texture, blend different bead sizes or finishes, such as matte and glossy, to catch the light in interesting ways. Slow, steady progress gives the richest results.
Step 7: Finish And Secure Your Work
When your design is complete, secure the thread on the back with two or three small knots, then weave the tail through nearby stitches to hide it.
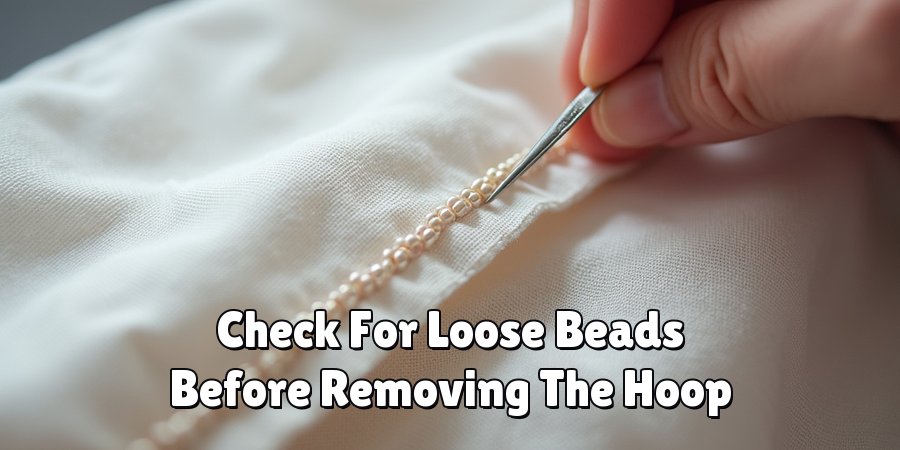
Trim any excess thread close to the fabric, but avoid cutting your knots. Gently remove the fabric from the hoop and check for any loose beads that need reinforcing.
A tidy finish keeps your beadwork durable for years. If you used a water-soluble marker, dab away the lines with a damp cloth and let the piece dry flat.
Press the fabric face-down on a towel if needed, so the beads sink into the softness rather than getting crushed. Now your creation is ready to display or wear.
Frequently Asked Questions
What Beads Are Best For Beginners?
Seed beads are the friendliest choice for newcomers because they are small, affordable, and widely available. Medium sizes, often labeled 8/0 or 11/0, offer a nice balance that is easy to grip and stitch.
Glass seed beads keep their color well and add lovely shine. Start with a single color to build confidence, then mix shades as your skills grow and your projects become more adventurous.
What Thread Should I Use For Beadwork?
Strong, thin thread works best because it slides through beads without breaking. Polyester and nylon beading threads are popular since they resist fraying and hold up to regular wear and washing.
Match the thread color to your fabric or beads for a seamless look. Avoid thick cotton thread, as it can struggle to pass through small bead holes and may weaken over time with repeated stress.
How Do I Keep My Fabric From Puckering?
Puckering usually happens when tension is uneven or the fabric sits loose in the hoop. Keep your fabric drum-tight, and pull each stitch firm without yanking.
Adding a stabilizer behind lightweight fabric gives beads a sturdier base and prevents sagging. Work in small, controlled stitches rather than long, loose ones.
With steady tension and a supported surface, your finished piece will lie flat and smooth.
Can I Wash Beaded Fabric?
Yes, but gentle care keeps your work looking its best. Hand wash in cool water with mild soap, and avoid twisting or wringing the fabric.
Lay the piece flat to dry so the beads do not pull or stretch the threads. Strong thread and secure knots make washing safer, which is why finishing techniques matter.
For delicate items, spot cleaning is often the safest route.
How Long Does A Beading Project Take?
Timing depends on the design size and detail level. A small motif might take an hour or two, while a large, densely filled piece can span several sessions.
Fill work and intricate patterns naturally take longer than simple outlines. Break big projects into short, enjoyable sittings to avoid hand fatigue.
Remember, slow and steady work produces the neatest, most professional results, so there is no need to rush.
Conclusion
Turning plain fabric into shimmering art is easier than it looks once you understand the core techniques.
From gathering the right tools and transferring your design to mastering the backstitch, trying couching, filling larger areas, and finishing securely, each step builds toward a piece you can be proud of.
Along the way, you sharpen your focus, boost your creativity, and pick up skills that carry into countless future projects. The best results come from patience, steady tension, and a willingness to experiment on scrap fabric first.
Now that you know how to embroidery with beads from start to finish, there is nothing holding you back from creating something beautiful.
Gather your supplies, choose a simple design, and enjoy the calming rhythm of each stitch. Trust the process, check your spacing as you go, and celebrate the small wins along the way.
Before long, you will have a stunning, handmade creation that reflects your personal style and hard-earned skill.

About
Bennie Wilder is a dedicated figure in the world of sewing, clothing repair, and garment care, with years of hands-on experience exploring practical techniques for making, repairing, and maintaining everyday clothing. His professional focus lies in combining traditional sewing craftsmanship with modern, easy-to-follow solutions, helping readers confidently handle common clothing problems at home. As an author at SewFixes, Bennie shares practical knowledge on sewing techniques, garment alterations, fabric care, clothing repairs, and DIY projects for beginners and experienced sewing enthusiasts alike.
Education
Fashion Institute of Technology (New York, USA)
Associate Degree in Fashion Design & Apparel Studies
- Focused on garment construction, sewing techniques, fabric fundamentals, and clothing alterations.
- Developed practical skills in pattern making, hand stitching, machine sewing, and garment finishing.
- Gained hands-on experience working with different fabrics, sewing tools, and apparel construction methods.
Academy of Art University (San Francisco, USA)
Bachelor’s in Fashion Design
- Specialized in apparel construction, textile selection, garment fitting, and contemporary clothing design.
- Studied the relationship between fabric properties, garment structure, durability, and comfort.
- Participated in practical design projects involving garment creation, alterations, repairs, and sustainable clothing practices.
Publications and Impact
Through SewFixes, Bennie shares practical insights into sewing, clothing repair, fabric care, garment alterations, and everyday DIY solutions. His writing focuses on turning complicated sewing tasks into simple, understandable steps that readers can follow at home.
Bennie covers everything from repairing torn seams and replacing buttons to fixing hems, adjusting garment fit, choosing suitable fabrics, and maintaining sewing machines and tools. His content is designed to help readers become more confident with their clothing while encouraging practical repair and reuse instead of unnecessary replacement.
Through his work, Bennie aims to bridge the gap between traditional sewing knowledge and modern everyday needs—making sewing more approachable, useful, and accessible to anyone who wants to repair better, sew smarter, and make their clothes last longer.