

Sewing your own clothes becomes so much easier when you have a body form that matches your exact shape.
A body form, sometimes called a dress form or mannequin, lets you pin, fit, and adjust garments without asking a friend to help every five minutes.
The problem is that store-bought forms are expensive and rarely match real body measurements.
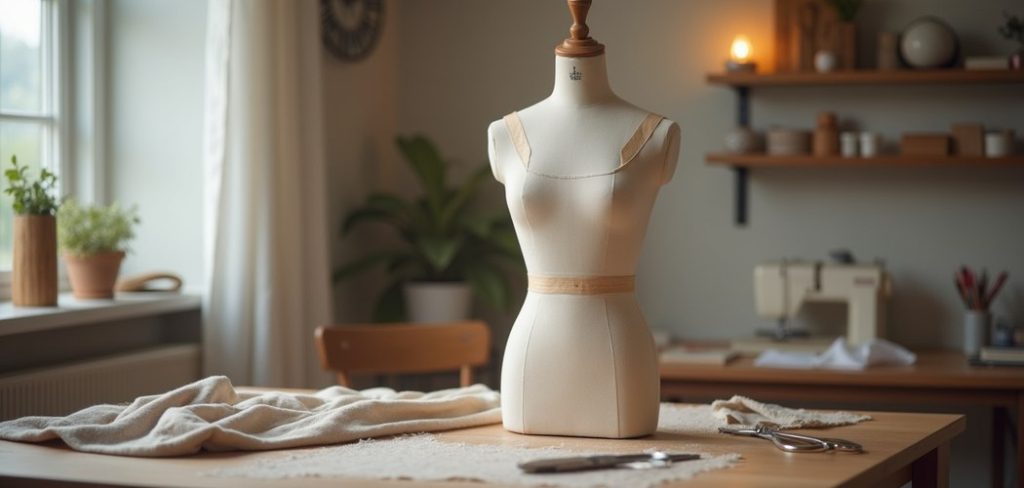
That is where a homemade version saves the day. Learning how to make a body form for sewing gives you a custom fitting tool for a fraction of the cost, built to reflect your true proportions. Whether you are a complete beginner or a seasoned stitcher, this project is approachable, budget-friendly, and genuinely useful.
In this guide, you will find a clear seven-step walkthrough, answers to common questions, and practical tips that work for all skill levels. By the end, you will feel confident enough to gather your supplies and start building. Let’s turn everyday materials into a personalized sewing companion that helps you create better-fitting clothes.
Why Making Your Own Sewing Body Form Matters
A custom form matters because it mirrors your unique measurements instead of a generic size chart. When your form matches your shape, your finished garments fit better the first time, which means fewer errors, less fabric waste, and a lot less frustration during fitting.
There are money benefits too. Professional dress forms can cost hundreds of dollars, while a homemade one uses cheap or recycled materials you likely already own. Beyond savings, a personal form empowers you to experiment freely.
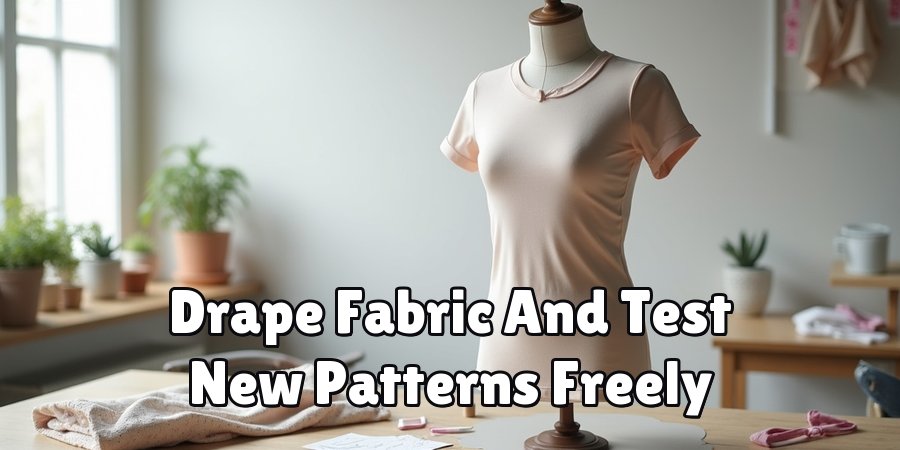
You can drape fabric, test new patterns, and visualize designs in three dimensions before cutting anything expensive.
That confidence boost is priceless for beginners who want to learn quickly and reduce mistakes along the way, all while working at their own comfortable pace.
Step-by-Step Guide To How To Make A Body Form For Sewing
Step 1: Gather Your Materials And Prepare Your Space
Before you begin, collect everything you need so the process runs smoothly. You will want several rolls of duct tape, an old fitted t-shirt you do not mind ruining, plastic wrap, sharp scissors, a marker, and stuffing material such as polyfill or old fabric scraps.
Clear a comfortable area where you can move freely and where a helper can reach you easily.
Learning how to make a body form for sewing is far simpler with a friend, since wrapping tape around your torso alone is tricky.
Lay out your supplies within arm’s reach, and wear the fitted shirt to protect your skin from the tape.
Step 2: Put On The Fitted Shirt And Mark Key Points
Slip into your old t-shirt and make sure it hugs your body without bunching. This shirt becomes the base layer of your form, so a snug fit gives you accurate results. Smooth out any wrinkles across your shoulders, chest, and waist.
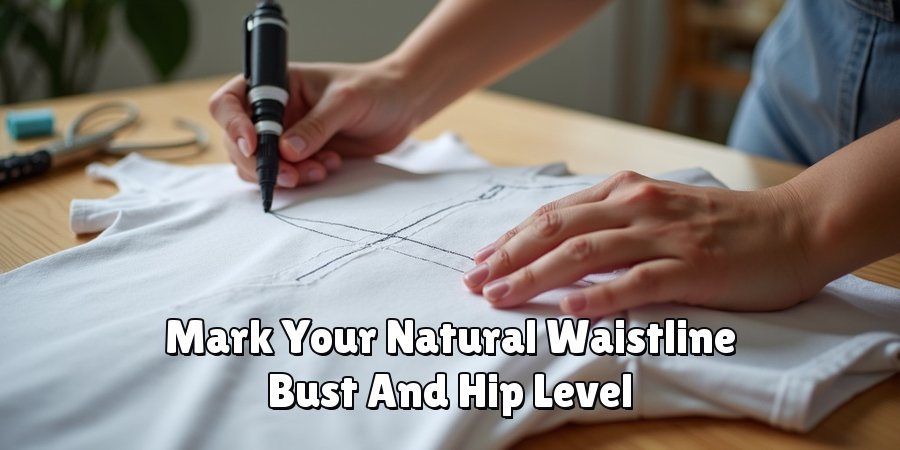
Next, use your marker to note important reference points such as your natural waistline, bust, and hip level. These marks help later when you need to line up patterns or measure garments.
Ask your helper to check the back too, since you cannot see those areas yourself. Take your time here because accuracy at this stage shapes the quality of your finished form.
Step 3: Wrap Your Torso With Plastic And Tape
With the shirt on, have your helper wrap plastic wrap gently around your torso to add a protective layer. Then begin applying duct tape in overlapping strips, starting at the waist and working upward and downward. Keep the strips smooth and firm, but never so tight that you cannot breathe comfortably.
Cover your torso completely, including the shoulders, chest, waist, and hips, layering the tape at least two or three times for sturdiness. This taped shell captures your exact shape. Work steadily and communicate with your helper, letting them know if any area feels too tight or uncomfortable during the wrapping process.
Step 4: Carefully Cut Yourself Out Of The Form
Once the tape shell feels solid and holds its shape, it is time to remove it. Have your helper make a single straight cut up the center back of the form, using blunt-tipped scissors to protect your skin. Go slowly and stay still while they work.
Ease your body out of the shell gently so you do not distort its shape. You should now have a hollow replica of your torso.
Set it on a table and inspect it for weak spots.
This part of how to make a body form for sewing feels a little strange, but it is completely safe when you take proper care.
Step 5: Seal The Cut And Reinforce The Shape
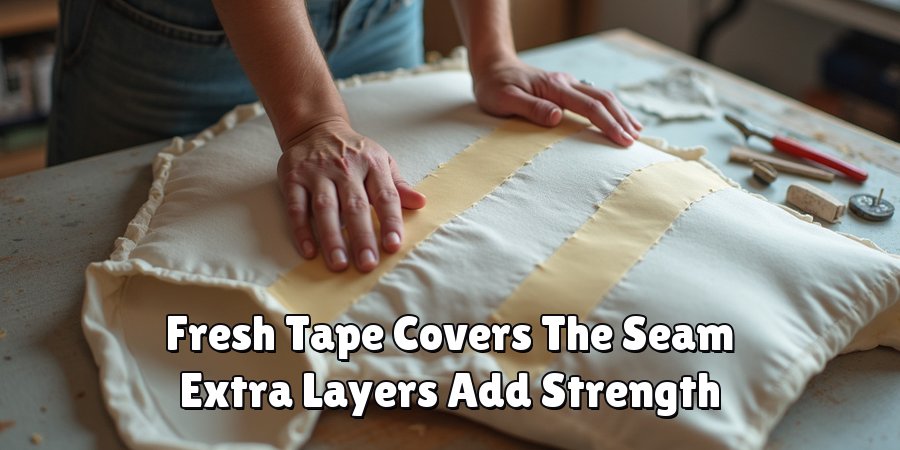
After removing the shell, close up the back opening you cut earlier. Line up the edges as neatly as possible and cover the seam with fresh strips of duct tape. Add a few extra layers along this seam because it will be the weakest area once the form is stuffed.
Take a moment to reinforce any thin or dented sections around the shoulders and waist. Press the tape firmly so everything holds together. A well-sealed form keeps its shape for years, so this reinforcement step really pays off later when you start pinning fabric and testing your sewing projects.
Step 6: Stuff The Form Until It Holds Its Shape
Now comes the satisfying part where your flat shell transforms into a solid form. Begin packing stuffing into the shell through the neck and arm openings. Use polyfill, fabric scraps, or even crumpled newspaper, pushing it firmly into every corner so the form feels full and firm.
Pay special attention to the bust, waist, and hip areas, since these need to match your real curves. Add stuffing gradually and check the shape often, squeezing gently to test firmness.
A properly stuffed form will stand up to pins and fabric weight without collapsing, giving you a reliable surface for all your future fitting work.
Step 7: Mount Your Form And Finish The Details
Finally, give your form a way to stand upright. Insert a sturdy pole, broom handle, or an adjustable stand into the base, then secure it with more tape or a stuffed cardboard bottom. Make sure it balances well and sits at a height that feels comfortable for you to work with.
Add finishing touches like marking your waistline with ribbon or covering the whole form in a smooth fabric layer for a polished look. Test it by pinning a piece of fabric across the shoulders. Your custom form is now ready to help you sew, drape, and fit garments with real confidence.
Frequently Asked Questions
How Long Does It Take To Build A Homemade Dress Form?
Most people finish the entire project in two to four hours, depending on their experience and whether they have a helper. The taping stage takes the longest because accuracy matters. If you spread the work across an afternoon and take breaks, the process stays relaxed and enjoyable rather than rushed or stressful.
Do I Really Need A Helper For This Project?
A helper makes the process much easier and safer, especially during the taping and cutting stages. Wrapping tape around your own back is nearly impossible to do accurately alone. If you cannot find help, some crafters use a professional stand-in service, but a trusted friend or family member works perfectly and keeps the experience fun.
What Materials Give The Most Durable Results?
Heavy-duty duct tape produces the sturdiest shell, while polyfill stuffing keeps the form firm yet pinnable. For the stand, a solid wooden pole or an adjustable metal base offers lasting support. Avoid cheap, thin tape since it tears easily and loses shape over time. Quality materials mean your form lasts for many sewing projects.
Can This Form Be Adjusted If My Measurements Change?
A taped form reflects your shape at the moment you build it, so it will not stretch or shrink with you. If your measurements change significantly, you can add padding for a slightly larger fit or simply build a new form. Many sewers make a fresh one every couple of years to stay accurate.
Is This Project Suitable For Complete Beginners?
Absolutely. This project requires no sewing skills at all, just patience and basic crafting supplies. The steps are simple and forgiving, so even first-timers get great results. If you feel unsure at any point, follow each stage slowly and ask your helper for feedback. It is a wonderful confidence-building starter project for new makers.
Conclusion
Building a custom fitting tool at home is one of the smartest moves you can make as a sewer.
It saves money, matches your true measurements, and gives you the freedom to experiment with patterns and drape fabric whenever inspiration strikes.
With just tape, an old shirt, and some stuffing, you now know exactly how to make a body form for sewing that fits your body perfectly.
The process is beginner-friendly, affordable, and genuinely rewarding once you see your finished form standing ready in your workspace.
So gather your supplies, invite a friend to help, and set aside an afternoon to create yours. Once it is done, you will wonder how you ever sewed without it.
Start today, and enjoy fitting your future projects with newfound confidence and ease.

The Sew Fixes team — we mend our own clothes and write down what worked. Every guide here started as a repair on something we were not ready to throw away.