

Creating clothing from scratch feels like magic the first time you slip on something you stitched yourself.
If you have ever wondered how to make a garment that fits well and looks polished, you are in exactly the right place.
This guide breaks the process into clear, manageable stages so you never feel lost along the way. Sewing your own clothes gives you full control over fit, fabric, color, and style, which is something store-bought options rarely offer.
Whether you dream of tailored trousers, a flowing dress, or a simple everyday top, the core skills stay the same. You will learn how to measure accurately, prepare your materials, and assemble pieces with confidence.
The best part is that these skills grow with practice, and each project teaches you something new. Beginners and seasoned makers alike can benefit from a solid, repeatable method.
So grab your notebook, pick a project that excites you, and get ready to turn plain fabric into something you will be proud to wear.
Why Making Your Own Garment Matters
Making your own clothes puts you in charge of quality, fit, and creativity in a way that shopping simply cannot match.
When you sew, you choose fabrics that feel good against your skin, adjust patterns to suit your exact shape, and avoid the frustration of clothes that almost fit but never quite do.
That freedom builds real confidence.
There are practical benefits too. Handmade pieces often last longer because you can reinforce seams and repair them easily. You also reduce waste by using materials wisely and reworking older items.
Beyond savings, sewing offers a calming, rewarding hobby that produces something useful at the end.
Every finished project sharpens your skills, expands your wardrobe, and gives you a story to tell whenever someone asks where you got it.
Step-by-Step Guide to How To Make a Garment
Step 1: Choose Your Pattern and Fabric
Start by picking a pattern that matches your skill level, since beginner-friendly designs use fewer pieces and simpler seams. Look for patterns labeled easy, and read the recommended fabric list on the envelope or download. Your fabric choice matters just as much as the pattern, because stretchy knits behave very differently from crisp cottons.
For your first project, choose a stable woven cotton that presses well and does not slip while you sew. Buy a little extra fabric to allow for mistakes and matching. Taking time here saves frustration later, and a good pairing of pattern and cloth sets you up for success.
Step 2: Take Accurate Measurements
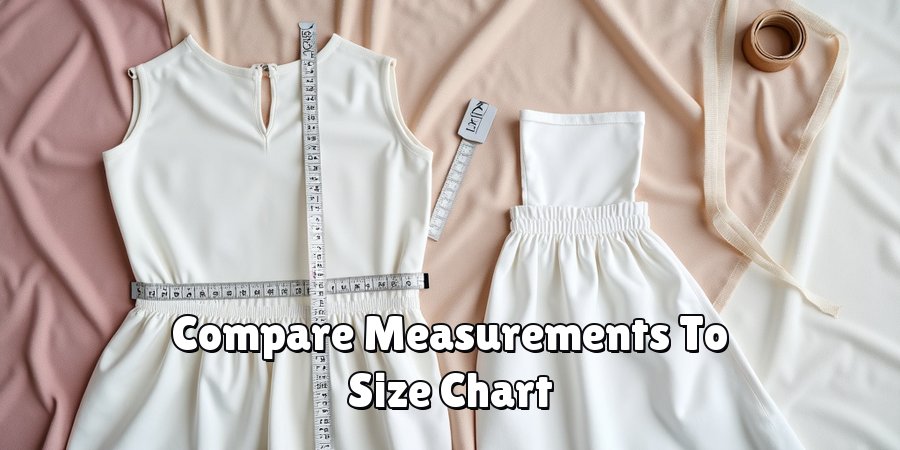
Precise measurements form the foundation of anything you sew, so treat this stage with care. Use a soft tape measure and record your bust, waist, hips, and any other points your pattern requests.
Keep the tape snug but not tight, and stand naturally rather than sucking in or slouching. Write everything down in a notebook you can revisit for future projects.
Compare your numbers to the pattern’s size chart instead of relying on the size you buy in shops, since sewing sizes often differ.
When you learn how to make a garment that truly fits, honest measurements do most of the heavy lifting.
Step 3: Prepare and Cut the Fabric
Before cutting, wash and press your fabric to remove sizing and prevent shrinkage after your first laundry day. Lay the fabric flat on a large, clean surface and smooth out every wrinkle.
Fold it according to your pattern instructions, then pin or weigh down each pattern piece, paying attention to the grainline arrows. Cut slowly with sharp scissors or a rotary cutter, following the lines exactly.
Transfer any markings, such as darts and notches, using tailor’s chalk or removable pens. Rushing this stage leads to mismatched pieces, so give yourself plenty of time and good lighting for accuracy.
Step 4: Stay Stitch and Assemble the Main Pieces
Stay stitching keeps curved edges, like necklines and armholes, from stretching out of shape while you work. Sew a line of stitches just inside the seam allowance on these areas before joining anything.
Next, pin your main pieces right sides together, matching notches carefully so the fabric lines up. Sew each seam with a steady, even pace, backstitching at the start and finish to lock your threads.
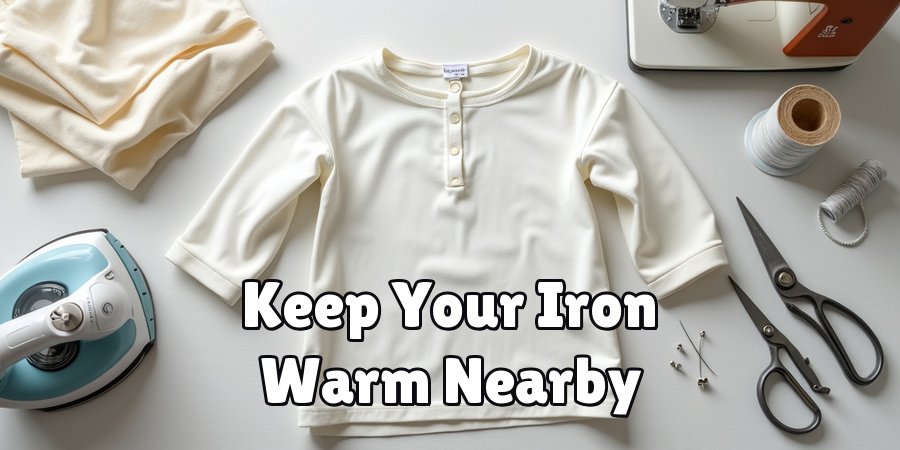
Press each seam as you go, because pressing sets the stitches and gives a clean, professional look. This habit separates tidy results from messy ones, so keep your iron warm and nearby.
Step 5: Add Details and Closures
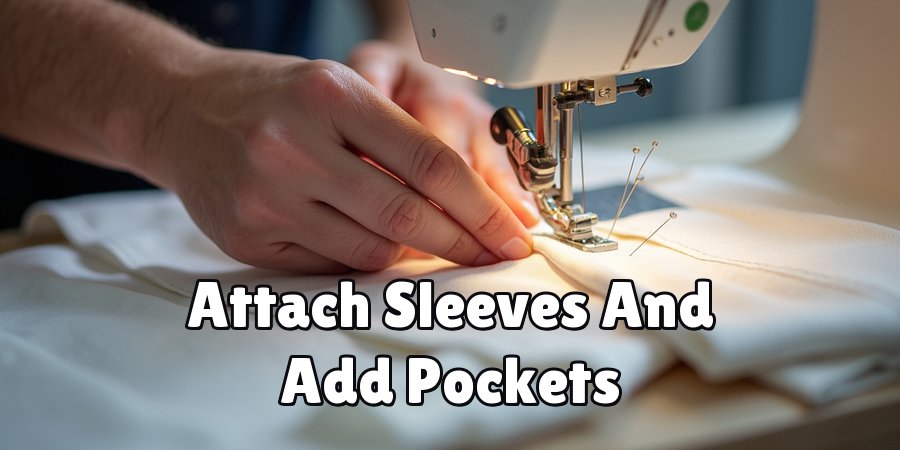
Details bring your project to life, so this is where a plain shape becomes real clothing. Depending on your pattern, you might attach sleeves, add pockets, or install a zipper or buttons. Work slowly and follow the instructions one line at a time, since closures often trip up newer makers.
For zippers, use a zipper foot and baste first to keep everything straight. Buttonholes are easier than they look once you practice on a scrap. Understanding how to make a garment with neat closures gives your finished piece a store-bought quality that people notice and admire right away.
Step 6: Fit and Adjust
Try on your project before you finish the edges, because this is your best chance to fix any problems. Pin the seams where things feel loose or tight, and check the length in front of a mirror. Small adjustments now prevent big disappointments later.
Ask a friend to help pin areas you cannot easily reach, such as the back. Mark your changes with chalk, then take the piece off and sew the new lines carefully. Fitting is a skill that improves with every project, so treat each tweak as useful practice rather than a setback.
Step 7: Finish the Edges and Hem
Finishing raw edges keeps your project from fraying and makes the inside look as good as the outside. Use a serger if you have one, or a zigzag stitch on a regular machine to enclose the seam allowances.
For the hem, fold the fabric under twice, press it flat, and stitch a neat line all the way around. Take your time on visible areas, since a wobbly hem draws the eye instantly.
Give the entire piece a final press, remove any stray threads, and admire your work. Then wear it proudly, knowing you built it yourself.
Frequently Asked Questions
What Is the Easiest Type of Clothing for Beginners to Sew?
Simple shapes with few seams and no complex closures are ideal for beginners. Elastic-waist skirts, loose tops, and pajama pants let you practice straight seams without fiddly zippers or buttonholes.
These projects build confidence quickly and finish fast, which keeps you motivated. As your skills grow, you can move toward fitted styles that require darts, sleeves, and more detailed construction techniques.
How Long Does It Take to Sew a Simple Project?
A beginner-friendly project usually takes a few hours to a full weekend, depending on your experience and the design. Cutting and preparing fabric often takes longer than expected, so plan for that.
Rushing tends to cause mistakes, so give yourself breaks between stages. As you repeat similar projects, your speed improves naturally, and tasks that once felt slow become quick and comfortable.
Do I Need an Expensive Sewing Machine to Start?
You do not need a costly machine to begin sewing well. A basic model with straight and zigzag stitches handles most beginner projects perfectly.
Focus your budget on sharp scissors, quality thread, and good pins instead.
Once you sew regularly and understand your preferences, you can upgrade to a machine with extra features that genuinely support the kinds of projects you enjoy most.
How Do I Fix a Seam That Puckers?
Puckered seams often come from incorrect tension, the wrong needle, or fabric that shifts while sewing. Check your machine’s tension settings first, then switch to a fresh needle suited to your fabric weight.
Pinning carefully and pressing seams as you go also helps. If puckering remains, gently unpick the stitches, smooth the fabric flat, and sew again slowly with even, steady guidance.
Can I Adjust a Pattern to Fit My Body Better?
Yes, adjusting patterns is a normal and valuable skill that improves your results dramatically. Compare your measurements to the pattern and lengthen, shorten, or widen pieces as needed before cutting.
Making a quick test version from cheap fabric, often called a muslin, lets you check the fit safely. This practice saves your good fabric and helps you learn how your body relates to standard sizing.
Conclusion
Sewing your own clothes is a rewarding journey that rewards patience, curiosity, and steady practice.
Once you understand how to make a garment from start to finish, you gain the freedom to build a wardrobe that truly reflects your style and fits your body perfectly.
The seven steps in this guide, from choosing fabric to finishing hems, give you a repeatable process you can apply to almost any project. Each stage builds skills that carry over to the next, so nothing you learn goes to waste.
The best way to improve is simply to begin, so pick a beginner-friendly pattern and start today.
Expect a few mistakes along the way, because every maker learns through them, and treat each project as a chance to grow.
Keep your notebook handy, celebrate small wins, and enjoy the satisfying moment when you wear something you created with your own hands. Your next favorite outfit is waiting for you to stitch it.

The Sew Fixes team — we mend our own clothes and write down what worked. Every guide here started as a repair on something we were not ready to throw away.