

Aladdin pants, sometimes called harem pants, are those wonderfully baggy, comfortable trousers with a dropped crotch and gathered ankles.
They look like something from a magical adventure, yet they feel like pajamas you can actually wear outside.
If you have ever wanted a project that is forgiving for beginners but still fun for experienced stitchers, this is a great place to start.
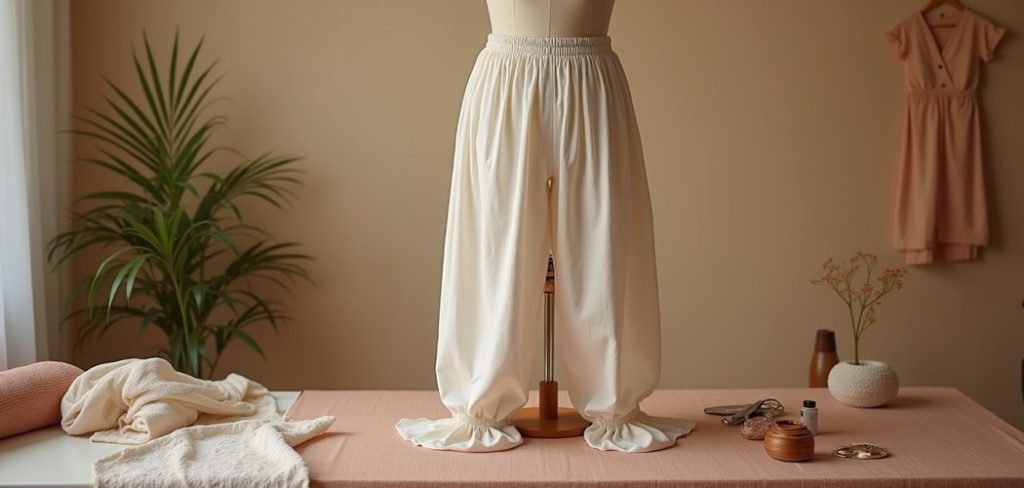
Learning how to make aladdin pants is easier than most people expect. You do not need a fancy commercial pattern, and the loose fit means small mistakes disappear into the fabric. That is why these pants are perfect for anyone building sewing confidence at their own pace.
In this guide, you will find a clear, step-by-step walkthrough, helpful answers to common questions, and practical tips you can adapt to your own style.
Whether you sew for relaxation, want a handmade wardrobe, or simply need breezy trousers for warm weather, this tutorial has you covered.
Grab your fabric, and let’s turn a simple rectangle of cloth into something you’ll love wearing.
Why Aladdin Pants Are Worth Making
Aladdin pants combine comfort, style, and simplicity in a way few garments manage. The relaxed shape suits every body type, and the elastic waist means you never fuss with zippers or complicated fastenings. For beginners, that removes the two things that trip most people up.
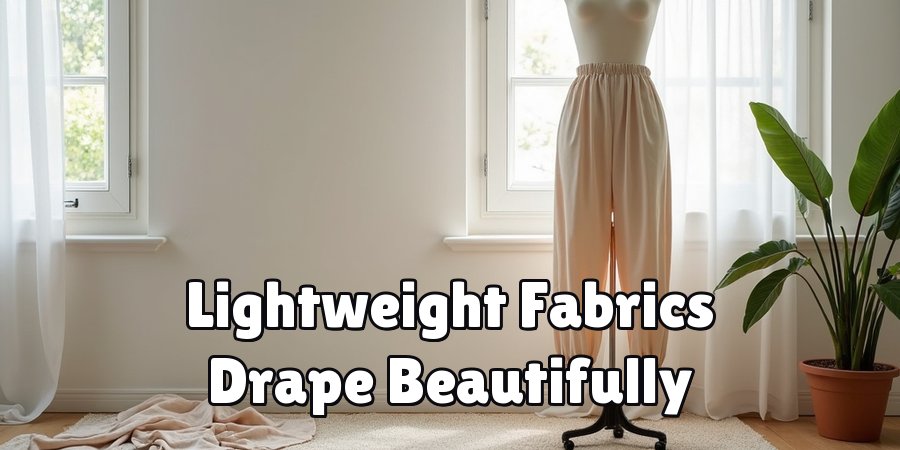
They are also budget-friendly. A single yard or two of fabric can produce a full pair, and lightweight cotton, linen, or rayon all work beautifully. Beyond savings, you gain full control over color, print, and length, so your finished pants match your taste exactly.
Best of all, the skills you build here transfer to other projects. Gathering, elastic casings, and simple seams appear in skirts, dresses, and more. Master this one garment, and you unlock a whole wardrobe of possibilities.
Step-by-Step Guide to Making Aladdin Pants
Step 1: Gather Your Materials
Before you cut anything, collect everything you need in one spot so the process stays smooth. You will want around two yards of soft, drapey fabric such as cotton, rayon, or linen. Add matching thread, a length of elastic for the waistband, fabric scissors or a rotary cutter, pins or clips, and a measuring tape.
A sewing machine speeds things up, though patient hand-sewers can manage too. Having a warm iron nearby helps enormously because pressing seams flat makes your work look polished. When your tools are ready and within reach, you can focus fully on the fun creative part without stopping to hunt for supplies.
Step 2: Take Your Measurements
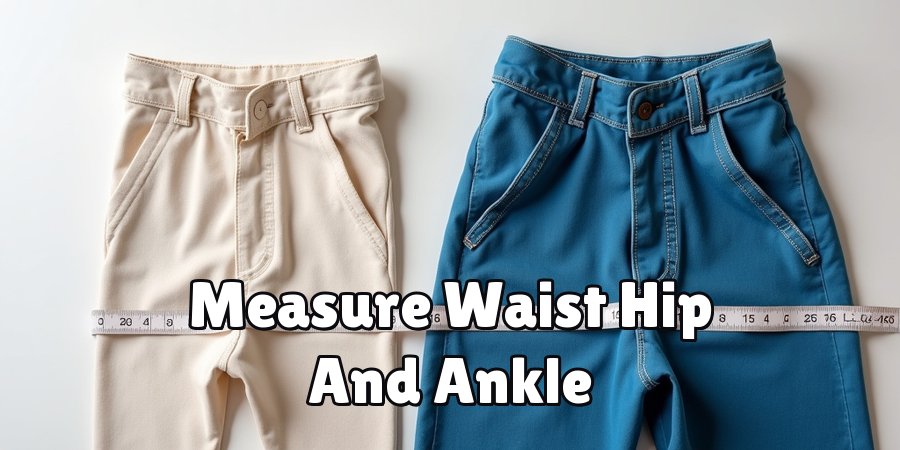
Accurate measurements are the foundation of a comfortable fit, so take your time here. Measure your waist where the pants will sit, then measure from that point down to your ankle to set the length. Note your hip width too, since the fabric needs enough room to drape and gather freely.
Because aladdin pants are loose by design, you do not need pinpoint precision, but a little care now prevents disappointment later. Write your numbers down rather than trusting memory. If you are between sizes, round up, as extra room only adds to that signature relaxed, flowing silhouette these pants are famous for.
Step 3: Cut Your Fabric
Fold your fabric in half so you can cut two matching pieces at once, which keeps both legs identical. Using your measurements, mark out a wide rectangle for each leg, adding a few extra inches for seam allowances and the roomy dropped crotch.
Learning how to make aladdin pants really clicks at this stage, because the generous shape becomes visible on your cutting table. Cut slowly and follow your marked lines with steady hands.
Do not stress about perfectly straight edges, since the gathers hide minor wobbles. Once both leg pieces are cut, lay them out and admire how simple these shapes actually are.
Step 4: Sew the Leg Seams
Now bring your fabric to the machine and start joining the pieces together. Place the two leg panels with right sides facing each other, then pin along the inner and outer edges to hold everything steady.
Stitch a straight seam down each side, keeping a consistent seam allowance so the legs stay even. Backstitch at the beginning and end to lock your threads in place.
After sewing, press each seam open with your iron, because this small step gives the finished pants a clean, professional appearance.
Take a moment to check your work, then flip the fabric to see your trousers beginning to take real shape.
Step 5: Create the Crotch Curve
The dropped crotch is what gives these trousers their unmistakable character. Turn one leg right side out and slide it inside the other leg so the right sides meet.
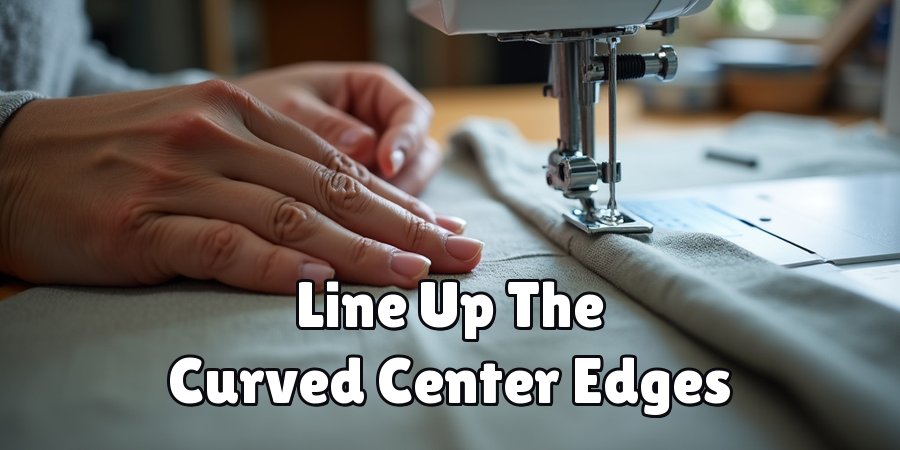
Line up the curved center edges carefully and pin them together, matching the seams you sewed earlier for a neat join.
Stitch along this curved line in one smooth pass, sewing slowly around the bend to keep the curve even.
This single seam connects both legs into one continuous garment. Understanding how to make aladdin pants comfortable comes down to this generous curve, which allows plenty of freedom to sit, stretch, and move without any tightness.
Step 6: Add the Waistband Casing
The waistband holds everything up and keeps the fit adjustable and comfortable.
Fold the top edge of the fabric down about half an inch, press it, then fold again to create a channel wide enough for your elastic.
Pin this casing in place all the way around, then stitch close to the bottom fold, leaving a small gap of an inch or two open.
Thread your elastic through the channel using a safety pin as a guide, gently working it around until both ends emerge.
Overlap the ends, stitch them securely, then close the gap with a few final stitches.
Step 7: Hem the Ankles
The finishing touch is gathering the ankles, which gives these pants their playful, tapered look. Fold the bottom edge of each leg to form a casing just like you did at the waist, pressing as you go for crisp folds.
Sew around each hem, again leaving a small opening. Thread a shorter piece of elastic through each ankle channel so the fabric gathers into that classic snug cuff.
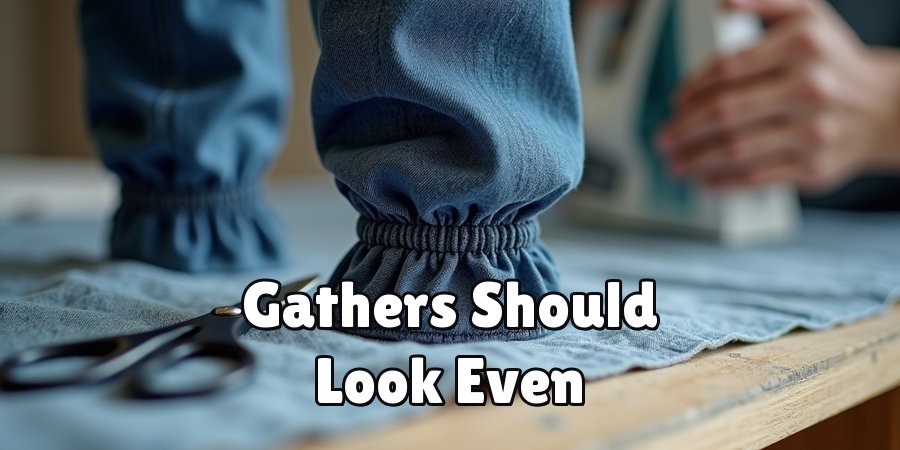
Adjust the gathers evenly, secure the elastic ends, and close the gaps. Try the pants on, check the fit, and make any tiny tweaks. Congratulations, your handmade trousers are officially complete and ready to wear.
Frequently Asked Questions
What Fabric Works Best For Beginners?
Soft, lightweight fabrics are your best friends when starting out. Cotton is forgiving, affordable, and easy to press, which makes it ideal for a first attempt.
Rayon and linen offer beautiful drape once you feel more confident. Avoid stiff or very slippery materials early on, since they can be tricky to control under the needle. Choose something you genuinely love wearing.
How Long Does This Project Take?
Most beginners finish in one relaxed afternoon, roughly two to four hours from cutting to final hem. Experienced sewers often complete a pair in under ninety minutes.
Your speed depends on your comfort with the machine and how carefully you press each seam.
There is no rush, so work at a pace that feels enjoyable rather than stressful, and take breaks whenever you need them.
Do I Need A Commercial Pattern?
Not at all, and that is part of the charm. This project relies on simple rectangles cut to your own measurements, so you can skip store-bought patterns entirely.
Drafting your own shapes saves money and teaches you how garments actually come together.
If you prefer extra guidance, tracing an existing pair of comfy trousers gives you a reliable outline to follow with real confidence.
How Do I Adjust The Fit?
The beauty of this design is how easily it adapts to you. If the legs feel too wide, take in the side seams slightly before hemming.
For a longer or shorter look, adjust your leg measurement before cutting. The elastic waist and ankles naturally accommodate different body shapes, so small changes go a long way.
Always try the pants on before final stitching to confirm everything feels right.
Can I Make These Without A Sewing Machine?
Yes, hand-sewing works perfectly well, though it takes more patience. Use a sturdy backstitch along the seams for strength, and keep your stitches small and even.
The casings and elastic threading happen exactly the same way by hand. Many people find hand-sewing relaxing and portable, letting them work anywhere.
Give yourself extra time, and your finished pants will be just as durable and stylish.
Conclusion
Making your own comfortable, flowing trousers is a rewarding project that pays off every time you slip them on.
You have learned how to make aladdin pants from start to finish, covering materials, measurements, cutting, sewing the signature curve, and adding elastic at the waist and ankles.
Each step builds a skill you can reuse across countless future projects, from breezy skirts to cozy loungewear.
The best way to grow as a maker is simply to begin. Pick a fabric that makes you smile, follow the steps at your own pace, and remember that the relaxed fit forgives small imperfections.
Before long, you’ll have a handmade pair you are proud to wear and the confidence to try even more ambitious creations. So gather your supplies, trust the process, and enjoy every stitch of the journey.

About
Bennie Wilder is a dedicated figure in the world of sewing, clothing repair, and garment care, with years of hands-on experience exploring practical techniques for making, repairing, and maintaining everyday clothing. His professional focus lies in combining traditional sewing craftsmanship with modern, easy-to-follow solutions, helping readers confidently handle common clothing problems at home. As an author at SewFixes, Bennie shares practical knowledge on sewing techniques, garment alterations, fabric care, clothing repairs, and DIY projects for beginners and experienced sewing enthusiasts alike.
Education
Fashion Institute of Technology (New York, USA)
Associate Degree in Fashion Design & Apparel Studies
- Focused on garment construction, sewing techniques, fabric fundamentals, and clothing alterations.
- Developed practical skills in pattern making, hand stitching, machine sewing, and garment finishing.
- Gained hands-on experience working with different fabrics, sewing tools, and apparel construction methods.
Academy of Art University (San Francisco, USA)
Bachelor’s in Fashion Design
- Specialized in apparel construction, textile selection, garment fitting, and contemporary clothing design.
- Studied the relationship between fabric properties, garment structure, durability, and comfort.
- Participated in practical design projects involving garment creation, alterations, repairs, and sustainable clothing practices.
Publications and Impact
Through SewFixes, Bennie shares practical insights into sewing, clothing repair, fabric care, garment alterations, and everyday DIY solutions. His writing focuses on turning complicated sewing tasks into simple, understandable steps that readers can follow at home.
Bennie covers everything from repairing torn seams and replacing buttons to fixing hems, adjusting garment fit, choosing suitable fabrics, and maintaining sewing machines and tools. His content is designed to help readers become more confident with their clothing while encouraging practical repair and reuse instead of unnecessary replacement.
Through his work, Bennie aims to bridge the gap between traditional sewing knowledge and modern everyday needs—making sewing more approachable, useful, and accessible to anyone who wants to repair better, sew smarter, and make their clothes last longer.